Schenke deinen Freundinnen und Freunden 10 € Rabatt auf ihre erste Bestellung!
Freunde WERBEN








Ein Projekt aus unserer Live-Show ONE DAY SPECIAL - Join Toni for her brand new launch - Broadcast 28th March 2025 · 28/03/2025 · watch it from 10:30
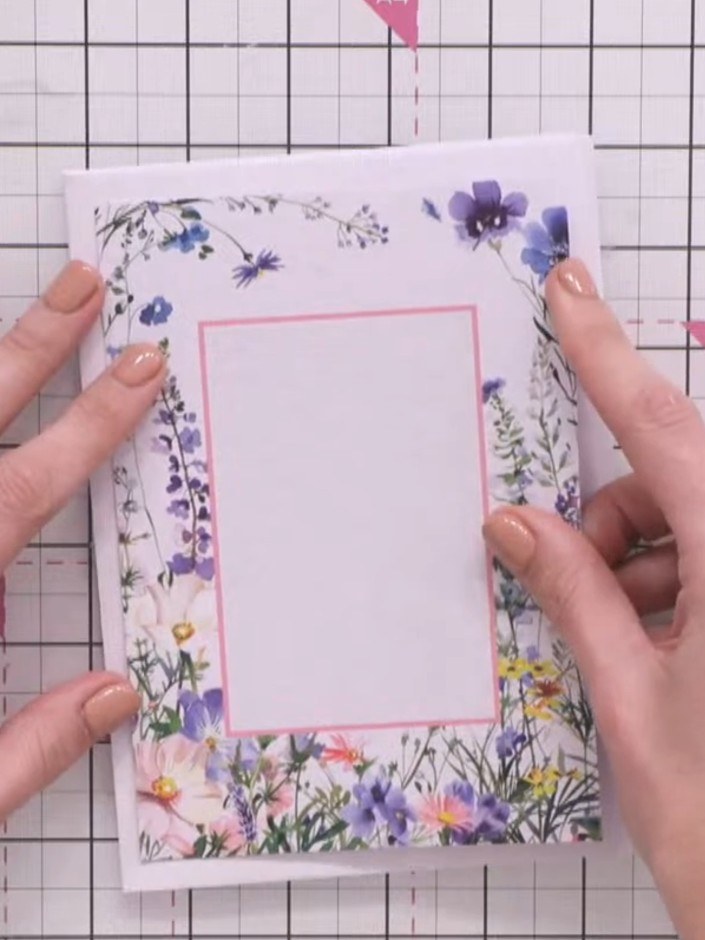
Gestalte ein bezauberndes Mini-Erinnerungsalbum mit dekorativen Umschlägen aus der Flora & Fauna-Kollektion. Dieses zauberhafte Andenken hat mehrere Taschen und Flip-Flop-Seiten, verziert mit Aquarellblumen und süßen Tierillustrationen in zarten Pastelltönen. Mit einfachen Falt- und Schichttechniken verwandelst du Umschläge in ein Album im Leporello-Stil – perfekt, um Fotos, Notizen oder liebgewonnene Erinnerungsstücke aufzubewahren.
DIESE ANLEITUNG HERUNTERLADEN (PDF)
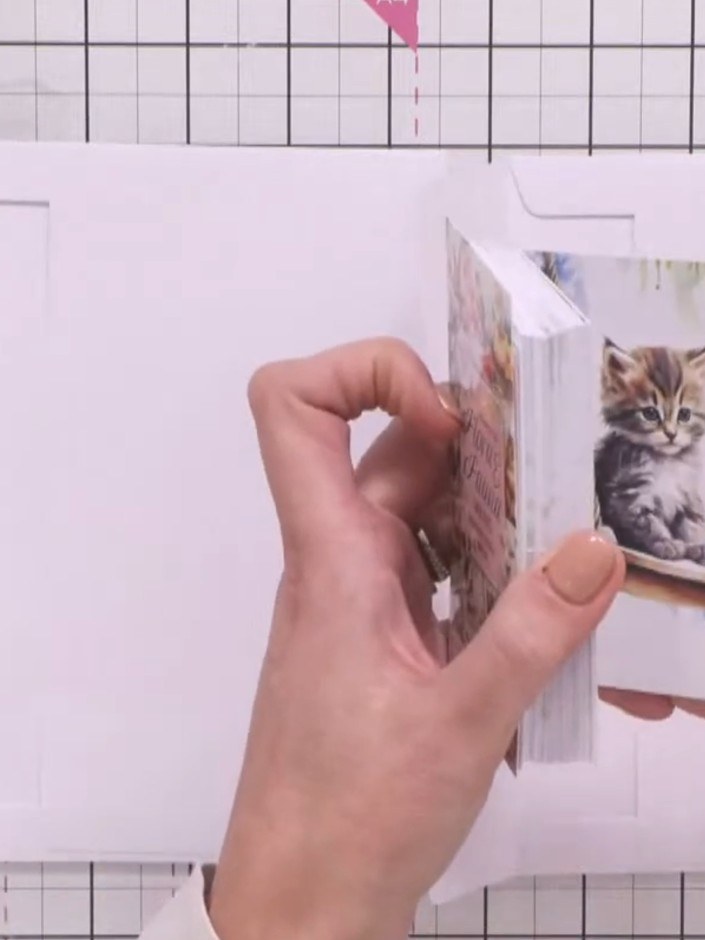
Nimm zwei weiße Umschläge und steck die Lasche des einen Umschlags in die Lasche des anderen, sodass eine Taschenseite entsteht. Fixiere die Laschen mit Kleber.
▶ watch this step (17:30)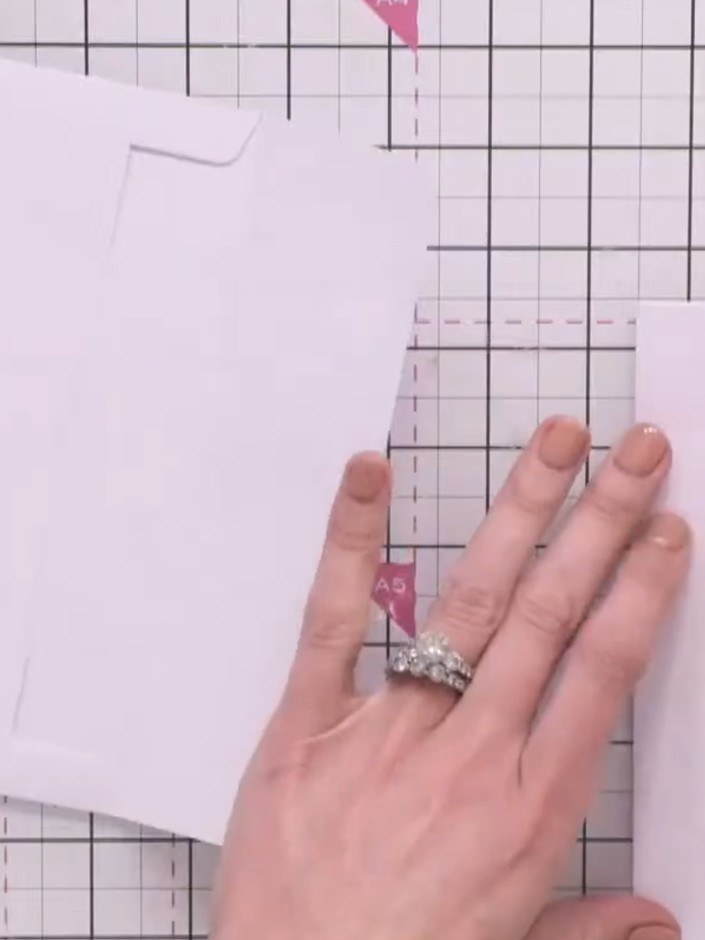
Nimm einen zweiten weißen Umschlag und leg ihn neben deinen ersten Umschlag auf die Bastelmatte. Befestige den zweiten Umschlag, indem du Klebeband entlang der Kante anbringst, an der die beiden aufeinandertreffen. So entsteht eine Scharnierverbindung, und die Umschläge lassen sich wie Seiten aufklappen.
▶ watch this step (18:30)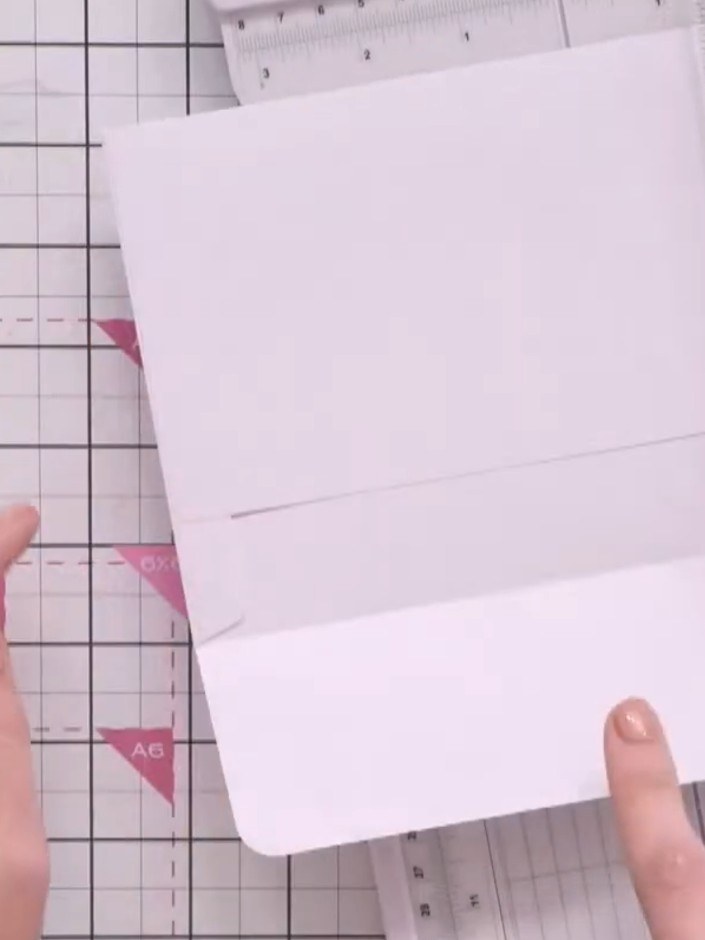
Öffne die Lasche eines Umschlags und leg ihn in den Papierschneider. Schneide von der Mitte des Umschlags bis zur Falzlinie der Lasche.
▶ watch this step (21:00)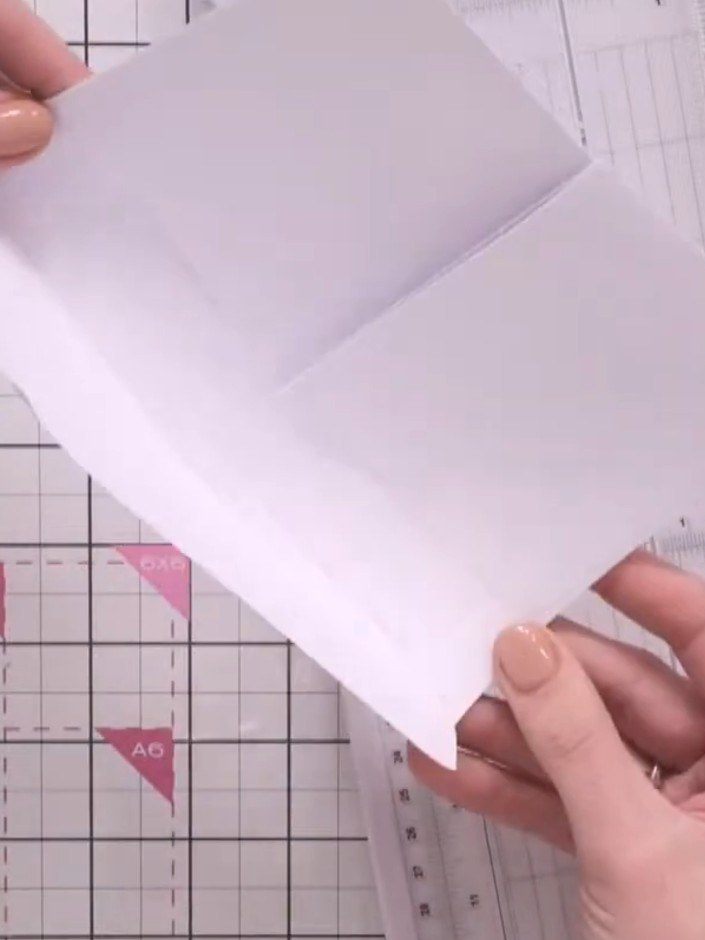
Klebe die eingeschnittene Lasche auf die Rückseite deiner Grundlage, sodass eine Tasche entsteht. Positioniere die Lasche so, dass zwei Seiten mit der Taschenöffnung oben entstehen.
▶ watch this step (21:45)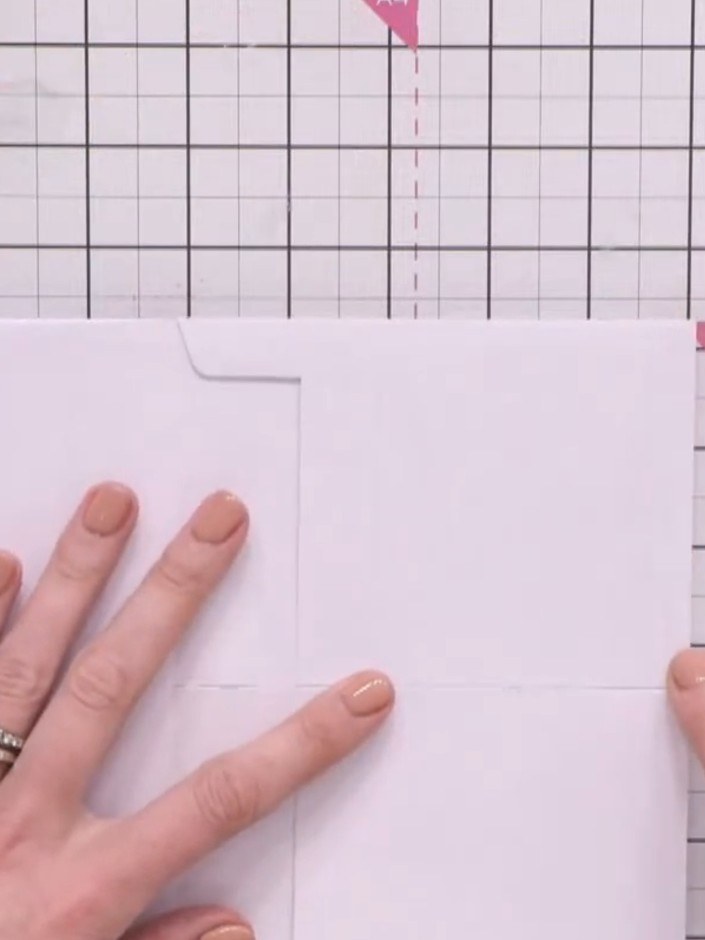
Verschließe die untere Kante der Umschlagtasche mit einem Slither-Tool oder Falzbein, damit nichts durch die Öffnung herausfallen kann.
▶ watch this step (22:15)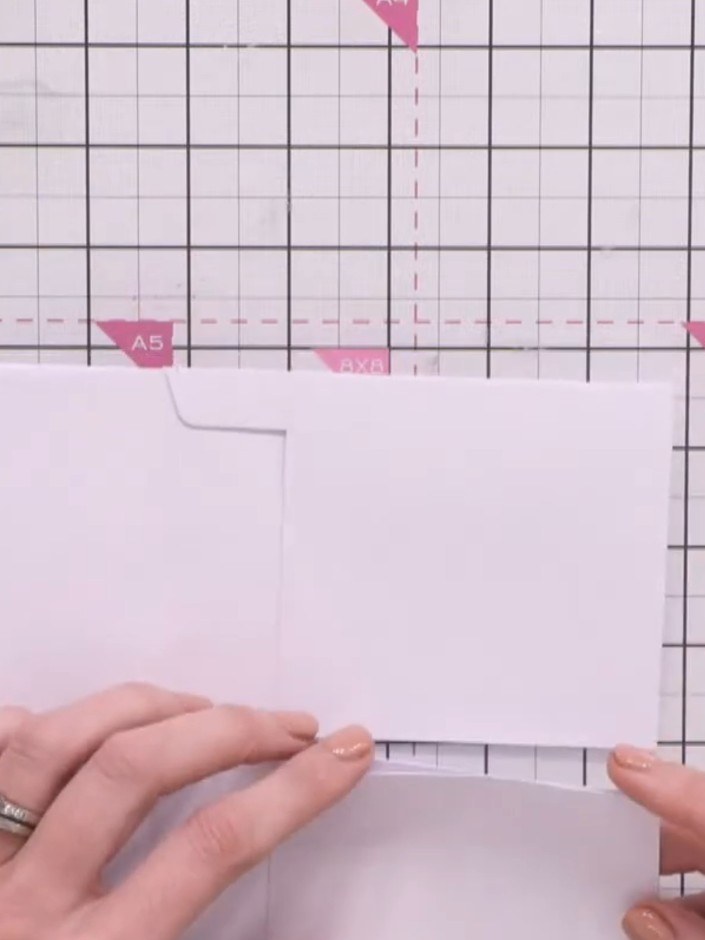
Schneide mit dem Papierschneider einen schmalen Streifen vom Ende des Umschlags ab, damit eine offene Tasche entsteht.
▶ watch this step (22:30)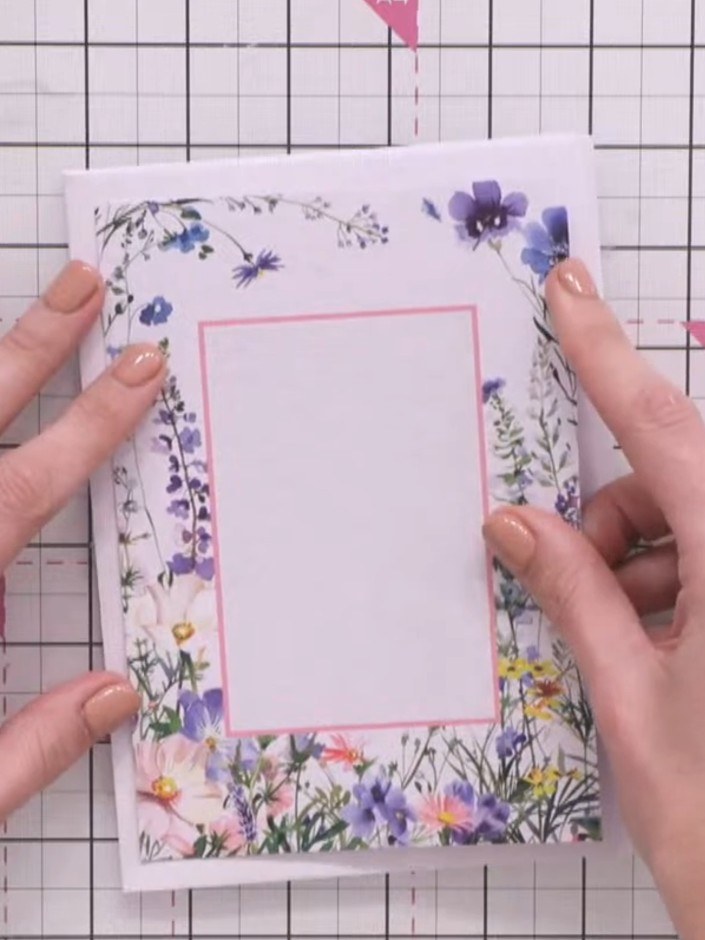
Befestige einen passenden floralen Topper mit Abstandspads auf dem Vorderdeckel, damit er schön plastisch wirkt. Platziere ihn mittig über dem rosa Rahmenbereich.
▶ watch this step (23:15)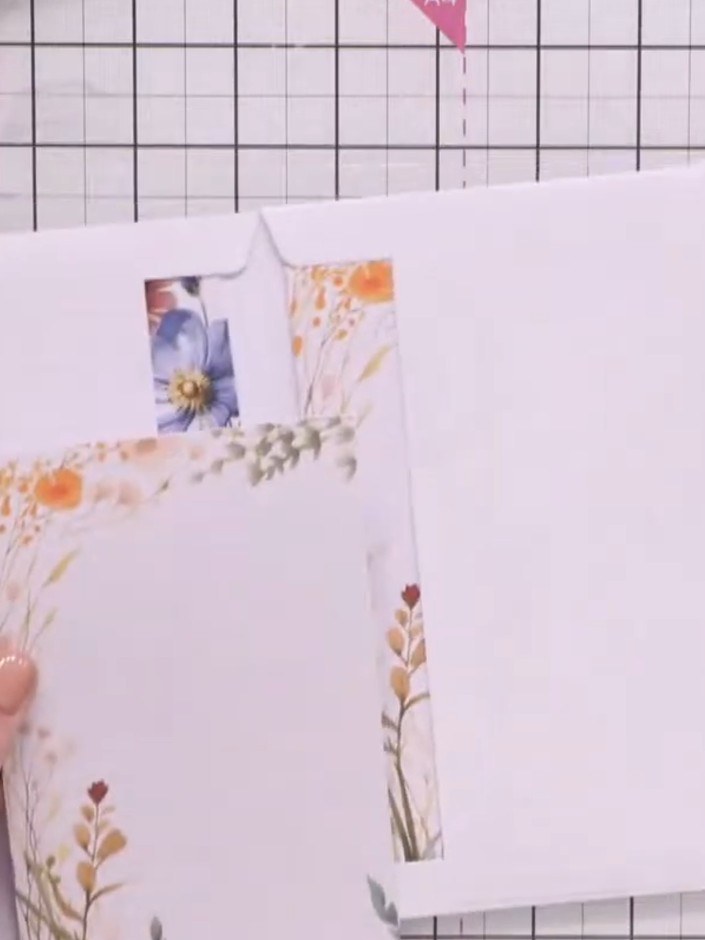
Steck dekorative Topper oder ausgeschnittene Elemente in die Umschlagtaschen. Fixiere sie mit Kleber, damit sie nicht herausrutschen.
▶ watch this step (24:30)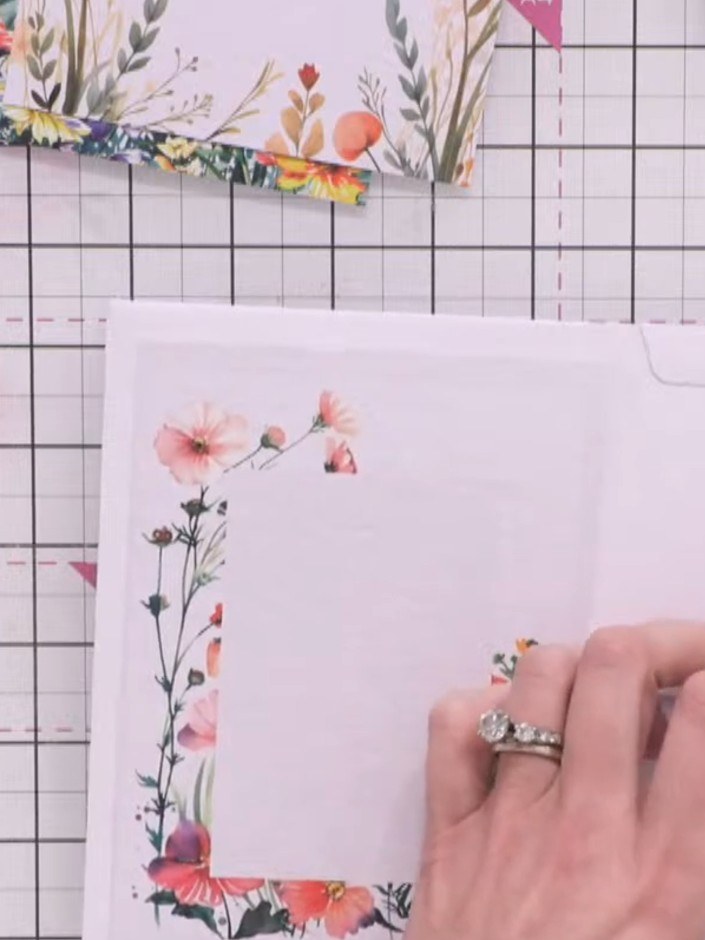
Gestalte eine Ecktasche, indem du Klebeband an einer Seite und an der unteren Kante eines floralen Toppers anbringst. Platziere den Topper in der Ecke des Umschlags – so entsteht ein verstecktes Fach.
▶ watch this step (29:00)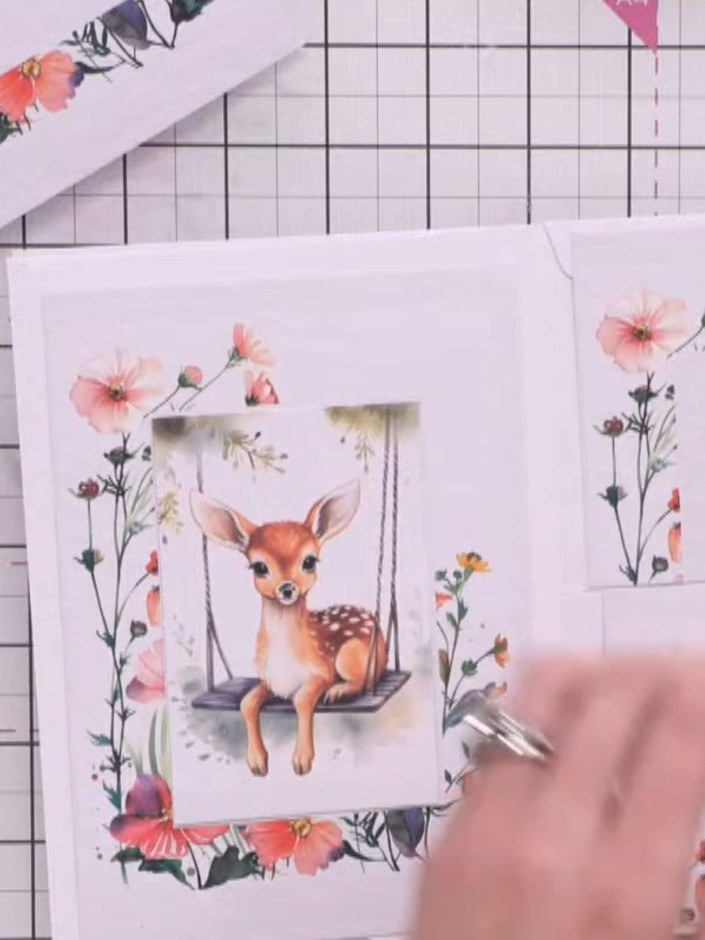
Setz einen dekorativen Topper an die untere Kante der Tasche, sodass er unter der Taschenöffnung hervorschaut und als Zieh-Lasche dient. Positioniere den Topper so, dass er schön heraussteht, wenn du den Inhalt der Tasche herausziehst.
▶ watch this step (36:45)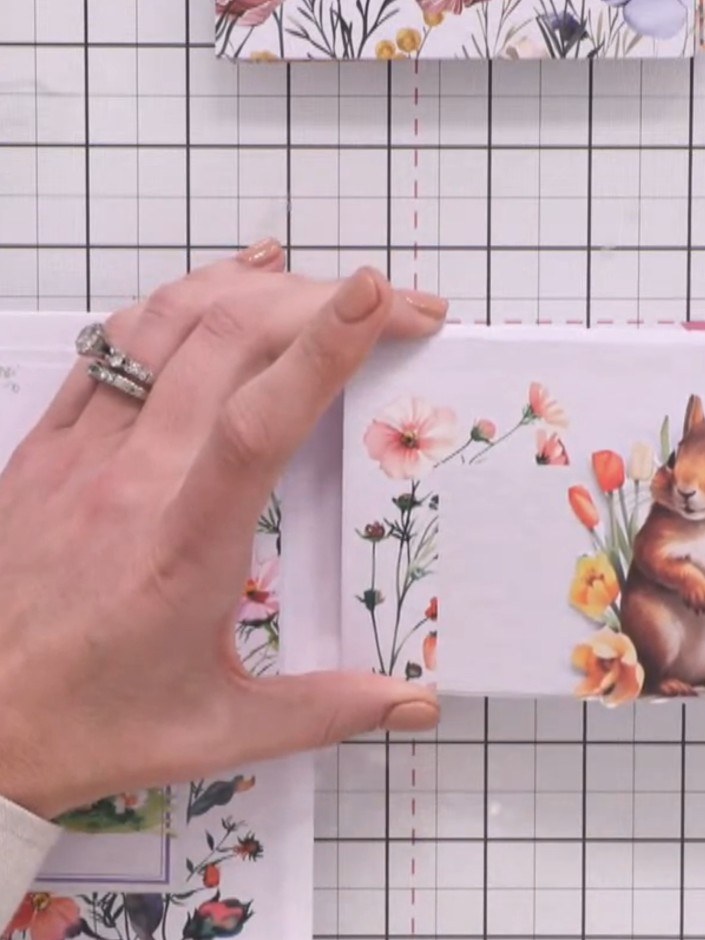
Schneide die Tier-Topper mit der Schere genau entlang der Konturen aus (Fussy Cutting), um 3D-Verzierungen zu gestalten. Befestige sie mit Abstandspads an Ecken oder Taschen, damit sie plastisch wirken.
▶ watch this step (40:15)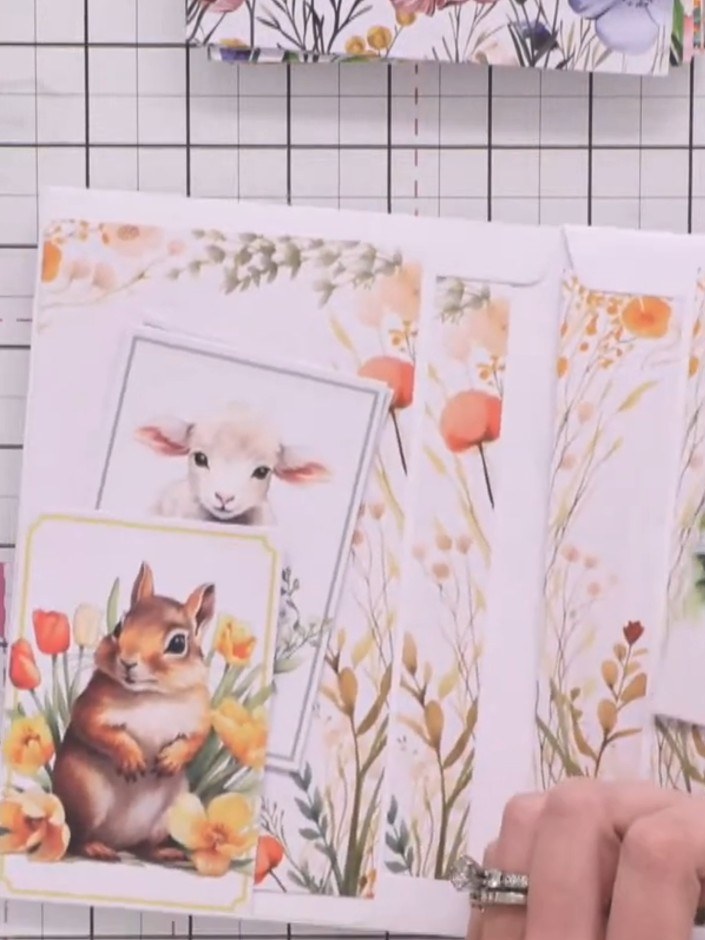
Arrangiere weitere dekorative Tiermotive und florale Elemente in den Taschen und auf den Seiten. Kombiniere die süßen Tier-Topper mit den botanischen Designs und gestalte so zauberhafte Szenen in deinem ganzen Album.
▶ watch this step (41:30)Direkt aus der Show aufgeschrieben. Alle Anleitungen aus unseren Shows ansehen · kostenlose Anleitungen · live auf My Telly ansehen