Schenke deinen Freundinnen und Freunden 10 € Rabatt auf ihre erste Bestellung!
Freunde WERBEN








Ein Projekt aus unserer Live-Show ONE DAY SPECIAL - Join Toni for her brand new launch - Broadcast 7th March 2025 · 07/03/2025 · watch it from 46:00
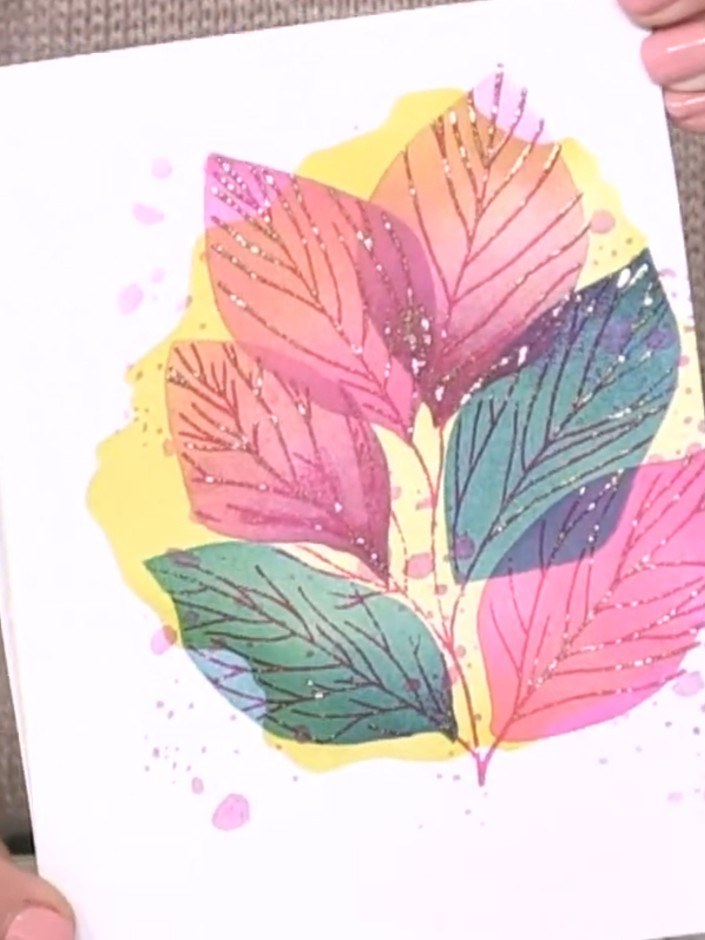
Gestalte eine atemberaubende Blumenkarte mit leuchtenden, bunten Blättern in Pink, Koralle, Petrol und Gelb und dem Spruch „Enjoy Every Moment“. Dieses echte Hingucker-Design entsteht mit Stempeln und farbigem Embossingpulver und bekommt durch zarte weiße Spritzer-Details ein plastisches, kunstvolles Finish.
 STAMPS BY ME - RADIANT POPPIES - 300524JSEE IT
 100068 - HTCN - IZINK PASTEN- UND WERKZEUG-BUNDLE FBLSEE IT
DIESE ANLEITUNG HERUNTERLADEN (PDF)
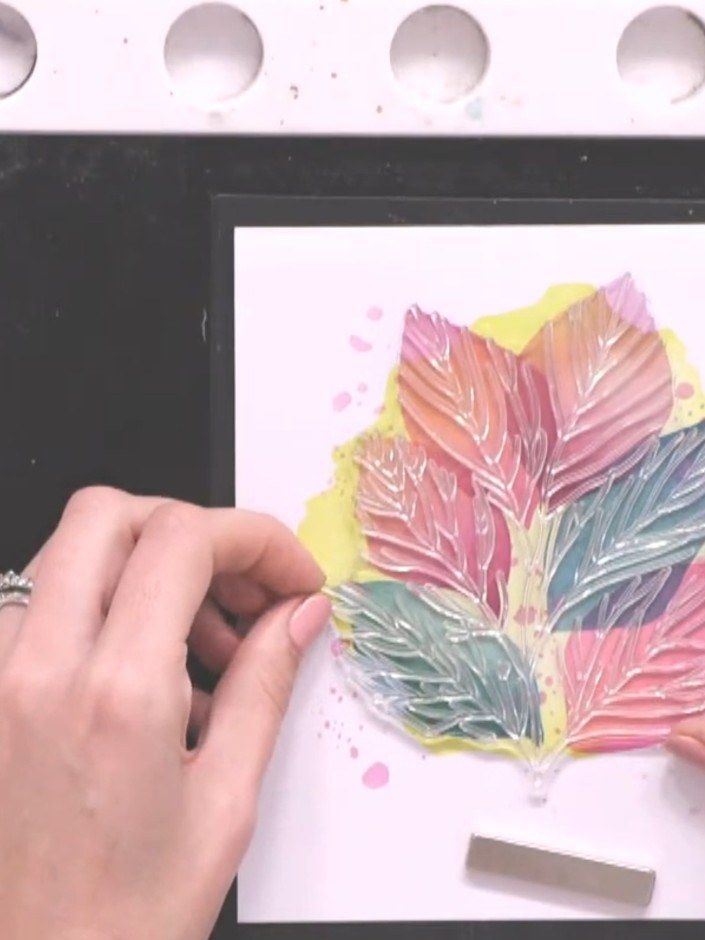
Stemple das große Mohnblumenmotiv mit schwarzer Stempelfarbe auf weißen Cardstock – leicht außermittig platziert wirkt es besonders spannend.
▶ watch this step (46:30)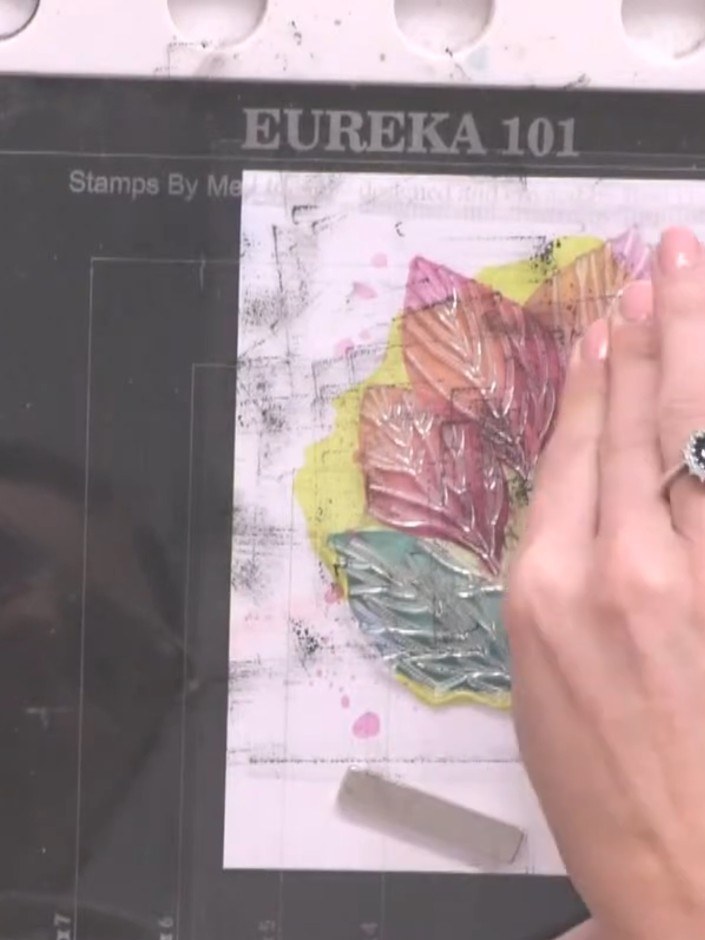
Trag mit dem Embossing-Stempelkissen klebrige Embossing-Stempelfarbe auf das farbige Blattmotiv auf. Achte auf eine gleichmäßige Deckung aller Blätter, damit das Embossingpulver gut haftet.
▶ watch this step (47:00)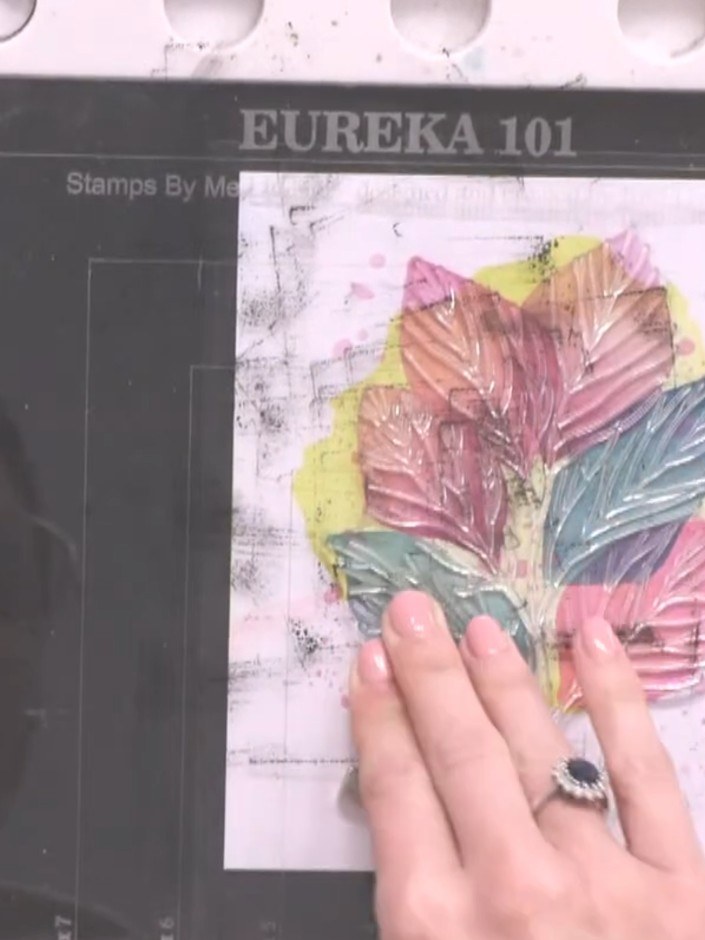
Stemple mit den Stempeln aus dem Set Radiant Poppies den Spruch an der gewünschten Stelle auf deine vorbereitete Karte.
▶ watch this step (47:30)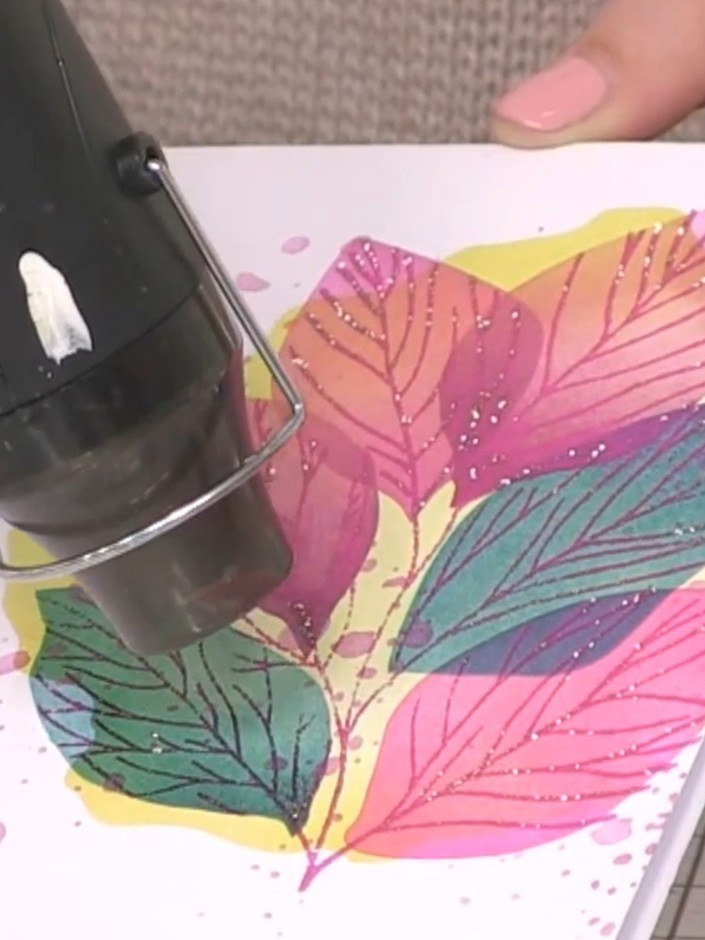
Streu großzügig Embossingpulver in Popping Pink über die noch feuchte Embossing-Stempelfarbe, sodass das gestempelte Motiv komplett bedeckt ist.
▶ watch this step (50:30)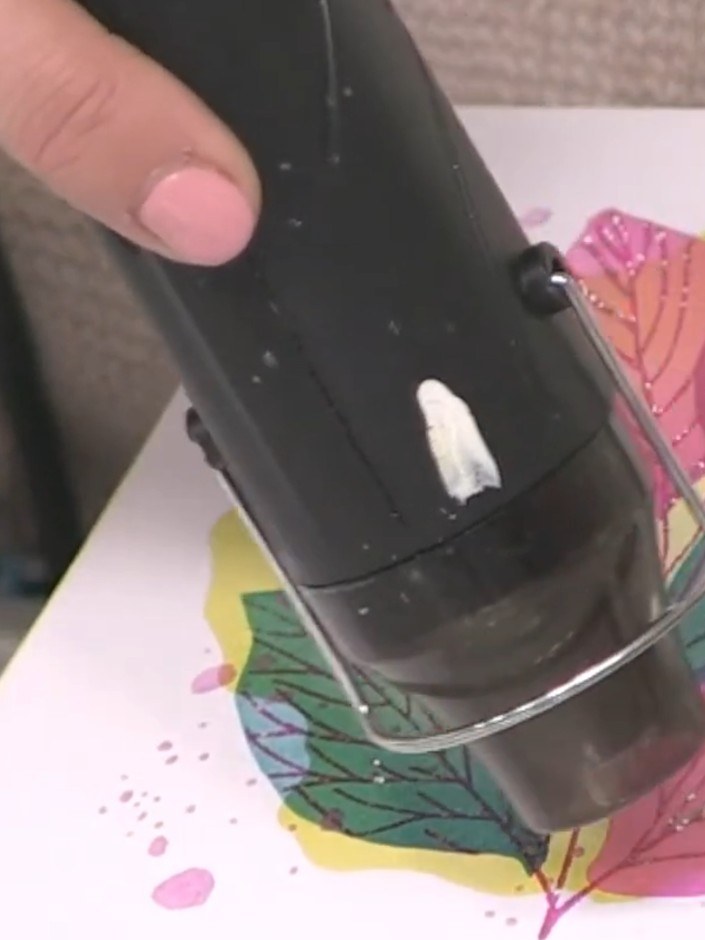
Schmelz das Embossingpulver mit einem Heißluftfön: Halte ihn in sicherem Abstand und bewege ihn über das Motiv, bis das Pulver glänzt und vollständig geschmolzen ist – so entsteht ein erhabenes, glänzendes Finish.
▶ watch this step (50:45)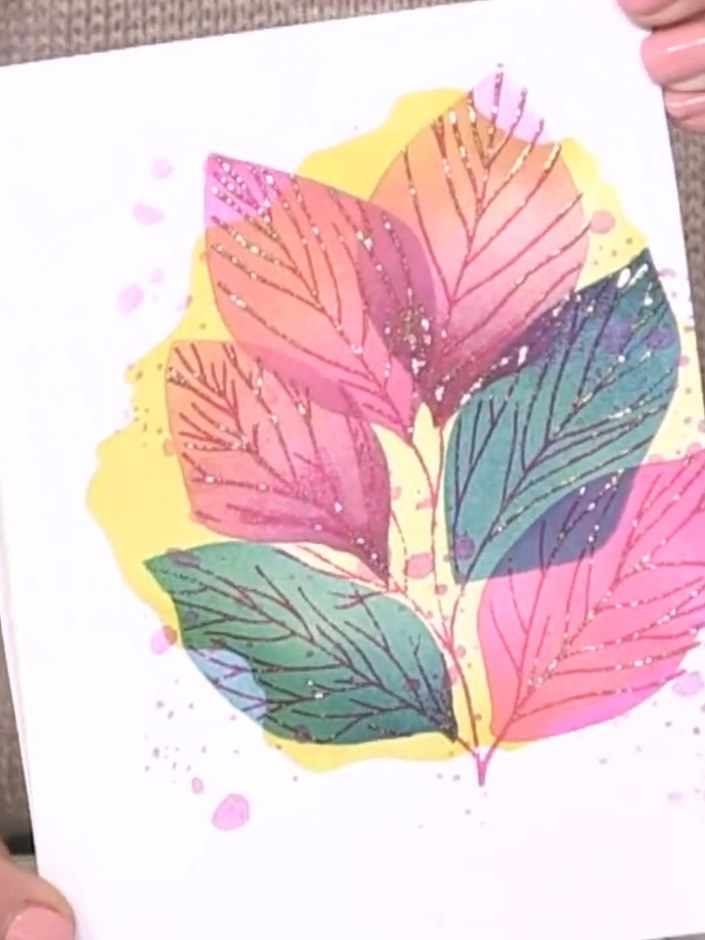
Bürste mit einem weichen Pinsel vorsichtig überschüssiges Embossingpulver von den farbigen Stempelkissen, damit sie sauber bleiben und du sie wieder verwenden kannst.
▶ watch this step (51:30)Direkt aus der Show aufgeschrieben. Alle Anleitungen aus unseren Shows ansehen · kostenlose Anleitungen · live auf My Telly ansehen