Schenke deinen Freundinnen und Freunden 10 € Rabatt auf ihre erste Bestellung!
Freunde WERBEN








Ein Projekt aus unserer Live-Show ONE DAY SPECIAL - Join Toni for her brand new launch - Broadcast 10th Jan 2025 · 10/01/2025 · watch it from 29:15
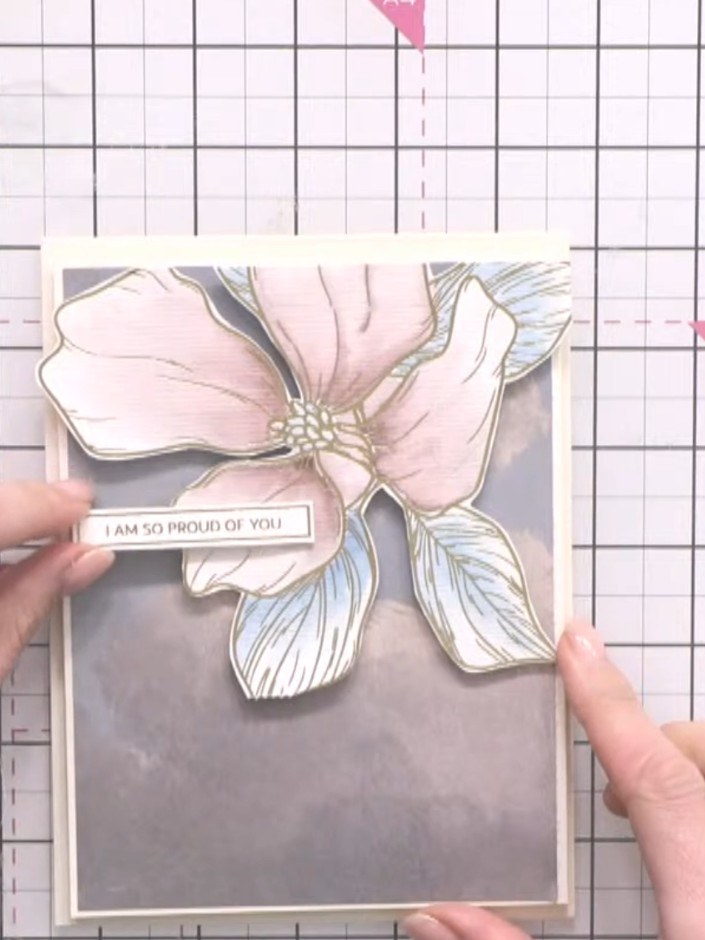
Gestalte eine elegante Karte mit einer wunderschönen heißfolierten Blume mit zarten Blütenblättern und Blättern, von Hand in sanften Rosa- und Cremetönen mit Aquarellfarben auf grauem Hintergrund bemalt. Die Goldfolien-Konturen wirken beim Malen als Reserve – so entsteht ein traumhaftes Blumenmotiv im Vintage-Stil mit dem Spruch 'I am so proud of you'. Dieses Projekt verbindet Heißfolieren und Aquarellmalerei zu einem edlen, vielschichtigen Ergebnis.
 STAMPS BY ME - ALL SURFACES - DAYDREAM & SHADES OF BLUE PAKET - 080125ASEE IT
 STAMPS BY ME - MALBUCH MIT HEISSFOLIENVEREDELUNG - FLORALS - 160223ASEE IT
DIESE ANLEITUNG HERUNTERLADEN (PDF)
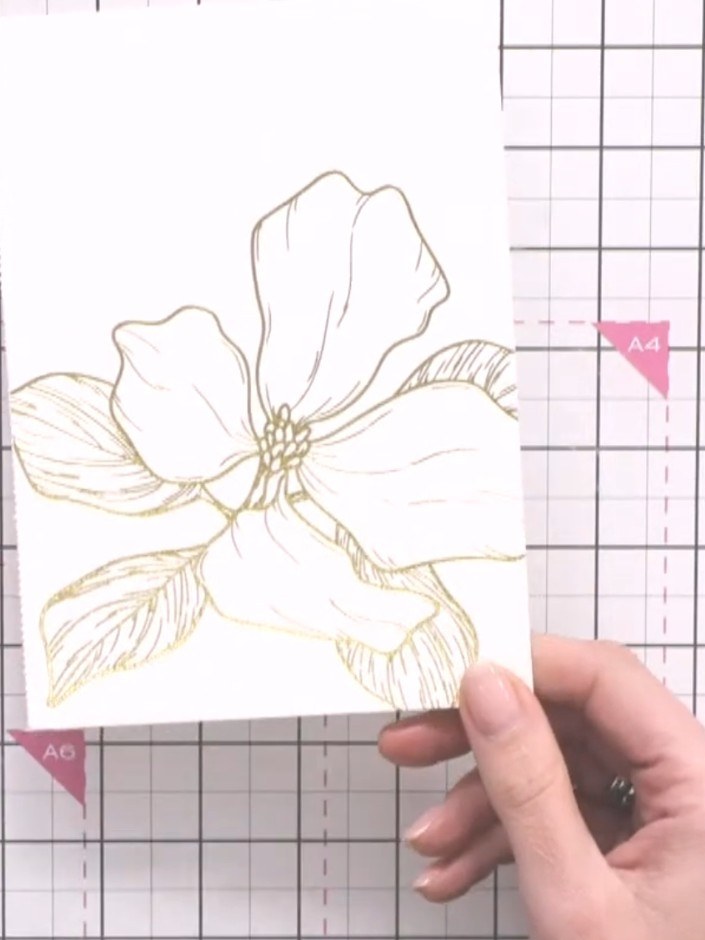
Schneide ein großes Blumenmotiv aus dem heißfolierten Malbuch aus und lass dabei einen kleinen Rand um die goldfolierte Kontur stehen.
▶ watch this step (29:15)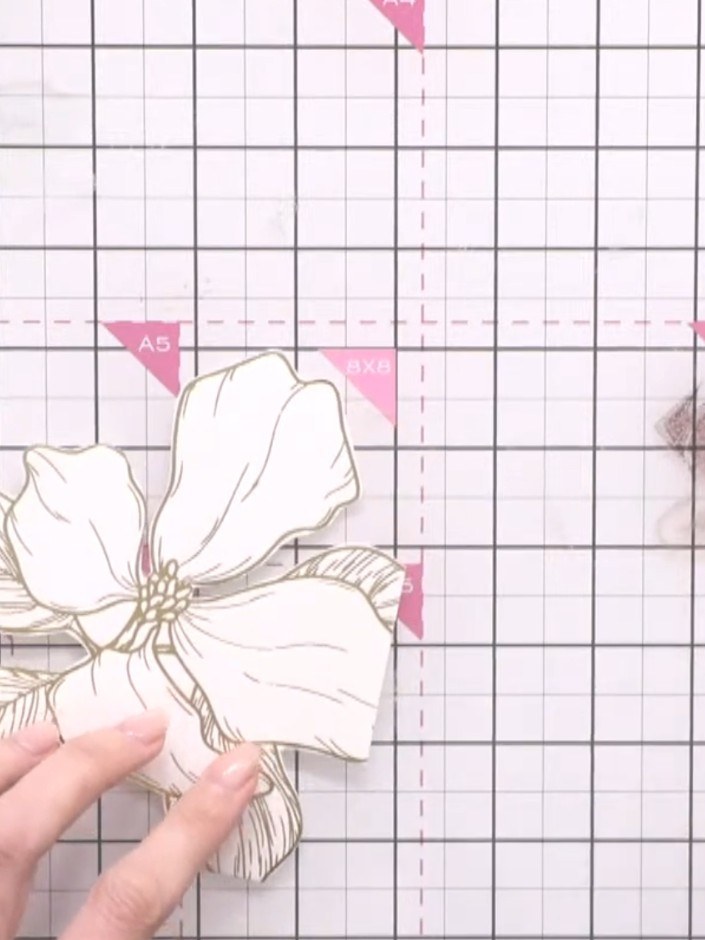
Bereite deine Aquarellpalette mit einer hellen Farbe wie Heather vor. Befeuchte deinen Pinsel mit klarem Wasser, dann kann's losgehen.
▶ watch this step (32:00)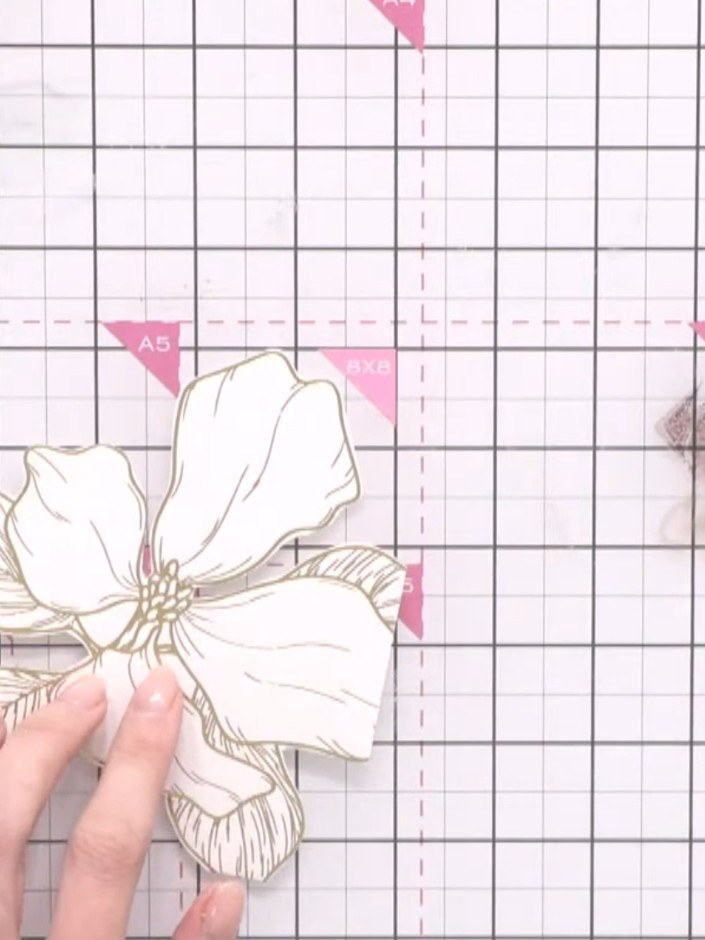
Trag mit dem Pinsel eine ganz zarte Farblasur auf ein Blütenblatt auf. Beginne in der Mitte des Blütenblatts und arbeite mit sanften Strichen nach außen.
▶ watch this step (32:30)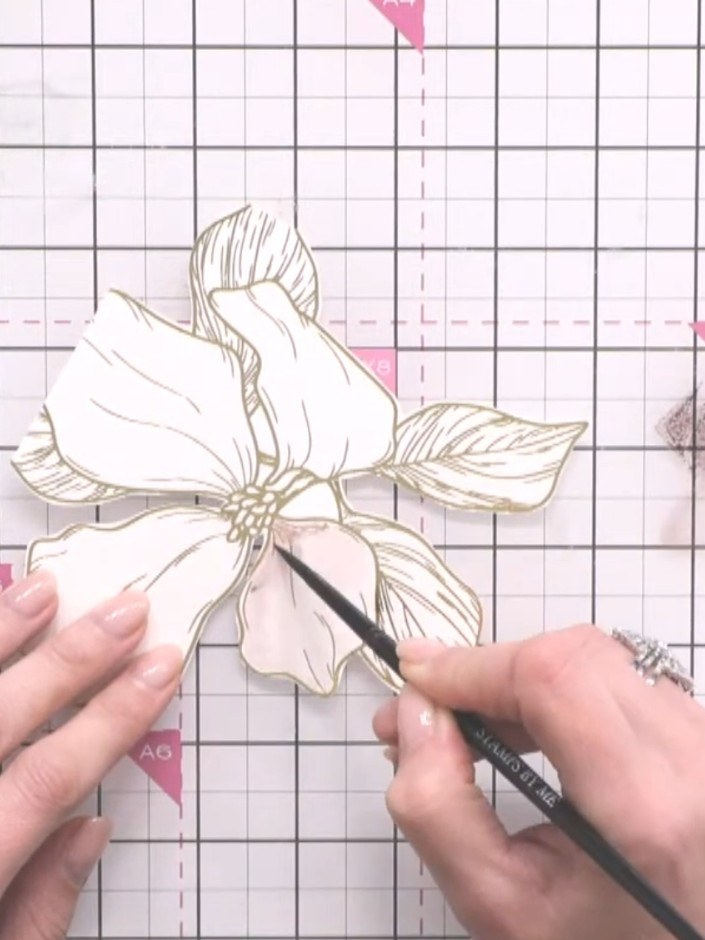
Zieh die Farbe mit einem sauberen, feuchten Pinsel von der Mitte jedes Blütenblatts nach außen, sodass ein weicher Farbverlauf entsteht. Arbeite von der dunkleren Mitte zu den helleren Rändern und reinige deinen Pinsel zwischen den Strichen.
▶ watch this step (33:00)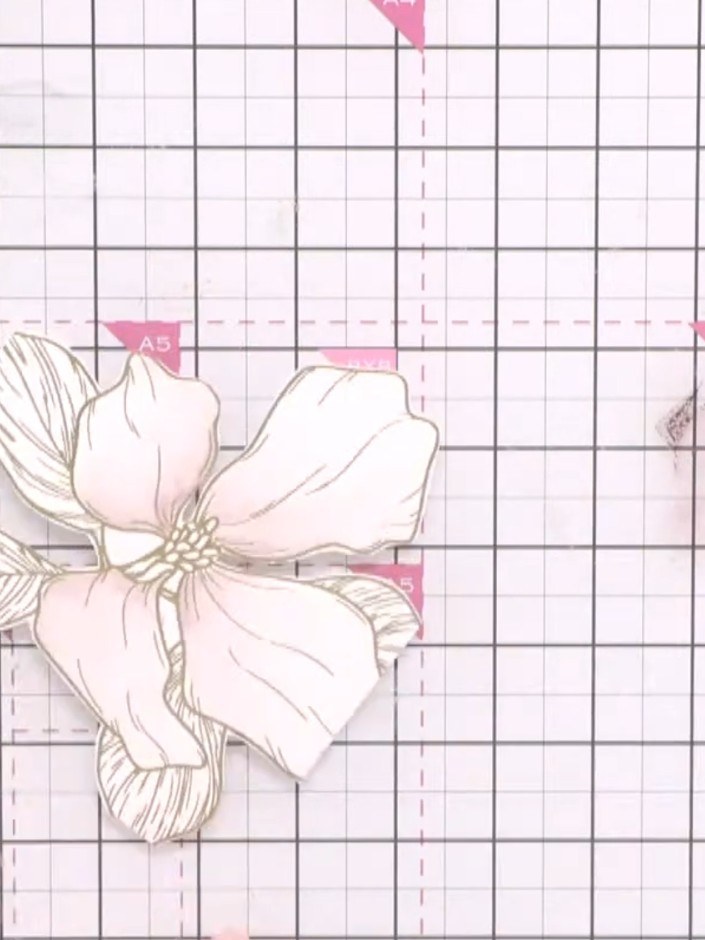
Trag eine zweite Schicht desselben rosa Aquarells auf die Blütenblätter auf und nutze etwas dunklere Töne, um Tiefe und Plastizität aufzubauen. Setz die dunklere Farbe gezielt ein, um Schatten und Form in die Blüte zu bringen.
▶ watch this step (36:00)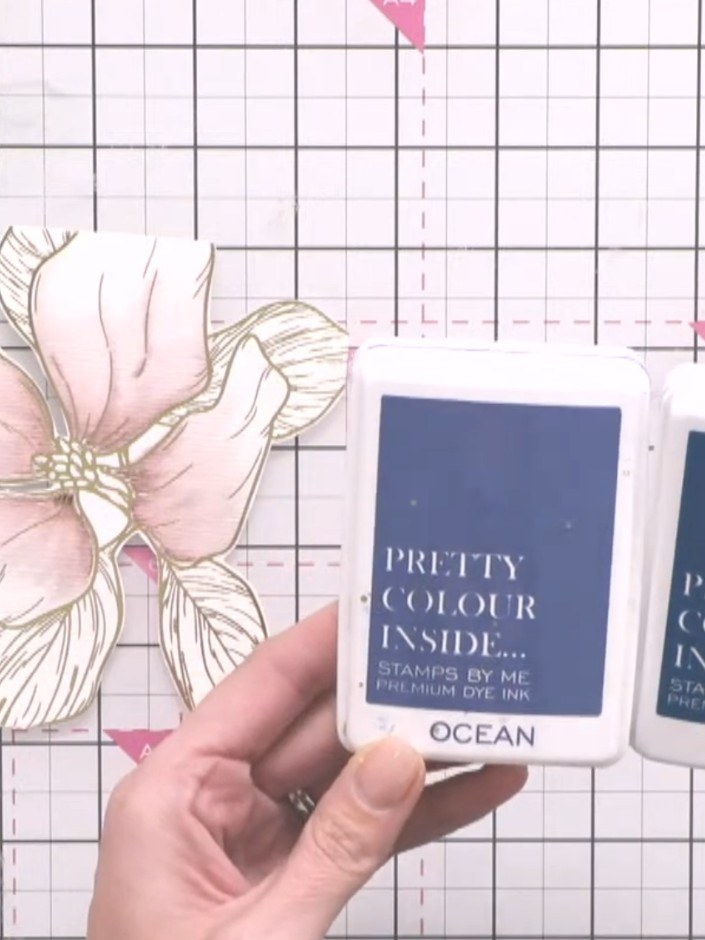
Misch zwei harmonierende Farben wie Ocean und Tiffany zu einem ganz eigenen Farbton, der zu deinem Hintergrundpapier passt. Verbinde die Farben mit einem Pinsel oder Blending-Werkzeug auf deiner Bastelmatte.
▶ watch this step (41:30)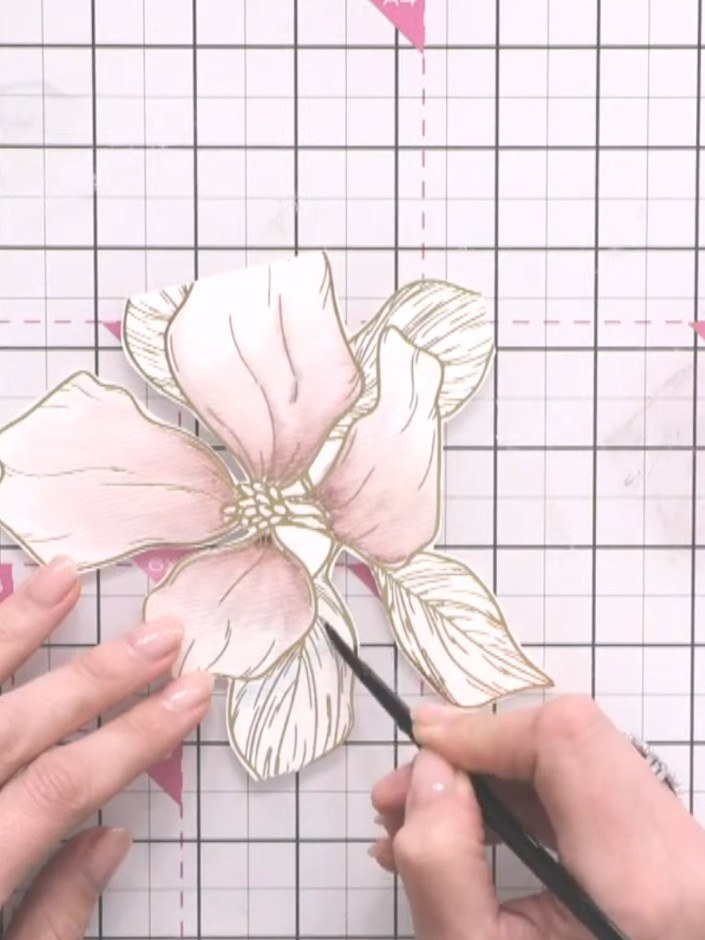
Male die Blätter mit der gemischten hellen Farbe aus und lass die Ränder cremefarben, damit sie sich nicht mit dem rosa Hintergrund beißen.
▶ watch this step (42:00)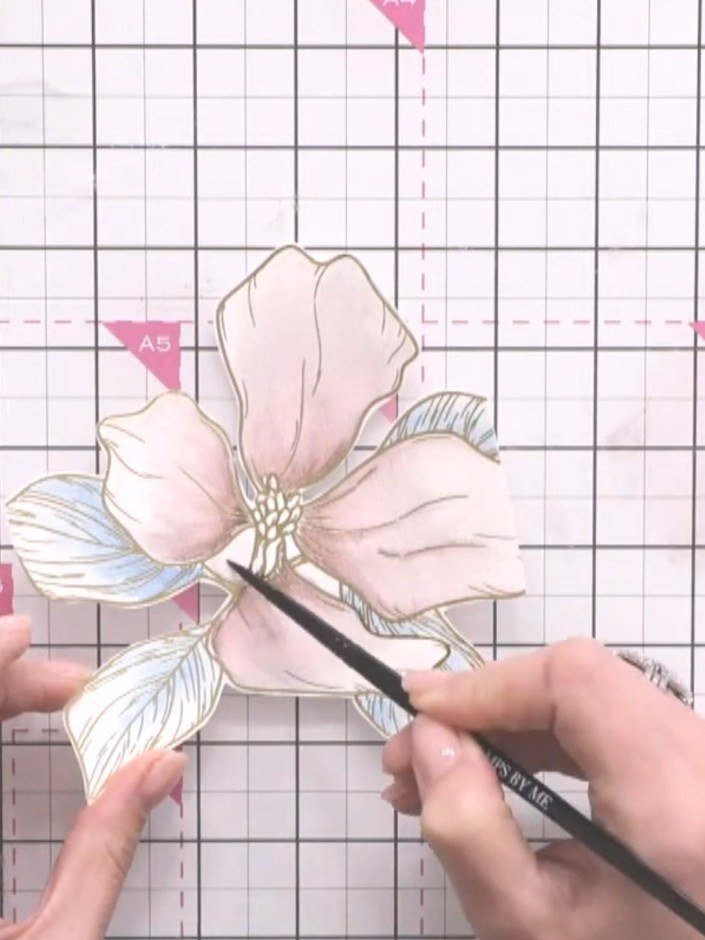
Trag mit Pinsel und Wasser eine ganz zarte Farblasur auf die Mitte der Blütenblätter auf, um harte weiße Stellen abzumildern und einen sanften Verlauf zu schaffen.
▶ watch this step (45:30)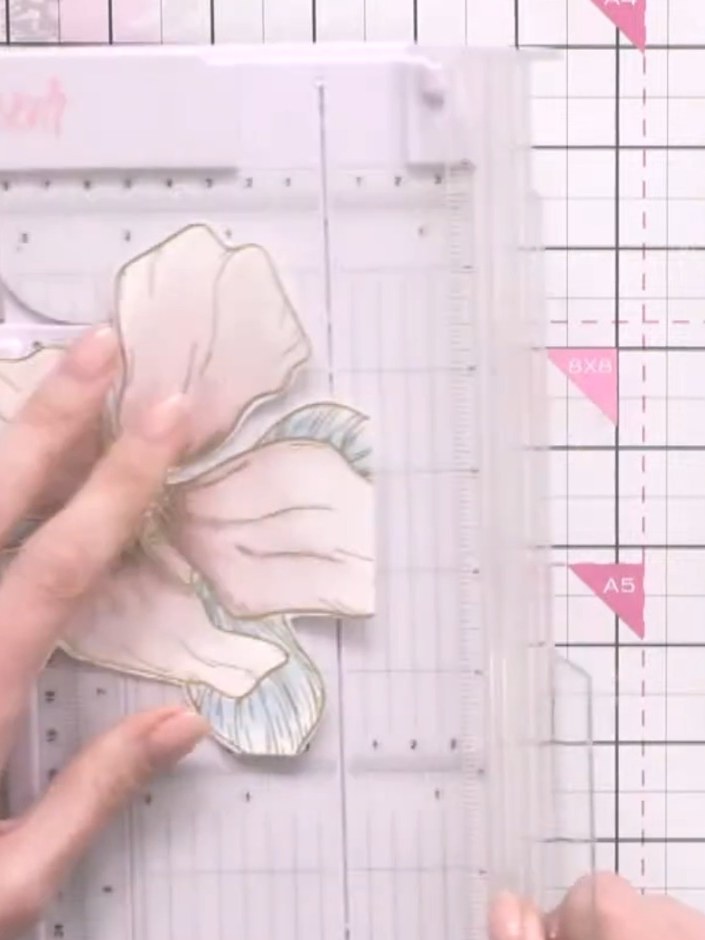
Schneide das bemalte Blumenmotiv nach, um harte weiße Linien vom Ausschneiden zu entfernen. Schneide mit einer Schere oder einem Bastelmesser vorsichtig an den Rändern des folierten Blumenmotivs entlang.
▶ watch this step (51:15)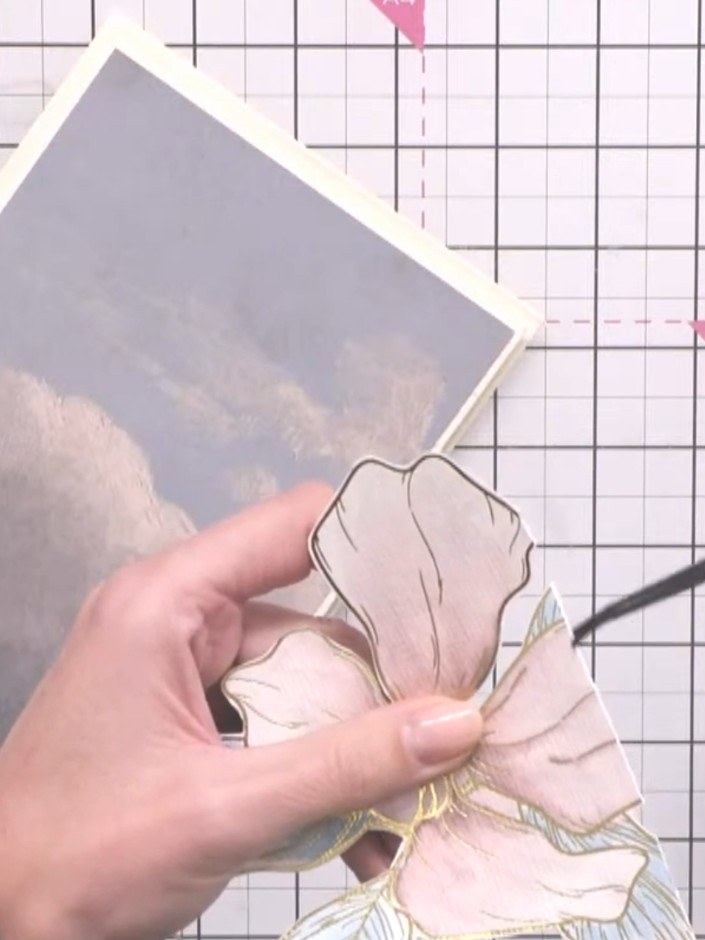
Kleb die kolorierte Blume auf eine cremefarbene Mattierungsebene. Setz das Ganze dann auf dein passendes Hintergrundpapier – fertig ist die Kartenvorderseite.
▶ watch this step (52:00)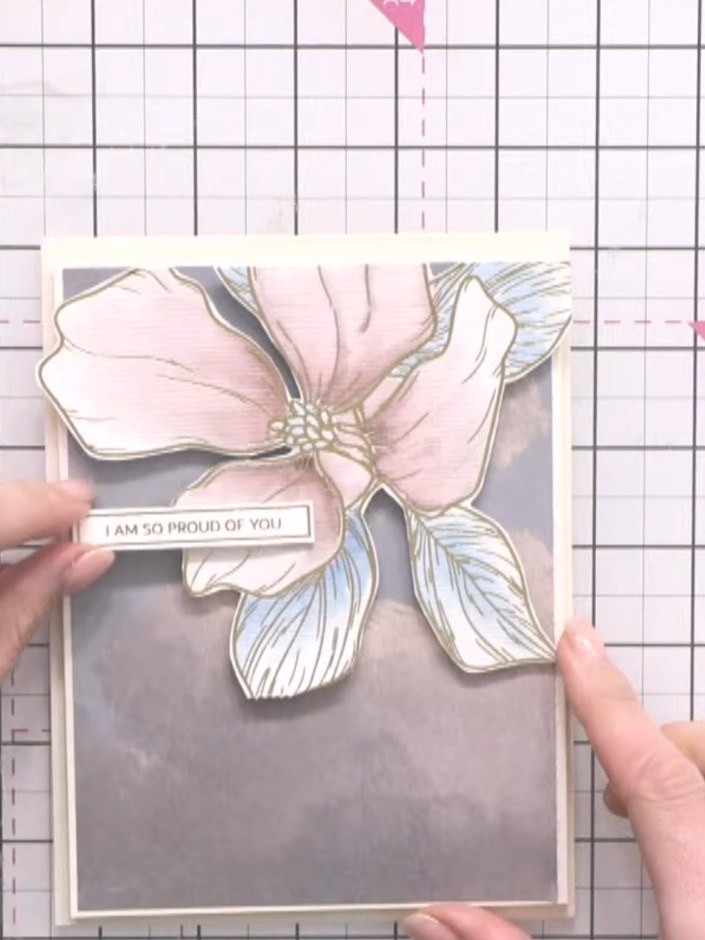
Füge einen Spruch von der Rückseite des Malbuchs hinzu, zum Beispiel 'I am so proud of you', und befestige ihn mit doppelseitigem Klebeband oder Abstandspads auf der Kartenvorderseite.
▶ watch this step (55:30)Direkt aus der Show aufgeschrieben. Alle Anleitungen aus unseren Shows ansehen · kostenlose Anleitungen · live auf My Telly ansehen