Schenke deinen Freundinnen und Freunden 10 € Rabatt auf ihre erste Bestellung!
Freunde WERBEN








Ein Projekt aus unserer Live-Show ONE DAY SPECIAL - Join Toni for her brand new launch - Broadcast 4th Jan 2025 · 04/01/2025 · watch it from 40:30
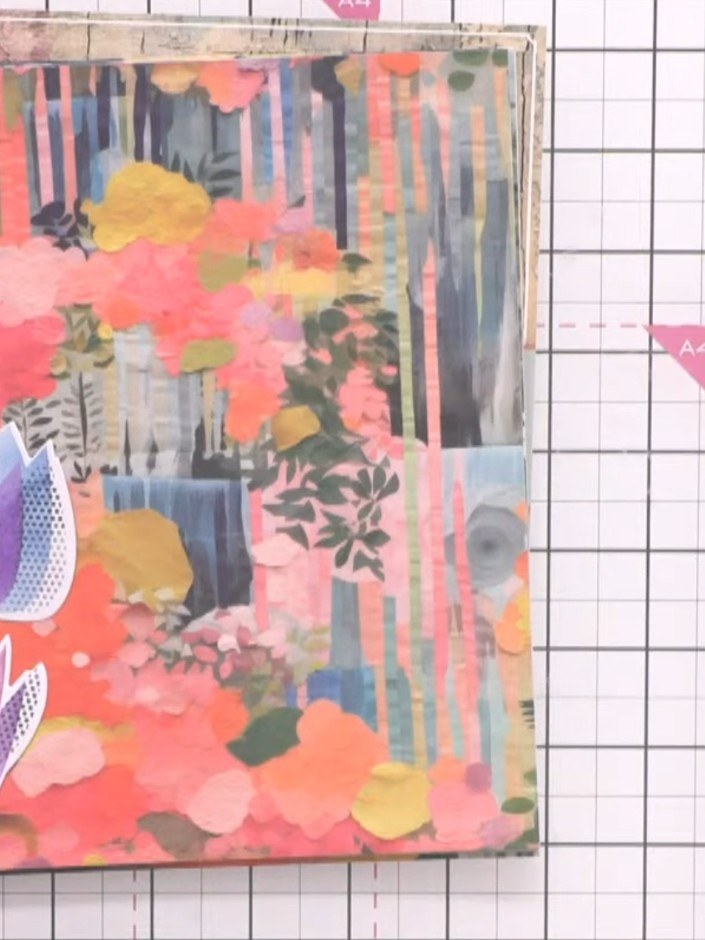
Gestalte eine traumhafte Schichtkarte mit eleganten lila Tulpen in einem Punkt- und Linienmuster. Die Tulpen stehen vor einem farbenfrohen, abstrakten Blumenhintergrund in Koralle, Rosa, Gelb und Grau. Bei diesem Projekt nutzt du eine detailreiche Schablonentechnik, mit der du Schicht für Schicht wunderschöne Tiefe und Struktur aufbaust.
DIESE ANLEITUNG HERUNTERLADEN (PDF)
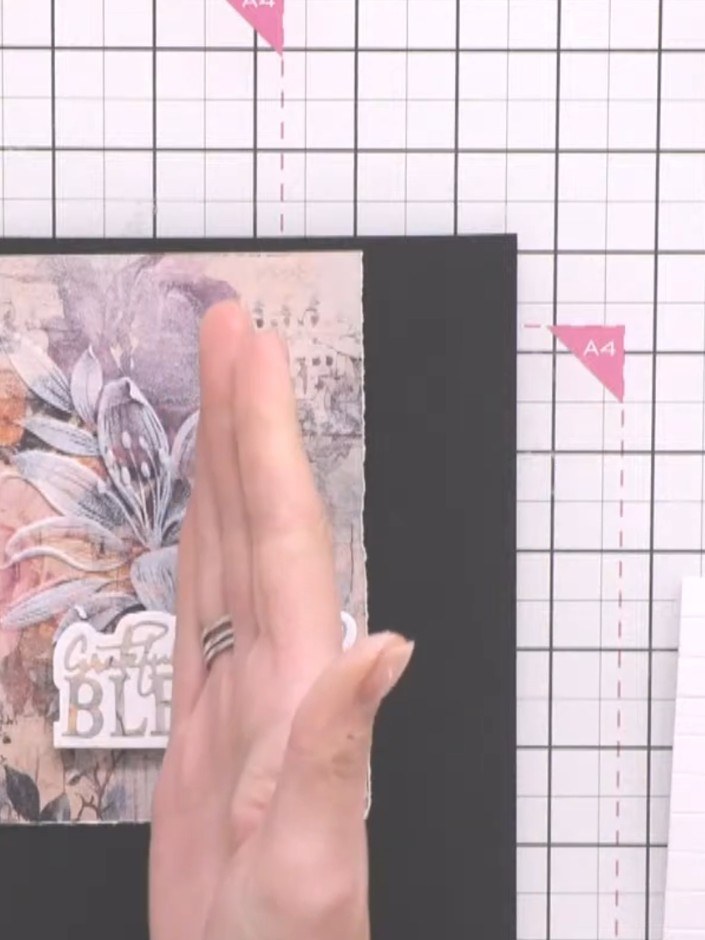
Nimm ein Stück weißen Cardstock als Basis. Klebe ein dekoratives Panel mit dem Dotted-Tulips-Motiv auf einen dunkelgrauen Kartenrohling.
▶ watch this step (40:30)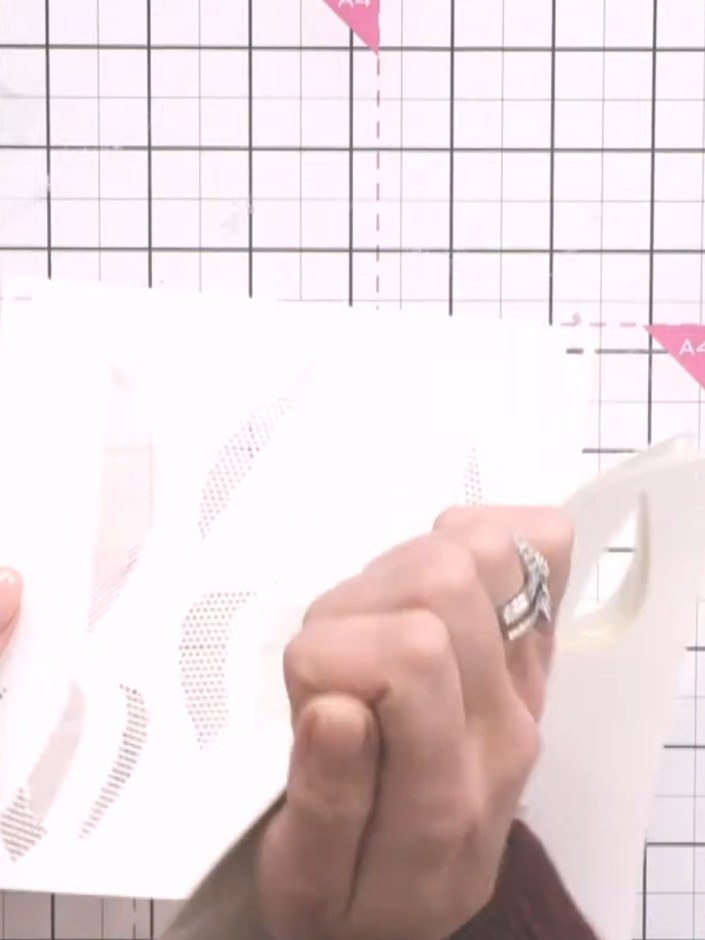
Such dir Schablone Nummer eins aus dem Dotted Tulips Set aus und lege sie auf deiner Bastelmatte an der Kante deines Kartenrohlings an.
▶ watch this step (41:00)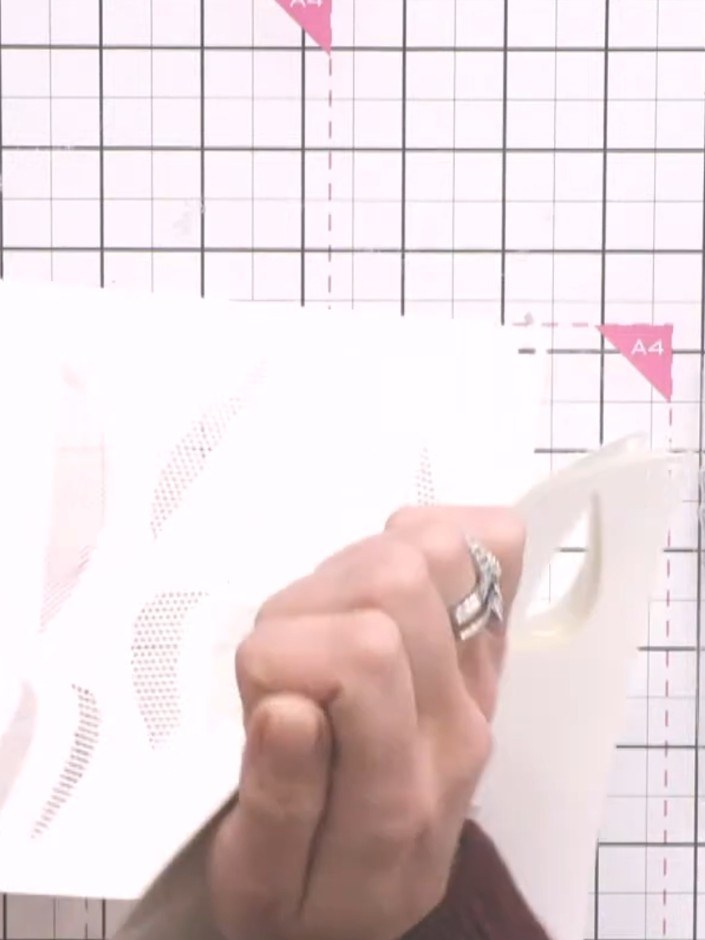
Nimm jetzt Schablone Nummer zwei aus dem Dotted Tulips Set. Richte sie an der Kante deiner Karte aus, sodass sie genau zur ersten Schicht passt.
▶ watch this step (42:00)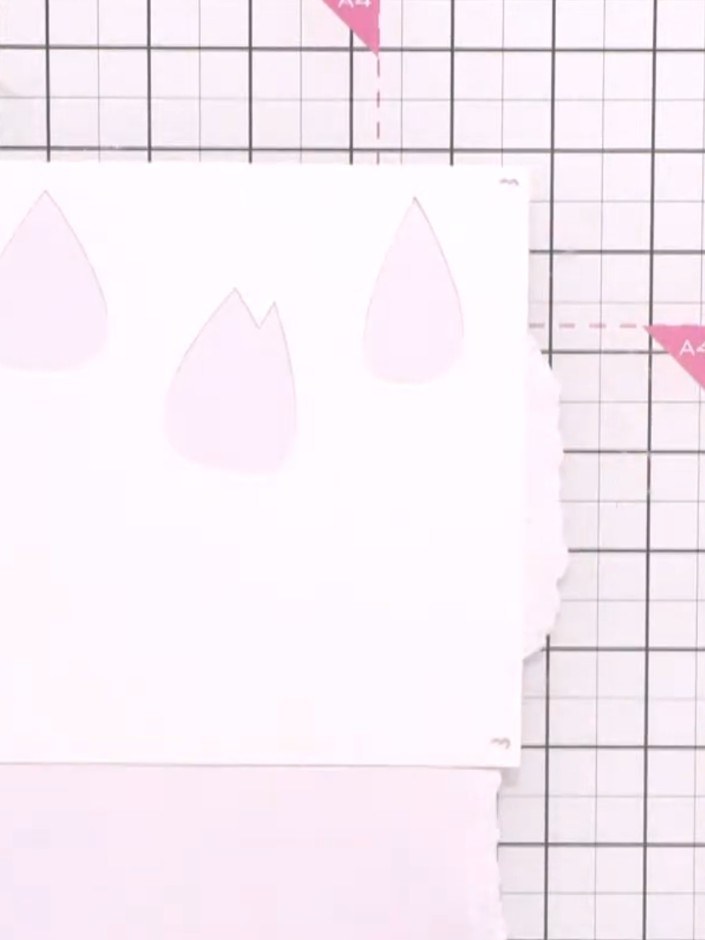
Leg die Schablone auf deinen Kartenrohling und trage deine zweite Farbe durch die Schablone auf – achte darauf, dass jede Schicht genau zur vorherigen passt. Mit einem Blending-Tool oder Schwämmchen verteilst du die Stempelfarbe schön gleichmäßig durch die Öffnungen.
▶ watch this step (42:30)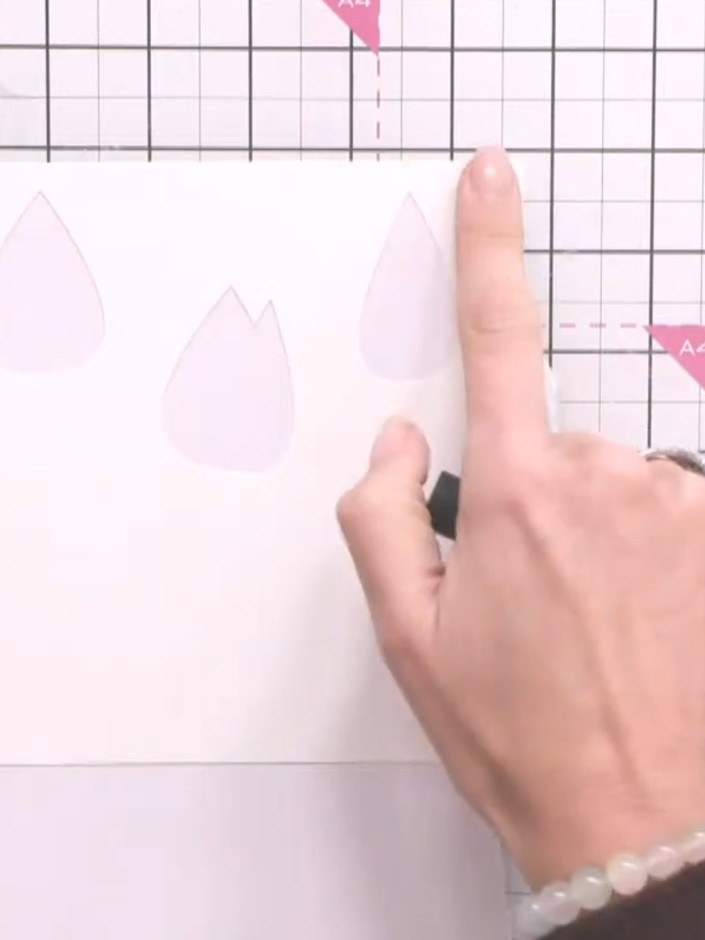
Schichte nun die restlichen Schablonen aus dem Dotted Tulips Set nacheinander und nimm dafür verschiedene Farben – so baust du Stück für Stück das komplette Tulpenmotiv auf deiner Karte auf.
▶ watch this step (43:00)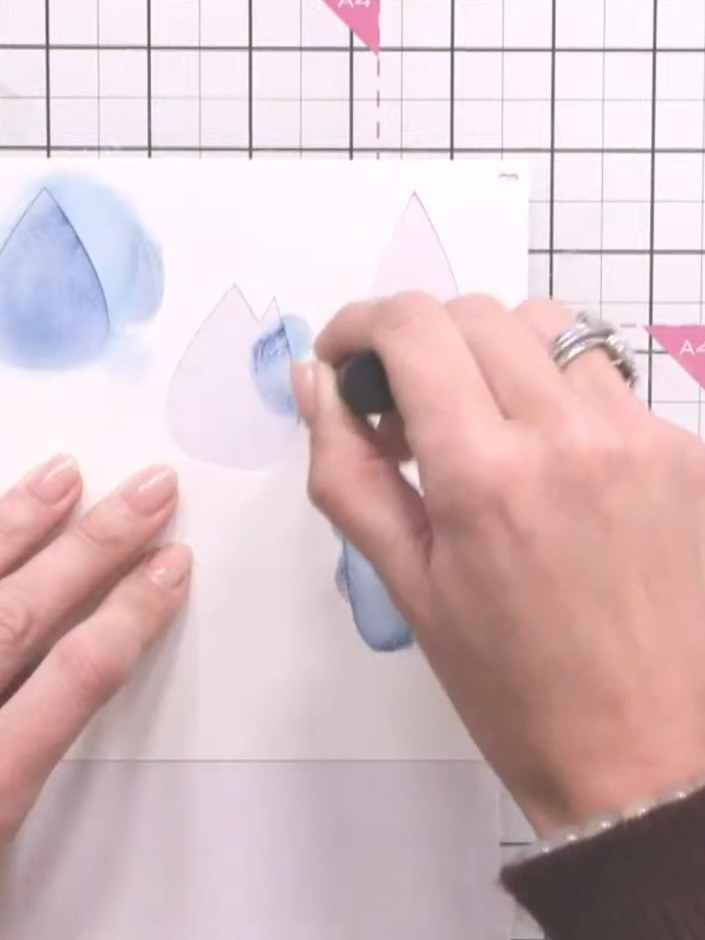
Trage Embossing-Stempelfarbe durch eine der Tulpenschablonen auf deine Karte auf. Streu Embossingpulver über die eingefärbte Stelle und erhitze es mit dem Heißluftfön – so entstehen erhabene, plastische Details.
▶ watch this step (43:30)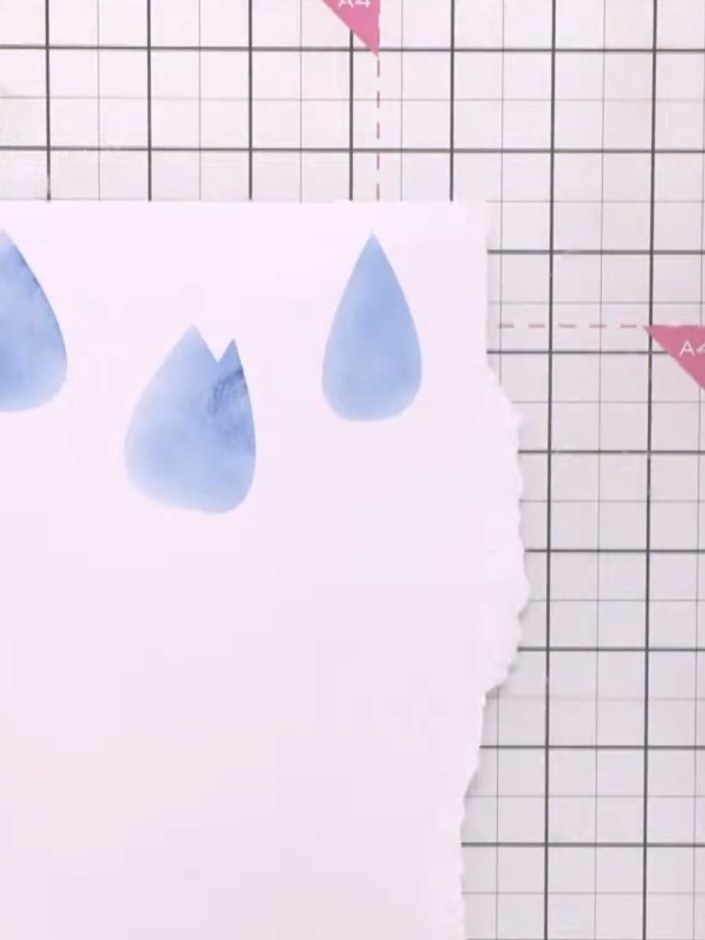
Stanze mit den Umriss-Stanzschablonen aus dem Dotted Tulips Set einen Rahmen für dein schabloniertes Motiv aus – das gibt deiner Karte noch mehr Tiefe.
▶ watch this step (44:00)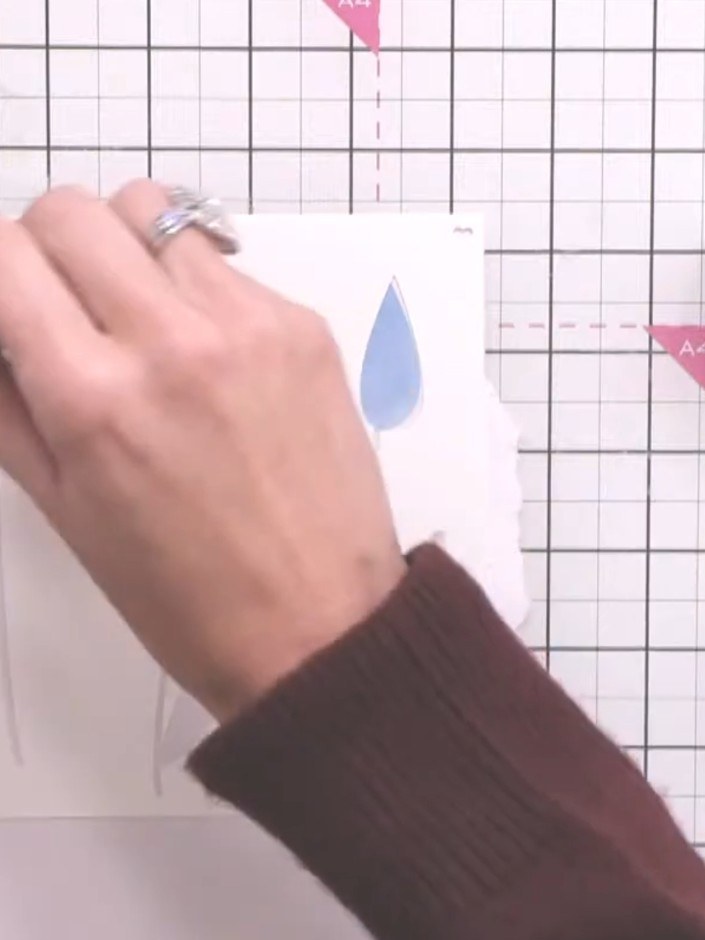
Klebe das fertige Tulpenmotiv mit Kleber auf deinen Kartenrohling. Streich es vorsichtig glatt, damit alles gut hält.
▶ watch this step (44:30)Direkt aus der Show aufgeschrieben. Alle Anleitungen aus unseren Shows ansehen · kostenlose Anleitungen · live auf My Telly ansehen
