Schenke deinen Freundinnen und Freunden 10 € Rabatt auf ihre erste Bestellung!
Freunde WERBEN








Ein Projekt aus unserer Live-Show ONE DAY SPECIAL - Join Toni for her brand new release - Broadcast 23rd August 24 · 23/08/2024 · watch it from 24:30
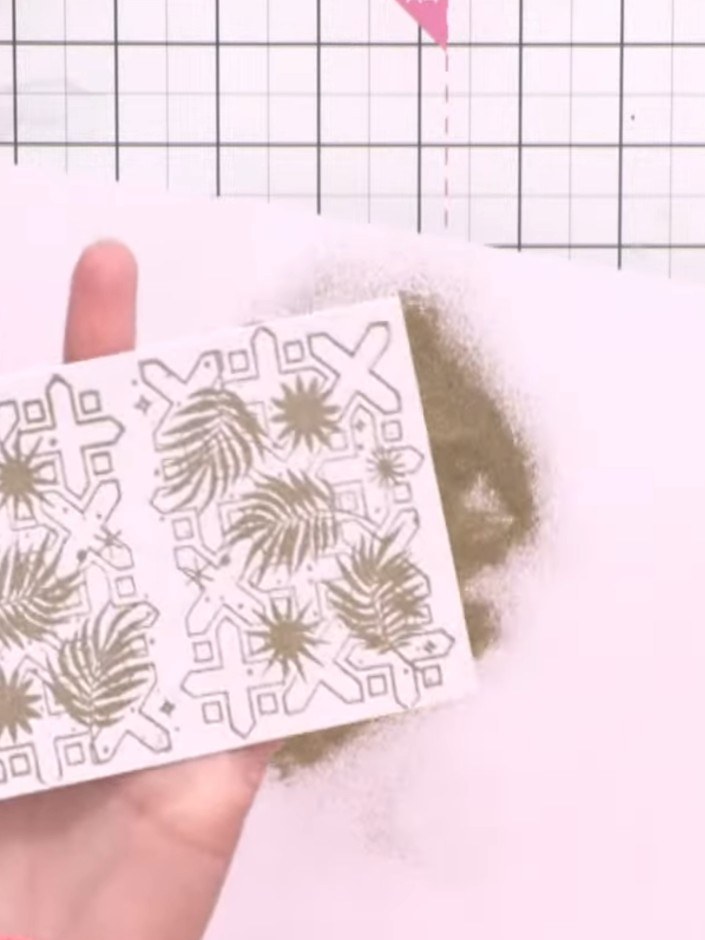
Gestalte einen traumhaften dekorativen Hintergrund mit abstrakten Kachelstempeln und goldenem Embossingpulver, ergänzt durch eine Aquarell-Lasur in Petrol und Rosa. Die gold embossten Bereiche stoßen die Aquarellfarbe ab – so entstehen ein wunderschöner Kontrast und tolle Tiefe. Diese Technik verbindet Heißembossing mit Aquarellmalerei und sorgt für ein elegantes, modernes Finish.
 STEMPEL - ABSTRACT TILES - 240424LSEE IT
 STAMPS BY ME - PREMIUM HYBRID STEMPELFARBE - MIDNIGHT - 121022NSEE IT
 STAMPS BY ME - WEISSE KARTENROHLINGE & UMSCHLÄGE 6 X 8 - 240323FSEE IT
DIESE ANLEITUNG HERUNTERLADEN (PDF)
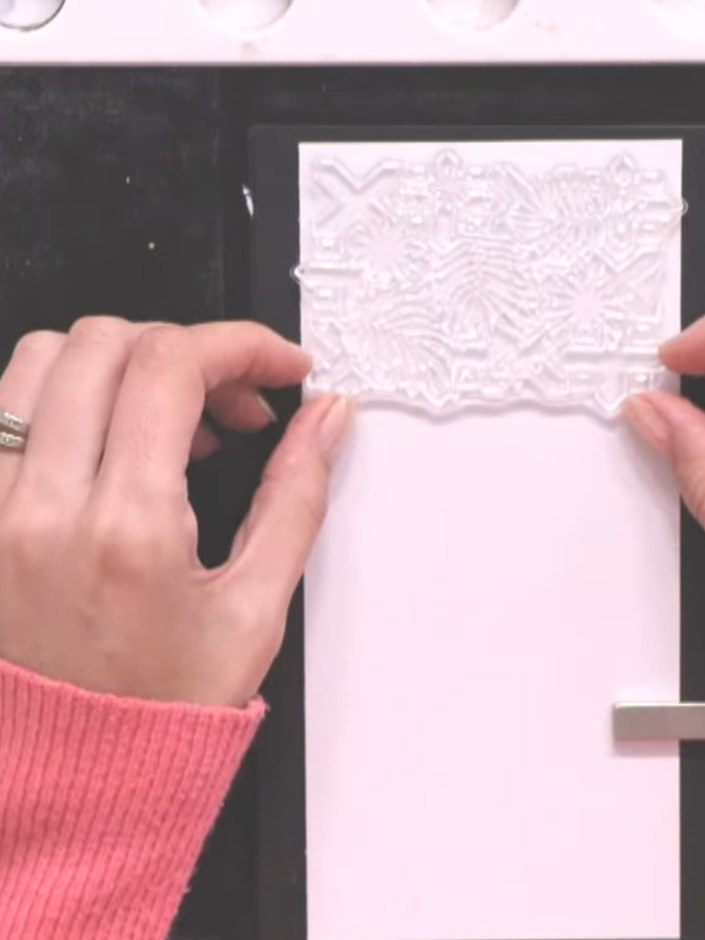
Wisch vor dem Stempeln mit einem Antistatikbeutel über deinen weißen Kartenzuschnitt, damit keine statische Aufladung mehr drauf ist.
▶ watch this step (24:45)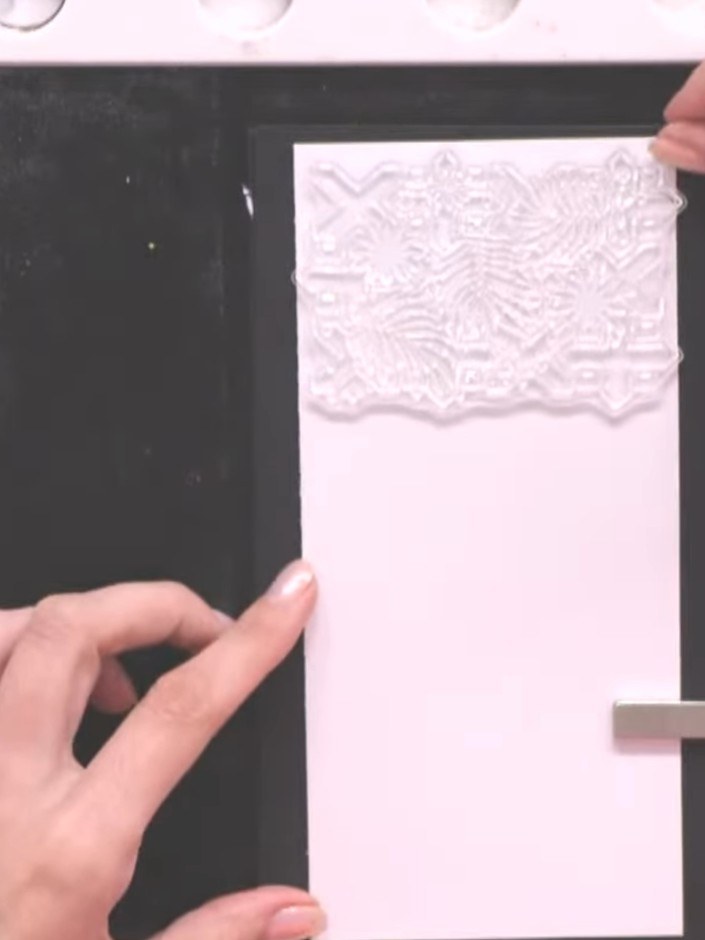
Färbe den Abstract Tiles Stempel mit der Hybrid-Stempelfarbe Midnight ein. Setz den Stempel auf den weißen Kartenrohling und drück ihn fest an, damit sich das Motiv schön überträgt.
▶ watch this step (25:00)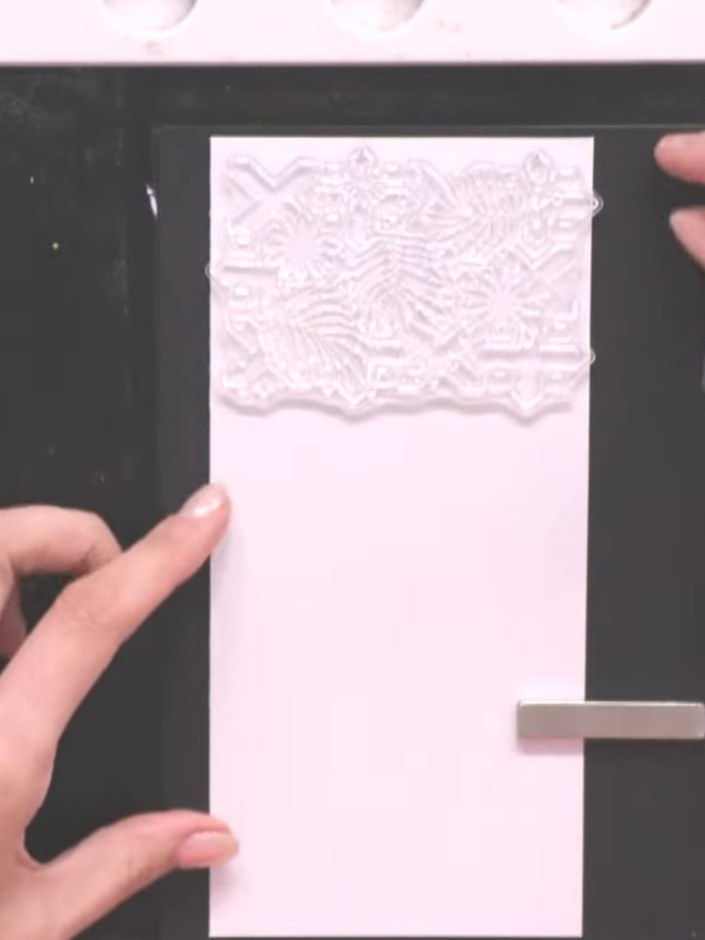
Setz den Abstract Tiles Stempel mittig oben auf deinen weißen Kartenzuschnitt. Färbe den Stempel mit der Hybrid-Stempelfarbe Midnight ein und drück ihn fest an, damit oben ein klares Kachelmuster zum Embossen entsteht.
▶ watch this step (25:15)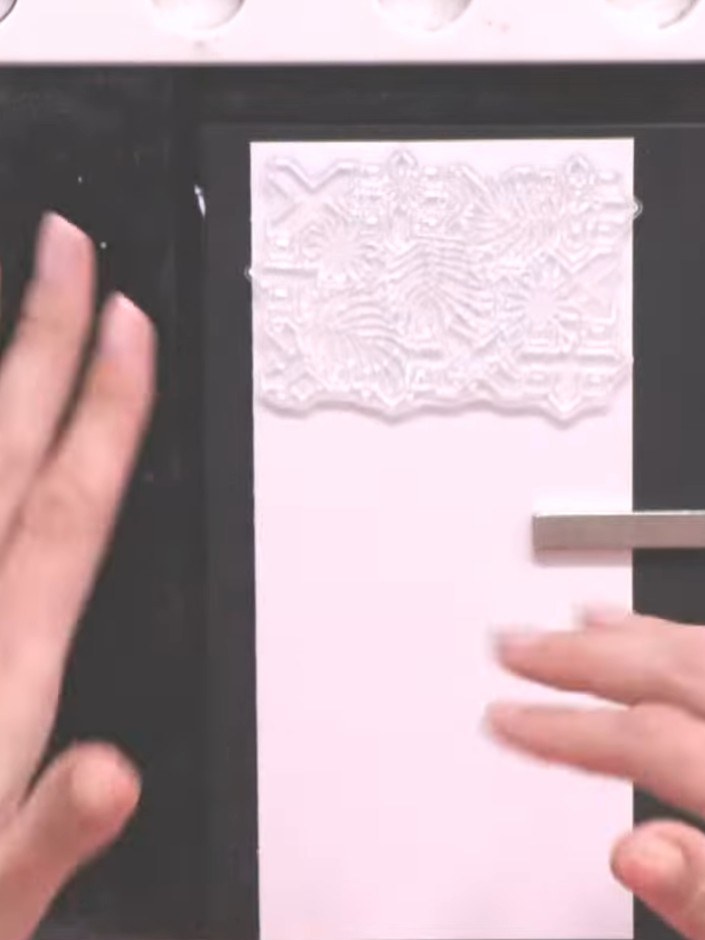
Stempel dasselbe abstrakte Kachelmotiv mit der Hybrid-Stempelfarbe Midnight unten auf den weißen Kartenzuschnitt und achte darauf, dass der Abstand zum ersten Abdruck gleichmäßig ist.
▶ watch this step (25:30)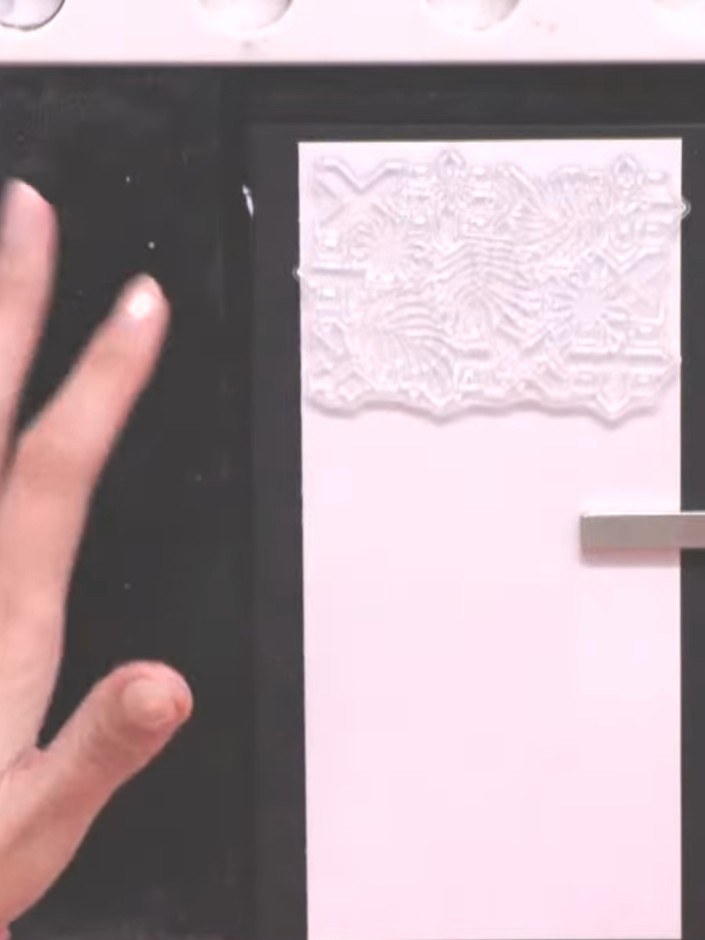
Stempel das Kachelmotiv mit der Stempelfarbe Midnight noch einmal in die Mitte der Karte, so bekommst du drei gleichmäßig verteilte Felder.
▶ watch this step (25:45)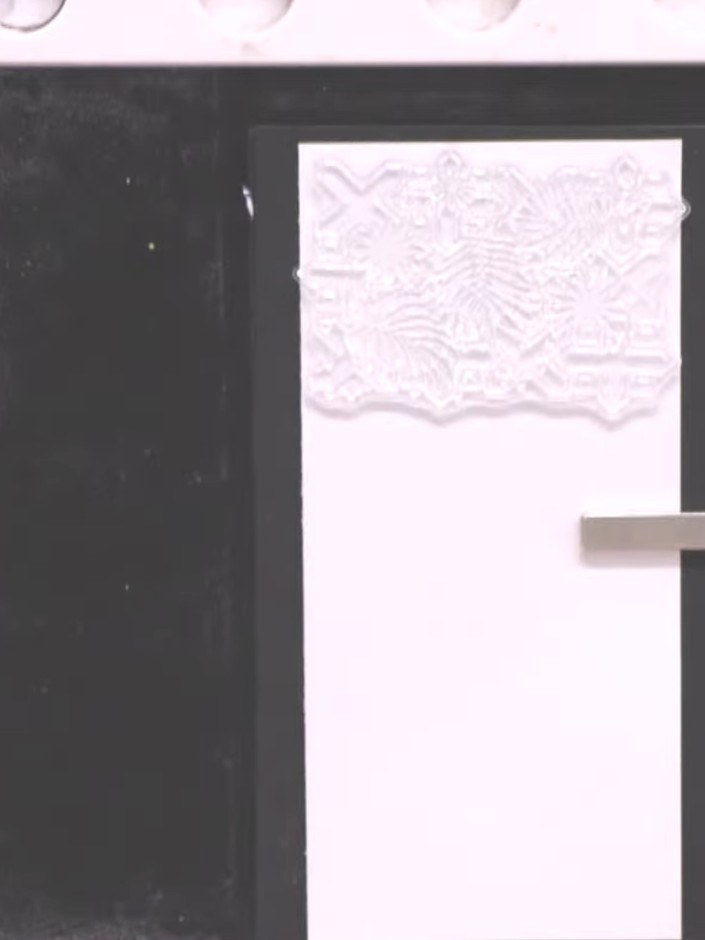
Streu großzügig goldenes Embossingpulver über die noch feuchten Abdrücke, sodass alle Details bedeckt sind. Klopf das überschüssige Pulver ab.
▶ watch this step (26:00)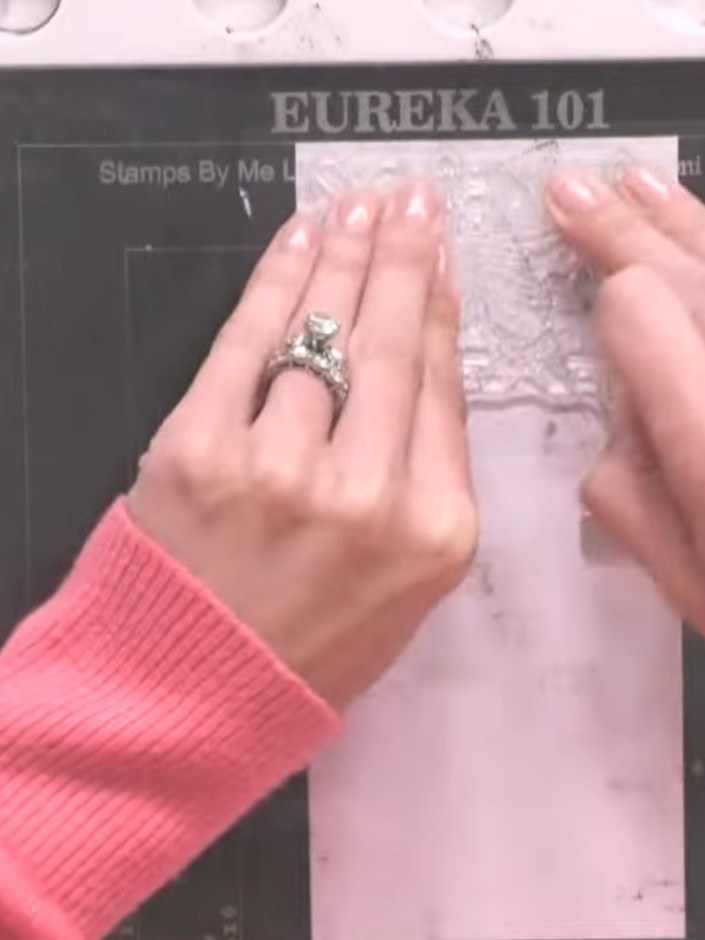
Klopf das überschüssige Embossingpulver von der weißen Karte zurück ins Döschen – so verschwendest du nichts und bekommst ein sauberes Ergebnis.
▶ watch this step (26:15)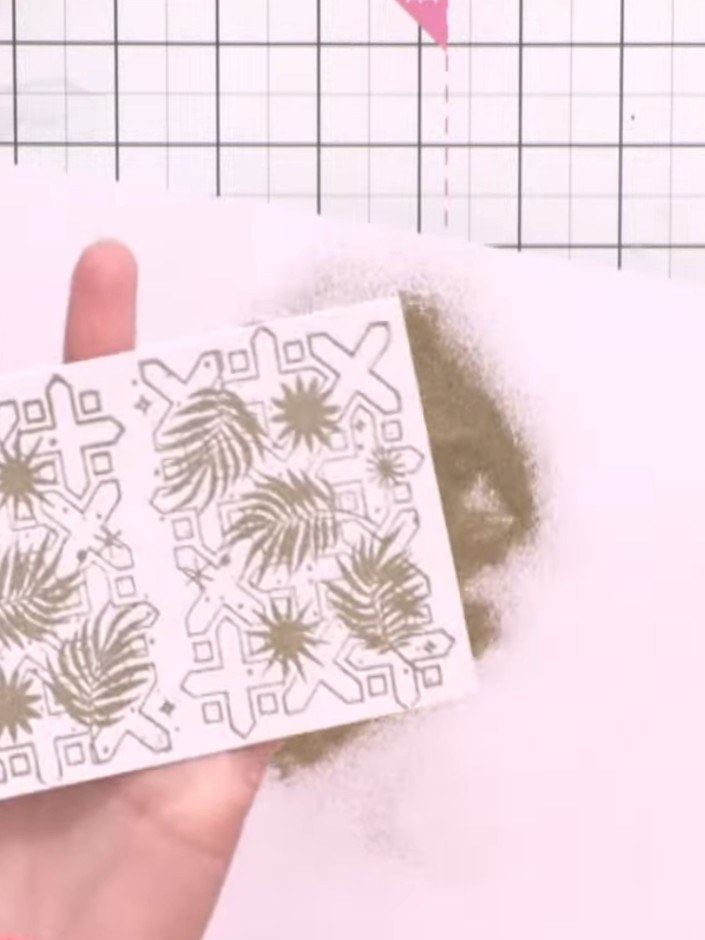
Schmilz das Embossingpulver mit dem Heißluftfön, indem du ihn über die Karte bewegst, bis das Pulver geschmolzen ist und schön metallisch glänzt.
▶ watch this step (30:45)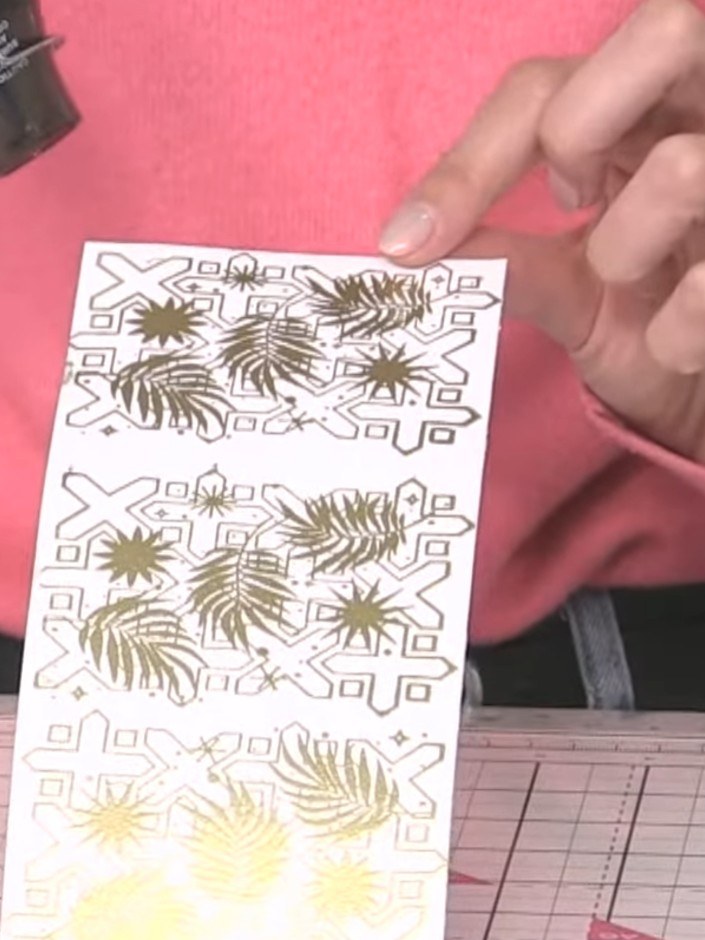
Drück etwas petrolfarbene Stempelfarbe auf eine Keramikmatte und besprüh sie mit Wasser, sodass eine kleine Farbpfütze entsteht.
▶ watch this step (33:00)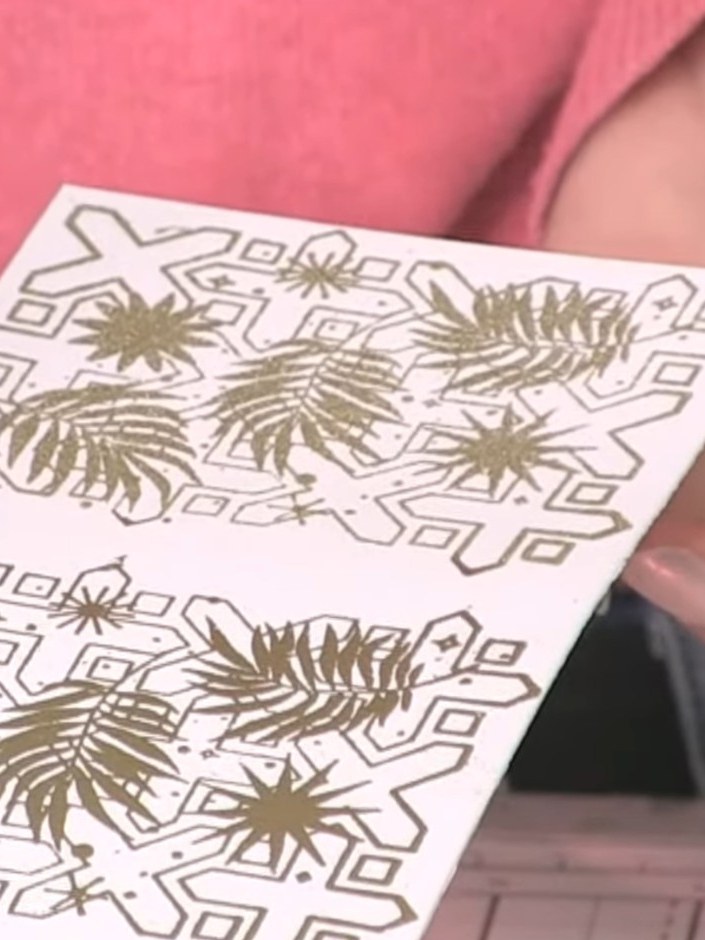
Tauch die Kante deiner embossten Karte in die petrolfarbene Aquarellpfütze und lass die Farbe über die embossten Bereiche laufen und ineinanderfließen.
▶ watch this step (33:15)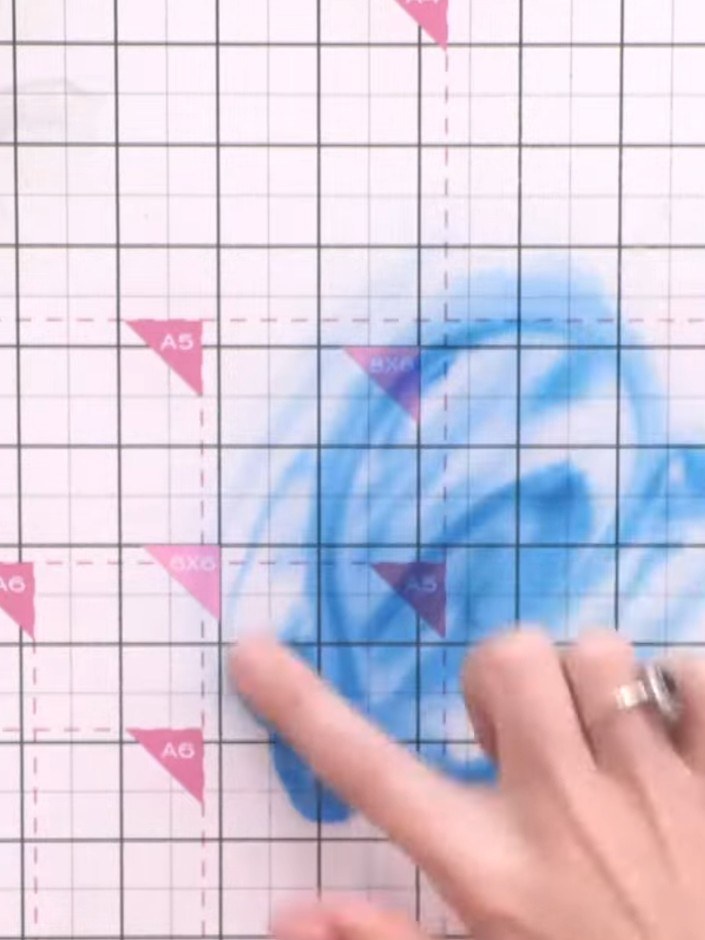
Trag mit derselben Technik rosa Stempelfarbe auf einen anderen Bereich der Karte auf. Lass zwischen den farbigen Flächen etwas Weiß frei – das sorgt für Kontrast und Leichtigkeit.
▶ watch this step (33:45)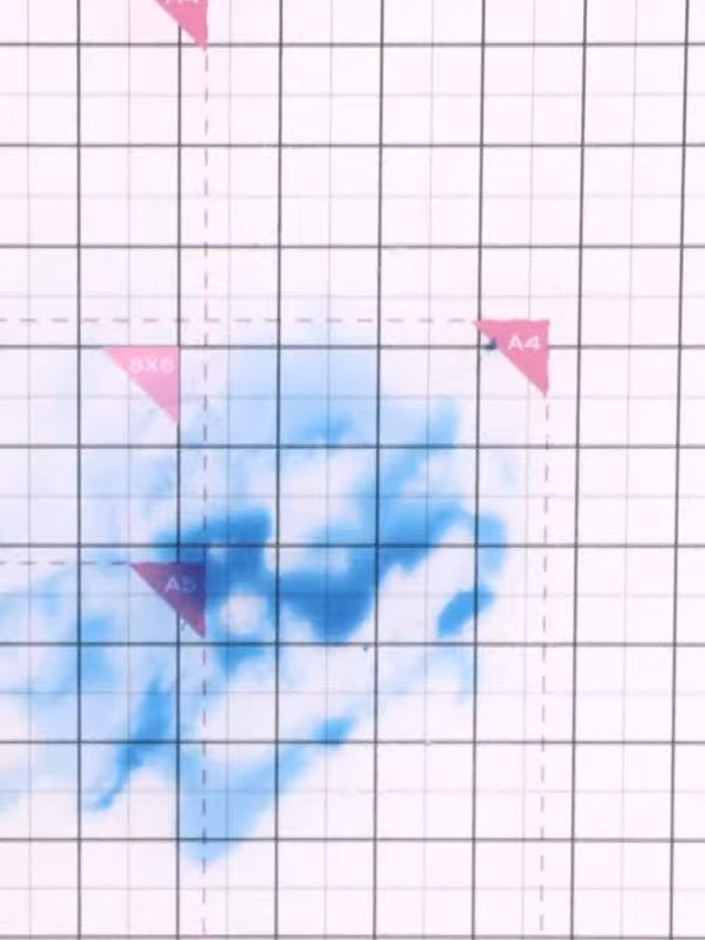
Lass die aquarellierte Karte komplett trocknen, bevor du sie als Hintergrund verwendest oder für deine Projekte in einzelne Panels schneidest.
▶ watch this step (34:30)Direkt aus der Show aufgeschrieben. Alle Anleitungen aus unseren Shows ansehen · kostenlose Anleitungen · live auf My Telly ansehen