Schenke deinen Freundinnen und Freunden 10 € Rabatt auf ihre erste Bestellung!
Freunde WERBEN








Ein Projekt aus unserer Live-Show THE ART OF CARDISTRY - Join me for my Creative Card Session with all my wonderful USA following - Broadcast 30th Oct 23 · 30/10/2023 · watch it from 14:00
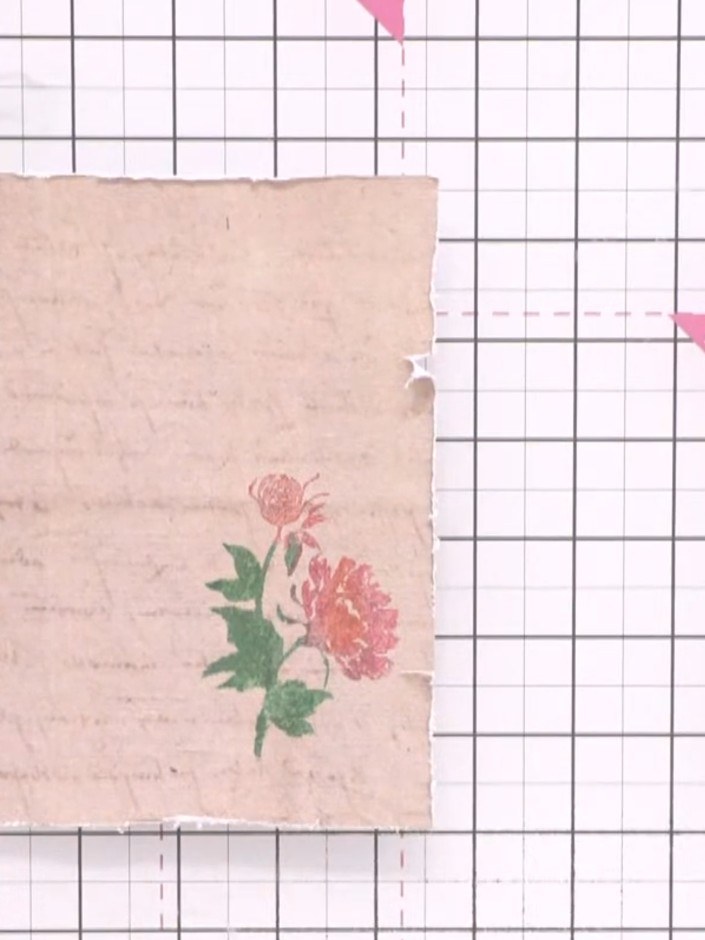
Gestalte eine wunderschöne Karte im Vintage-Stil mit zarten rosa Chrysanthemen auf gealtertem Kraftpapier. Mit einem zweiteiligen Layering-Stempelsystem zauberst du einen tollen gemalten Aquarelleffekt mit eingerissenen Kanten und einem authentischen Used-Look. Diese verzeihende Technik kommt ganz ohne Pinsel aus und ist damit perfekt, um ganz einfach Ergebnisse wie vom Profi zu erzielen.
DIESE ANLEITUNG HERUNTERLADEN (PDF)
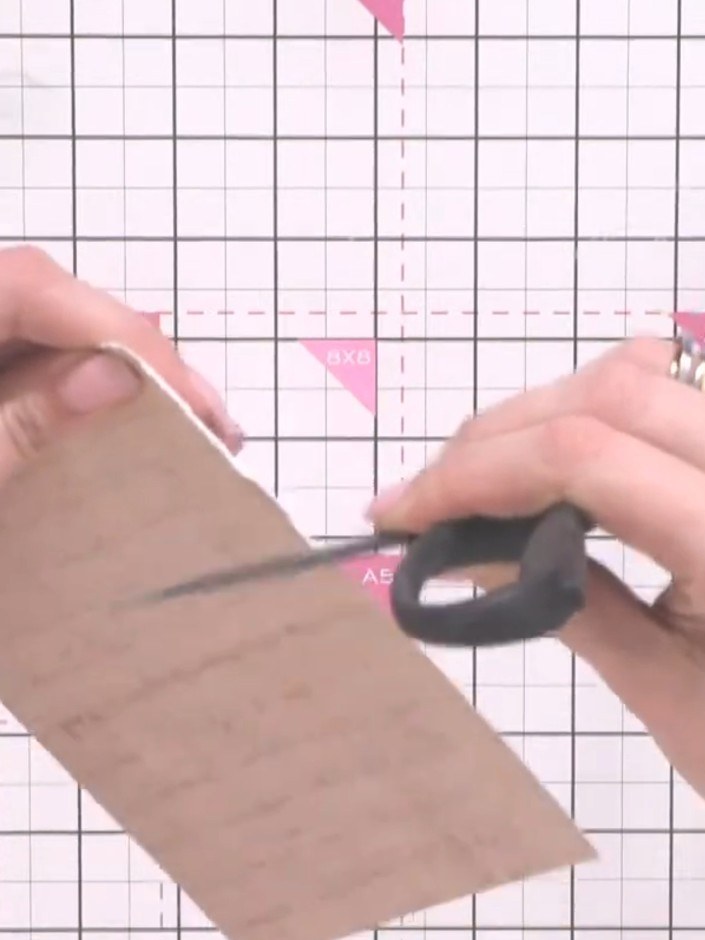
Nimm ein Stück cremefarbenen Cardstock oder Kraftkarton und reiße die Kanten mithilfe einer Schere ein. So bekommst du eine schöne Struktur und einen alten Vintage-Look.
▶ watch this step (14:15)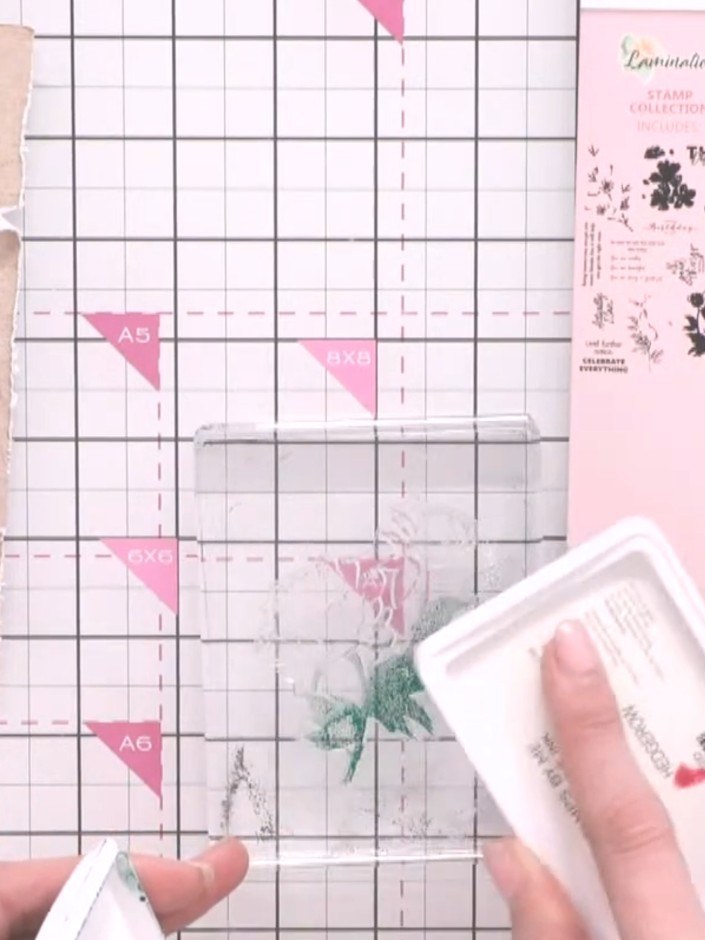
Färbe die grüne Grundschicht des Blumenstempels mit einem grünen Stempelkissen ein. Trag die Stempelfarbe gleichmäßig auf die ganze Stempelfläche auf.
▶ watch this step (16:00)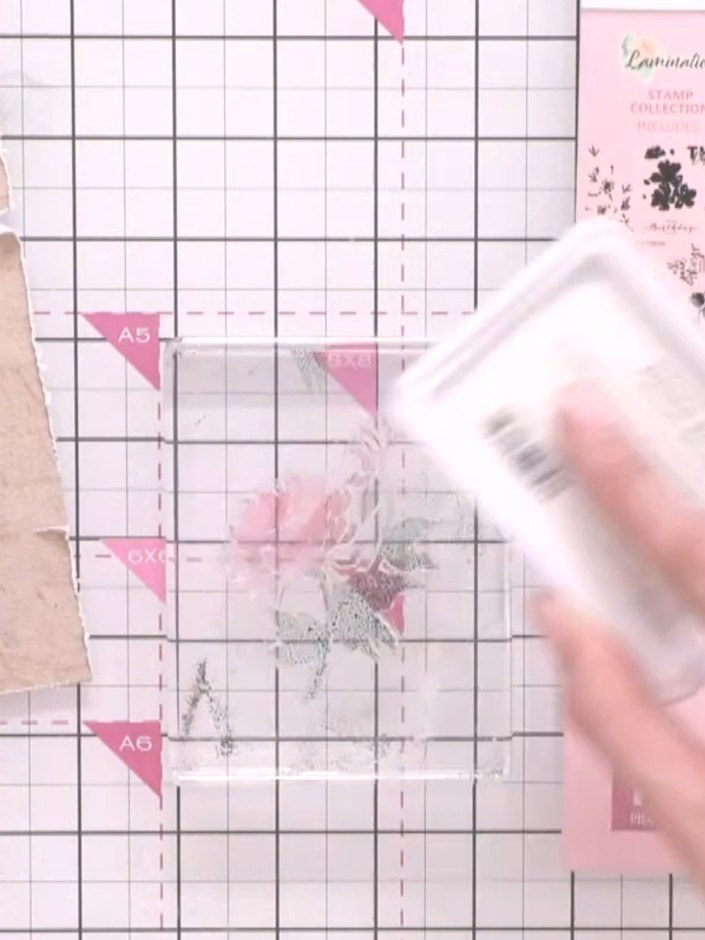
Gib rosa Stempelfarbe auf den Blütenkopf des Stempels und dann noch einen Hauch Orange dazu. So entstehen schöne Farbverläufe.
▶ watch this step (16:30)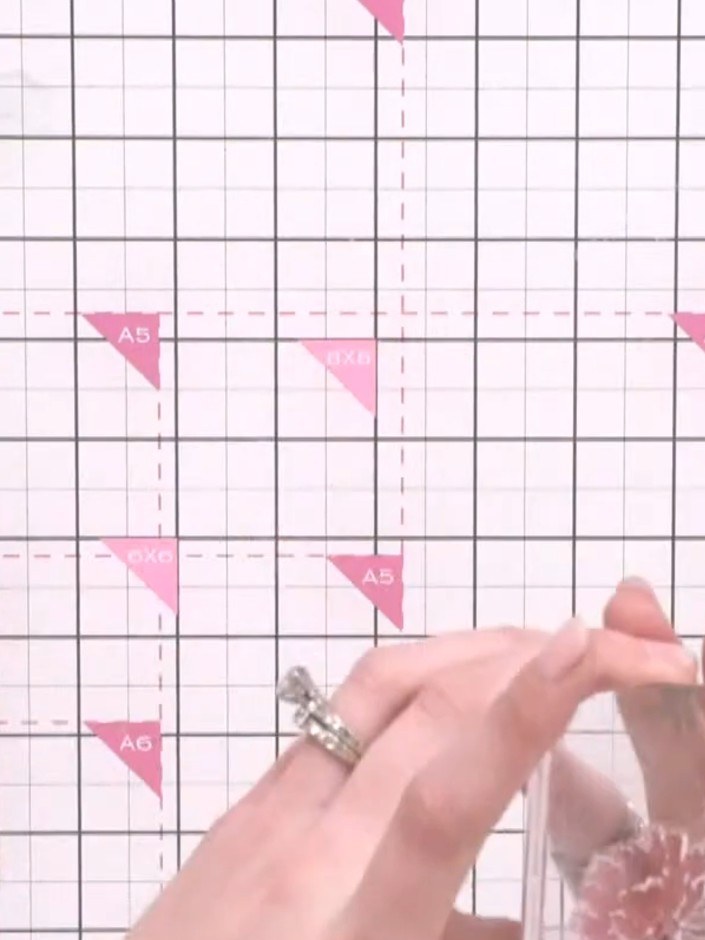
Besprühe den eingefärbten Stempel zweimal mit Wasser aus einer Sprühflasche, damit die Stempelfarbe den Aquarelleffekt bekommt.
▶ watch this step (16:45)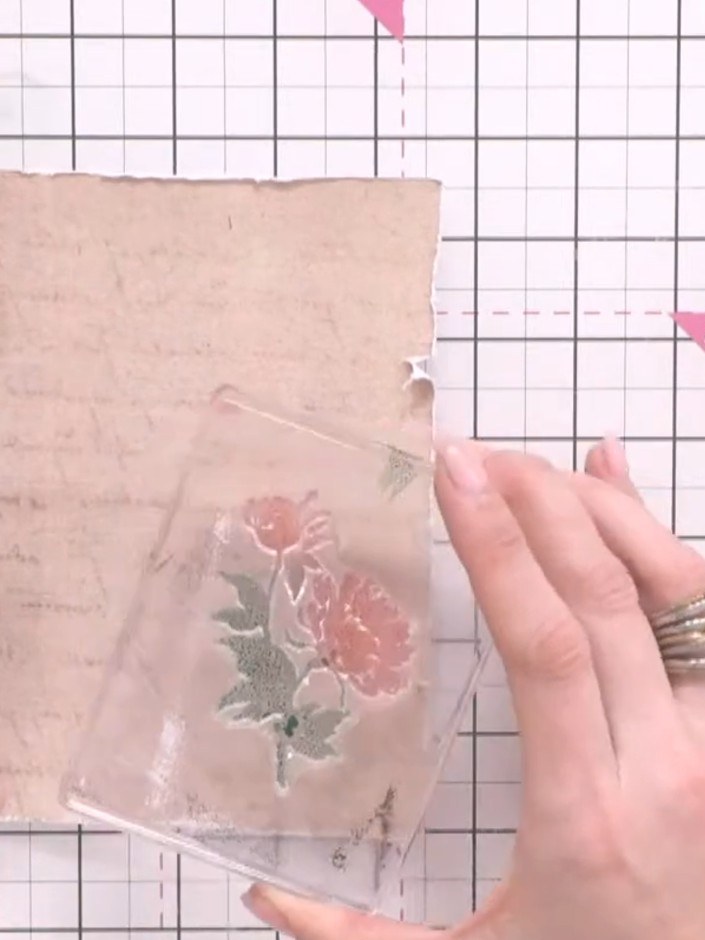
Drück den Blumenstempel fest auf die untere Ecke deiner Kraftkarte, damit die Stempelfarbe ins Papier einziehen kann und ein klarer Abdruck entsteht.
▶ watch this step (17:00)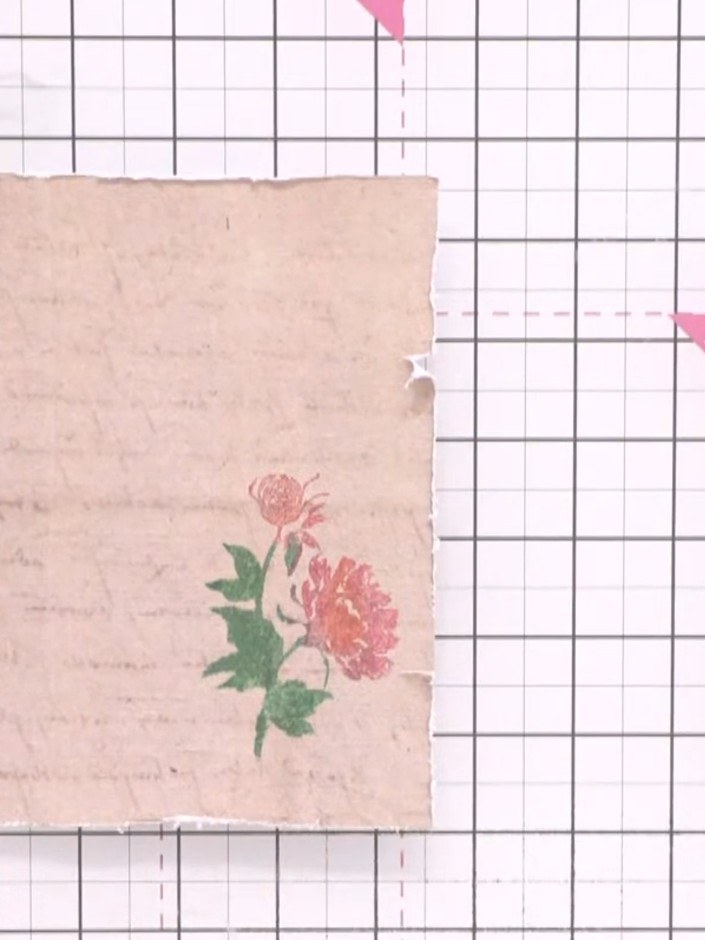
Nimm den Stempel von der Karte ab. Trockne das gestempelte Motiv mit einem Heißluftfön vollständig, bevor du mit dem nächsten Schritt weitermachst.
▶ watch this step (17:30)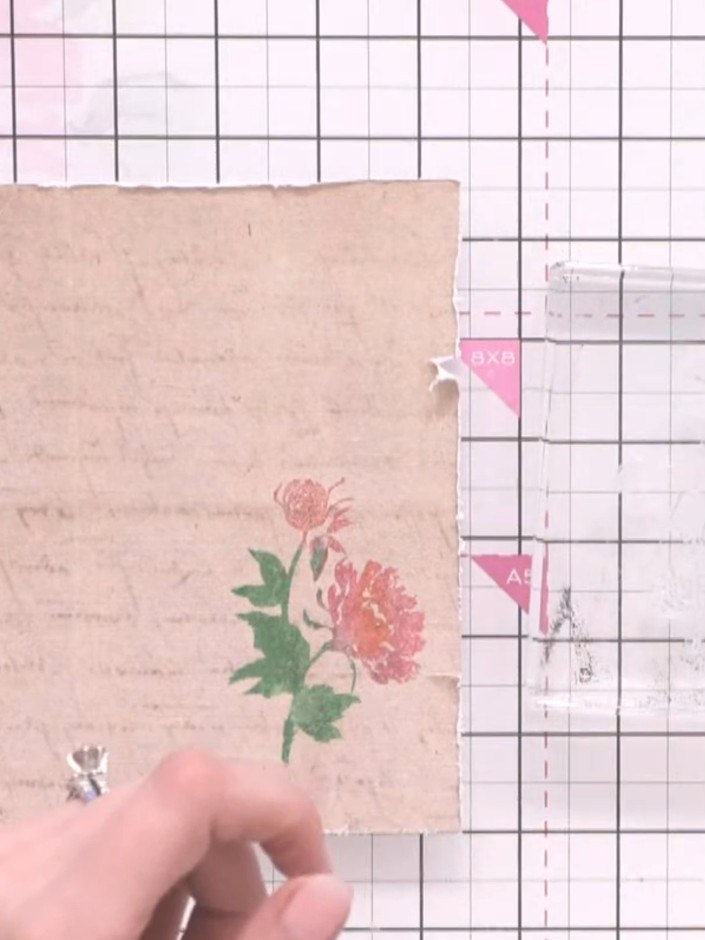
Färbe die schwarze Detailschicht desselben Blumenstempels mit schwarzer oder brauner Stempelfarbe ein, damit sie bereit zum Stempeln auf dein Motiv ist.
▶ watch this step (19:00)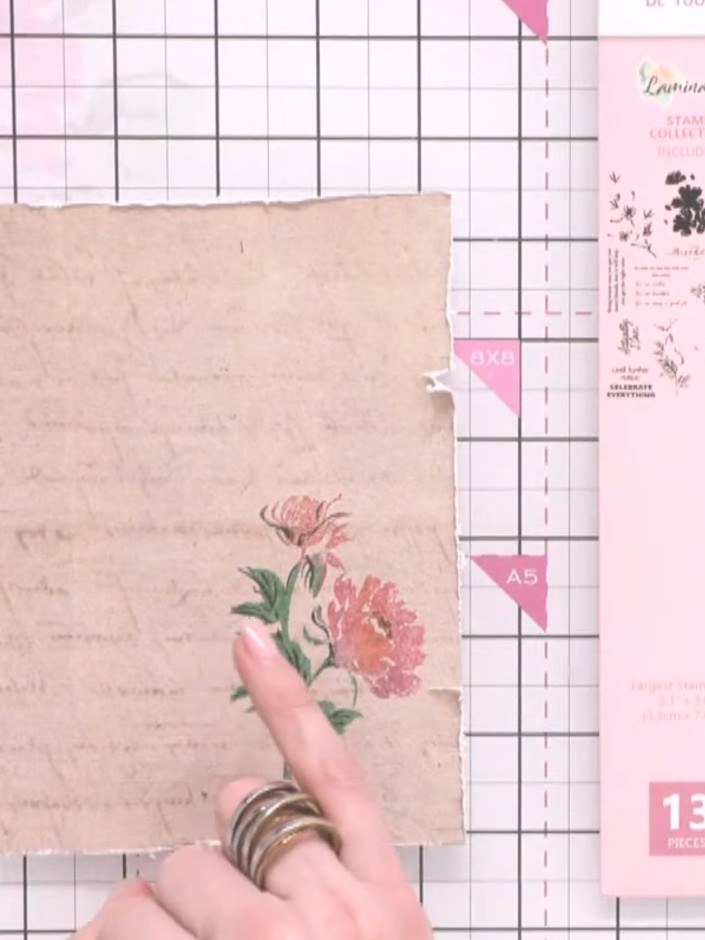
Richte den Detailstempel vorsichtig über dem farbigen Blumenmotiv auf der Kraftkarte aus. Drück ihn fest auf, damit die Konturen und Blattdetails dein gestempeltes Design vervollständigen.
▶ watch this step (19:45)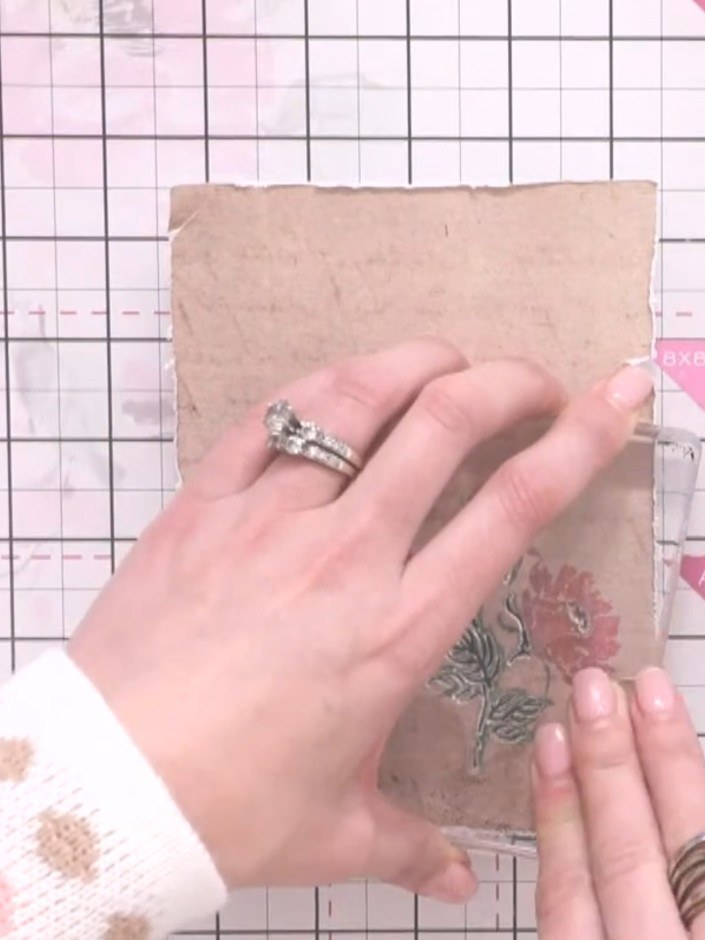
Stempel mit einem Stempel aus der Kollektion einen Spruch wie 'Until Further Notice Celebrate Everything' in schwarzer Stempelfarbe auf die Kraftkarte.
▶ watch this step (20:15)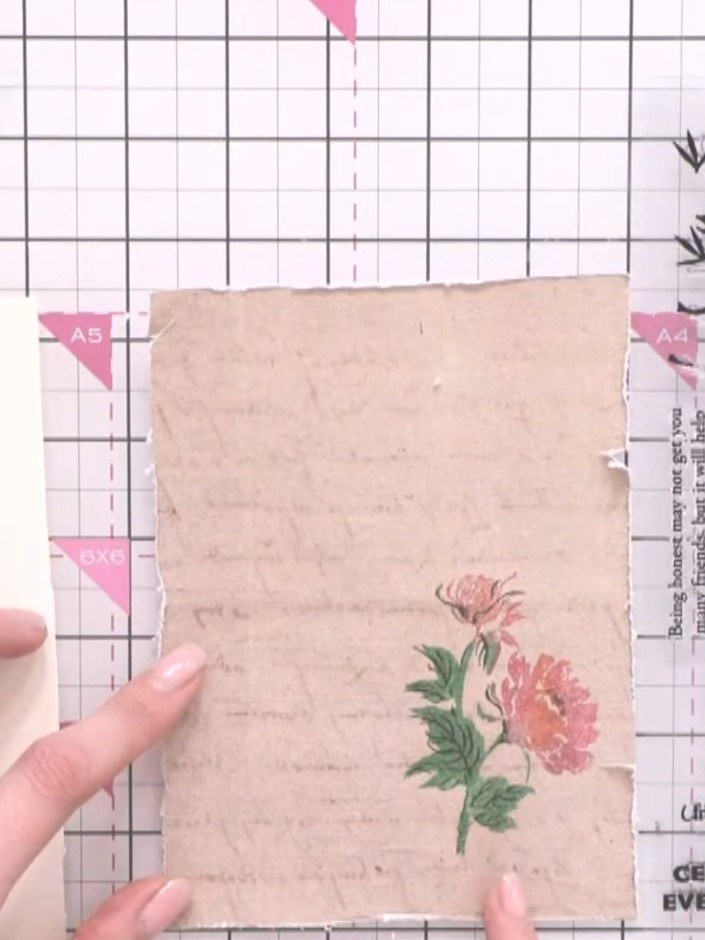
Klebe das fertige Kraftkarten-Panel mit Kleber auf einen cremefarbenen A5-Kartenrohling. Setz es mittig auf die Kartenvorderseite, und schon ist deine Vintage-Blumenkarte fertig.
▶ watch this step (20:45)Direkt aus der Show aufgeschrieben. Alle Anleitungen aus unseren Shows ansehen · kostenlose Anleitungen · live auf My Telly ansehen
