¡Regala a tus amigos 10 € de descuento en su primer pedido!
Invita a una AMIGA








 Hidden Gemsmié 4 nov 5:00
 The Thursday Dropjue 5 nov 13:00
 The Friday Final Cutvie 6 nov 5:00
Los precios cambian al instante. Las traducciones son de Google.
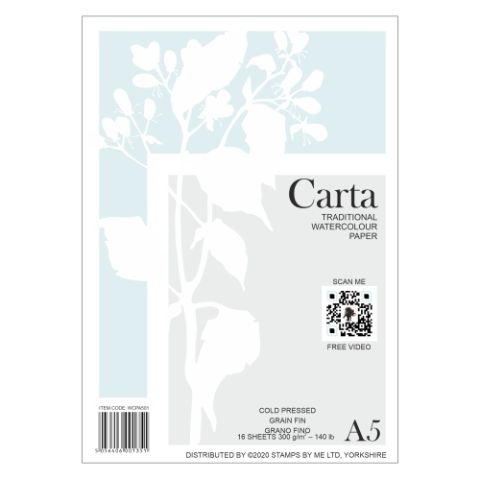
Un proyecto de nuestro programa en directo PONTE AL DÍA con Toni: CLASE DE PINTURA CON ACUARELA desde el estudio de HTCN, emitido el 13 oct 21 · 13/11/2021
Learn the fundamental technique for painting poppies using the heart shape method. This practice piece teaches you how to layer red and black watercolours to create depth and dimension in a single large poppy head.
Wet your brush and activate your red watercolour paint on the palette, creating a puddle of colour.
Paint a heart shape on its side onto your watercolour card, keeping it loose and organic.
Paint another heart shape inside the first one, still using red paint.
Take a clean, wet brush and run it around the edge of your design to create a soft halo of water.
Drop more red paint into the darker areas of your heart design whilst the paper is still wet.
Mix black with red to create a burgundy colour on your palette.
Paint a crack or line down the centre of your heart using the darker burgundy mixture.
Fill in one side of the cracked heart with the darker colour to create shadow and dimension.
Allow the piece to dry slightly, then add more black detail to define the centre of the poppy.
Splash clean water around the poppy to soften edges and create a natural bleed effect.
Comparte tu proyecto con la comunidad de Stamps By Me - y guarda esta guía para la próxima vez.
Escrito a partir del propio programa. Todas las guías de nuestros programas · guías gratis · en directo en My Telly · el diseño anterior