¡Regala a tus amigos €10 de descuento en su primer pedido!
Recomienda a un AMIGO








 The Friday Final Cutvie 6 nov 5:00 a. m.
 Community Showcaselun 9 nov 5:00 a. m.
 Hobbymaker Tvlun 9 nov 9:00 a. m.
Los precios cambian al instante. Cada idioma es nuestra propia traducción, no Google.
Un proyecto de nuestro programa en vivo EXCLUSIVA CREATE AND CRAFT - Acompaña a Toni EN VIVO en su nuevo lanzamiento FLOWERS FOR YOU - transmitido el 31 de marzo 22 · 31/03/2022 · velo desde 14:30
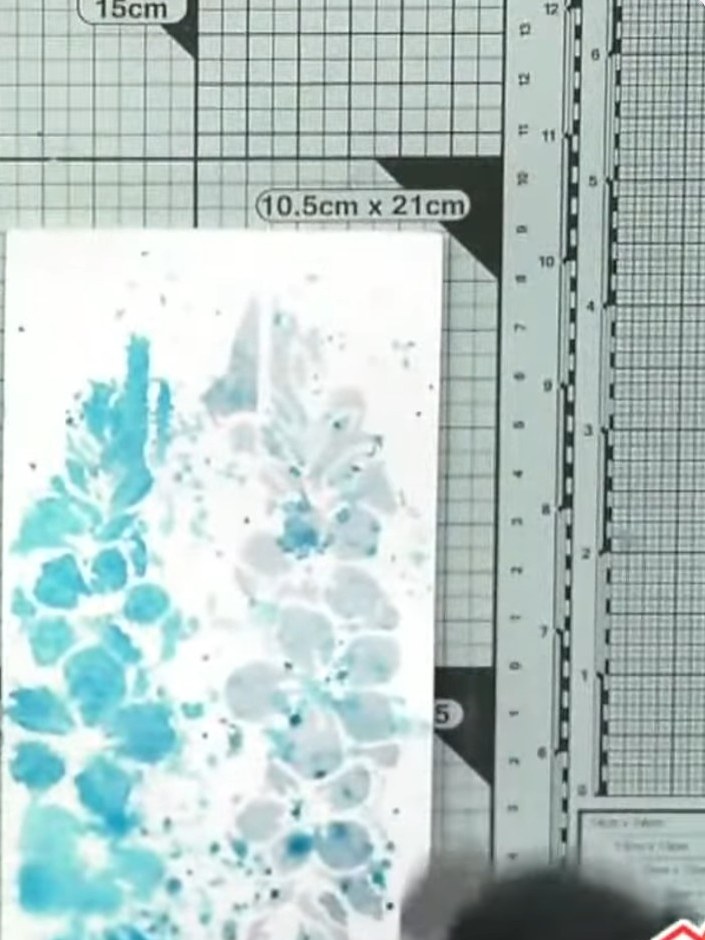
Create a beautiful watercolour card featuring an abstract sunray design in soft turquoise and grey tones. Using a die as both a stencil and decorative element, you'll build up delicate watercolour washes to create an artistic background, then frame it with an elegant die-cut border for a sophisticated layered finish. This technique combines die-cutting with watercolour painting to produce a unique, contemporary card perfect for any occasion.
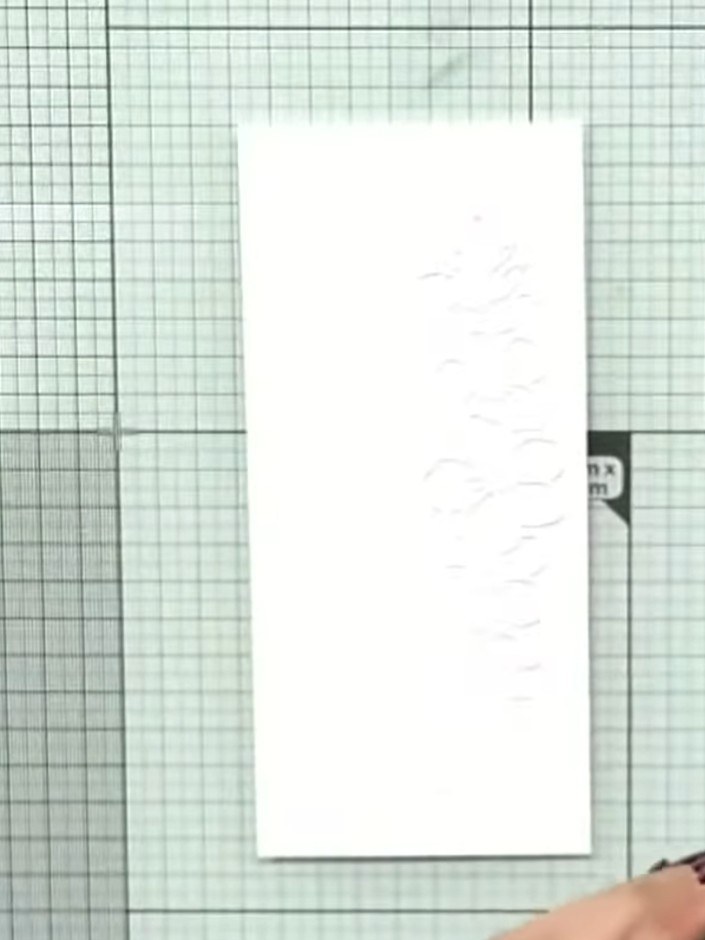
Place a piece of white watercolour card on your craft mat.
▶ ver este paso (14:30)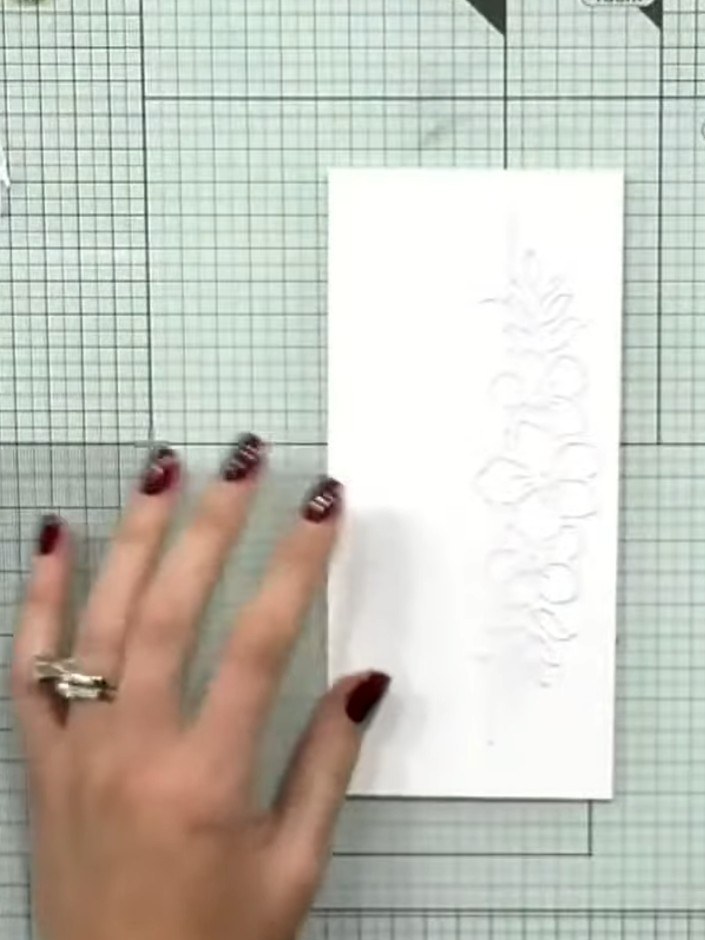
Position the Sunray die on top of the watercoloured card panel to use as a stencil. Centre it carefully on the card.
▶ ver este paso (14:45)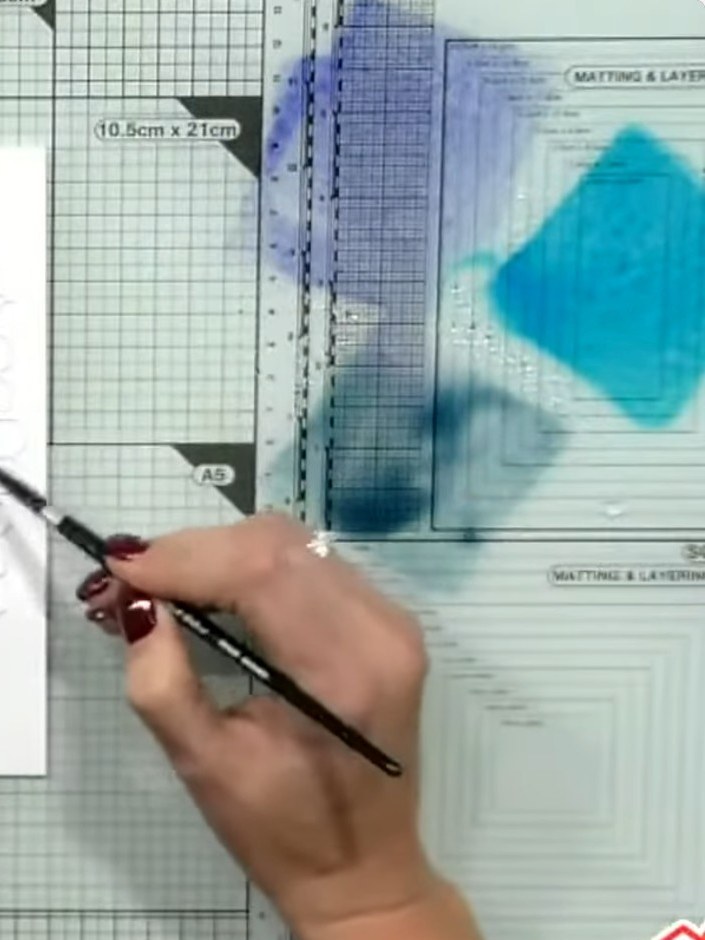
Mezcla tres tonos de acuarela azul en tu paleta. Use your brush to blend the colours together, creating variations from light to dark blue tones.
▶ ver este paso (15:00)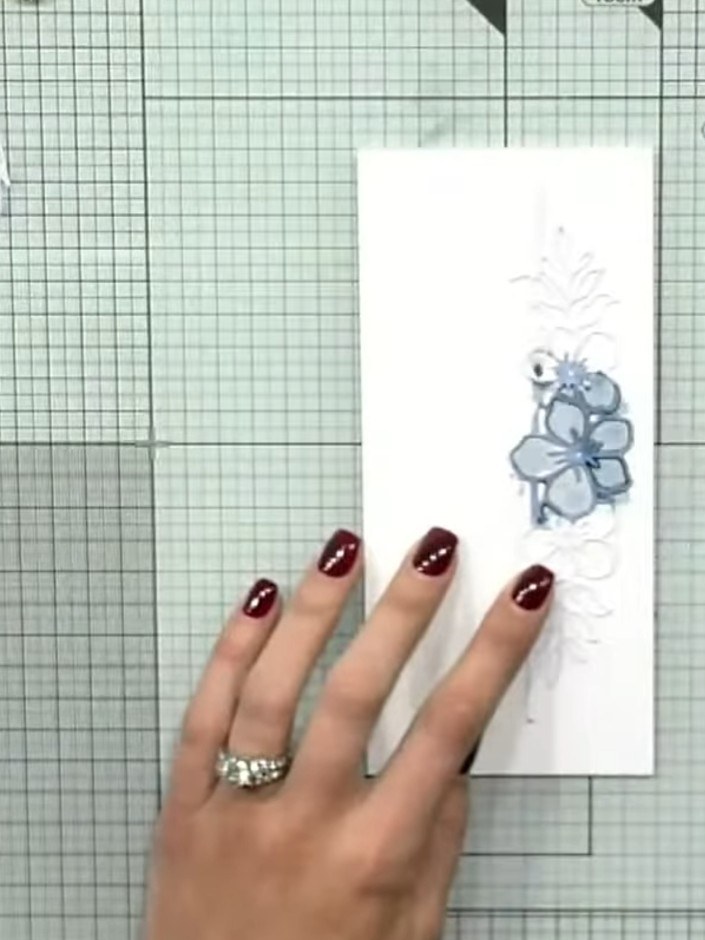
Using a paintbrush, apply the blue watercolours across the sunray die and onto the card beneath it, creating a two-toned effect that covers both the die-cut area and the background.
▶ ver este paso (15:15)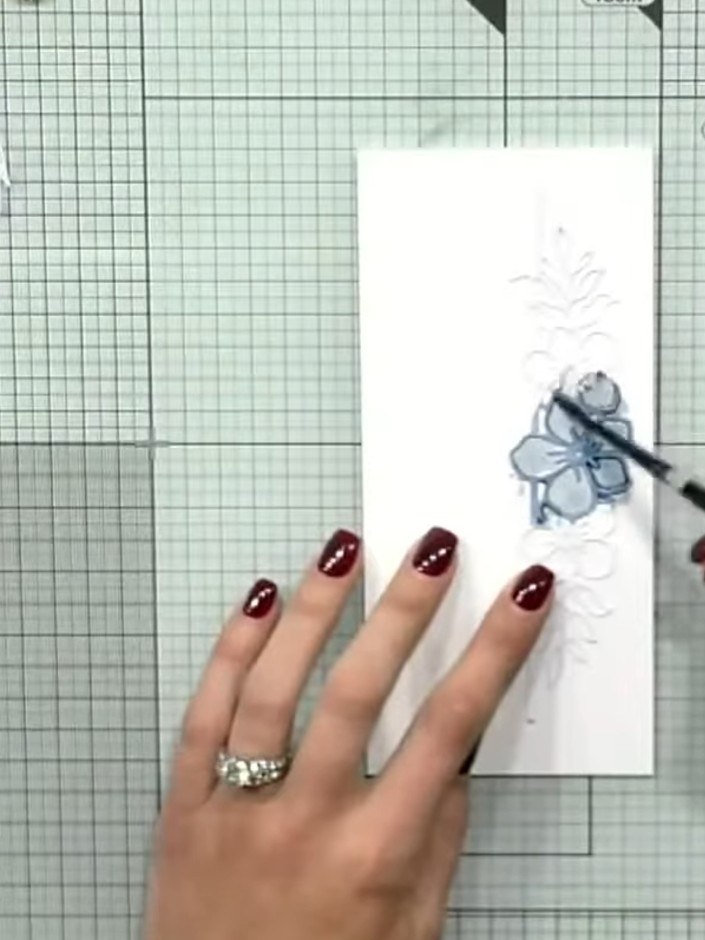
Carefully remove the die from the card panel and allow the paint to dry slightly before proceeding.
▶ ver este paso (15:30)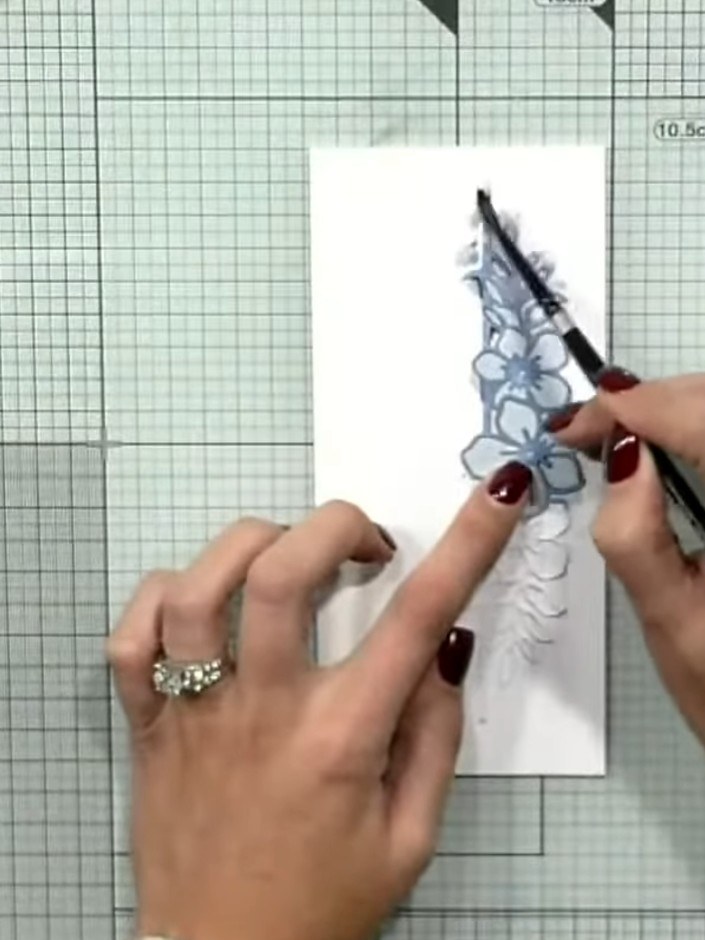
Using a paintbrush, add splats or additional ink details across the watercolour background for extra texture and interest.
▶ ver este paso (15:45)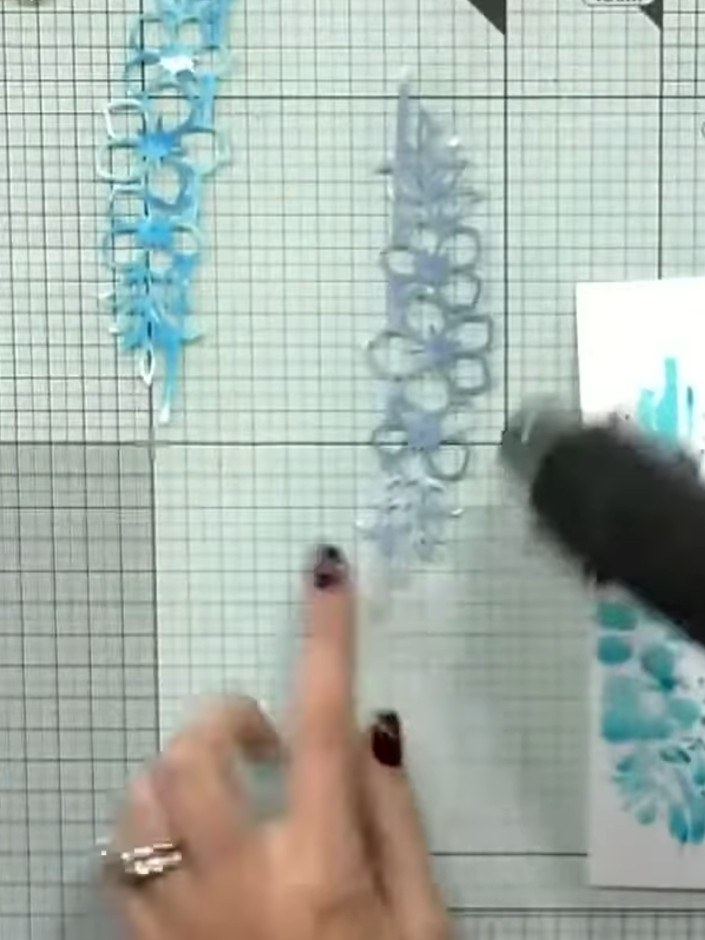
Use a heat gun to completely dry the watercolour background on your card panel. Hold the heat gun over the wet areas until the ink is fully dry.
▶ ver este paso (19:30)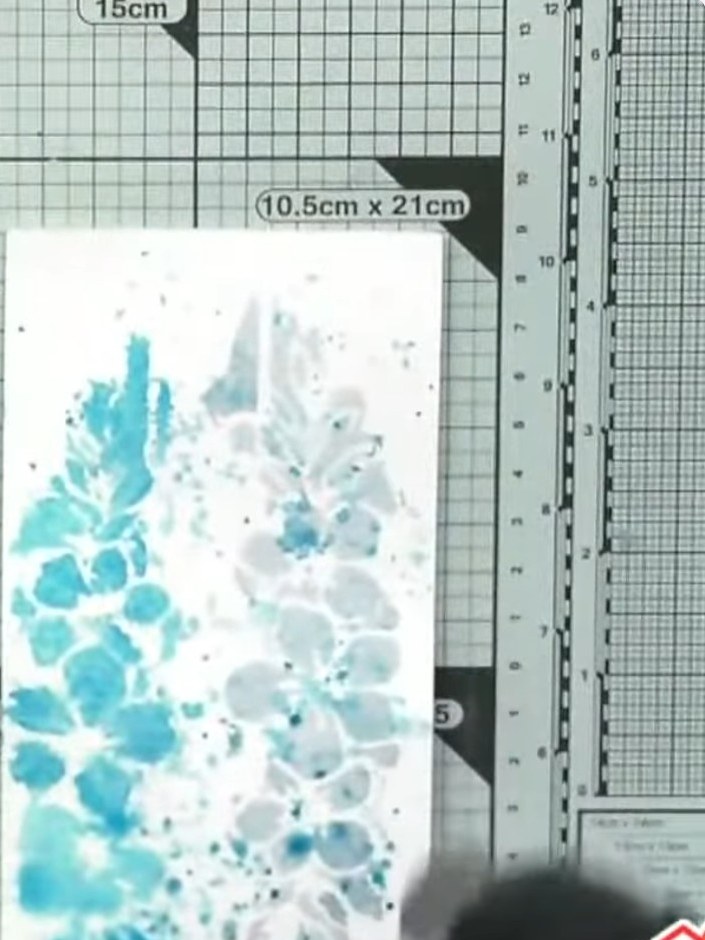
Mount the painted watercolour background onto a piece of black card to create a base layer. This will frame the design and add depth to your finished card.
▶ ver este paso (19:45)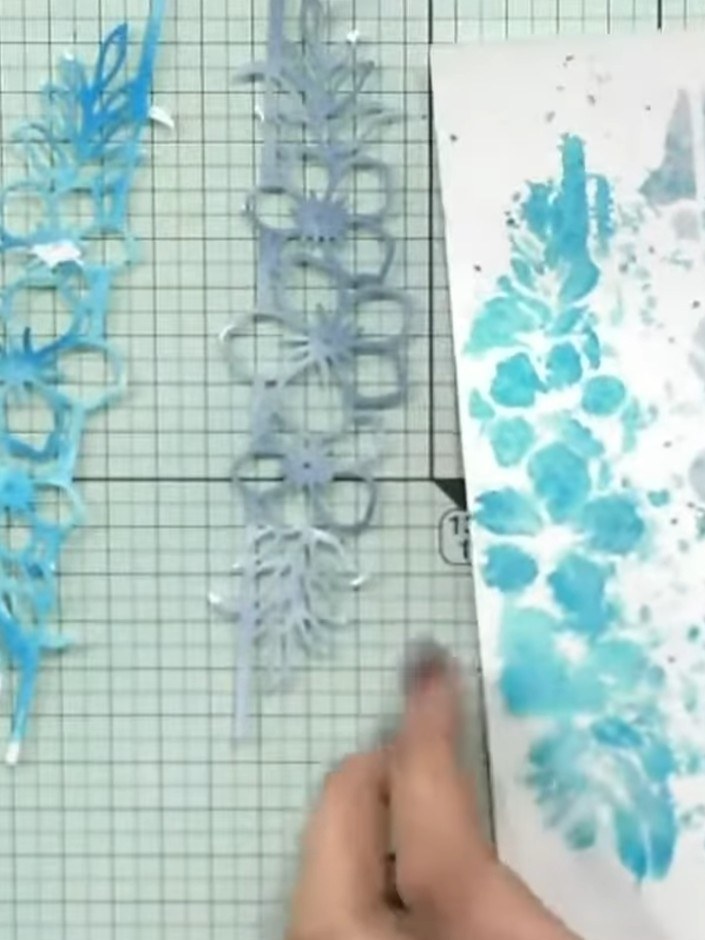
Die-cut the Sunray border from white card. Ink the die-cut piece with a dark ink pad using a brush technique, applying the ink to create depth and dimension.
▶ ver este paso (20:00)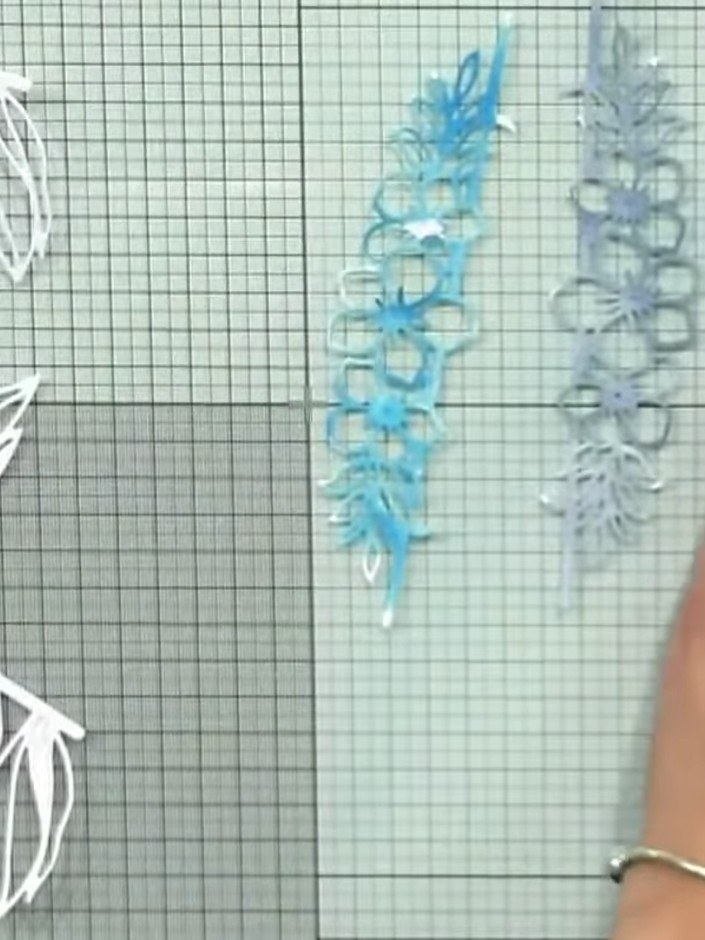
Apply plenty of glue to the back of the black-edged die-cut sunray border. Adhere it firmly to the top of the watercolour background card, ensuring it is well positioned.
▶ ver este paso (20:30)Redactado a partir del propio programa. Mira todas las guías de nuestros programas · guías paso a paso gratis · mira en vivo en My Telly
