¡Regala a tus amigos €10 de descuento en su primer pedido!
Recomienda a un AMIGO








 The Friday Final Cutvie 6 nov 5:00 a. m.
 Community Showcaselun 9 nov 5:00 a. m.
 Hobbymaker TVlun 9 nov 9:00 a. m.
Los precios cambian al instante. Cada idioma es nuestra propia traducción, no Google.
Un proyecto de nuestro programa en vivo EXCLUSIVA CREATE AND CRAFT - Acompaña a Toni EN VIVO en su nuevo lanzamiento FLOWERS FOR YOU - transmitido el 31 de marzo 22 · 31/03/2022
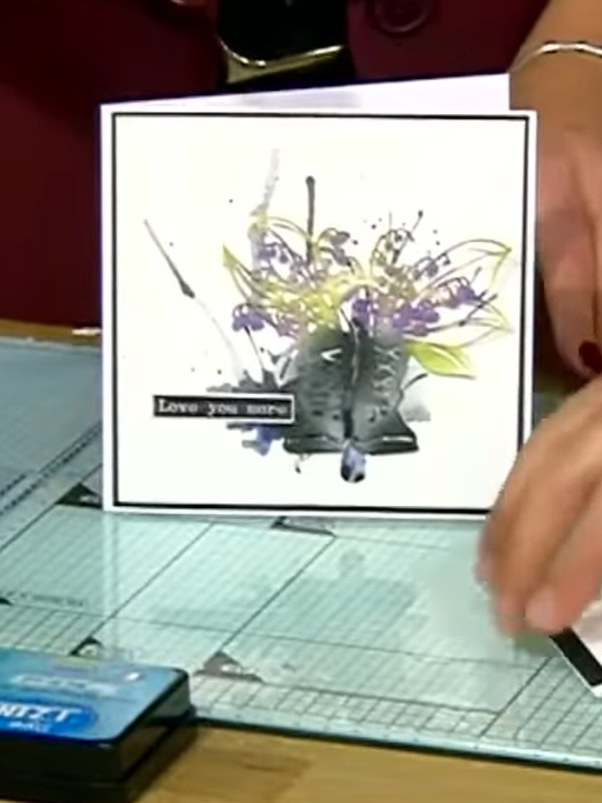
Create a delightful springtime card featuring wellington boots filled with a gorgeous floral display. This project uses selective ink application and watercolour accents to add depth and dimension to die-cut boots, creating a charming hand-painted effect. The finished design combines soft purples, greens, and greys with delicate flowers and a heartfelt sentiment.
 1
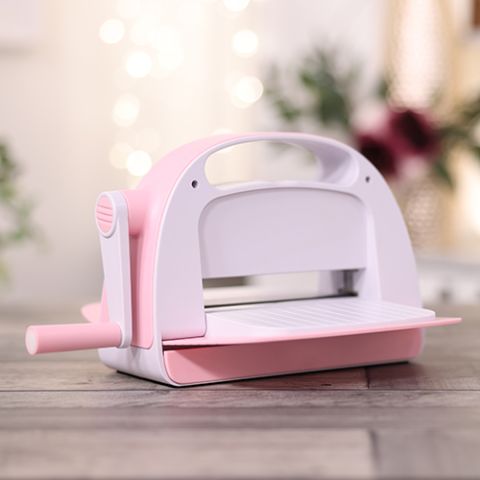
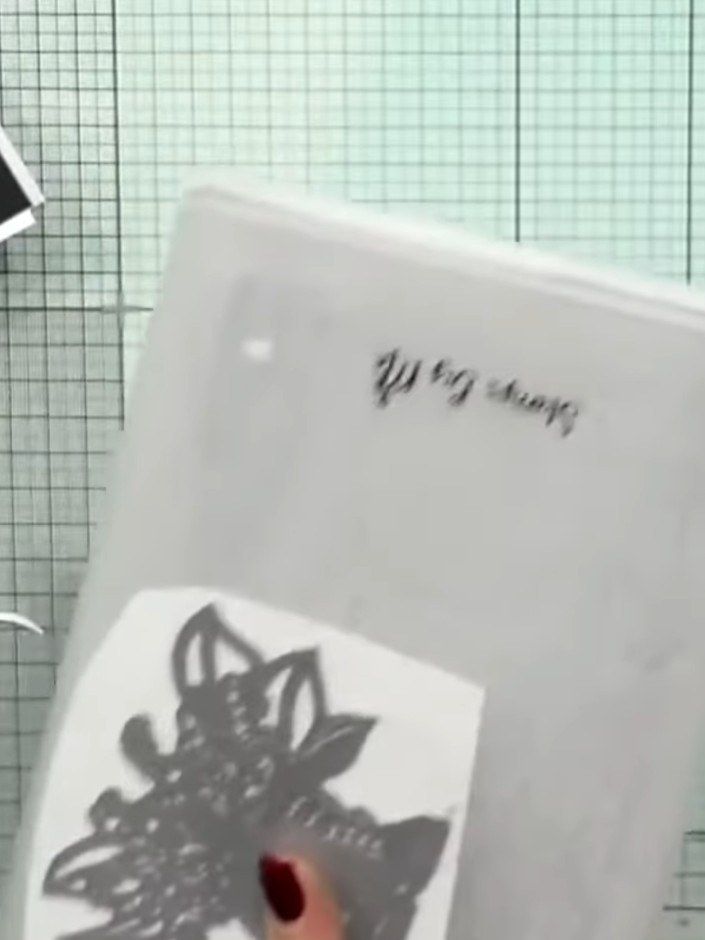
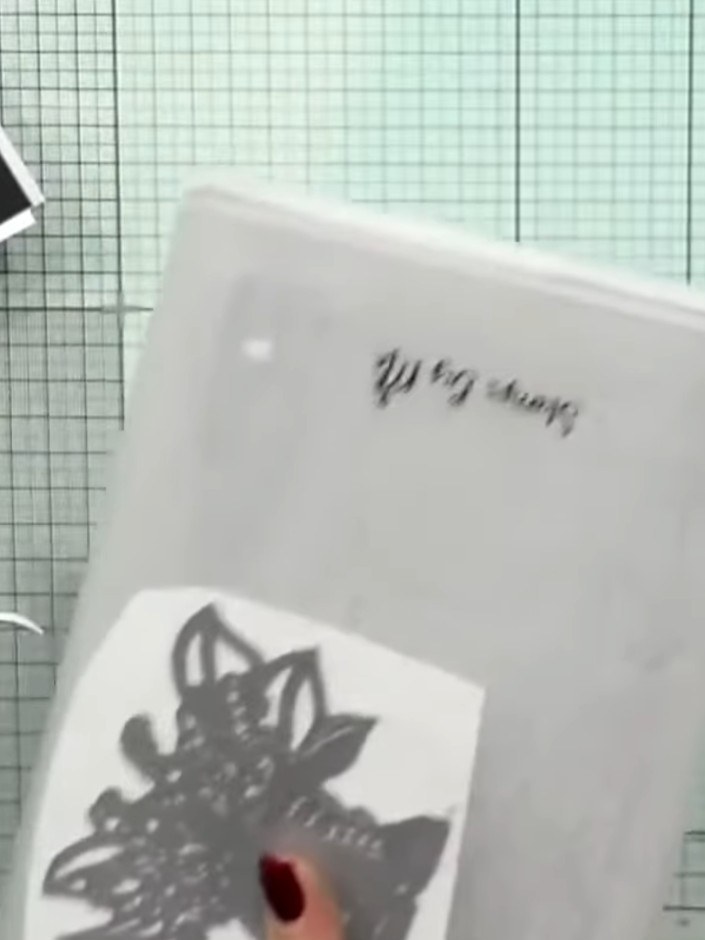
Place the die-cut floral wellington boot design face down on watercolour card. Run it through the die-cutting machine several times to ensure a clean cut and good embossing detail.
 2
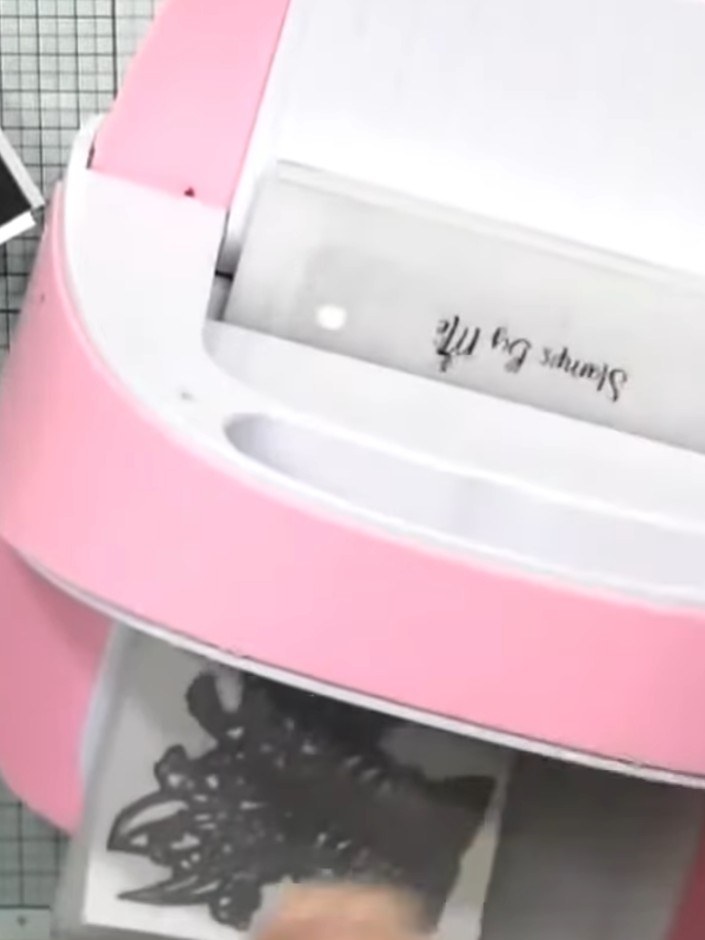
Die-cut the Spring Boots design from the watercolour card using your die-cutting machine. Remove the die-cut pieces from the card.
 3
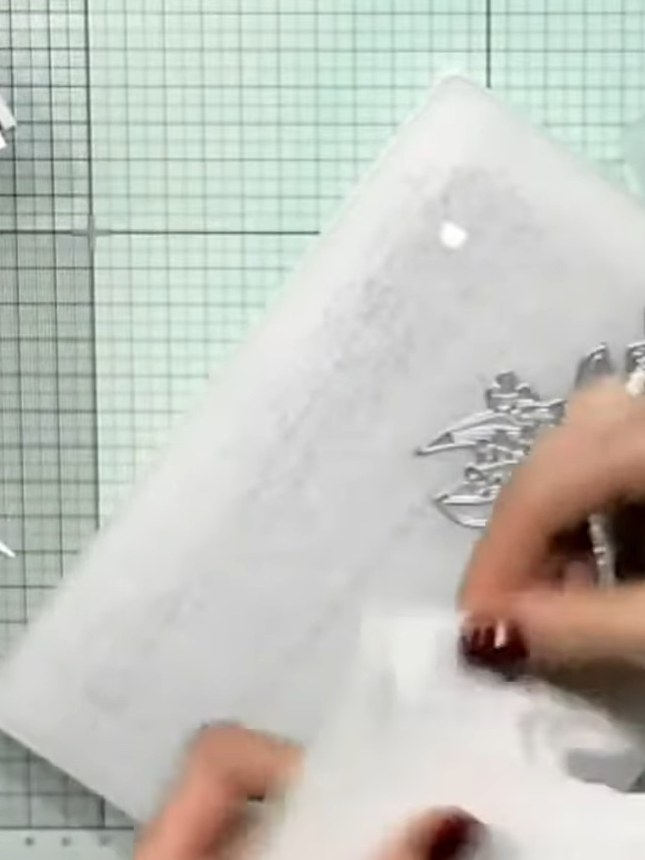
Carefully tap out all the die-cut pieces from the card. Set the pieces aside ready for assembly.
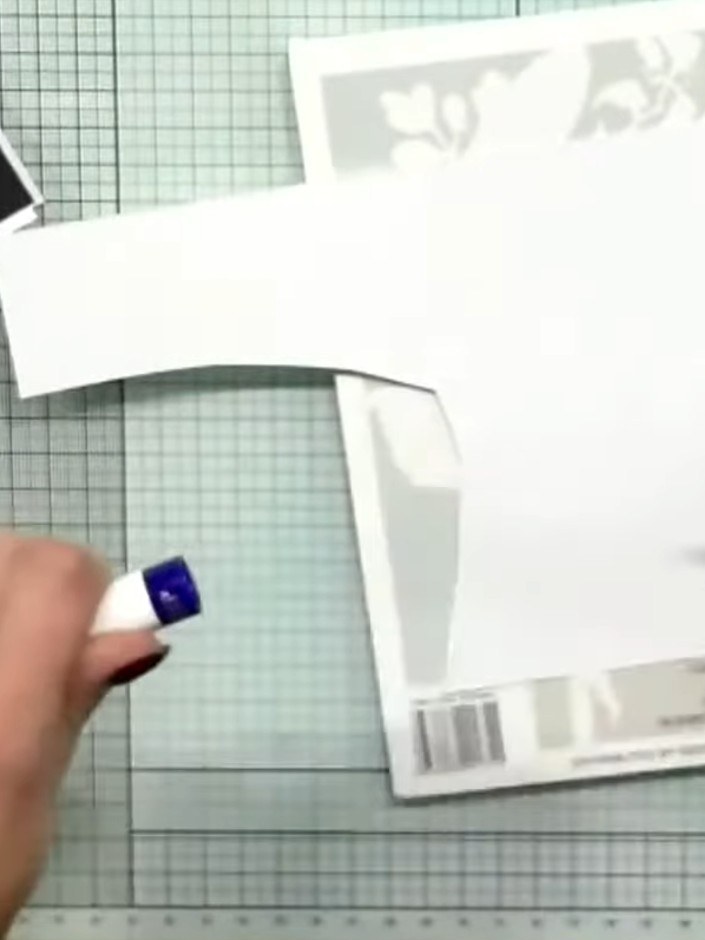 4
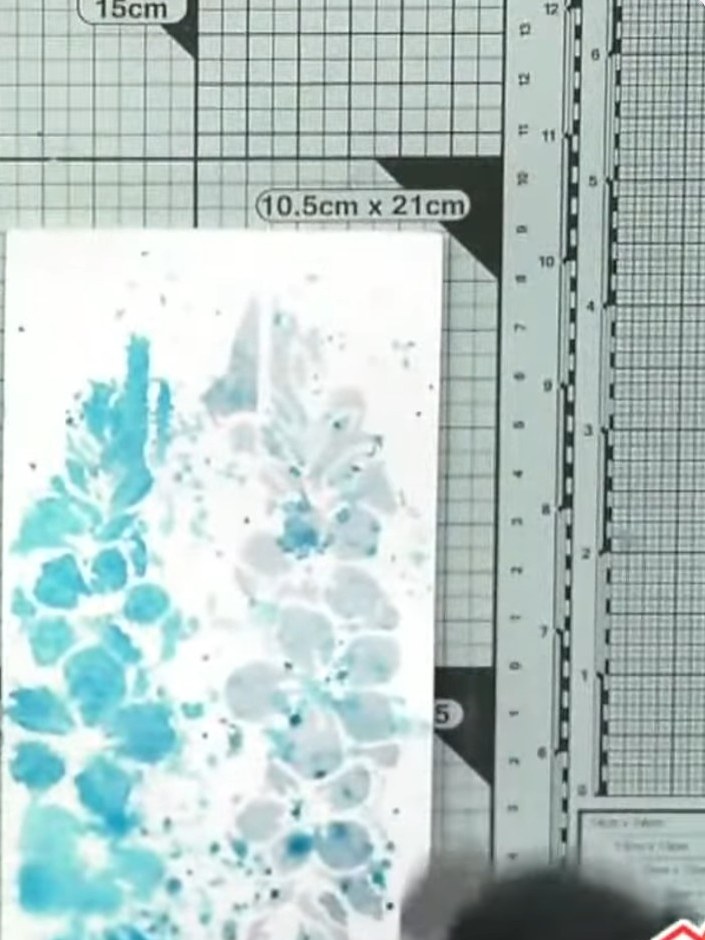
Dip the die-cut wellington boots into a blue ink pad to create selective colour coverage on the boots, applying the ink minimally for a subtle effect.
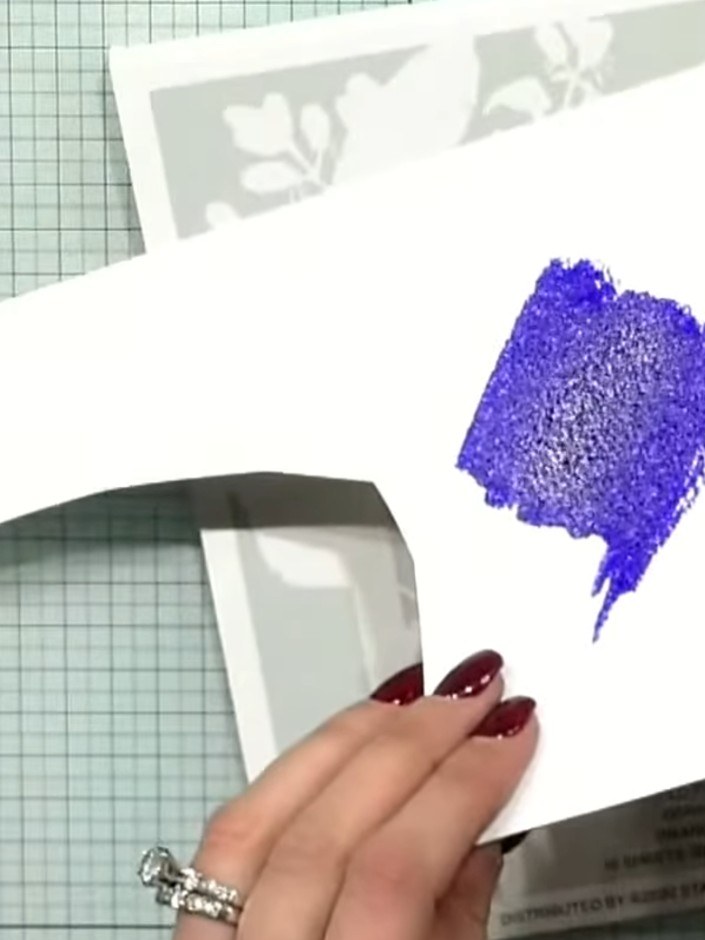 5
Allow the purple ink to dry slightly, leaving white areas visible on the boots for dimension and depth.
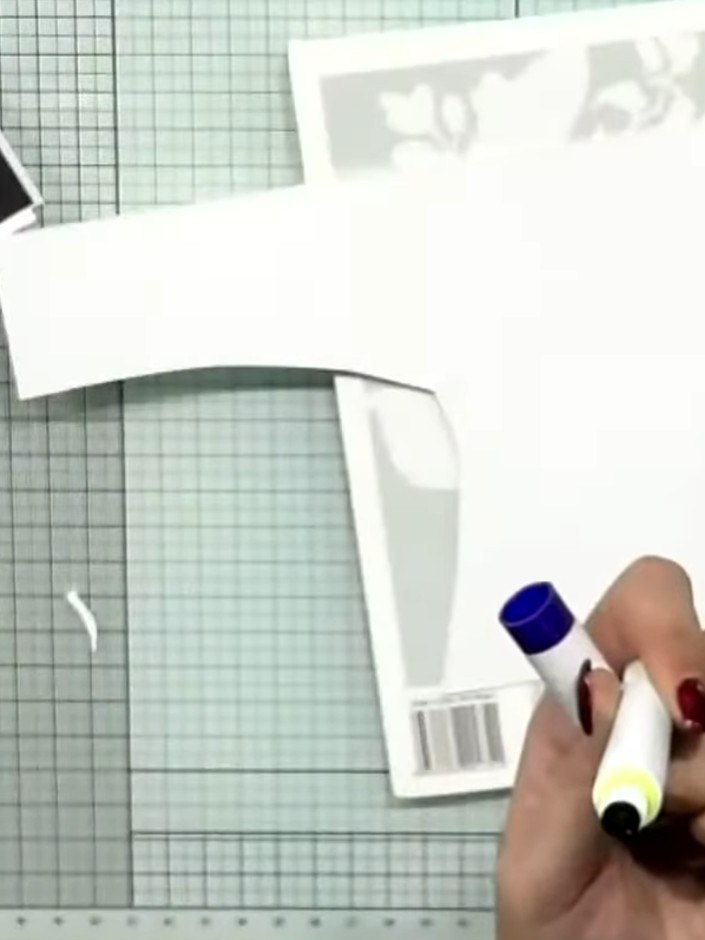 6
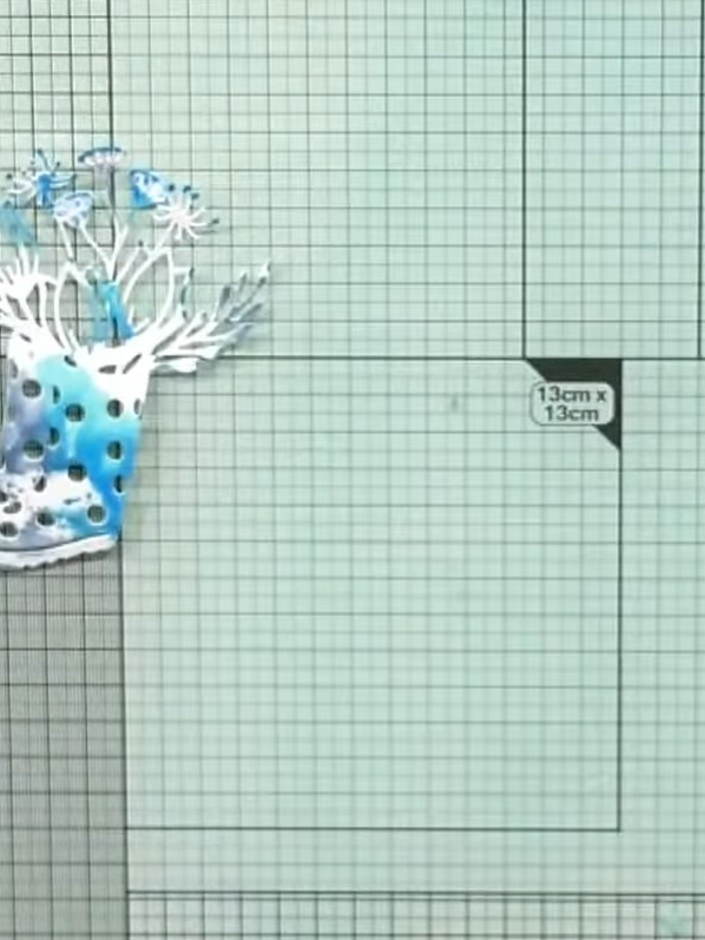
Using a brush, add a touch of blue watercolour to the top of the wellington boots.
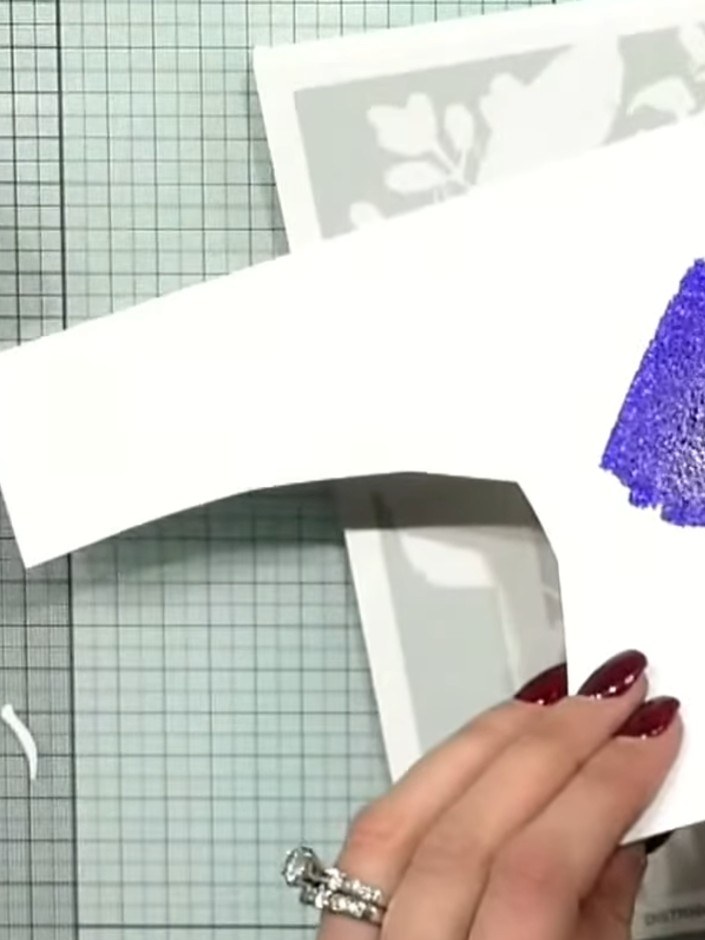 7
Apply purple sparkle pen colour to a corner of the card, creating a decorative patch of colour for added interest.
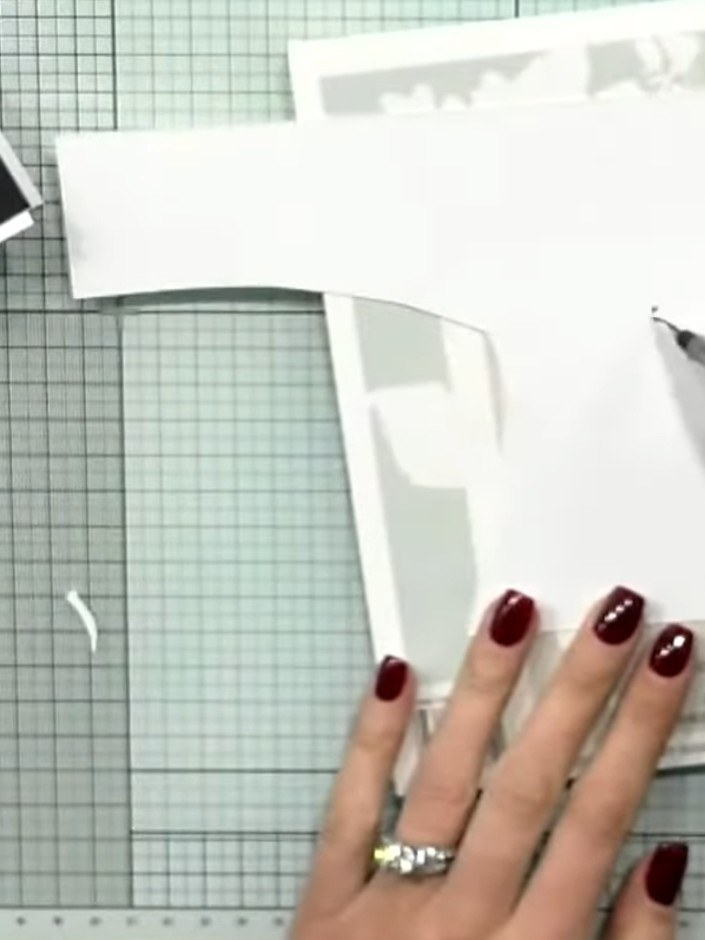 8
Layer the die-cut wellington boots onto black card to create a mat. Use the scoring tool to burnish the layers together firmly.
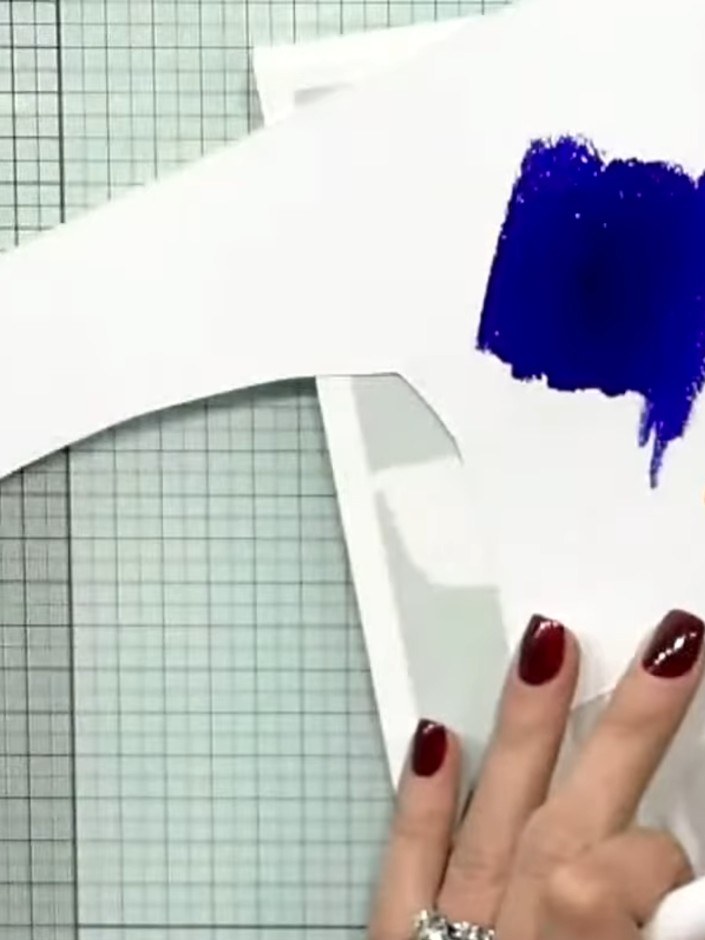 9
Add a white card layer on top of your coloured background for additional dimension.
Adhere the 'Kind Friend' sentiment die-cut to the card front using a coordinating colour from the Gossip Sparkle pen collection.
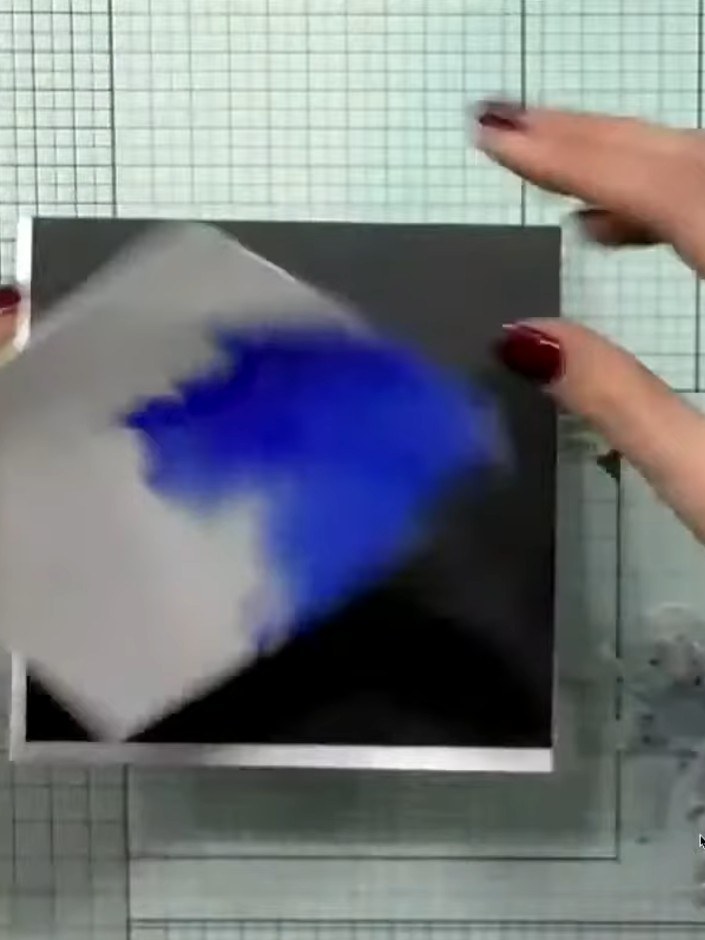 11
Mount the completed wellington boots design onto your card base using adhesive, ensuring it is centred and secure.
Comparte tu proyecto con la comunidad de Stamps By Me - y guarda esta guía para la próxima vez.
Escrito a partir del propio programa. Todas las guías de nuestros programas · guías gratis · en vivo en My Telly · el diseño anterior