¡Regala a tus amigos €10 de descuento en su primer pedido!
Recomienda a un AMIGO








 The Friday Final Cutvie 6 nov 5:00 a. m.
 Community Showcaselun 9 nov 5:00 a. m.
 Hobbymaker TVlun 9 nov 9:00 a. m.
Los precios cambian al instante. Cada idioma es nuestra propia traducción, no Google.
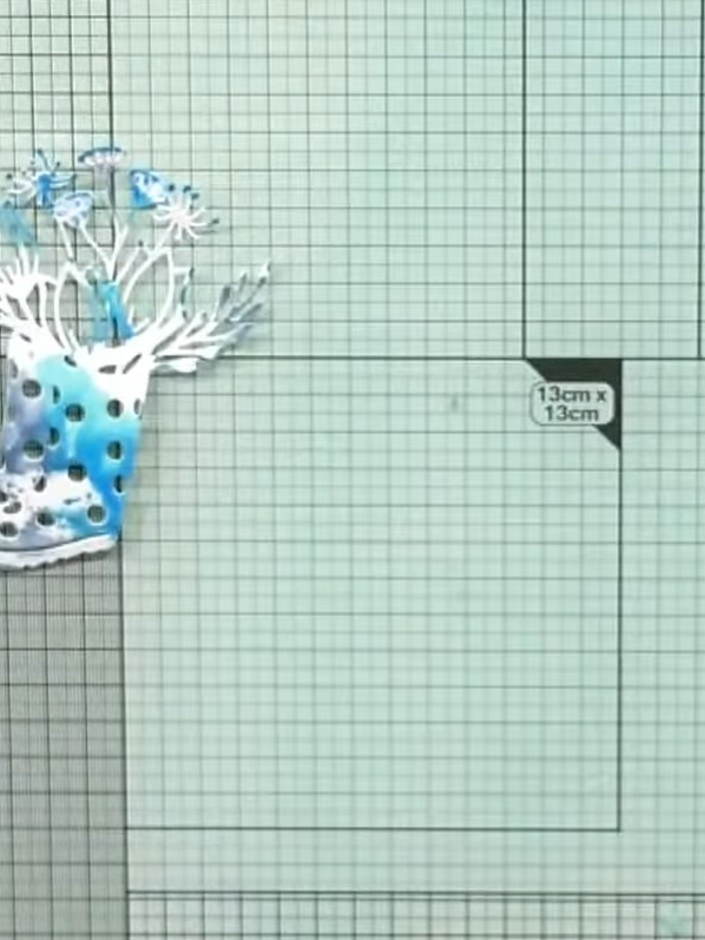
Un proyecto de nuestro programa en vivo EXCLUSIVA CREATE AND CRAFT - Acompaña a Toni EN VIVO en su nuevo lanzamiento FLOWERS FOR YOU - transmitido el 31 de marzo 22 · 31/03/2022
Create a striking sentiment card featuring layered die-cut words on a rustic wood-effect background. This elegant design uses the Kind Friend die set with phrases like 'just because', 'KIND FRIEND', and 'Good Vibes' in complementary colours of mint green, purple, and pink. The recessed lettering technique creates beautiful dimension through careful layering and matting of coordinating cardstock.
 1
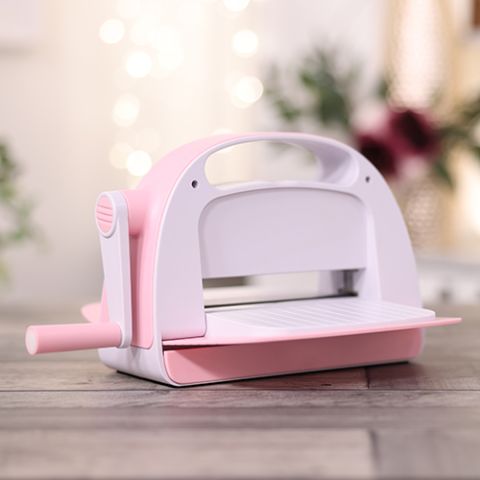
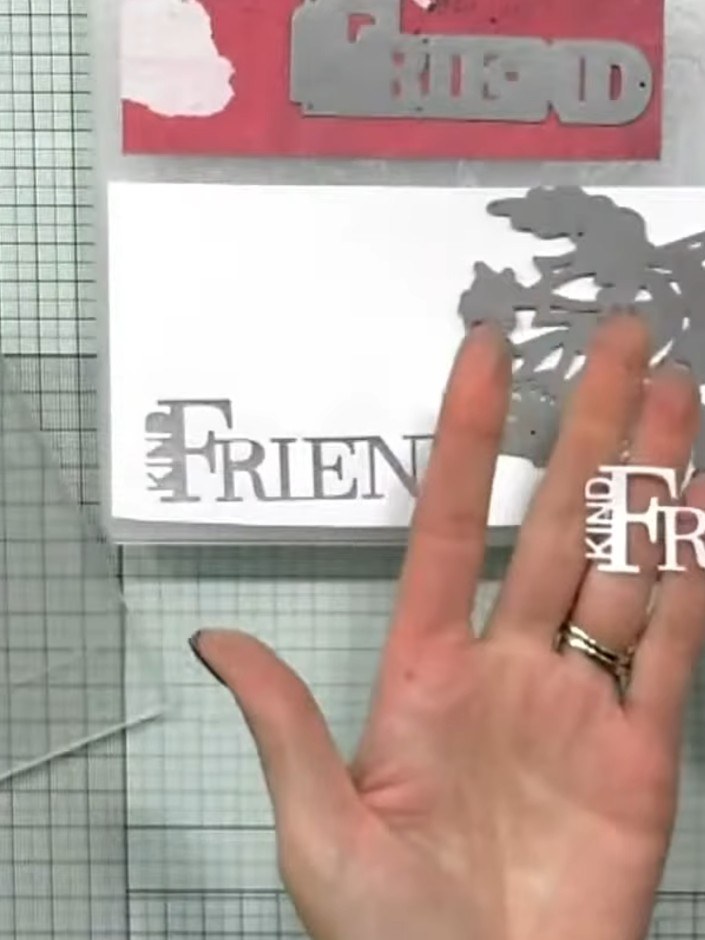
Troquela la frase Kind Friend en cartulina estampada con tu máquina troqueladora. The die creates both the decorative rabbit design and the sentiment text.
 2
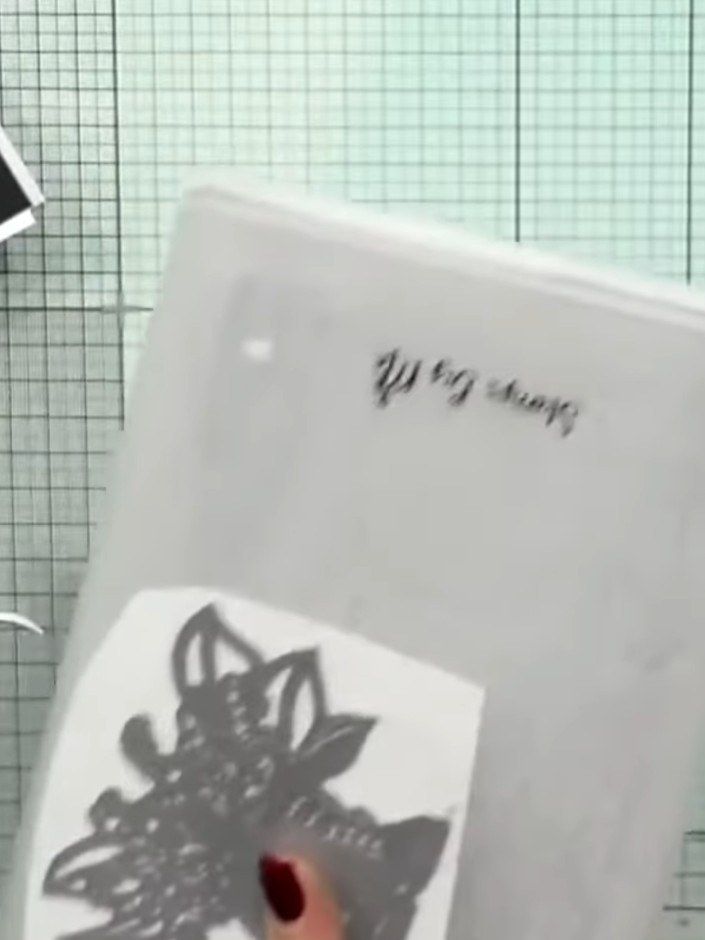
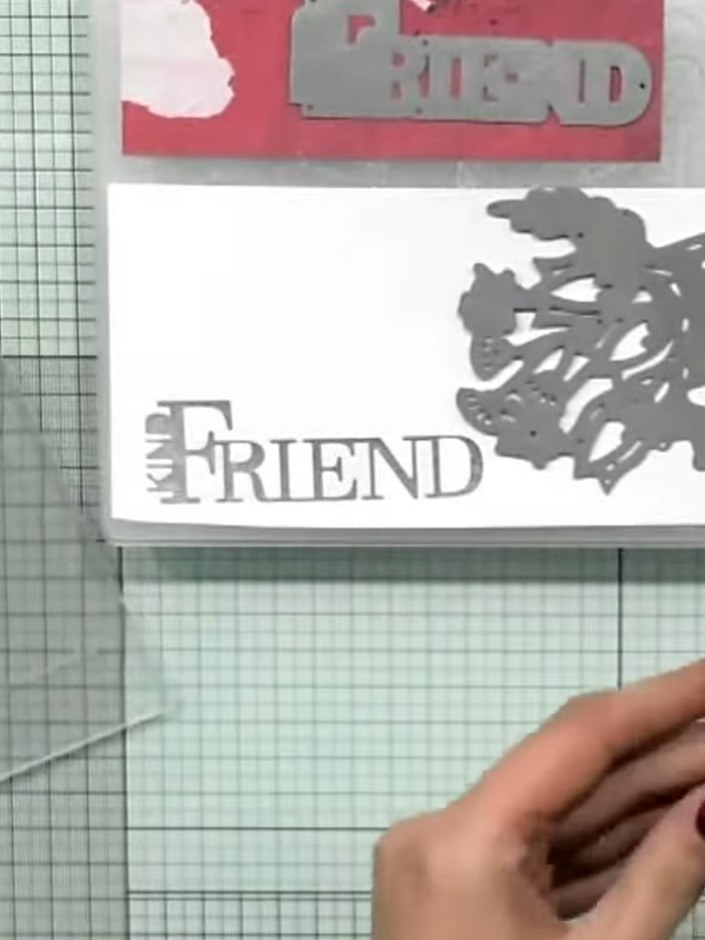
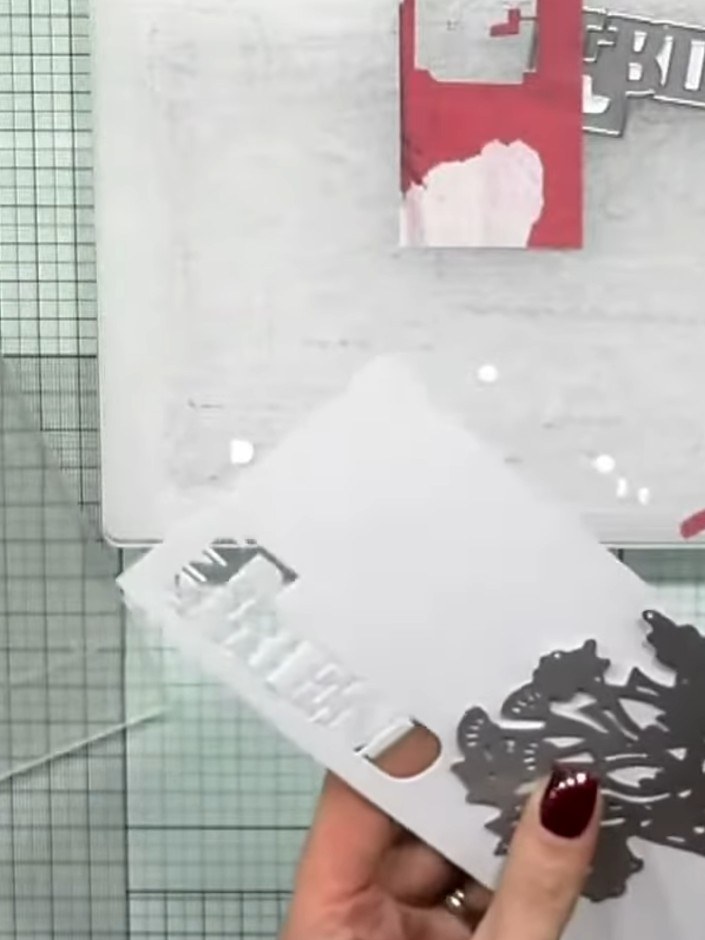
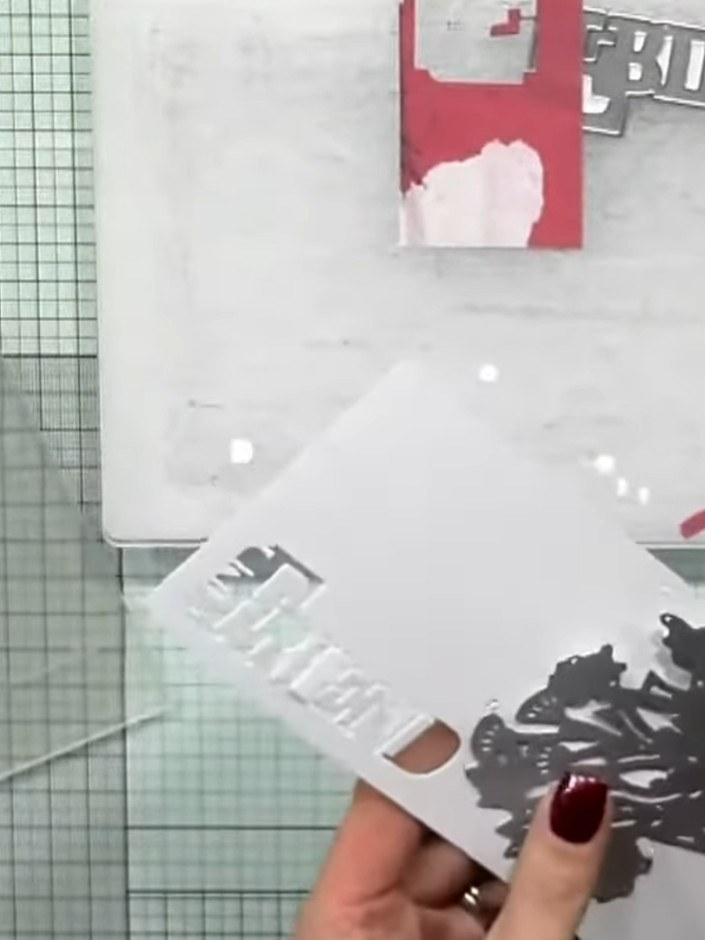
Carefully tap out all the die-cut pieces from the white card, including the 'FRIEND' sentiment and the decorative hedgehog design. Remove each piece gently to avoid tearing.
 3
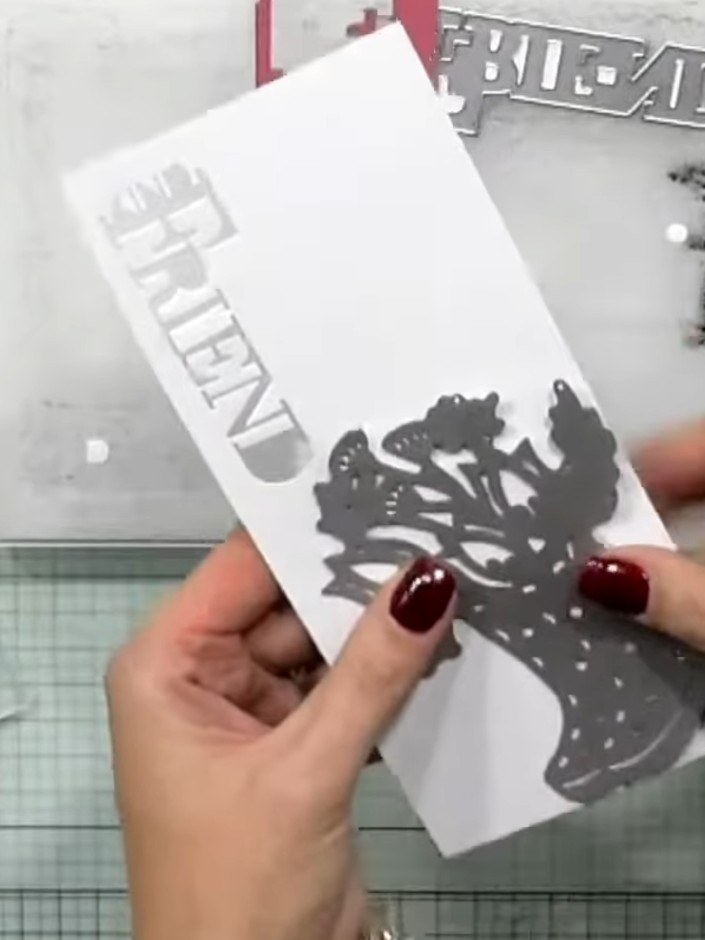
Cut layers of black card, white card, and patterned card stock to mat and layer your card front. Arrange them to create depth and visual interest.
 4
Adhere the patterned card layer to the black card base, ensuring it is centred and aligned properly.
 5
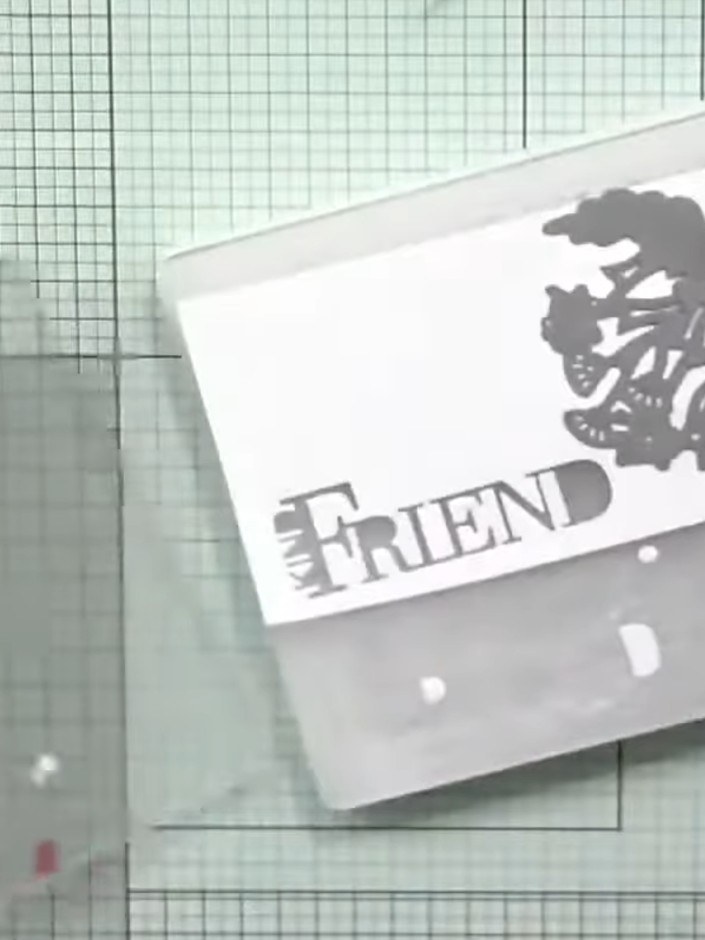
Position the white card layer on top of the pink patterned card base, aligning the edges carefully.
 6
Glue the Kind Friend die-cut sentiment onto the white layer, ensuring it sits flat and is properly positioned.
 7
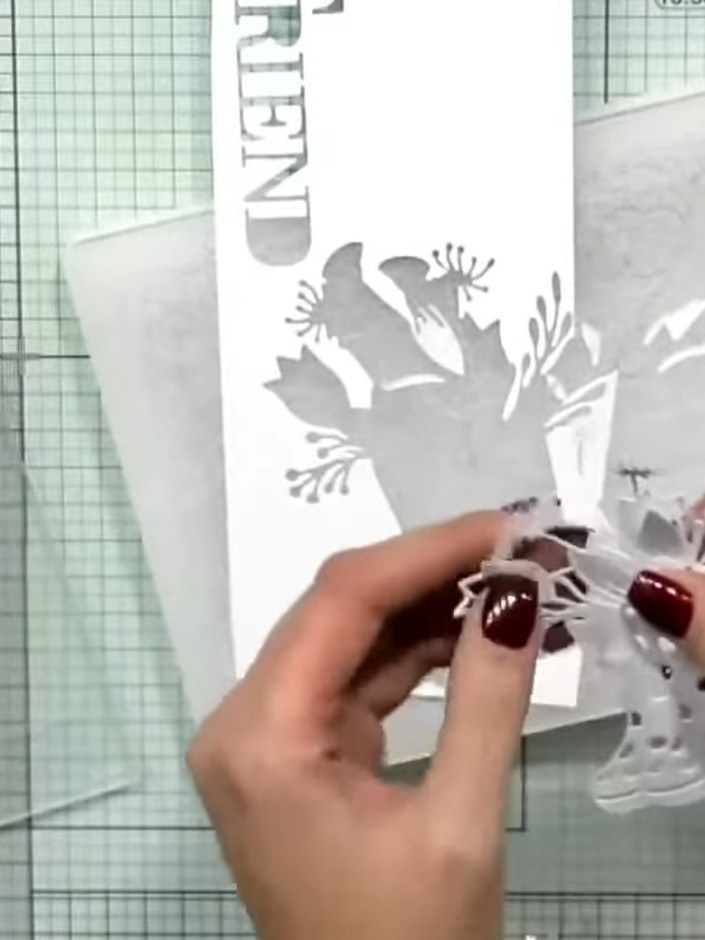
Dip the die-cut piece into an ink pad to add shading and definition to the recessed areas of the design.
 8
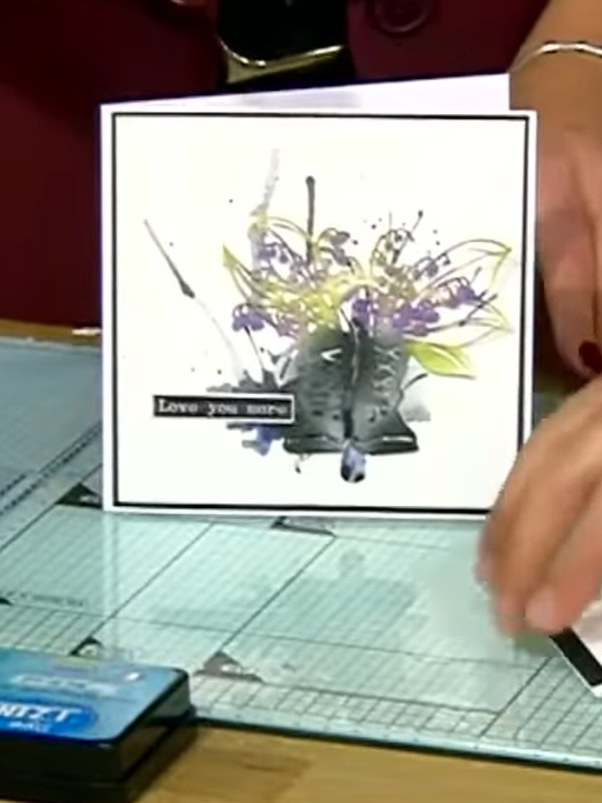
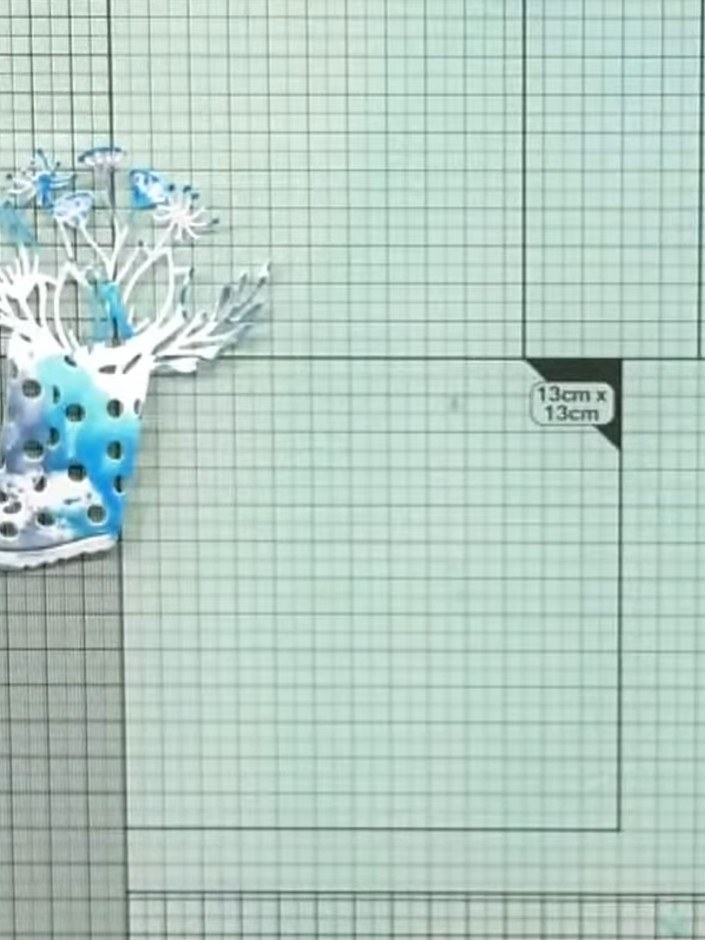
Mount the completed layered boot design with flowers onto your card base to finish your Kind Friends sentiment card.
Comparte tu proyecto con la comunidad de Stamps By Me - y guarda esta guía para la próxima vez.
Escrito a partir del propio programa. Todas las guías de nuestros programas · guías gratis · en vivo en My Telly · el diseño anterior