Regala ai tuoi amici 10 € di sconto sul loro primo ordine!
Invita un AMICO








I prezzi si aggiornano subito. Le traduzioni sono a cura di Google.
Un progetto dalla nostra diretta CREATE AND CRAFT EXCLUSIVE - Segui Toni IN DIRETTA per il lancio della sua nuova collezione FLOWERS FOR YOU - In onda il 31 marzo 22 · 31/03/2022
Create a striking card using the Kind Friend sentiment die with layered matting. The die features recessed lettering that creates dimension when layered with coordinating card colours, producing an elegant and impactful design.
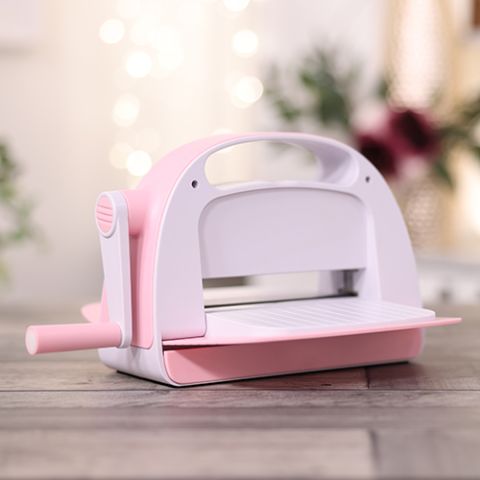
Die-cut the Kind Friend sentiment from patterned card stock using your die-cutting machine.
Tap out all the die-cut pieces carefully from the card.
Prepare layers of black card, white card, and patterned card stock for matting.
Adhere the patterned card layer to the black card base.
Position the white card layer on top of the patterned card.
Glue the Kind Friend die-cut sentiment onto the white layer, ensuring it sits flat.
Dip the die-cut into an ink pad to add shading and definition to the recessed areas.
Mount the completed layered design onto your card base.
Condividi il tuo progetto con la community di Stamps By Me - e conserva questa guida per la prossima volta.
Scritto direttamente dalla puntata. Vedi tutti i tutorial delle nostre puntate · tutorial gratuiti · guarda in diretta su My Telly · la versione precedente