Regala ai tuoi amici 10 € di sconto sul loro primo ordine!
Invita un AMICO








I prezzi si aggiornano subito. Le traduzioni sono a cura di Google.
Un progetto dalla nostra diretta CREATE AND CRAFT EXCLUSIVE - Segui Toni IN DIRETTA per il lancio della sua nuova collezione FLOWERS FOR YOU - In onda il 31 marzo 22 · 31/03/2022
Create a charming card featuring the Spring Boots die with selective ink application and watercolour accents. The technique uses a mop-up method to add colour to specific areas of the boots, creating dimension and a hand-painted appearance.
Prepare a piece of watercolour card as your base.
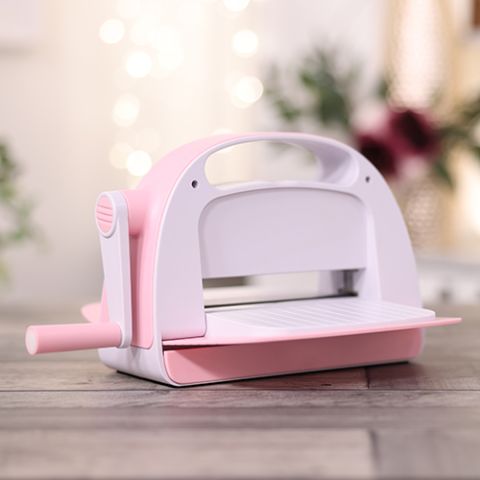
Die-cut the Spring Boots design from the watercolour card using your machine.
Tap out all the pieces from the die-cut carefully.
Dip the boots die-cut into an ink pad with minimal water to create selective colour coverage.
Allow the ink to dry slightly, leaving white areas visible on the boots for dimension.
Add a touch of blue watercolour to the top of the boots using a brush.
Apply sparkle pen colour to a corner of the card for added interest.
Layer the boots die-cut onto black card matting.
Add a white card layer for additional dimension.
Adhere the Kind Friend sentiment die-cut to the card in a coordinating colour.
Mount the completed design onto your finished card base.
Condividi il tuo progetto con la community di Stamps By Me - e conserva questa guida per la prossima volta.
Scritto direttamente dalla puntata. Vedi tutti i tutorial delle nostre puntate · tutorial gratuiti · guarda in diretta su My Telly · la versione precedente