Geef je vrienden € 10 korting op hun eerste bestelling!
Nodig een VRIEND uit








Prijzen worden meteen aangepast. Talen worden vertaald door Google.
Een project uit onze liveshow CREATE AND CRAFT EXCLUSIVE - Kijk LIVE mee met Toni bij de lancering van haar nieuwste collectie FLOWERS FOR YOU - uitgezonden op 31 maart 22 · 31/03/2022
Create a charming card featuring the Spring Boots die with selective ink application and watercolour accents. The technique uses a mop-up method to add colour to specific areas of the boots, creating dimension and a hand-painted appearance.
Prepare a piece of watercolour card as your base.
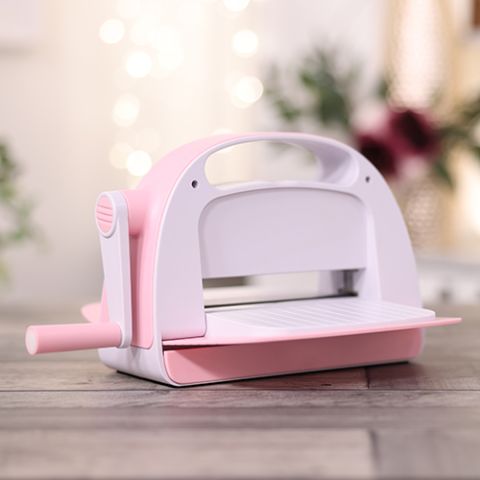
Die-cut the Spring Boots design from the watercolour card using your machine.
Tap out all the pieces from the die-cut carefully.
Dip the boots die-cut into an ink pad with minimal water to create selective colour coverage.
Allow the ink to dry slightly, leaving white areas visible on the boots for dimension.
Add a touch of blue watercolour to the top of the boots using a brush.
Apply sparkle pen colour to a corner of the card for added interest.
Layer the boots die-cut onto black card matting.
Add a white card layer for additional dimension.
Adhere the Kind Friend sentiment die-cut to the card in a coordinating colour.
Mount the completed design onto your finished card base.
Deel je project met de Stamps By Me community - en bewaar deze handleiding voor de volgende keer.
Rechtstreeks uit de show uitgeschreven. Bekijk alle handleidingen uit onze shows · gratis handleidingen · kijk live op My Telly · de vorige weergave