¡Regala a tus amigos €10 de descuento en su primer pedido!
Recomienda a un AMIGO








 Deal Huntersmar 10 nov 9:00 a. m.
 Hidden Gemsmié 11 nov 5:00 a. m.
 The Thursday Dropjue 12 nov 1:00 p. m.
Los precios cambian al instante. Cada idioma es nuestra propia traducción, no Google.
Un proyecto de nuestro programa en vivo PONTE AL DÍA con Simon y su Monday Madness con AVAGO-INK 27 sep 21 · 27/09/2021
An inverted stacked card using decorative postcard stamps that steps inwards rather than outwards, creating depth towards the centre. Perfect for masculine cards, this design layers three die-cut panels with stamped imagery and a central sentiment.
Prepare your work surface with scrap paper to protect from ink.
Position your sentiment stamp off-angle towards the centre of your card base to avoid it looking off-balance.
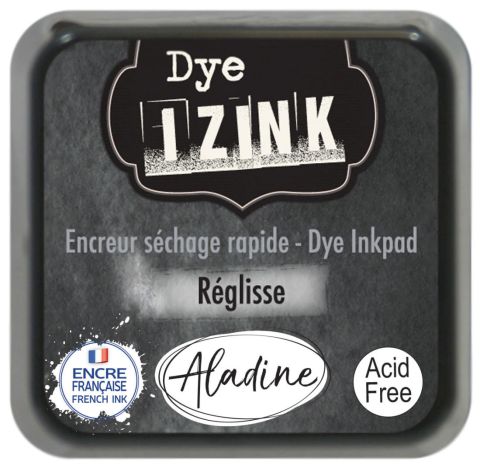
Ink the sentiment stamp with the lightest colour (Reglisse) and stamp firmly onto the card, pressing down well for a crisp impression.
Select a larger stamping block and stamp additional images (such as the Eiffel Tower) around the sentiment in a random pattern using the lightest colour.
Change to the mid-tone colour (Nuit) and layer stamps over the existing images, allowing them to overlap.
Add the darkest colour (Reglisse) with detail stamps like the postage line around the edges, leaving a blank area around the sentiment.
Die-cut the stamped panel using the three nesting dies to create three separate layers of decreasing size.
Secure the stamped panel to the blue background card using tape runner.
Die-cut the outer and inner borders using the complementary dies to create a framed aperture effect.
Build the inverted stack by applying foam tape around the edges of the middle layer and adhering it to the base card.
Apply foam tape to the outer layer and position it on top, ensuring the stamped design aligns with the previous layer.
Create a matching background on a white card blank using the same three ink colours and stamps, building up the design around the edges.
Remove the backing tape and position the completed stacked panel in the centre of the white background card, pressing down firmly.
Comparte tu proyecto con la comunidad de Stamps By Me - y guarda esta guía para la próxima vez.
Escrito a partir del propio programa. Todas las guías de nuestros programas · guías gratis · en vivo en My Telly · el diseño anterior