Regala ai tuoi amici 10 € di sconto sul loro primo ordine!
Invita un AMICO








I prezzi si aggiornano subito. Ogni lingua è una nostra traduzione, non Google.
Un progetto dalla nostra diretta RIGUARDA Simon nel Monday Madness con AVAGO-INK 27 set 21 · 27/09/2021
An inverted stacked card using decorative postcard stamps that steps inwards rather than outwards, creating depth towards the centre. Perfect for masculine cards, this design layers three die-cut panels with stamped imagery and a central sentiment.
Prepare your work surface with scrap paper to protect from ink.
Position your sentiment stamp off-angle towards the centre of your card base to avoid it looking off-balance.
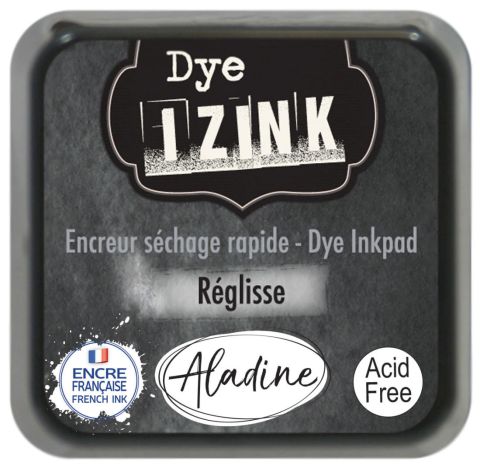
Ink the sentiment stamp with the lightest colour (Reglisse) and stamp firmly onto the card, pressing down well for a crisp impression.
Select a larger stamping block and stamp additional images (such as the Eiffel Tower) around the sentiment in a random pattern using the lightest colour.
Change to the mid-tone colour (Nuit) and layer stamps over the existing images, allowing them to overlap.
Add the darkest colour (Reglisse) with detail stamps like the postage line around the edges, leaving a blank area around the sentiment.
Die-cut the stamped panel using the three nesting dies to create three separate layers of decreasing size.
Secure the stamped panel to the blue background card using tape runner.
Die-cut the outer and inner borders using the complementary dies to create a framed aperture effect.
Build the inverted stack by applying foam tape around the edges of the middle layer and adhering it to the base card.
Apply foam tape to the outer layer and position it on top, ensuring the stamped design aligns with the previous layer.
Create a matching background on a white card blank using the same three ink colours and stamps, building up the design around the edges.
Remove the backing tape and position the completed stacked panel in the centre of the white background card, pressing down firmly.
Condividi il tuo progetto con la community di Stamps By Me - e conserva questa guida per la prossima volta.
Scritto direttamente dalla puntata. Vedi tutti i tutorial delle nostre puntate · tutorial gratuiti · guarda in diretta su My Telly · la versione precedente