Offrez à vos amis 10 € de réduction sur leur première commande !
Parrainez un AMI








Un projet de notre émission en direct ATELIER DE NOËL - Rejoignez Toni au Studio 3 pour son projet GRATUIT - Diffusion du 7 déc. 22 · 07/12/2022 · à voir dès 1:30
Create a stunning Christmas mini album featuring an innovative hinged spine system that allows pages to nest beautifully inside each other. This elegant project combines black cardstock structural elements with festive decorative papers featuring vintage Christmas music sheets and robin motifs. Master the professional technique of creating a hinged spine binding system for a polished, book-like finish.
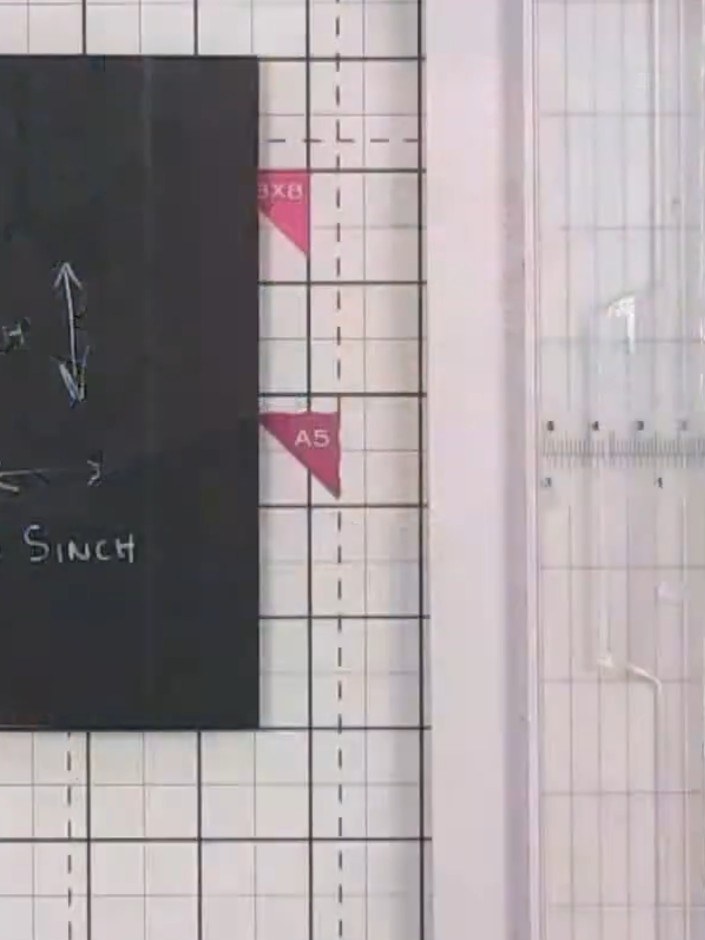
Cut a piece of black cardstock measuring 6 inches tall by 4.5 inches wide for the spine cover.
▶ voir cette étape (4:45)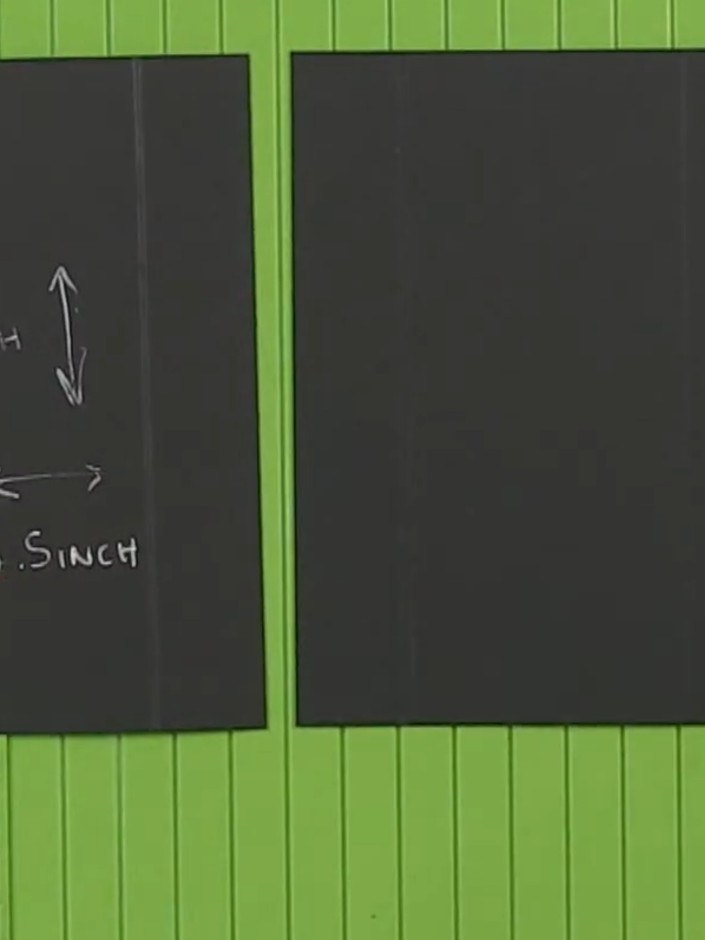
Score the black spine piece at 6 inches from the left edge, then turn it around and score 6 inches from the right edge to create fold lines.
▶ voir cette étape (6:30)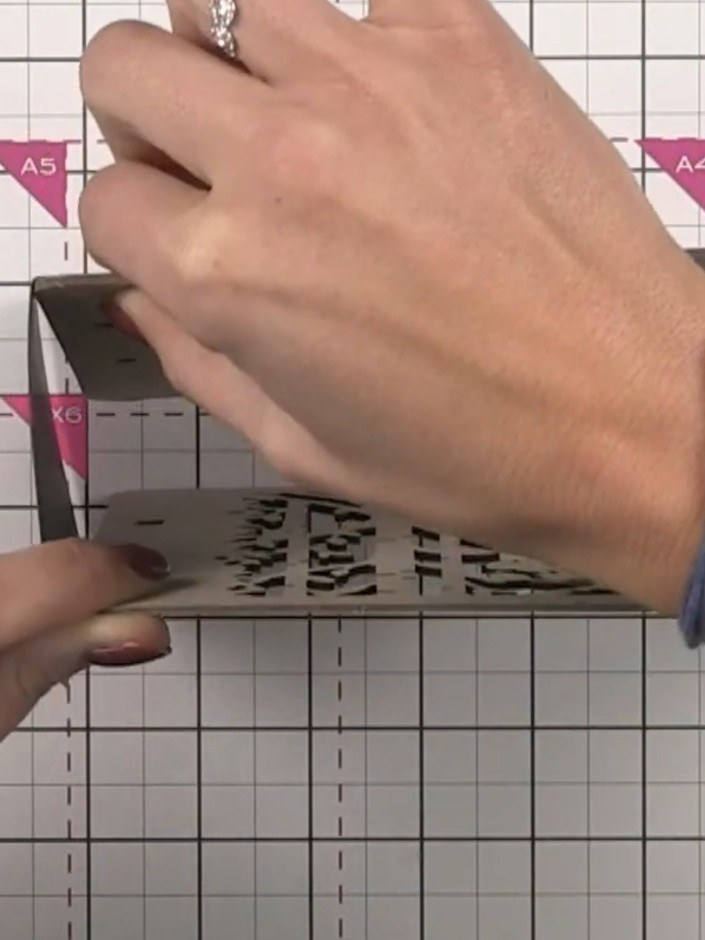
Fold along all the scored lines on your grey cardstock pieces to create hinges. These folded hinges will hold your album together.
▶ voir cette étape (8:00)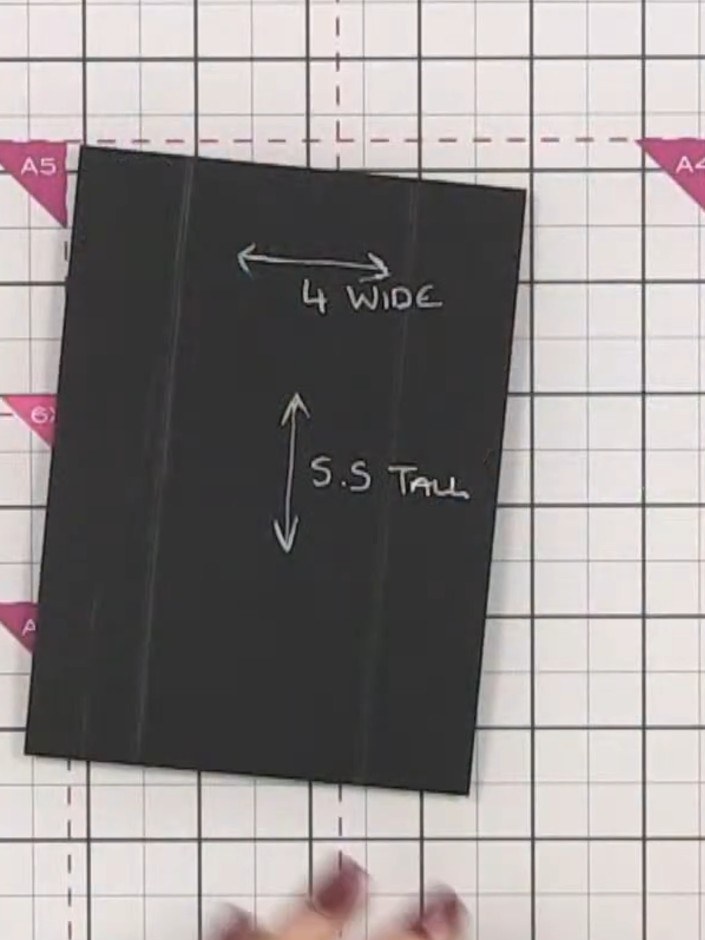
Cut a piece of black cardstock measuring 5.5 inches tall by 4 inches wide for the first interior page.
▶ voir cette étape (9:00)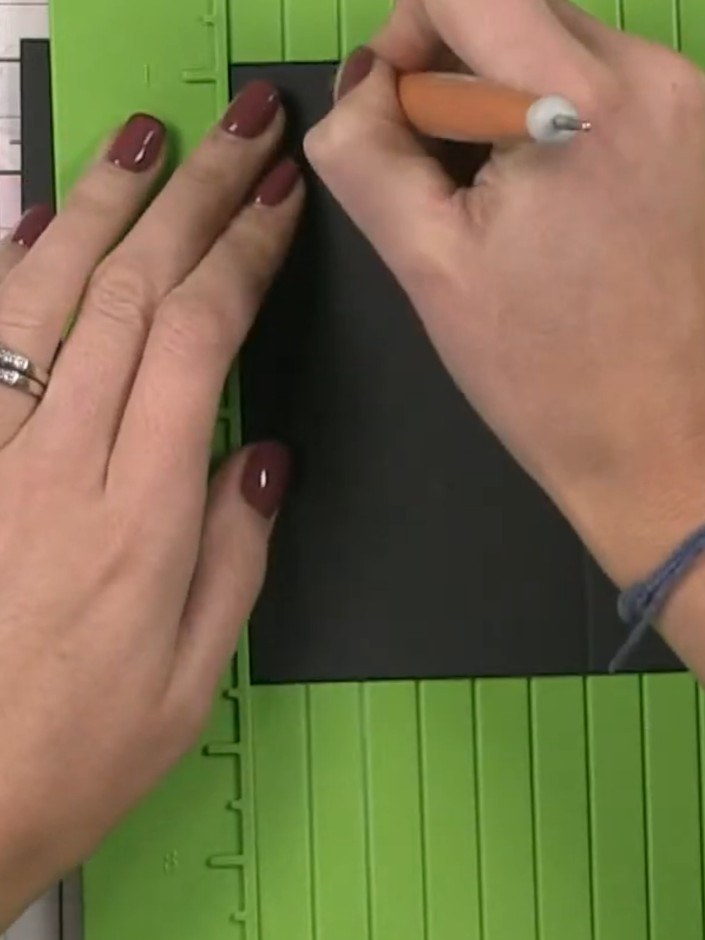
Score the black card piece at 1 inch from each edge. Fold along the score lines to create hinges on both sides.
▶ voir cette étape (10:30)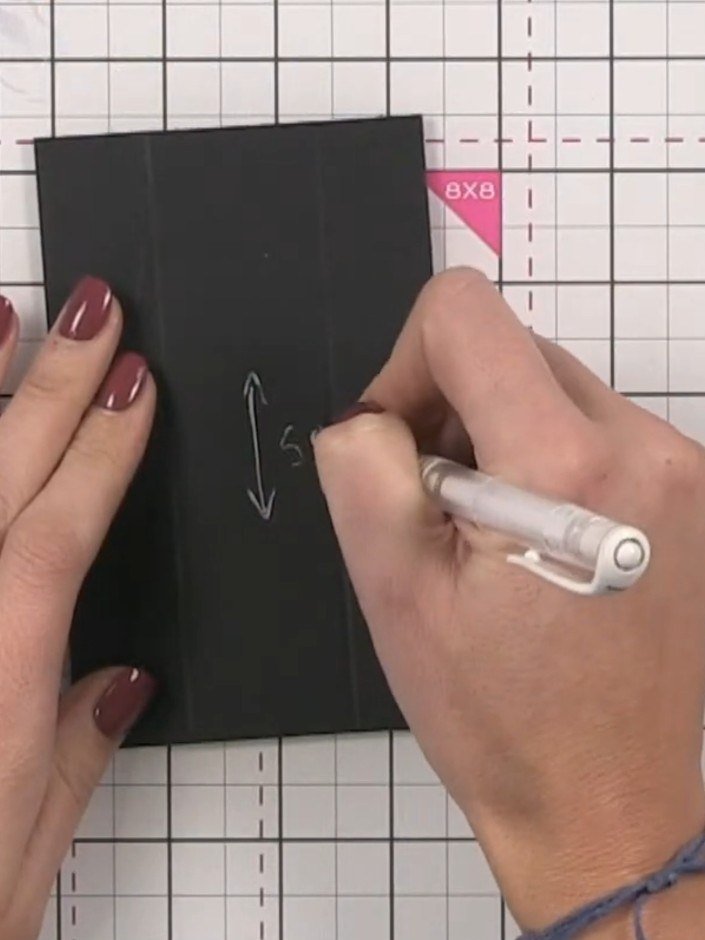
Cut the next interior page from black cardstock to 5.5 inches tall by 3.5 inches wide. Score at 1 inch from each edge on the left and right sides, then fold along the score lines.
▶ voir cette étape (11:45)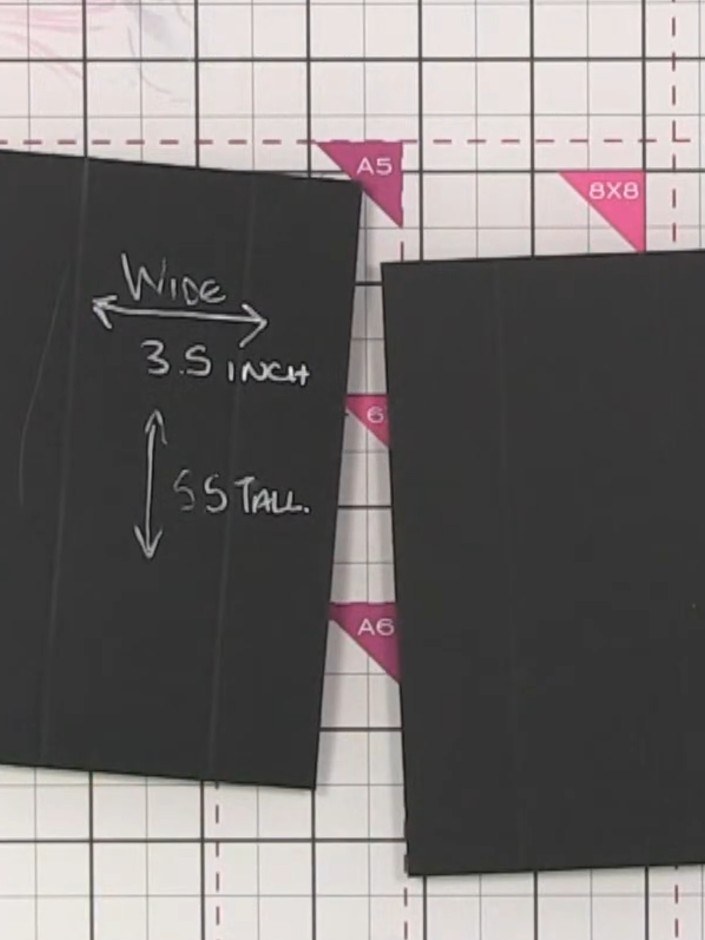
Continue cutting additional cardstock pieces for the interior pages. Cut pieces measuring 5.5 inches tall, decreasing the width by half-inch increments: 3 inches wide, then 2.5 inches wide, and so on.
▶ voir cette étape (13:00)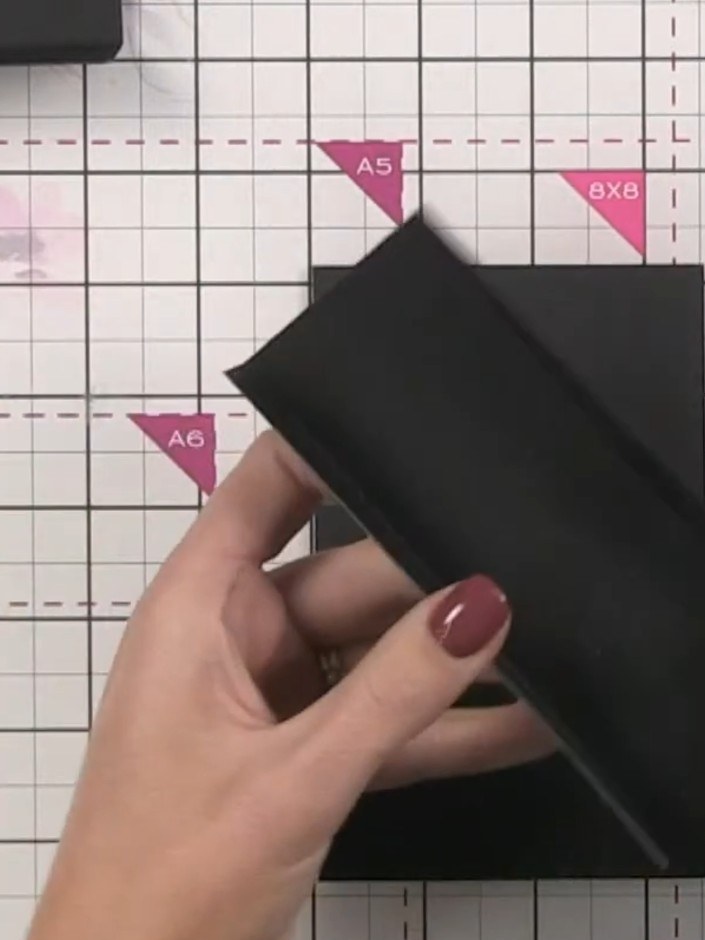
Nest each scored and folded black card piece inside the previous one, leaving equal space on either side to create the hinged spine system for the album.
▶ voir cette étape (16:15)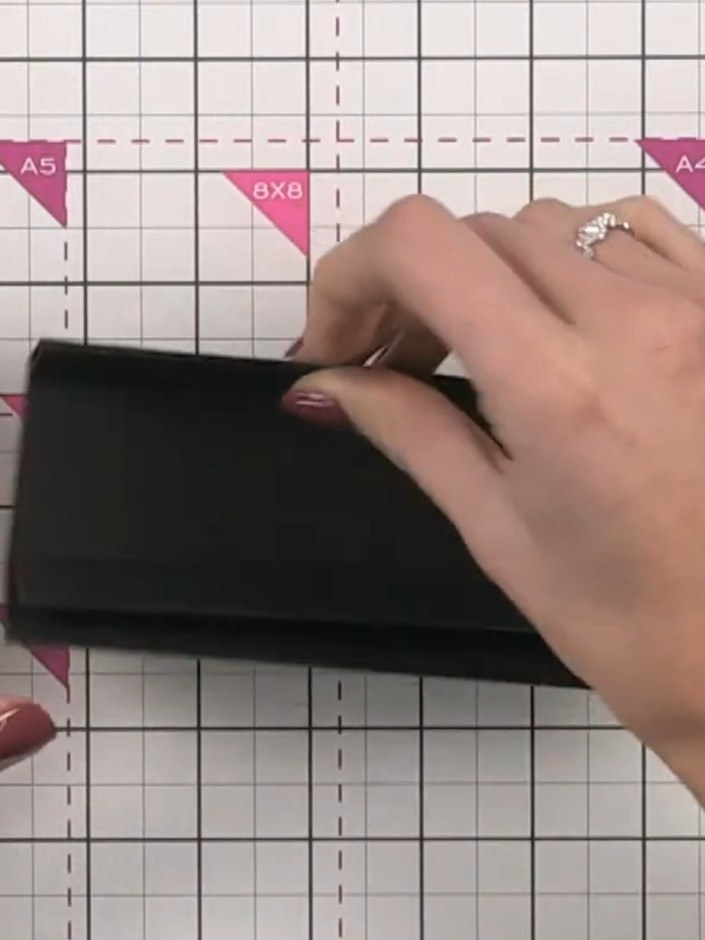
Glue each nested black piece in place on the spine, ensuring the hinges are properly aligned and leaving equal spacing between each piece. The spine should look straight and even.
▶ voir cette étape (18:15)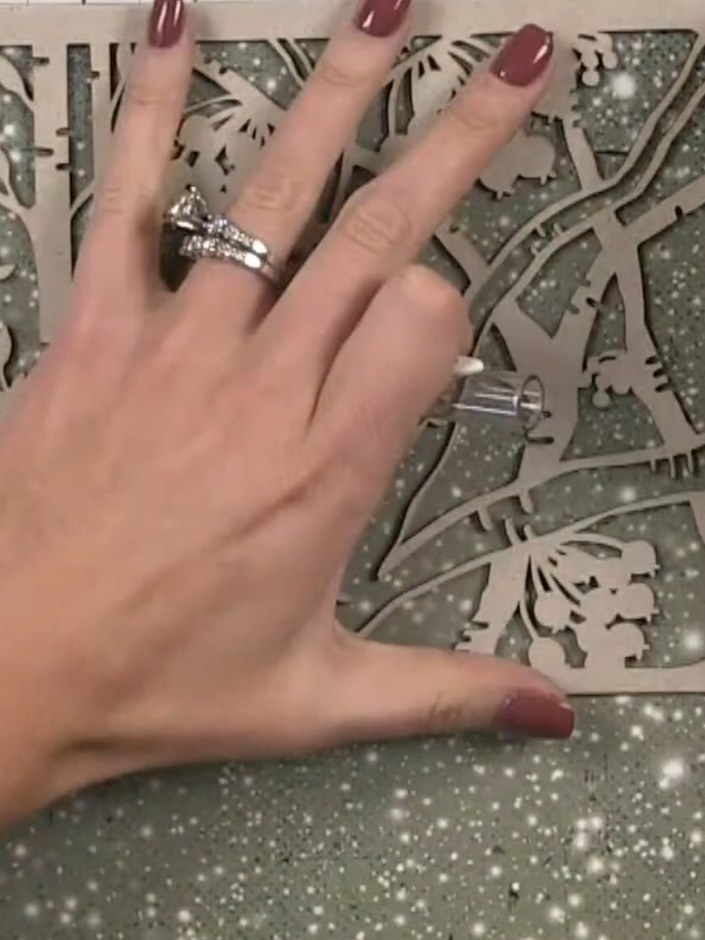
Select a decorative paper from your kit and position it over the front cover. Hold it in place with one hand whilst smoothing it down to ensure good adhesion.
▶ voir cette étape (21:00)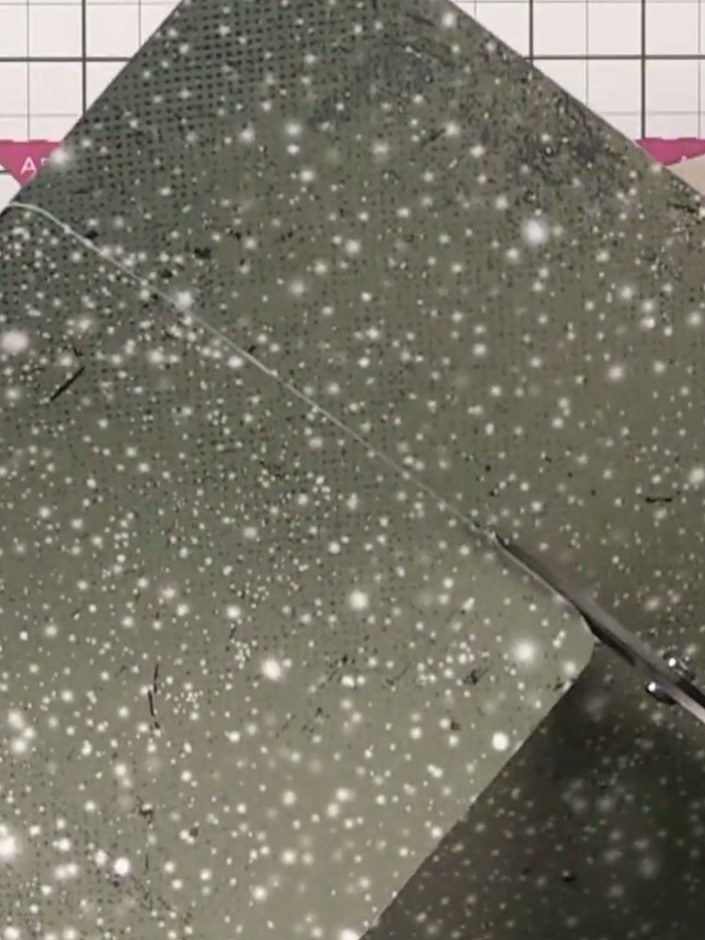
Trim the sparkly paper to fit the cover edge using scissors. Optionally ink the edges with a dark ink pad for definition.
▶ voir cette étape (22:45)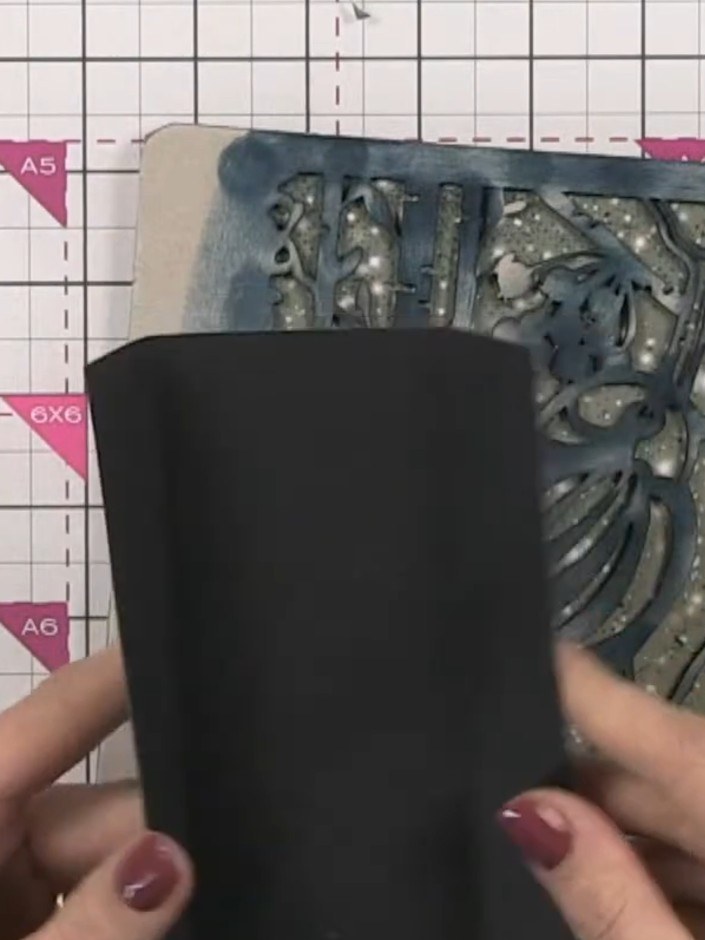
Position the completed spine system centrally inside the front and back covers. Glue the spine system in place, ensuring it is evenly positioned between the two edges of the covers.
▶ voir cette étape (28:00)Rédigé à partir de l'émission elle-même. Découvrez tous les guides de nos émissions · tutoriels gratuits · regarder en direct sur My Telly