Offrez à vos amis 10 € de réduction sur leur première commande !
Parrainez un AMI








Un projet de notre émission en direct HOBBYMAKER TV - Rejoignez-nous pour notre dernière émission - Diffusée à 16 h (heure britannique) le 24 octobre 2026 · 24/10/2026 · à voir dès 1:05:00
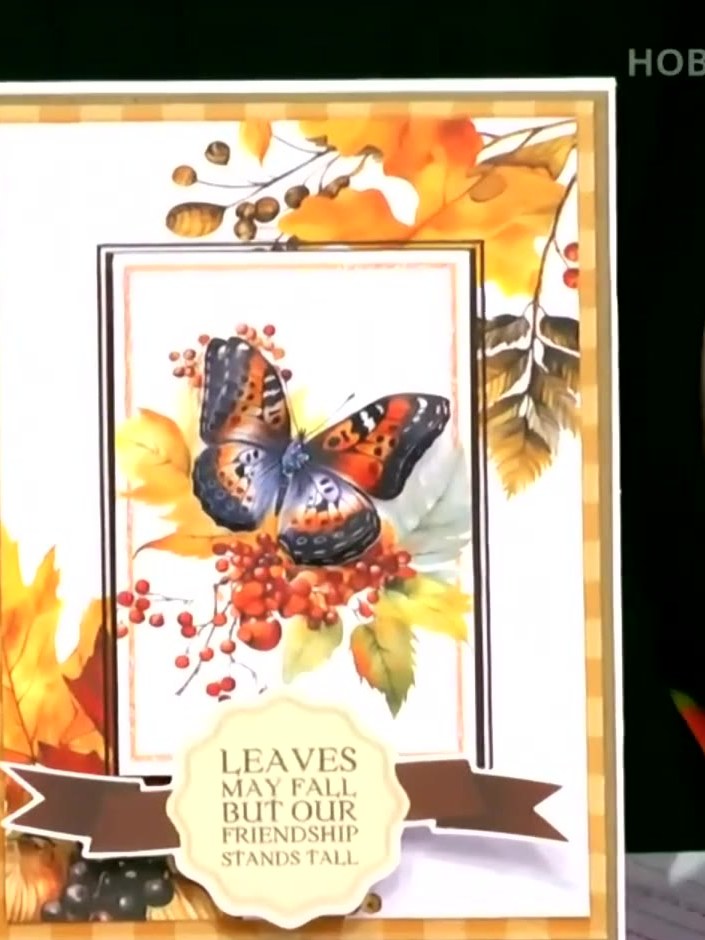
Create an elegant autumn-themed card featuring beautiful floral imagery from the Stamps By Me Golden Harvest collection. This project uses the Basket Builder stencil and die sets with Magnolia Dreams and Radiant Rose designs to create stunning layered toppers in vibrant pinks, purples and greens. The main techniques include stencilling, die-cutting and dimensional layering with foam pads to add depth to your finished card.
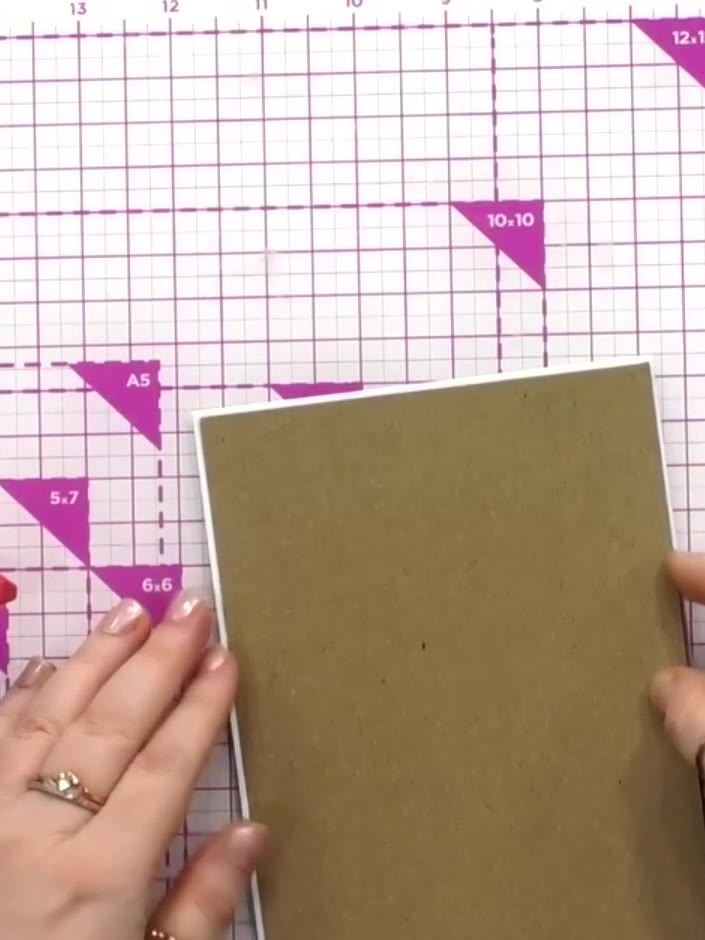
Take one of the tent-fold card bases from the kit. The card base is kraft brown in colour.
▶ voir cette étape (1:05:15)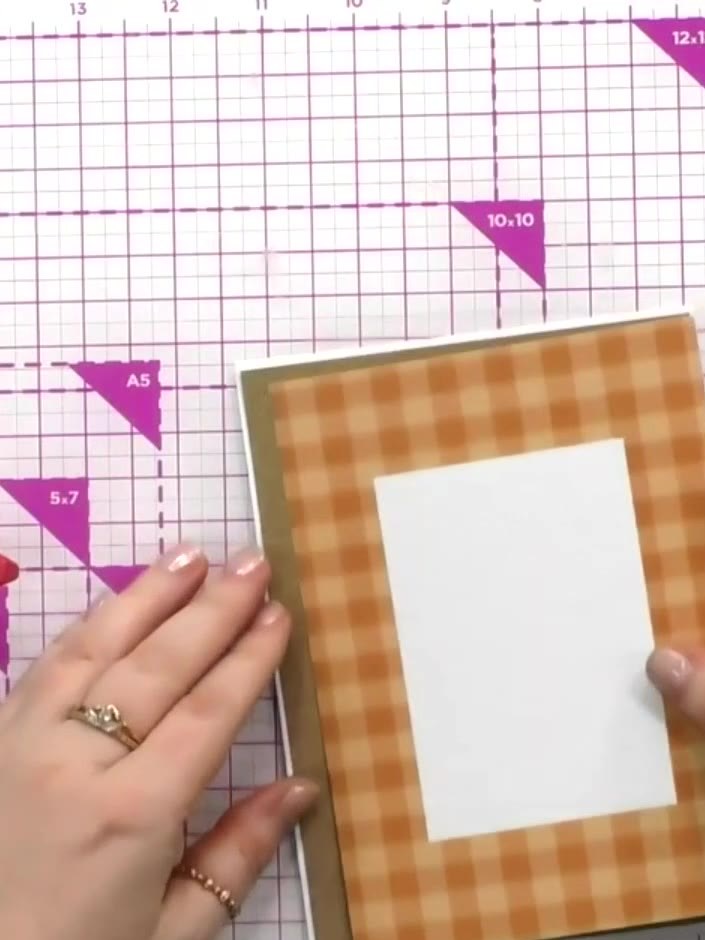
If desired, add a piece of kraft card behind your patterned card panel as a backing layer. This creates extra texture and visual interest for your card design.
▶ voir cette étape (1:05:30)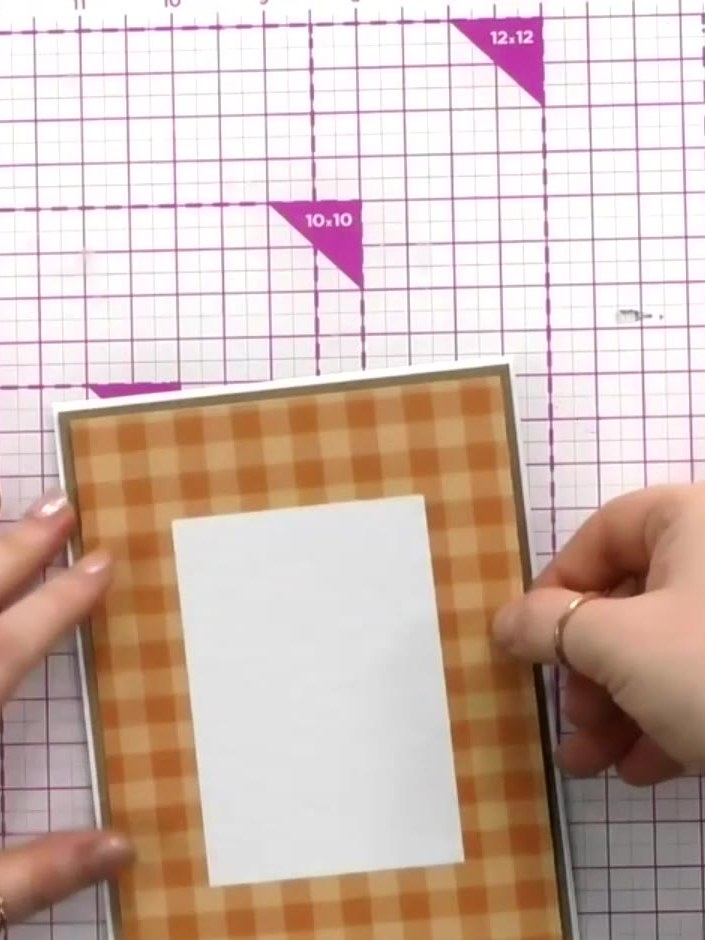
Select one of the decorative patterned boards from the kit. Adhere it to the front of your orange gingham card base, positioning it centrally.
▶ voir cette étape (1:05:45)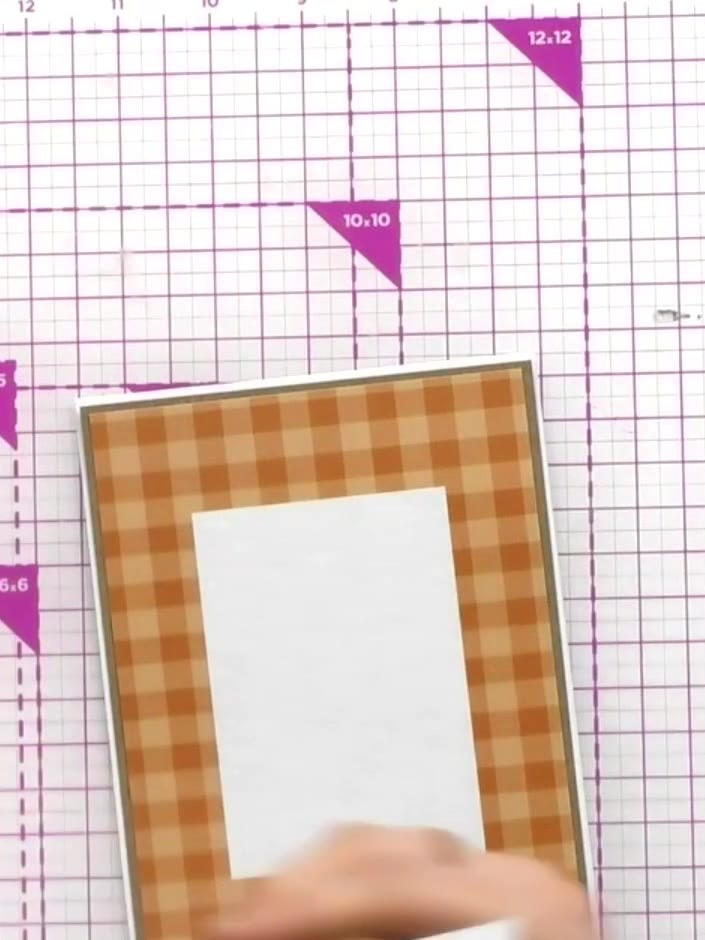
Trim a second piece of the orange gingham patterned paper slightly smaller than the first to create a matting layer. This will frame the white panel with the decorative border.
▶ voir cette étape (1:06:00)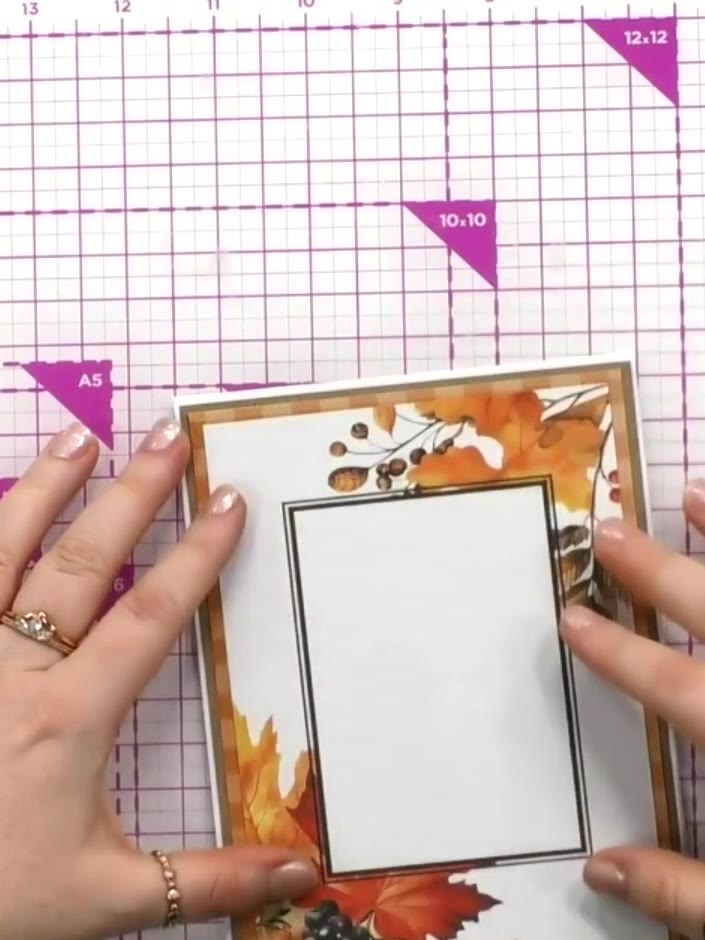
Adhere the trimmed topper panel on top of the card using foam pads to create dimension. Position it centrally over the autumn leaf background.
▶ voir cette étape (1:06:15)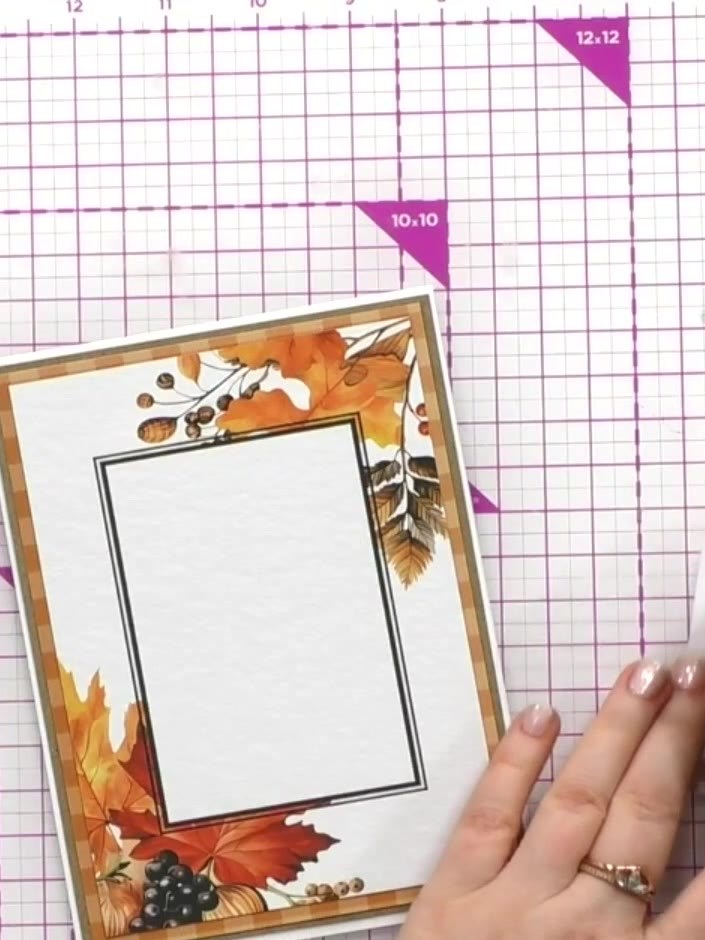
Select one of the ATC card images from the kit. Apply foam pads to the back of the card image.
▶ voir cette étape (1:06:45)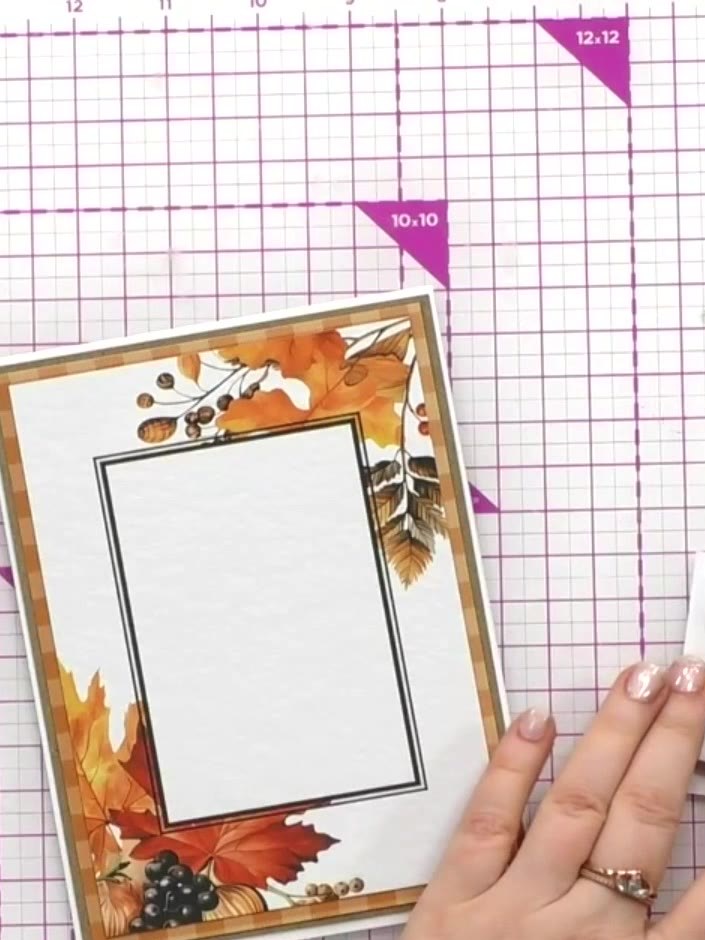
Place a foam pad in the centre of the ATC topper to prevent the middle from dipping when adhered to the card.
▶ voir cette étape (1:07:00)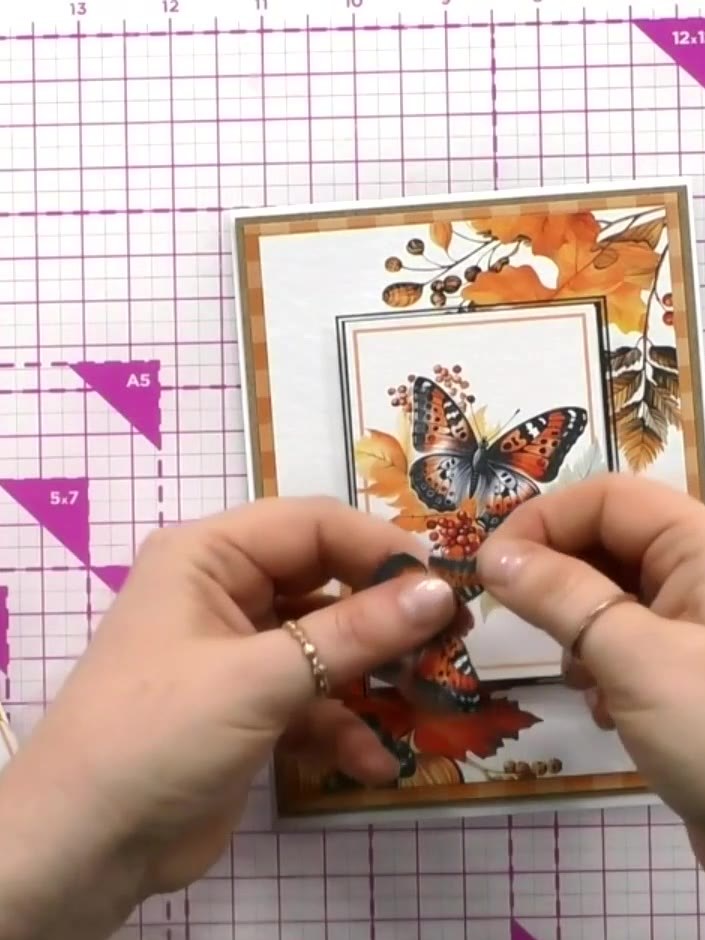
Position the ATC (Artist Trading Card) topper in the centre of the matted board on your card front. Ensure it is centred within the frame before adhering.
▶ voir cette étape (1:07:15)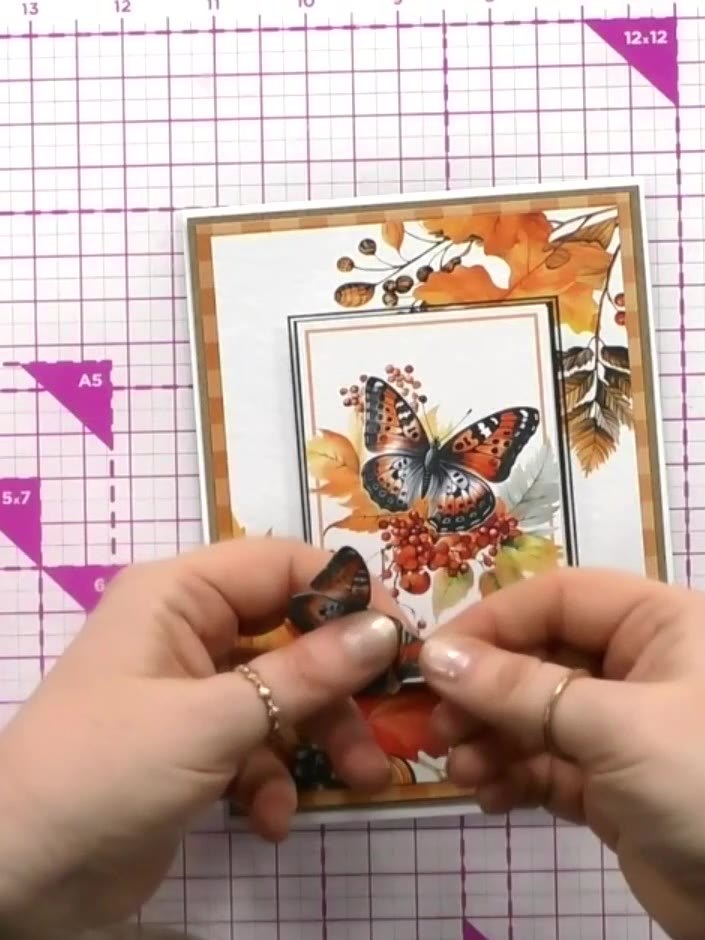
For added dimension, carefully snip out individual elements such as butterflies from the design. Gently curl the cut-out pieces to create a three-dimensional effect.
▶ voir cette étape (1:07:30)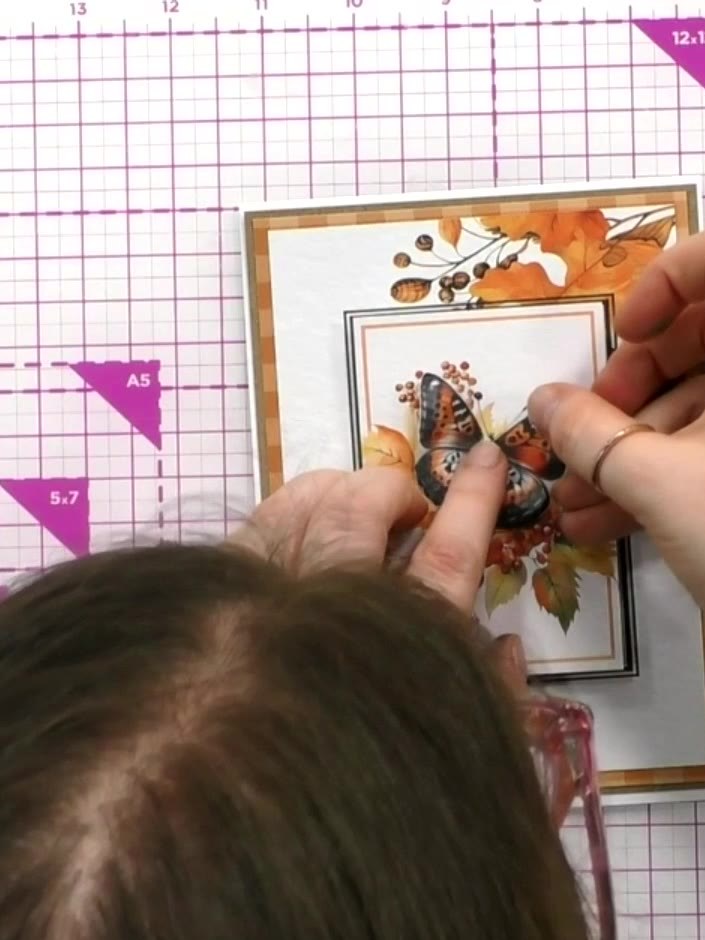
Die-cut or hand-cut a sentiment from the included designs. Position the sentiment on your card as desired.
▶ voir cette étape (1:08:00)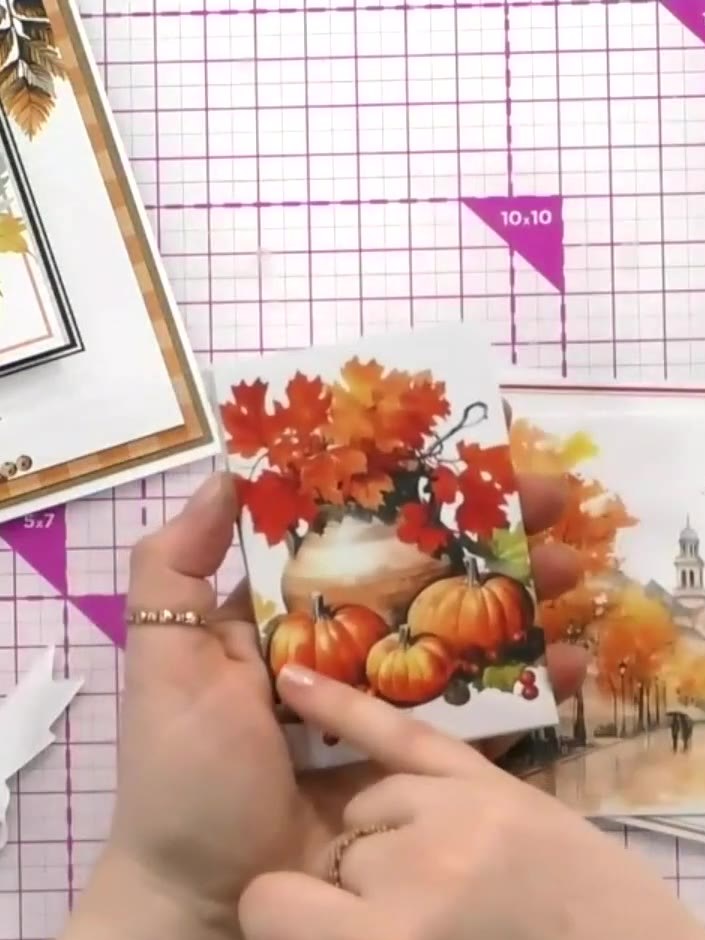
Apply foam pads to the back of the sentiment topper. Position the sentiment on the front of the card, placing it over the autumn scene topper.
▶ voir cette étape (1:08:15)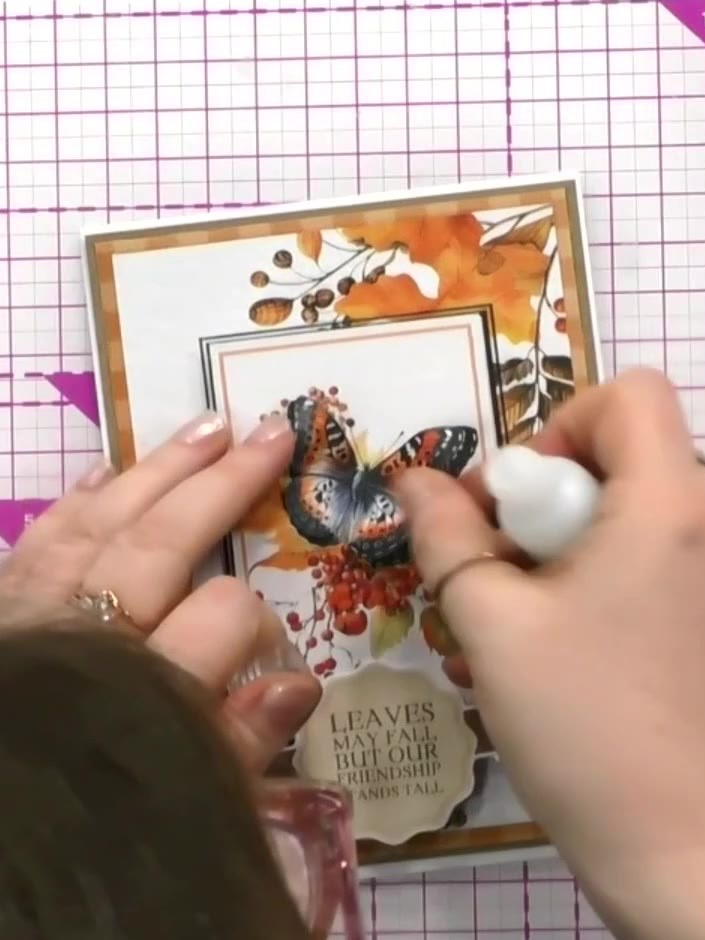
Optionally add glitter along the sentiment banner for extra sparkle. Use a glue pen or adhesive to apply glitter to the edges of the sentiment tag.
▶ voir cette étape (1:09:30)Rédigé à partir de l'émission elle-même. Découvrez tous les guides de nos émissions · tutoriels gratuits · regarder en direct sur My Telly