Offrez à vos amis 10 € de réduction sur leur première commande !
Parrainez un AMI








Un projet de notre émission en direct Create and Craft - Toni and Teresa Collaboration Product Launch Show 2 - Diffusée le 19 nov. 22 · 19/11/2022 · à voir dès 36:00
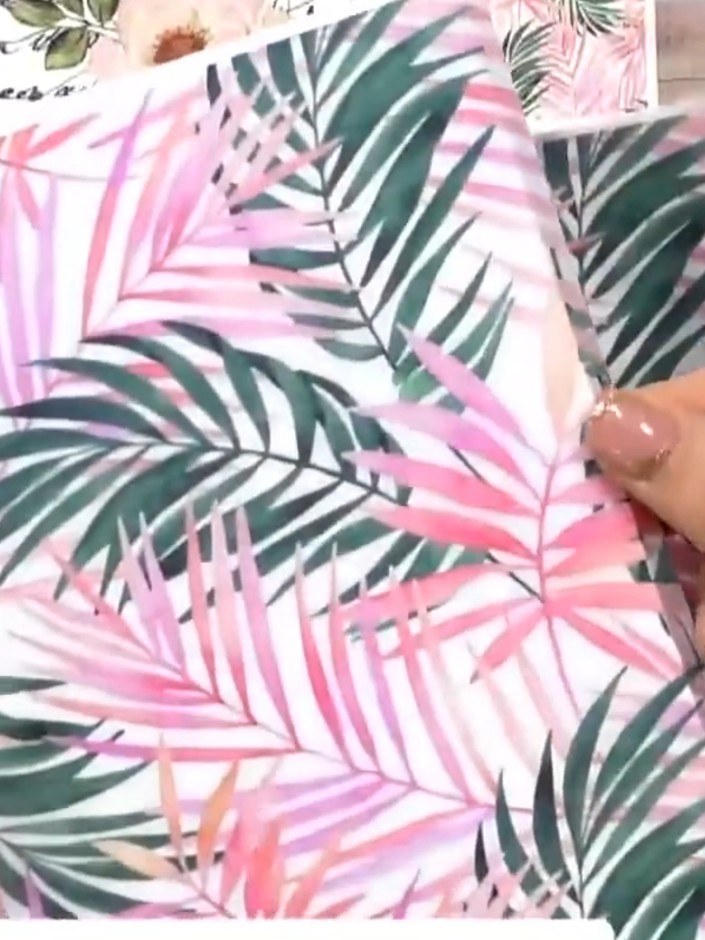
Create an elegant bookmark featuring dimensional vellum flowers in pink and black. This project combines layered vellum paper with ribbon tassels and decorative bows to make a sophisticated bookmark. The technique involves wrapping and layering vellum to create beautiful three-dimensional floral embellishments.
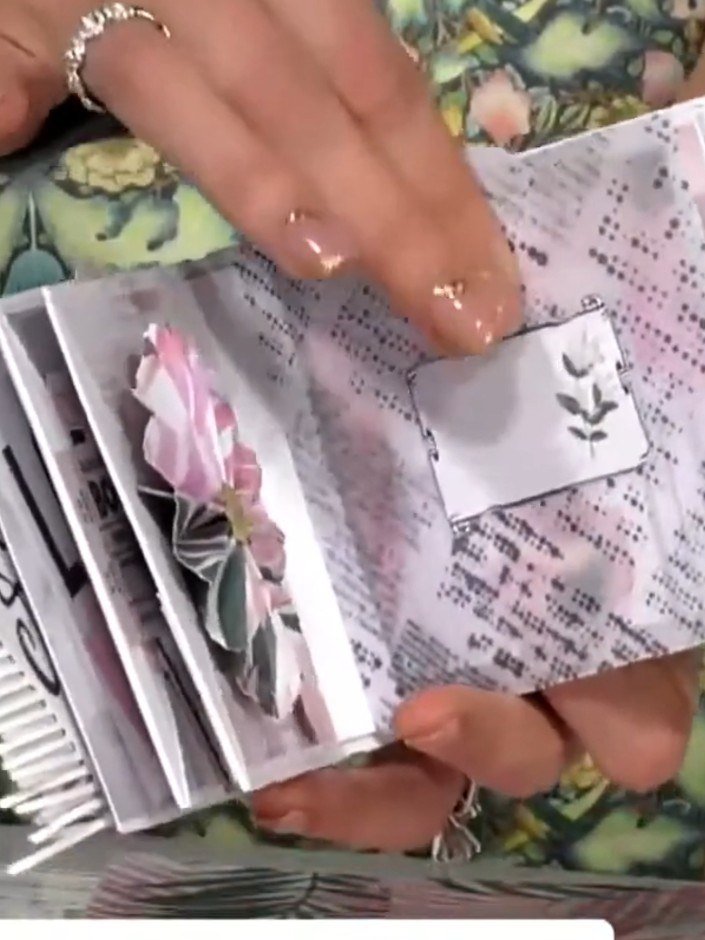
Cut strips from the vellum paper. These will be used to wrap around embellishments and create decorative elements for your projects.
▶ voir cette étape (36:15)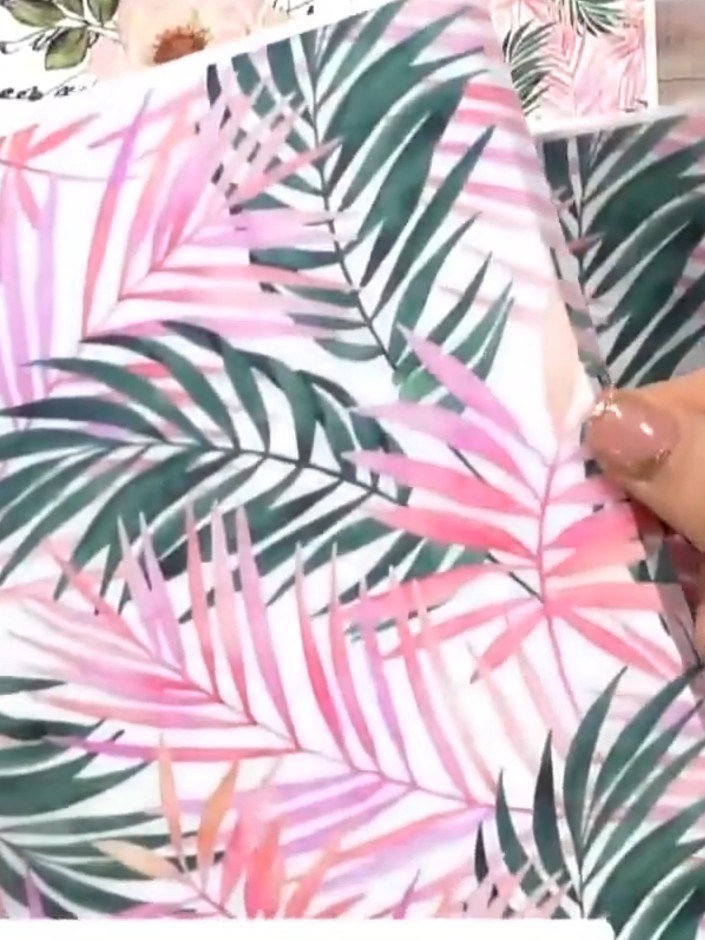
Wrap the vellum strips around your finger or a cylindrical tool to create a spiral shape. This will form the petals of your flower embellishment.
▶ voir cette étape (36:30)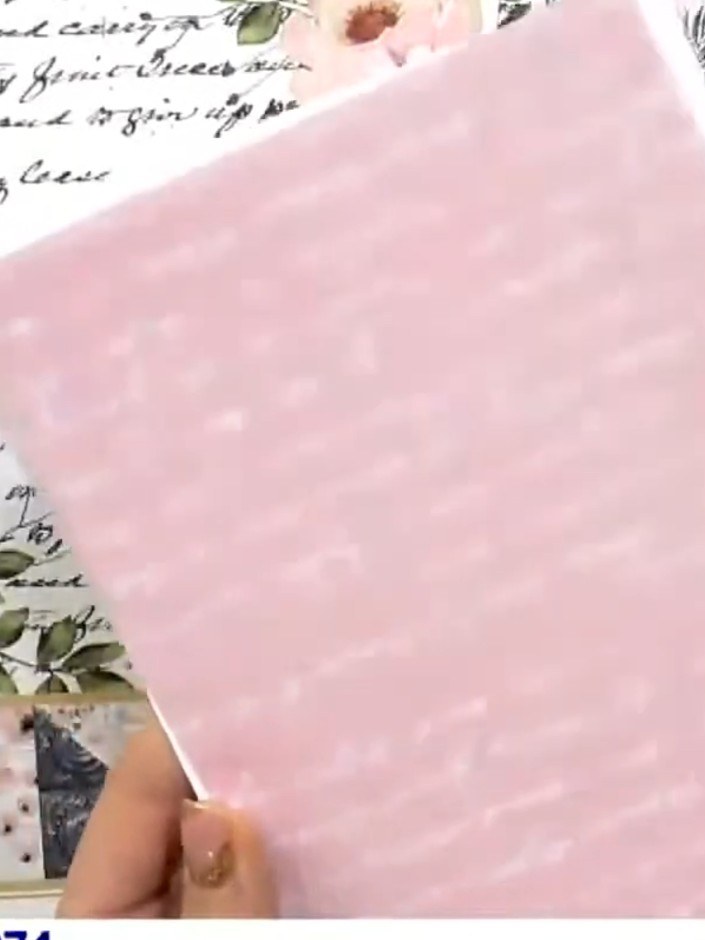
Continue wrapping the vellum strip around the flower centre, building up layers to create the desired flower size. Keep the wrapping fairly loose to create a natural petal effect.
▶ voir cette étape (36:45)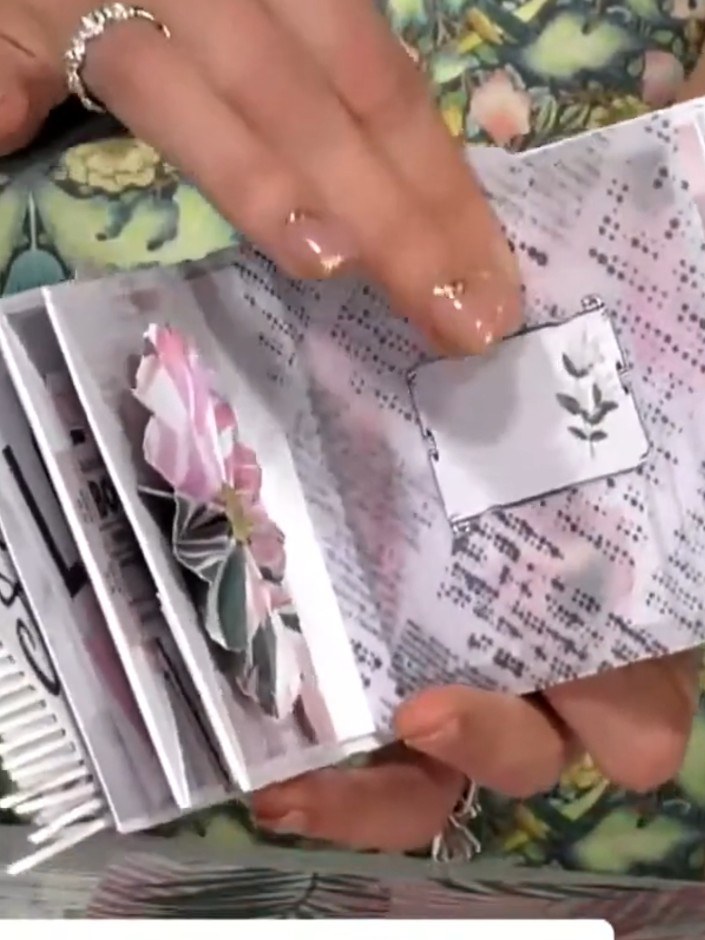
Secure the wrapped vellum flower by adding adhesive to hold the layers in place. Press gently to ensure the flower maintains its shape whilst the adhesive sets.
▶ voir cette étape (37:00)Rédigé à partir de l'émission elle-même. Découvrez tous les guides de nos émissions · tutoriels gratuits · regarder en direct sur My Telly