Offrez à vos amis 10 € de réduction sur leur première commande !
Parrainez un AMI








Un projet de notre émission en direct CREATE AND CRAFT - KIT EN COFFRET - Retrouvez Toni pour sa dernière émission de lancement 1 - Diffusé le 16 nov. 22 · 16/11/2022 · à voir dès 21:15
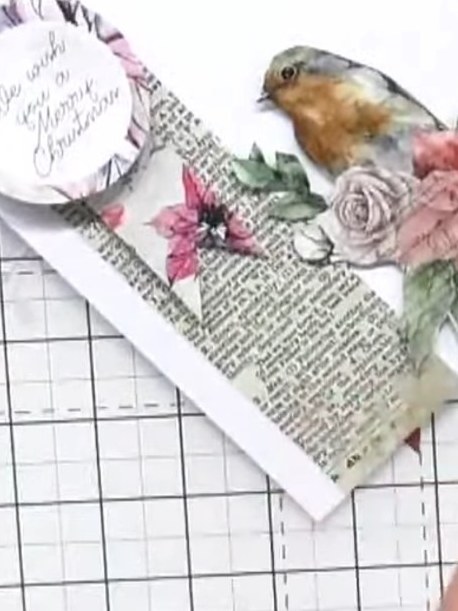
Create an elegant Christmas card featuring a fussy-cut robin from patterned paper. This beginner-friendly design combines delicate floral elements with a charming robin motif in soft pinks, greens and newsprint textures. The main technique is fussy cutting, where you carefully cut around printed images to create beautiful layered embellishments.
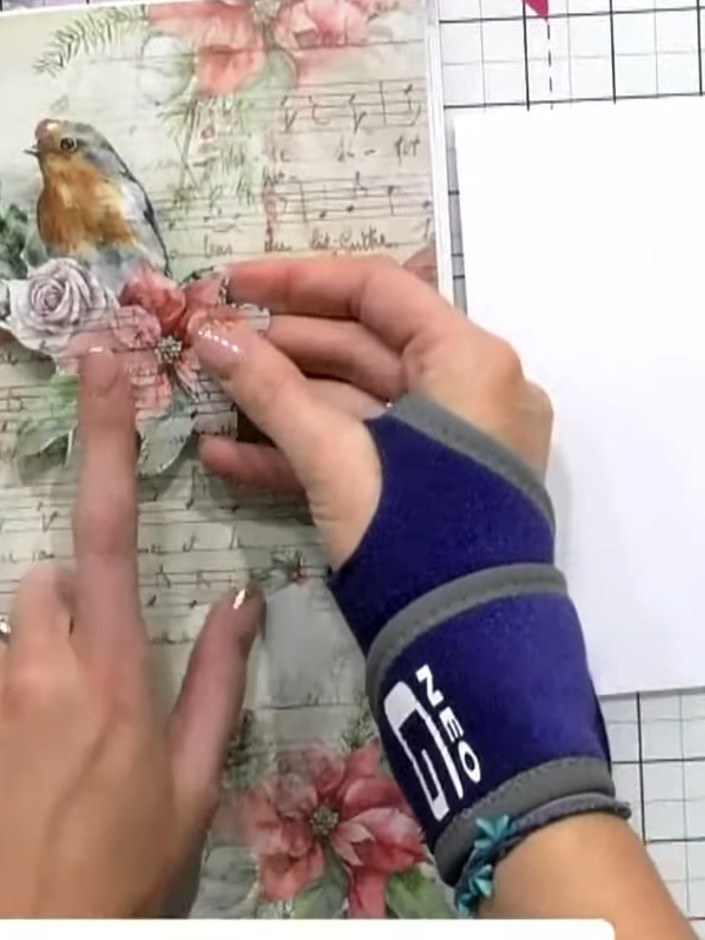
Fussy cut the robin image from the patterned paper, carefully cutting around the bird and floral details to preserve all the elements you want to show on your card.
▶ voir cette étape (21:30)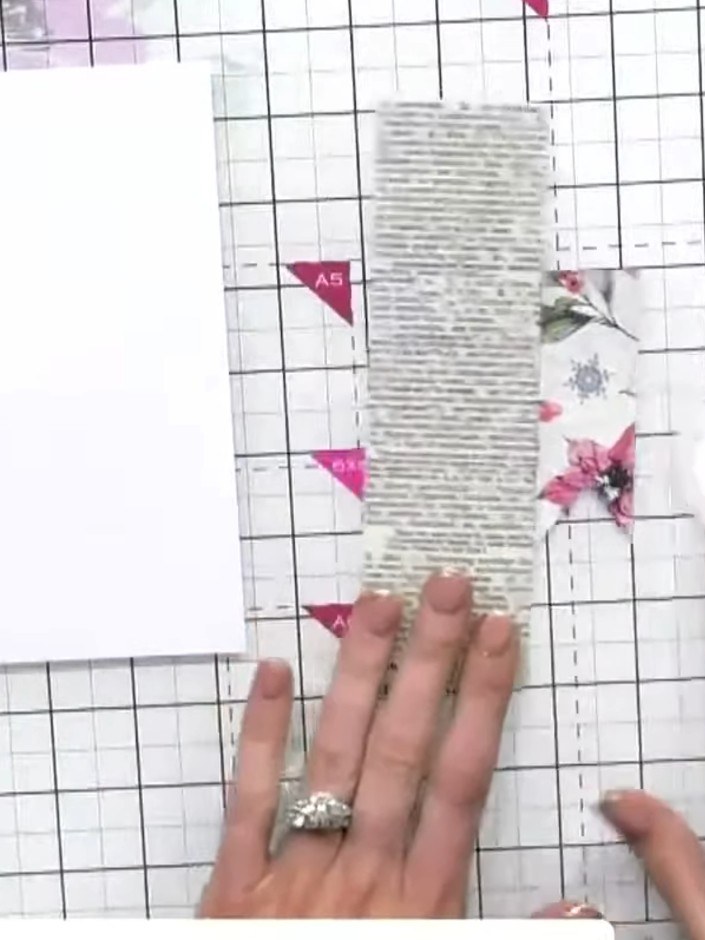
Cut a panel of the newspaper print paper from the magazine kit to create your base layer for the card.
▶ voir cette étape (21:45)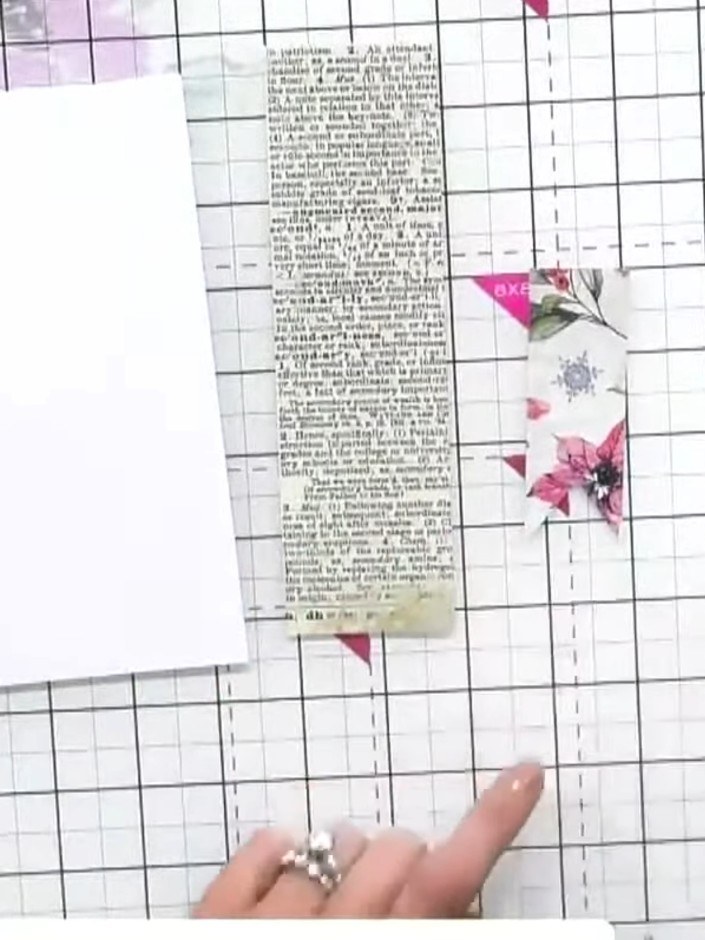
Cut a small scrap piece from the remaining paper to create a tail shape using scissors. Position the tail piece behind the robin topper.
▶ voir cette étape (22:00)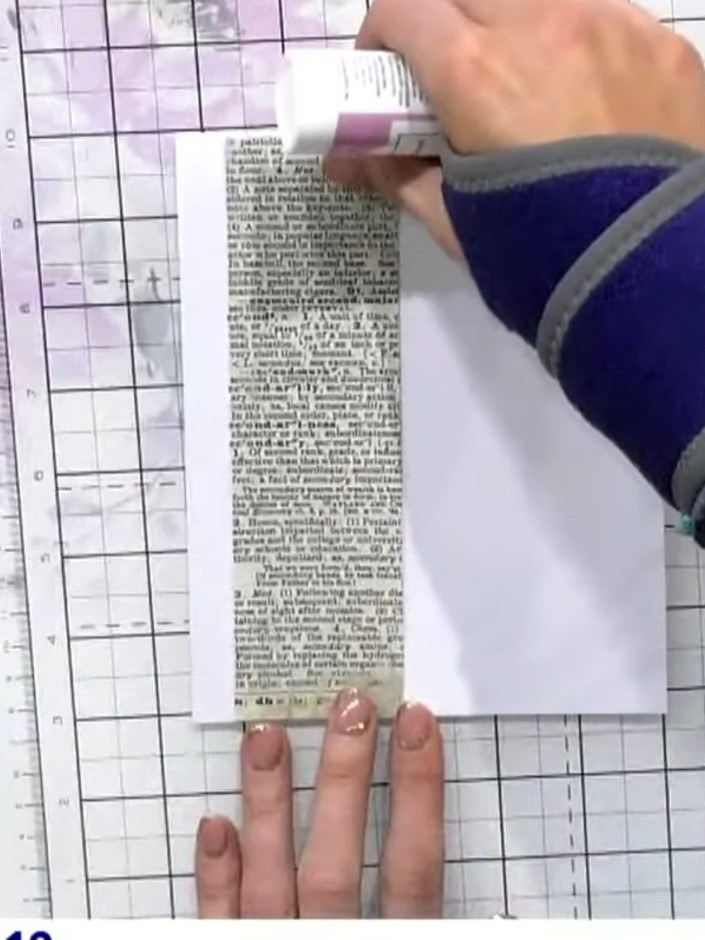
Die cut or cut out one of the sentiment circles from the magazine papers, such as 'We Wish You a Merry Christmas'.
▶ voir cette étape (22:15)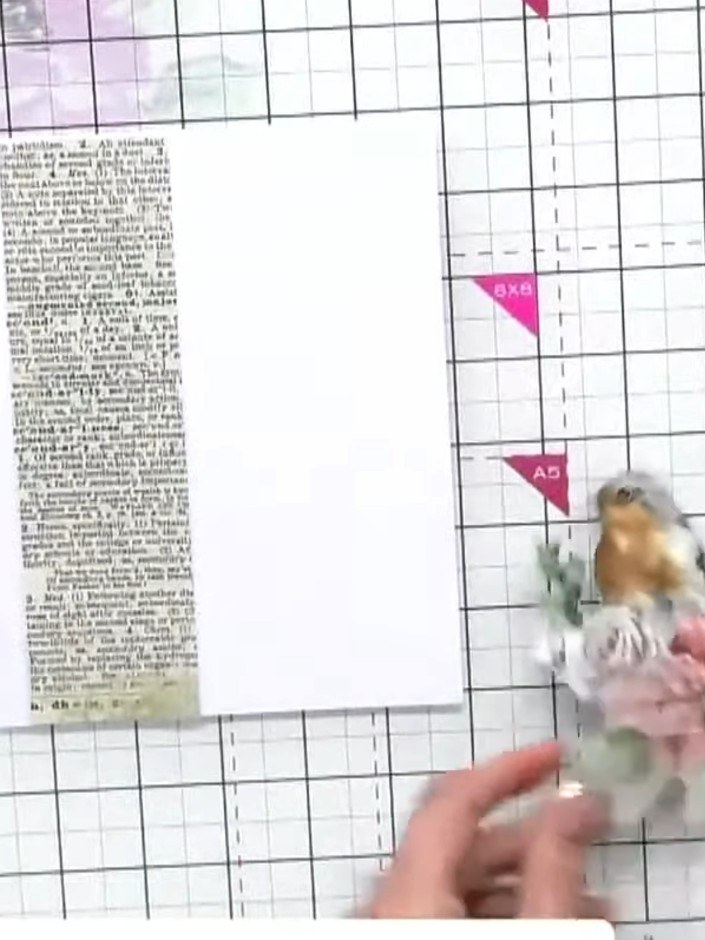
Apply foam pads to the back of the fussy-cut robin image to add dimension to your card.
▶ voir cette étape (22:30)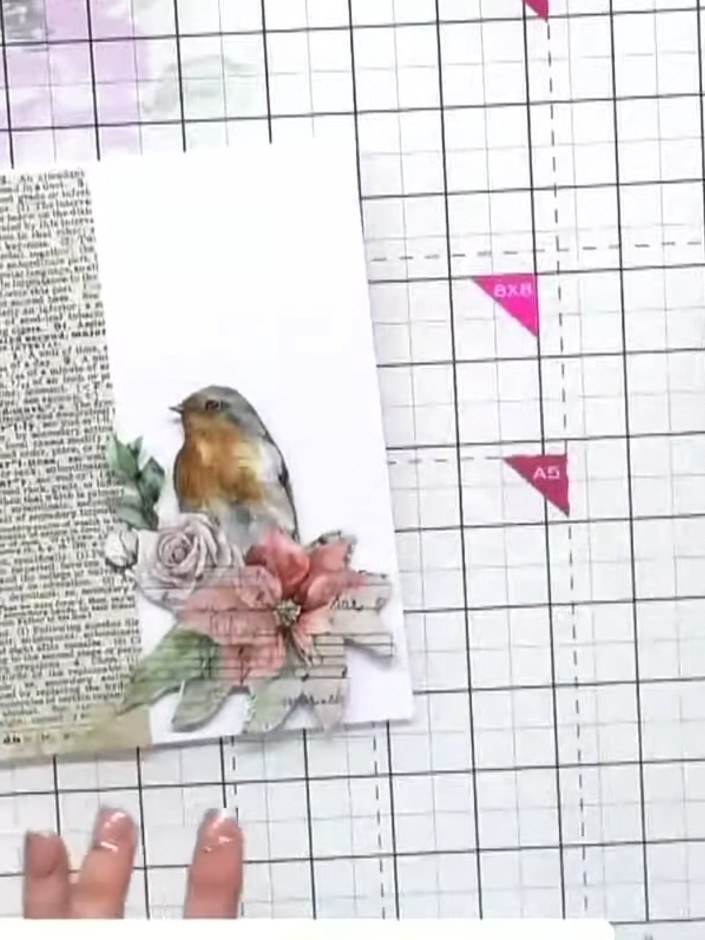
Position and adhere the fussy-cut robin image onto the newspaper print panel, placing it to one side rather than centred.
▶ voir cette étape (22:45)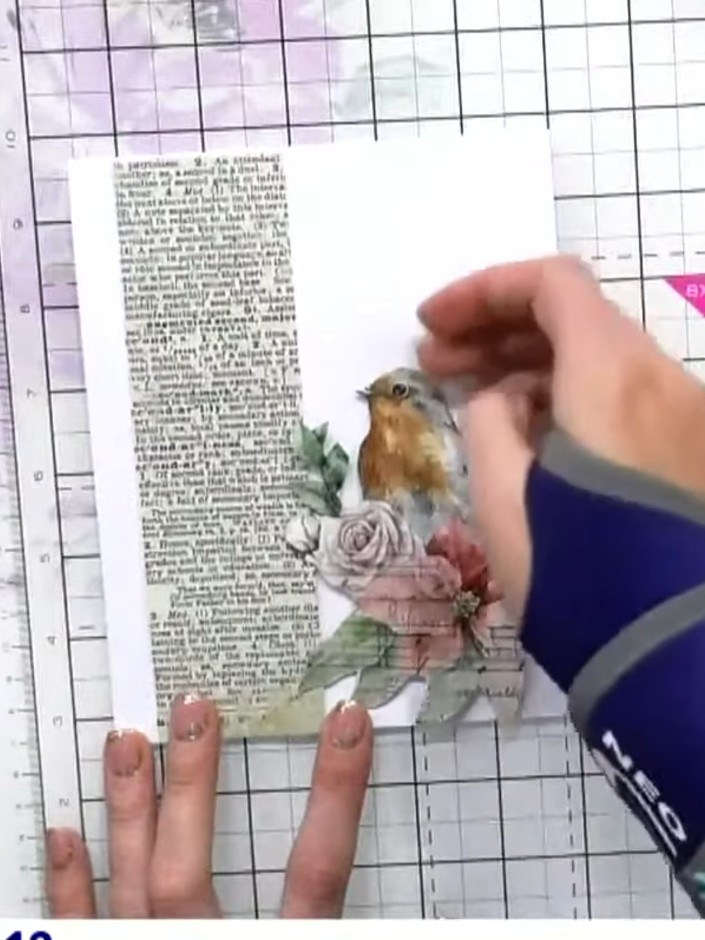
Attach the green foliage tail piece behind the robin using foam pads, positioning it to extend from the lower body area.
▶ voir cette étape (23:00)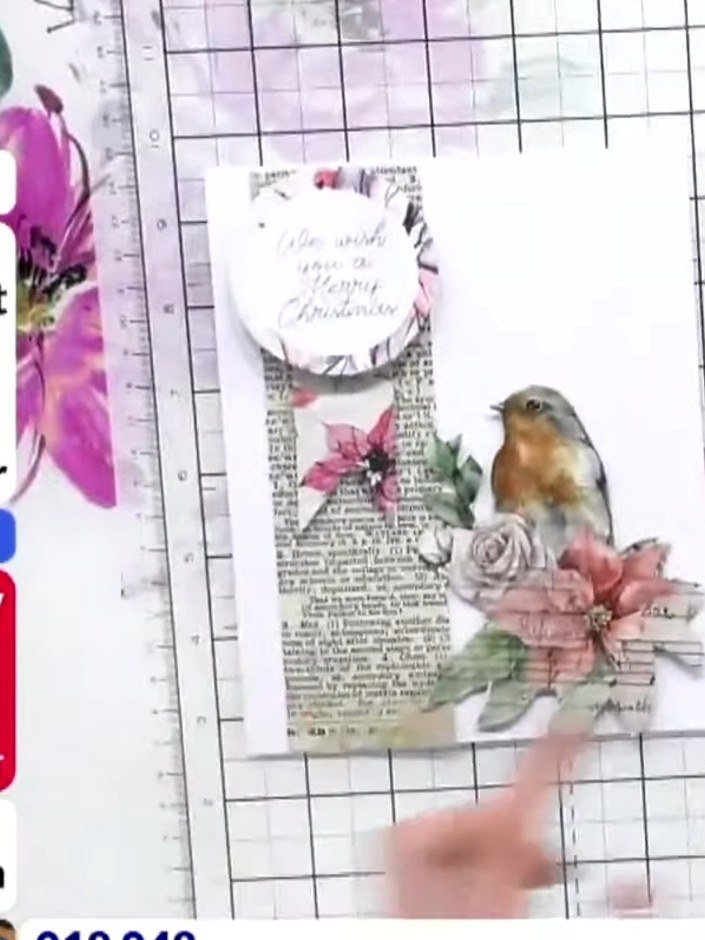
Adhere the sentiment circle to the top of the card using foam pads or adhesive to complete your robin Christmas card design.
▶ voir cette étape (23:15)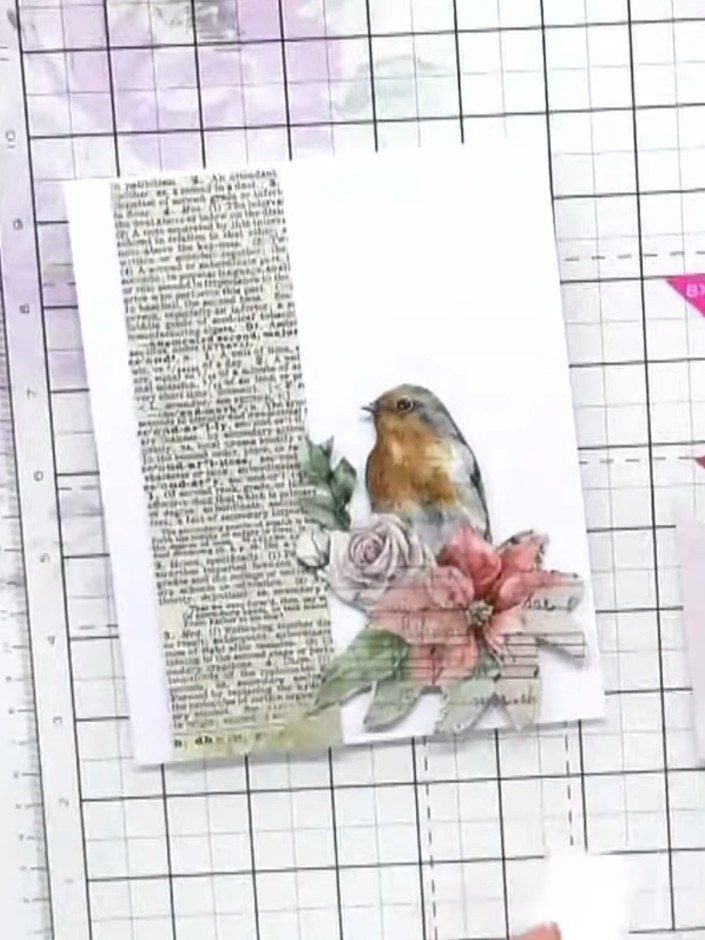
Add sparkle to your card by applying glitter glue to selected areas of the flowers and robin for extra festive detail.
▶ voir cette étape (23:30)Rédigé à partir de l'émission elle-même. Découvrez tous les guides de nos émissions · tutoriels gratuits · regarder en direct sur My Telly