Offrez à vos amis 10 € de réduction sur leur première commande !
Parrainez un AMI








Un projet de notre émission en direct CREATE AND CRAFT - KIT EN COFFRET - Retrouvez Toni pour sa dernière émission de lancement 1 - Diffusé le 16 nov. 22 · 16/11/2022 · à voir dès 43:15
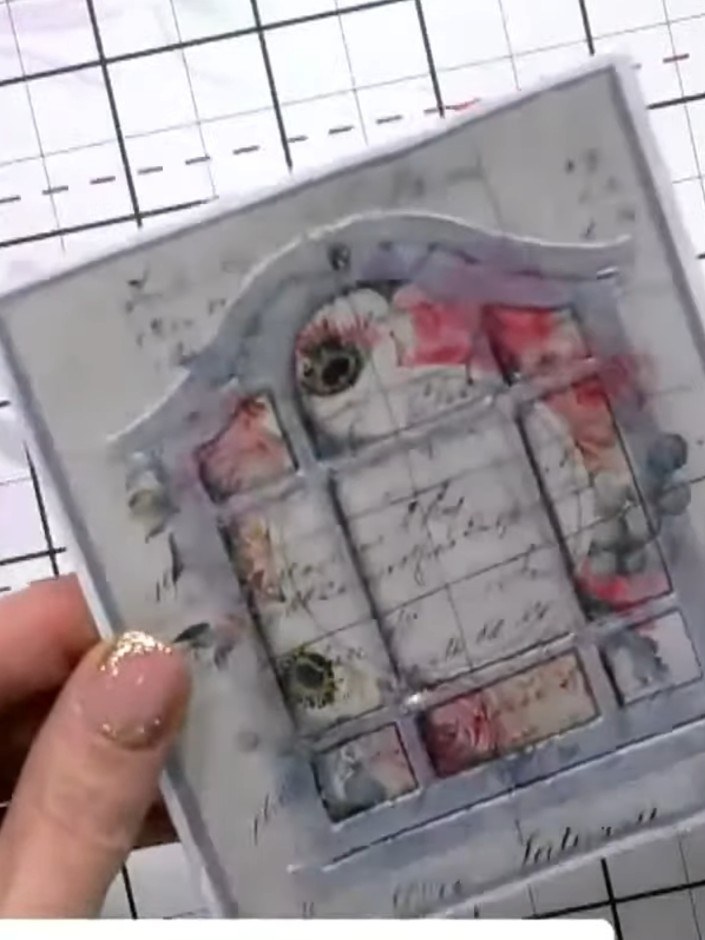
Create an elegant vintage-style card featuring a beautiful embossed window design with delicate floral and script details in soft pinks and greys. The embossed elements are enhanced using a simple pencil shading technique, where you tilt a pencil on its side to catch and highlight the raised design, bringing depth and dimension to the piece. This sophisticated card combines 3D embossing with subtle shading for a truly professional finish.
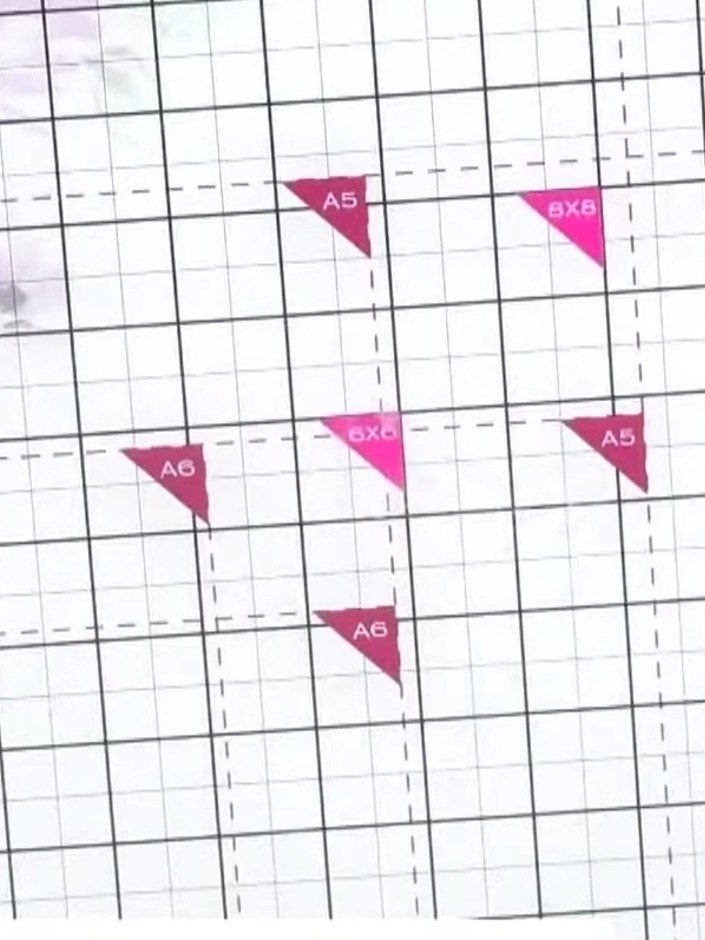
Cut a piece of patterned paper to your desired card size using a cutting mat and ruler. The paper shown has pink corner markers indicating different card sizes (A5, A6, 6x6).
▶ voir cette étape (43:30)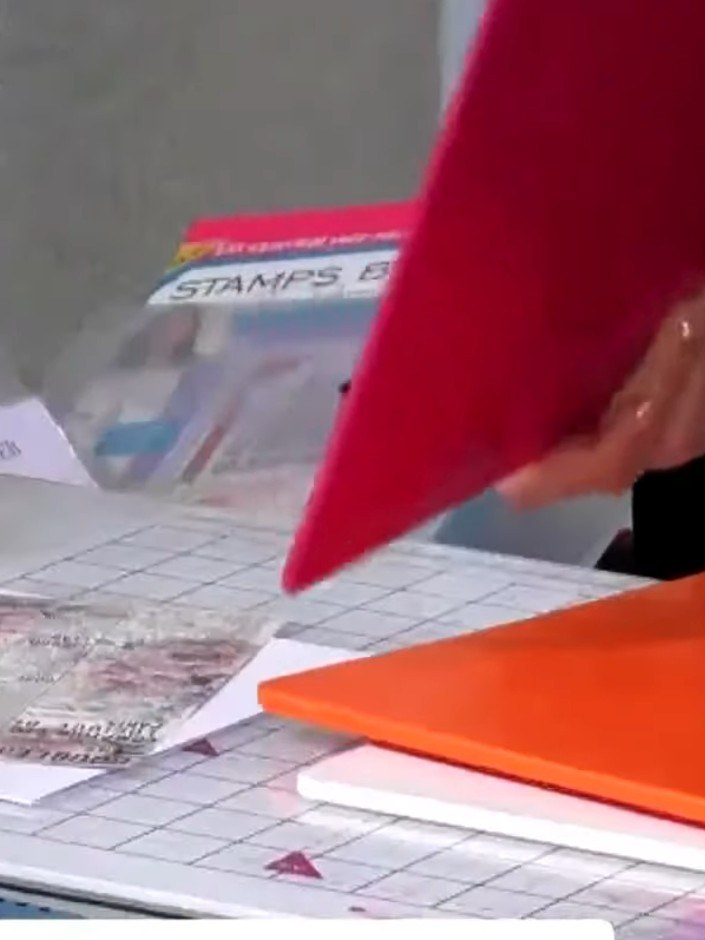
Place the patterned paper into the 3D embossing folder, positioning it in the centre of the folder as accurately as possible.
▶ voir cette étape (43:45)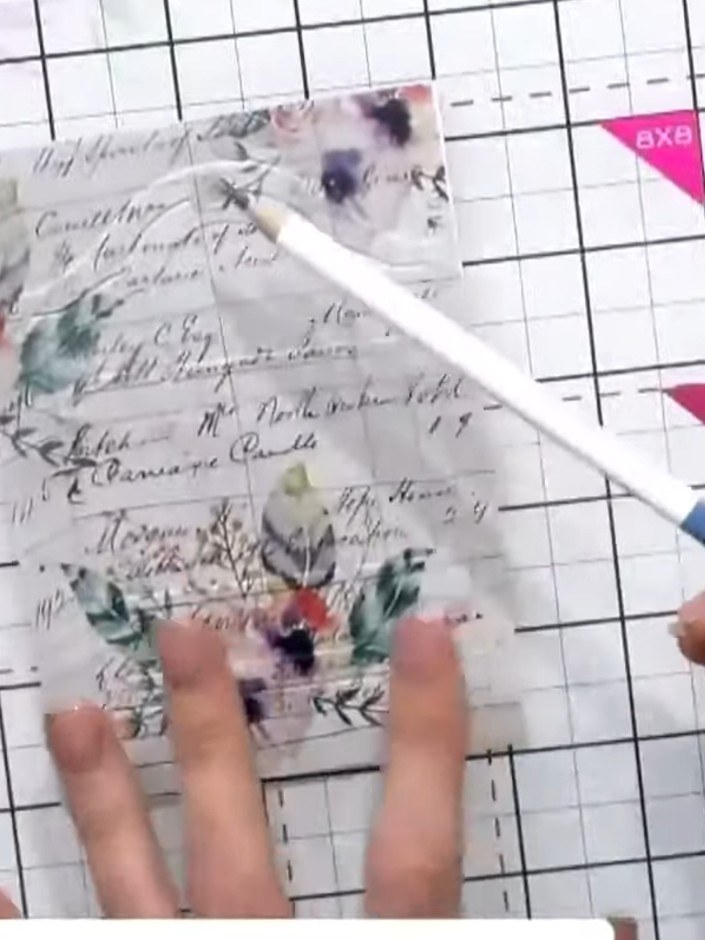
Close the embossing folder with your card inside and run it through your die-cutting machine according to the manufacturer's settings for 3D embossing folders.
▶ voir cette étape (44:00)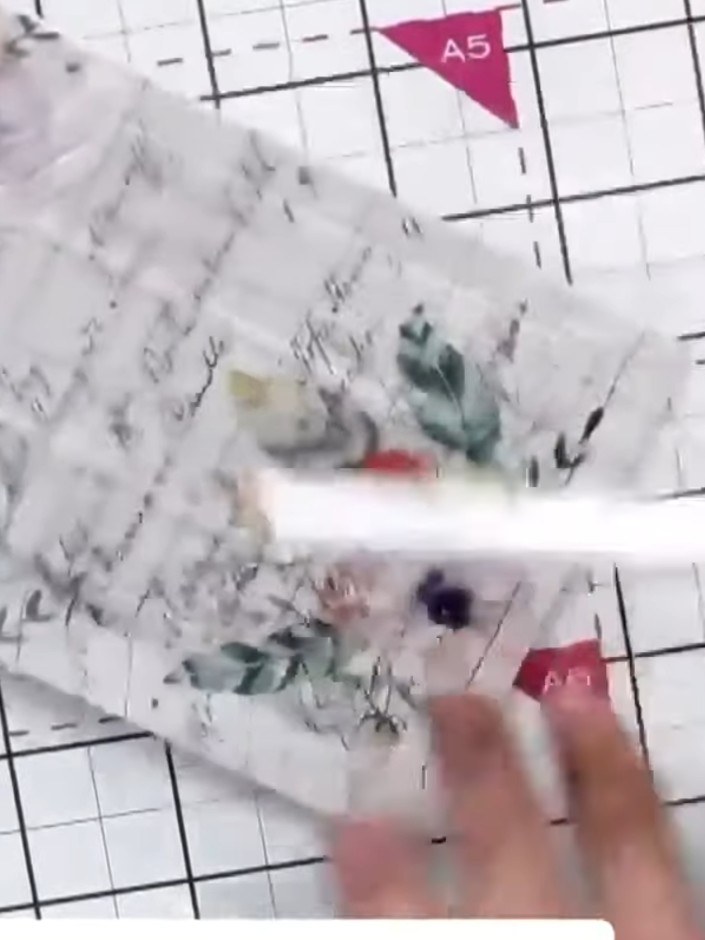
Remove the embossed paper from the folder and inspect the raised window design. You can see the floral and script pattern is now raised on the paper.
▶ voir cette étape (44:15)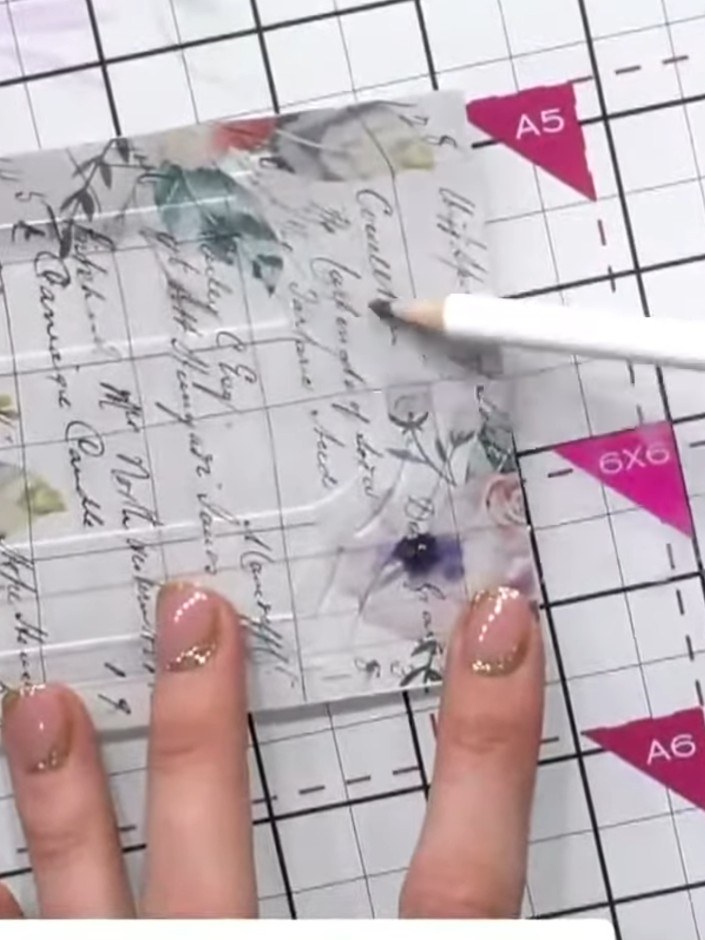
Take a pencil and tilt it on its side so the side of the lead sits flat against the paper. Gently shade over the embossed areas to accent the raised details of the design.
▶ voir cette étape (44:30)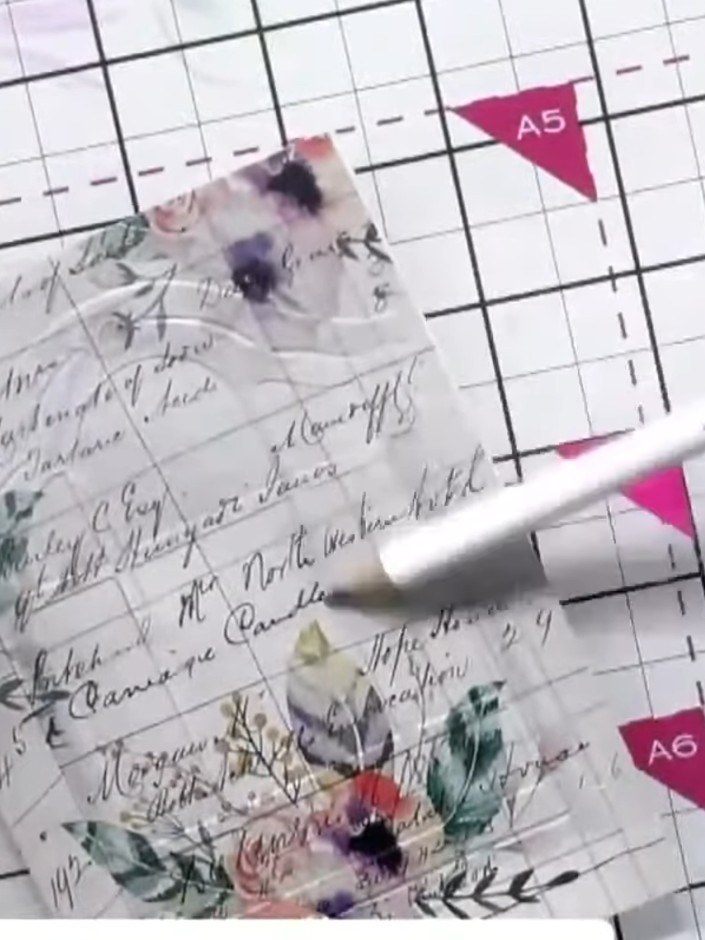
Gently scratch the pencil over the embossed paper, moving around the window frame to catch and highlight the raised detail of the flowers and script.
▶ voir cette étape (44:45)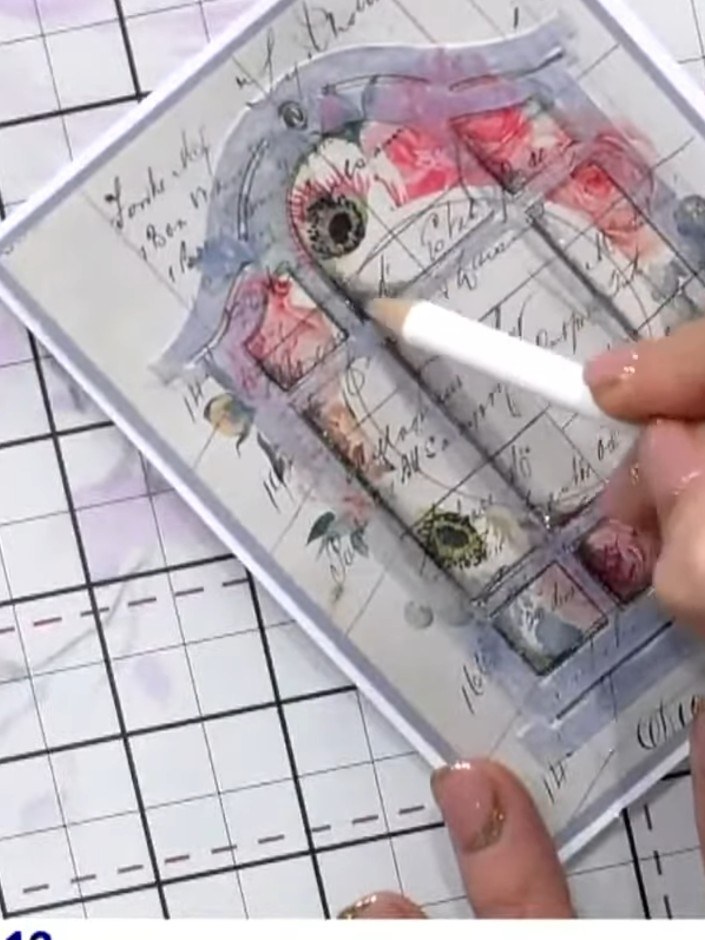
Use a black pencil to add subtle shading inside the window area of the door design to create depth and dimension.
▶ voir cette étape (45:00)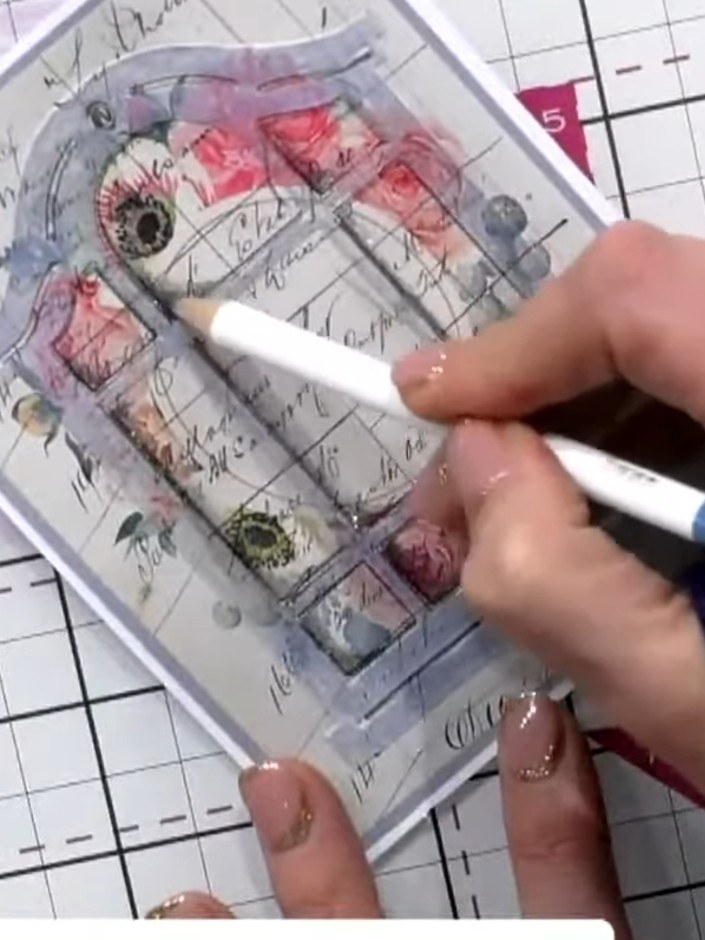
Add sparkle or glitter inside the embossed window areas to create a snowy or festive effect if desired. Tilt your pencil on its side to gently shade and blend the glitter into the design.
▶ voir cette étape (45:15)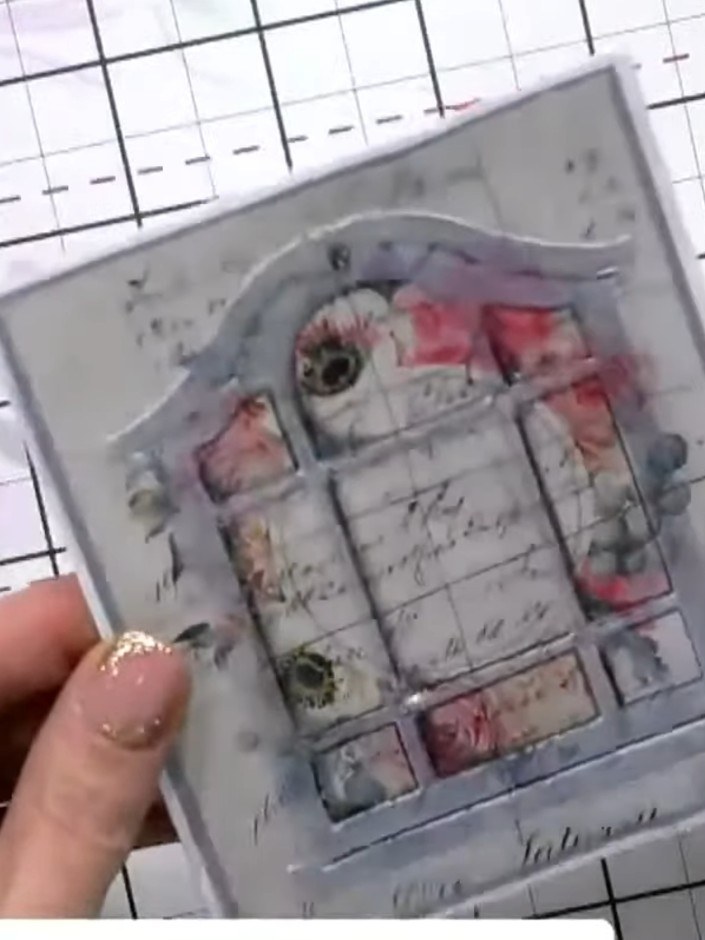
Mount the completed embossed panel onto your card base. The panel features a window design with floral elements and script text, embellished with sparkle details inside the window frame.
▶ voir cette étape (45:30)Rédigé à partir de l'émission elle-même. Découvrez tous les guides de nos émissions · tutoriels gratuits · regarder en direct sur My Telly