LIENS RAPIDES

info@howtocraftnetwork.com
Encore plus malin : achetez et regardez avec l'application SBMTÉLÉCHARGEZ L'APPLIRegardez-nous en direct sur votre smart TVVOIR COMMENTDécouvrez notre chaîne IPTV dédiée : rendez-vous sur my-telly.comREGARDERCumulez des points de fidélité à chaque commandeEN SAVOIR PLUS
Bienvenue sur How to Craft Network
 
SBM SHOP
SUIVEZ-NOUS
OFFREZ 10 € DE RÉDUCTION À VOS AMIS PARRAINEZ UN AMI › DÉCOUVRIR MY-TELLY.COM › ENCORE PLUS MALIN TÉLÉCHARGEZ L'APPLI › CHAÎNE PRIMÉE SUR VOTRE TV › REJOIGNEZ LE CLUB POUR ÉCONOMISER ›
 

Sparkle Embossed Iris Celebration Card

Un projet de notre émission en direct CREATE AND CRAFT - NOUVEAUTÉS ET EXCLUSIVITÉS - Retrouvez Toni pour ses dernières nouveautés et l'émission d'inspiration n° 3 - Diffusion du 13 oct. 22 · 13/10/2022 · à voir dès 53:00
Sparkle Embossed Iris Celebration Card - the finished project
Le projet terminé

Create a stunning celebration card featuring a beautiful iris flower with white embossed outlines and vibrant purple watercolour effects. This elegant design uses lamination stamps, embossing powder, and sparkle accents to achieve a sophisticated, gallery-quality finish. The 'Happy' sentiment is repeated in coordinating purple tones to complete this artistic greeting card.
TÉLÉCHARGER CE GUIDE (PDF)

Pas à pas

  1. Step 1: Stamp the iris solid portion onto white cardstock using a white pigment ink pad. Position the stamp carefully

    Stamp the iris solid portion onto white cardstock using a white pigment ink pad. Position the stamp carefully and press firmly to ensure a clear impression.

    ▶ voir cette étape (53:00)
  2. Dust the wet stamped image with clear embossing powder, ensuring complete coverage of the inked areas. ▶ watch 53:15
  3. Step 3: Heat set the embossing powder with a heat gun, moving it over the design until the powder melts and becomes gl

    Heat set the embossing powder with a heat gun, moving it over the design until the powder melts and becomes glossy and raised.

    ▶ voir cette étape (53:30)
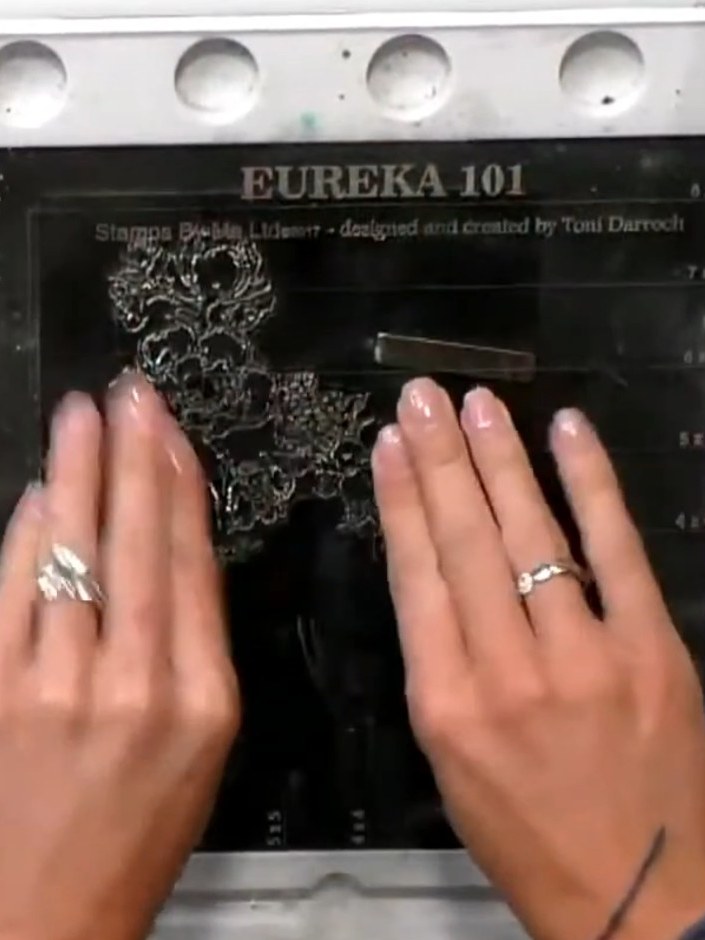
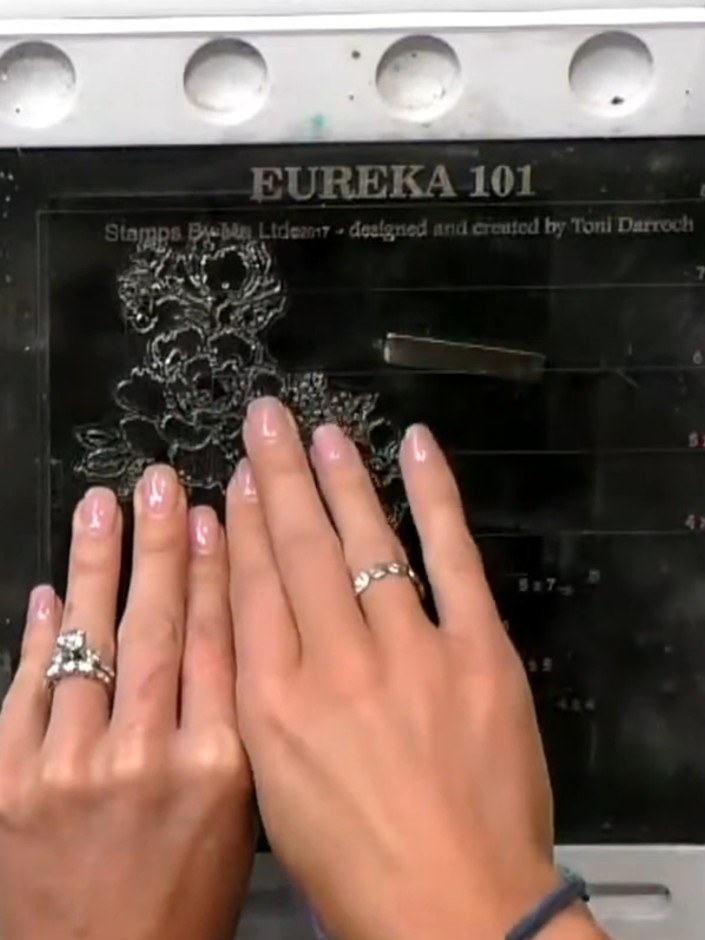
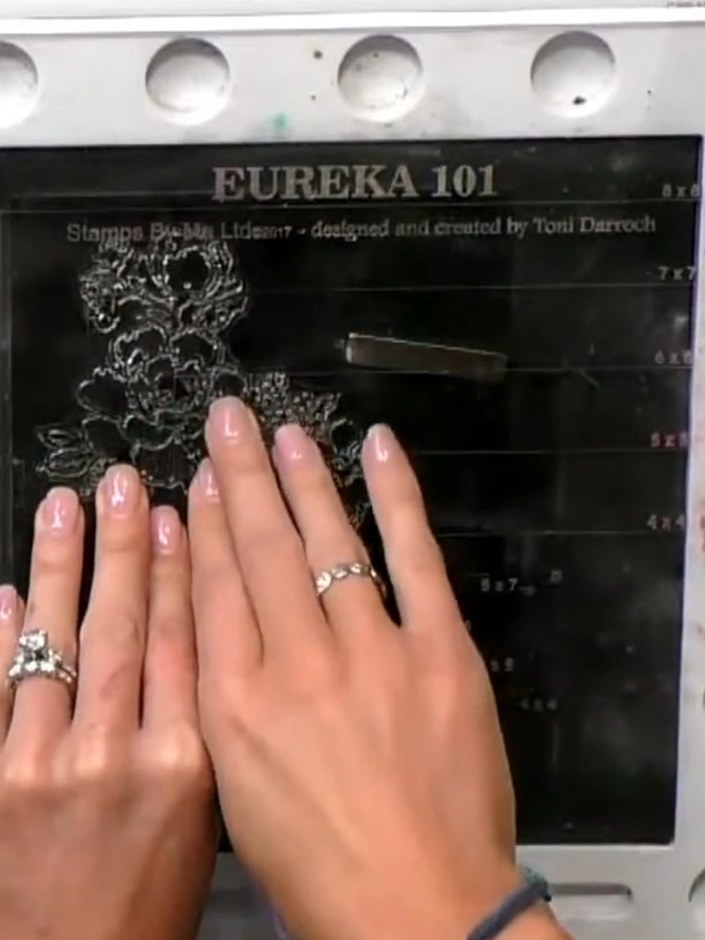
  4. Step 4: Position the iris outline stamp from the Eureka 101 set over the embossed design on the black card. Stamp the

    Position the iris outline stamp from the Eureka 101 set over the embossed design on the black card. Stamp the image using black ink, aligning it loosely with the embossed floral design beneath.

    ▶ voir cette étape (54:00)
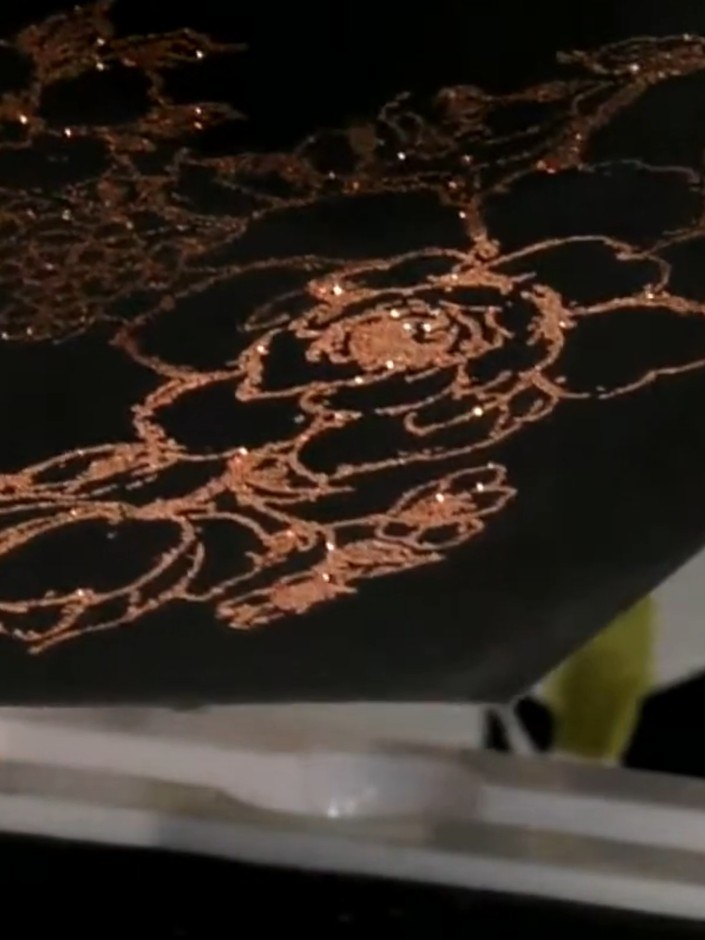
  5. Using black ink, stamp the sentiment 'happy' multiple times around the iris design on your card. ▶ watch 54:30
  6. Step 6: Use a white gel pen to add highlights to the embossed iris design, enhancing the details and creating dimensio

    Use a white gel pen to add highlights to the embossed iris design, enhancing the details and creating dimension on the black card.

    ▶ voir cette étape (55:00)
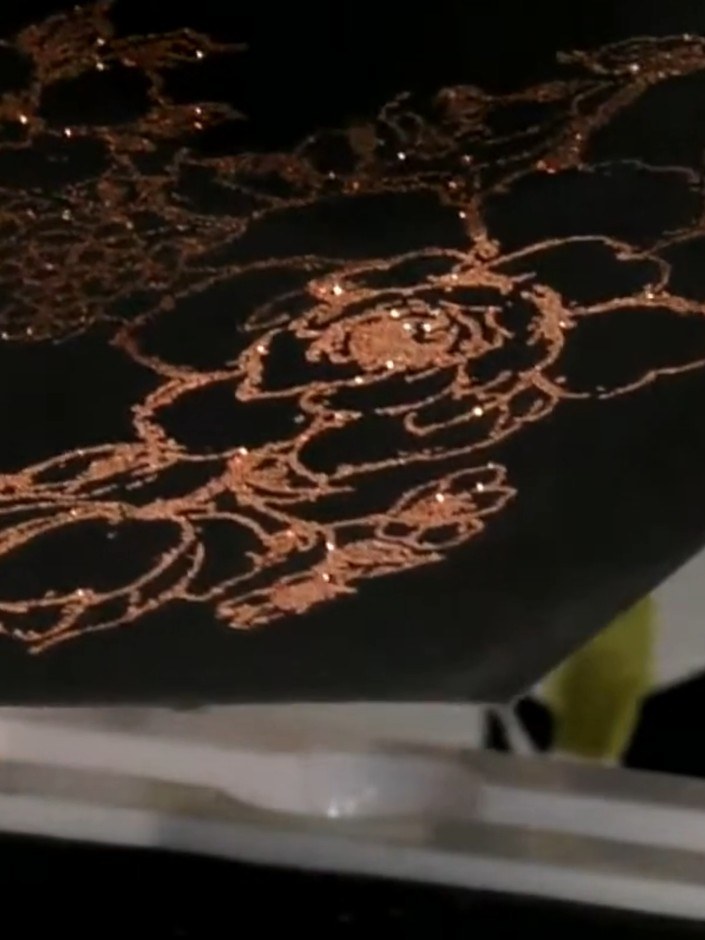
  7. Apply sparkle pen or pearly winks spray across the embossed floral design to add shimmer and shine to the card. Work gently over the raised areas to enhance the dimensional effect. ▶ watch 55:30
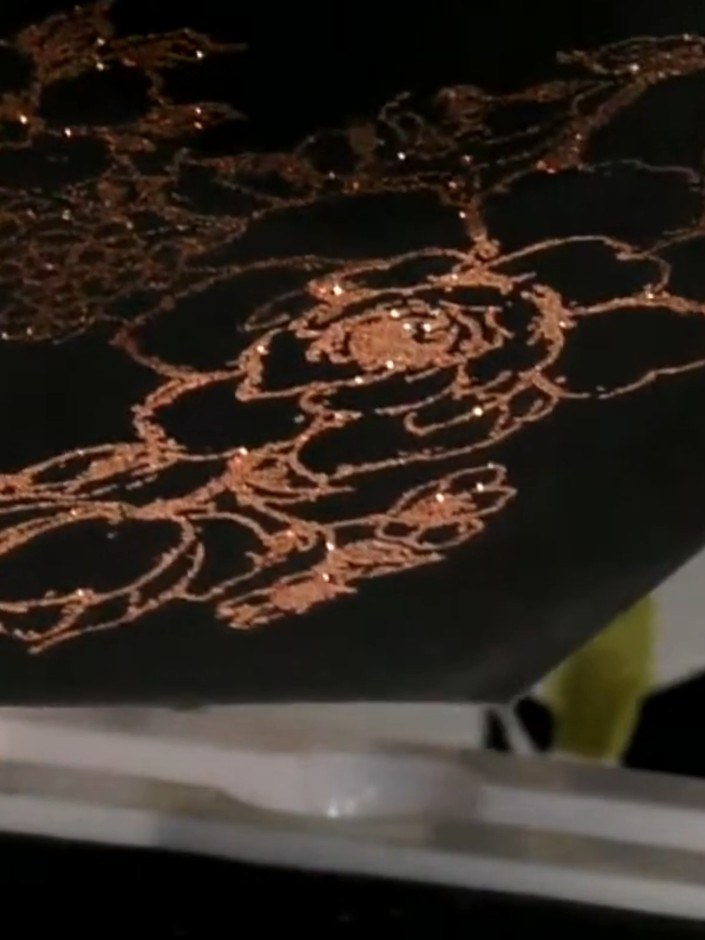
  8. Step 8: Mount the completed iris panel onto a white card base using adhesive. The rose gold embossed design should be

    Mount the completed iris panel onto a white card base using adhesive. The rose gold embossed design should be centred on the black card, creating an elegant finished card.

    ▶ voir cette étape (56:00)

Astuces de l'émission

À voir aussi dans cette émission

Rédigé à partir de l'émission elle-même. Découvrez tous les guides de nos émissions · tutoriels gratuits · regarder en direct sur My Telly







