Offrez à vos amis 10 € de réduction sur leur première commande !
Parrainez un AMI








Un projet de notre émission en direct CREATE AND CRAFT - NOUVEAUTÉS ET EXCLUSIVITÉS - Retrouvez Toni pour ses dernières nouveautés et l'émission d'inspiration n° 3 - Diffusion du 13 oct. 22 · 13/10/2022 · à voir dès 41:30
Create a beautiful celebration card featuring a vibrant iris flower with purple and yellow petals against a soft feathered background. This elegant design combines stencilling techniques with lamination stamps to build layers of texture and depth. The finished card includes a 'HAPPY' sentiment and showcases how to blend colours effectively for a professional floral focal point.
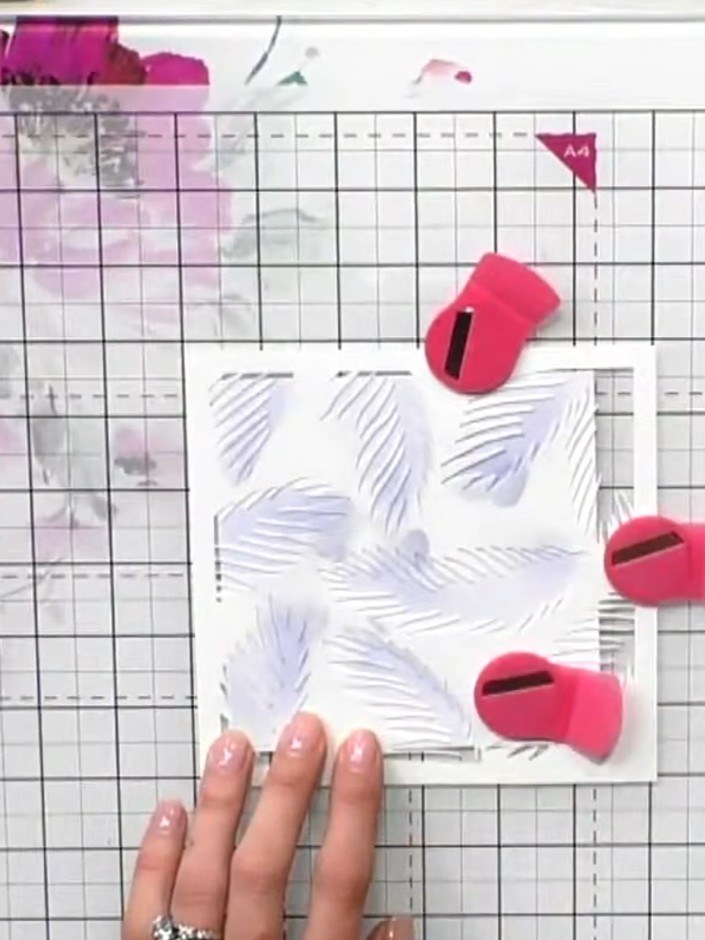
Place a piece of white cardstock on your craft mat as the base for your card. Position it ready for adding stencilled texture and colour.
▶ voir cette étape (41:30)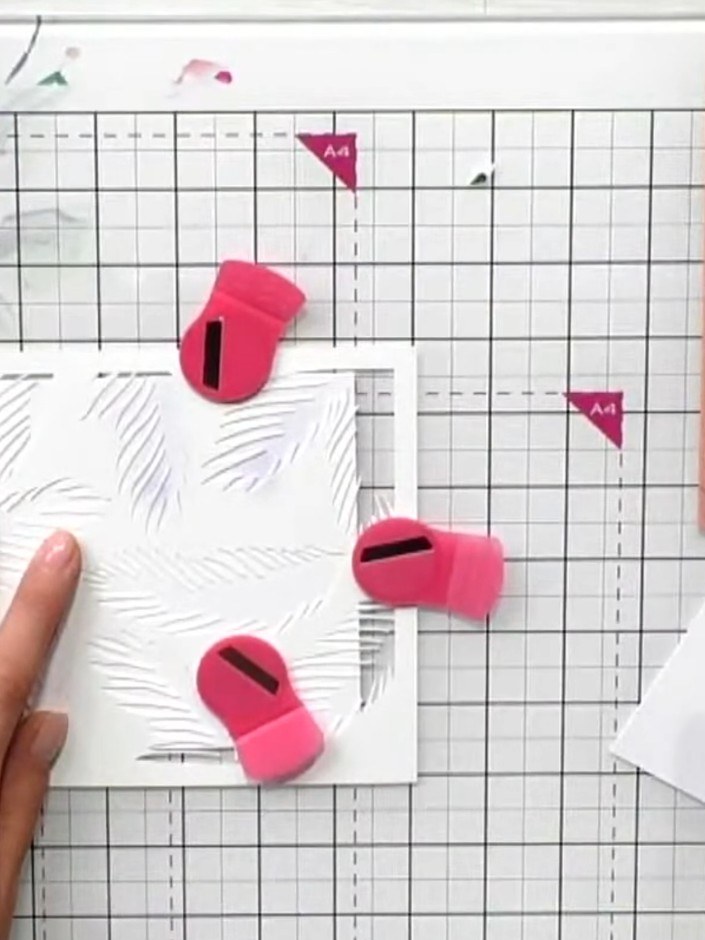
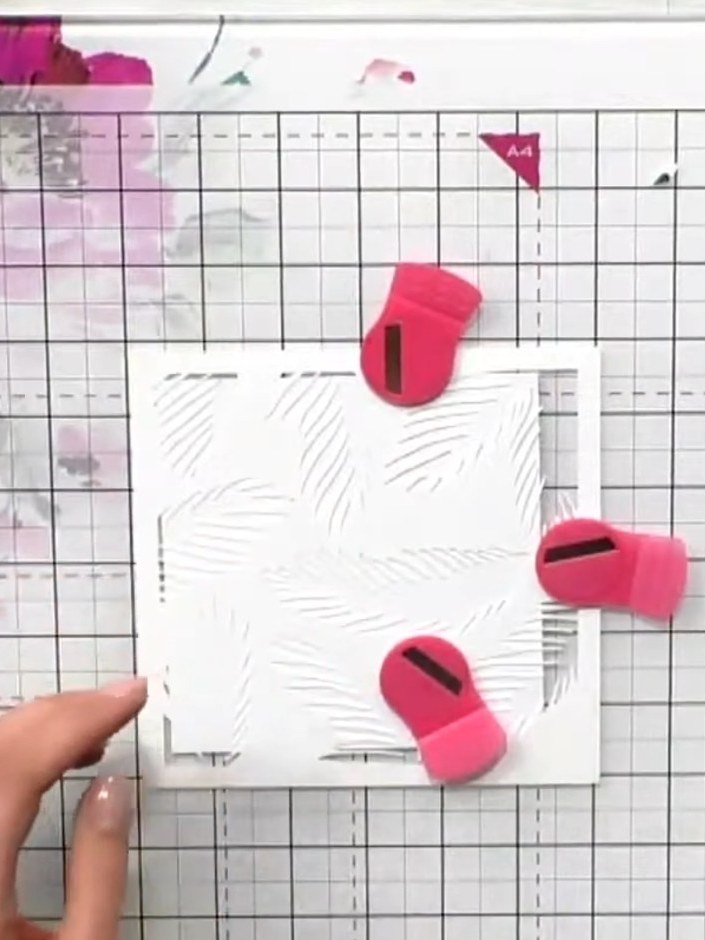
Apply the feather stencil to your white card using the chip sapphire ink pad. Hold the stencil in place with one hand and dab the ink through the stencil pattern onto the card.
▶ voir cette étape (42:00)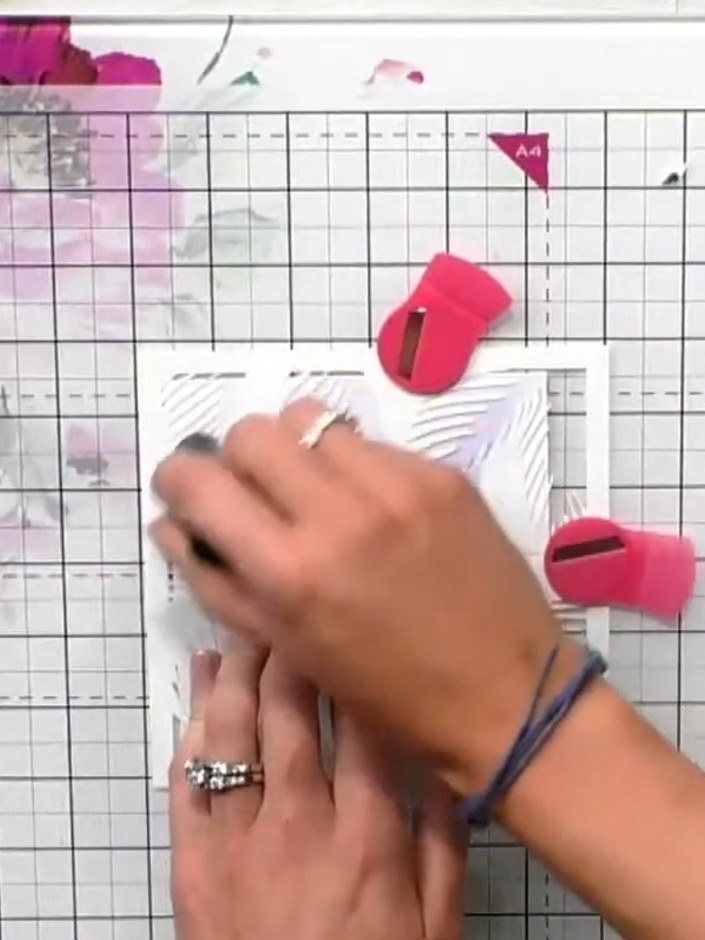
Stamp the iris solid portion onto white cardstock using chip sapphire ink. Position the stamp carefully and press firmly to transfer the image clearly.
▶ voir cette étape (42:30)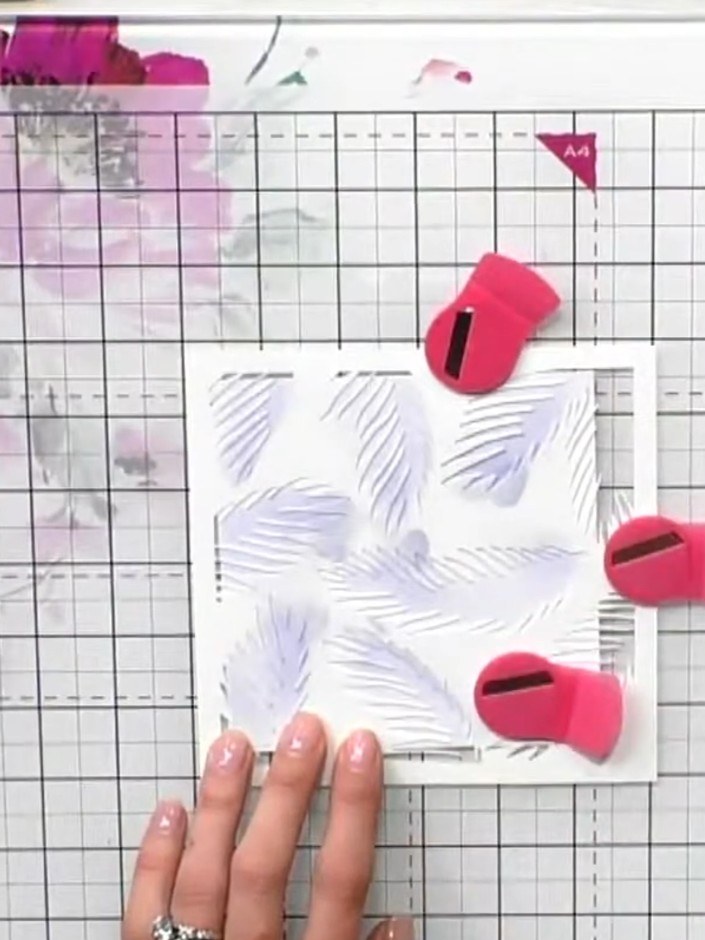
Spray the inked iris with water to create a watercolour bleed effect. The water will cause the blue ink to spread and blend naturally on the card.
▶ voir cette étape (43:00)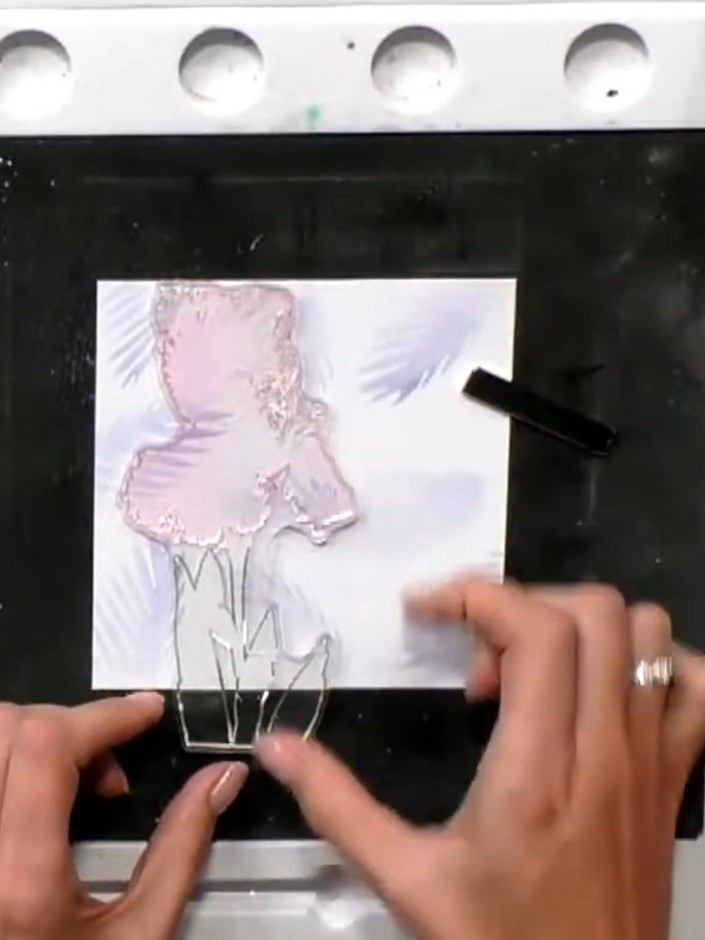
Position the iris outline stamp over the stencilled background and stamp it using black ink. Ensure the stamp aligns with the previously stencilled image to create a defined outline.
▶ voir cette étape (44:00)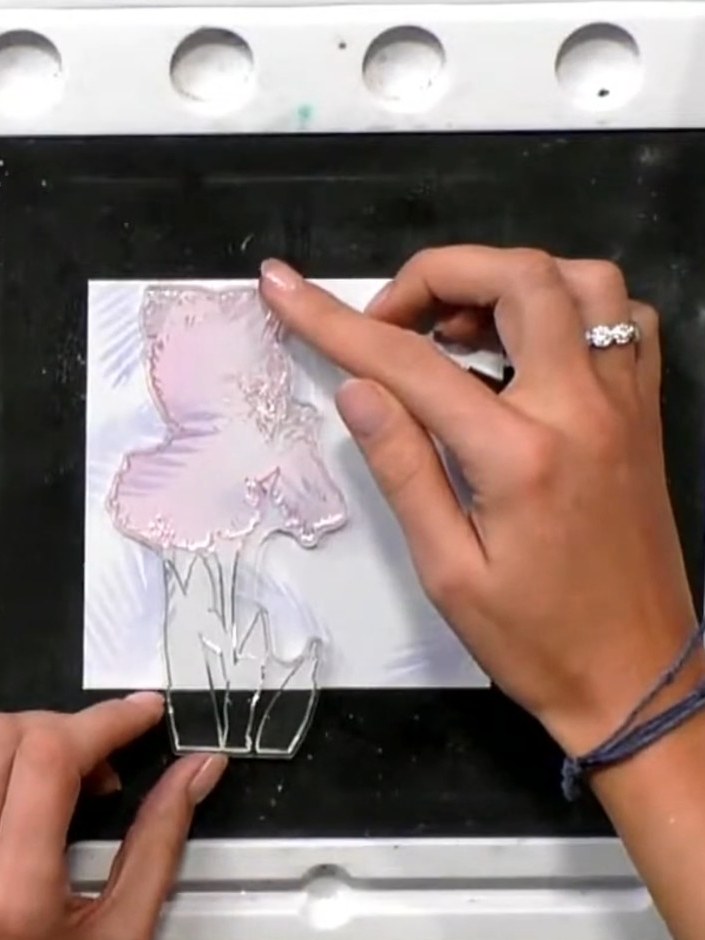
Mount the completed iris design onto the stencilled feather background cardstock using foam pads or adhesive for dimension.
▶ voir cette étape (44:30)Rédigé à partir de l'émission elle-même. Découvrez tous les guides de nos émissions · tutoriels gratuits · regarder en direct sur My Telly