Offrez à vos amis 10 € de réduction sur leur première commande !
Parrainez un AMI








Un projet de notre émission en direct CREATE AND CRAFT - NOUVEAUTÉS ET EXCLUSIVITÉS - Retrouvez Toni pour ses derniers produits et ses idées créatives, émission 2 - Diffusion du 12 oct. 22 · 12/10/2022 · à voir dès 14:45
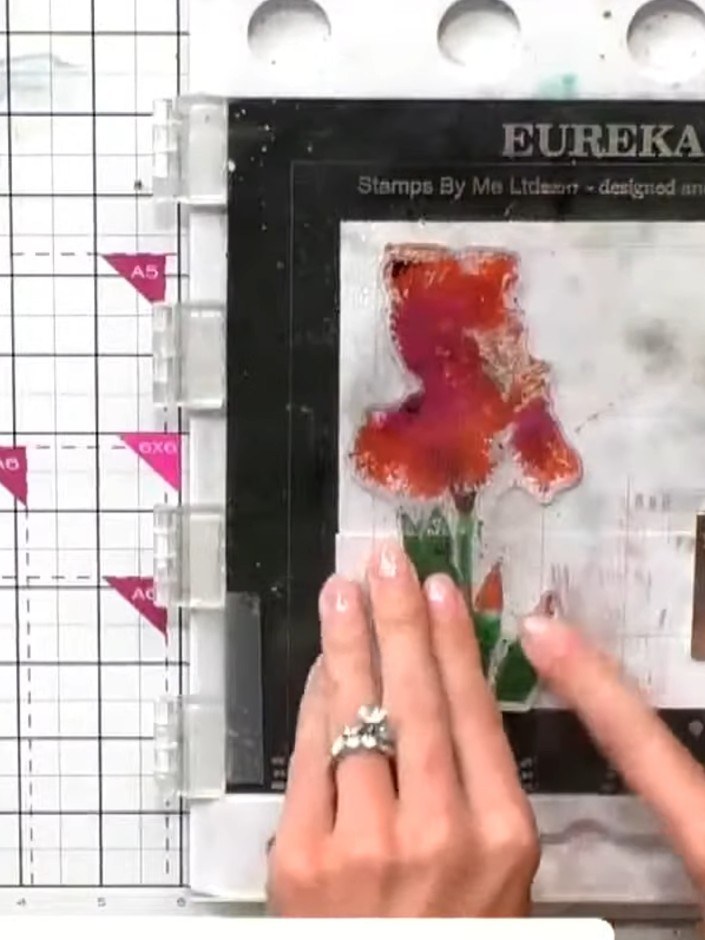
Create a stunning watercolour iris card featuring vibrant orange, pink and purple petals with green foliage. This beautiful floral design is achieved using the two-part lamination stamp technique, which layers stamped images to create a realistic painted effect. The result is a professional-looking watercolour card that requires no artistic skills.
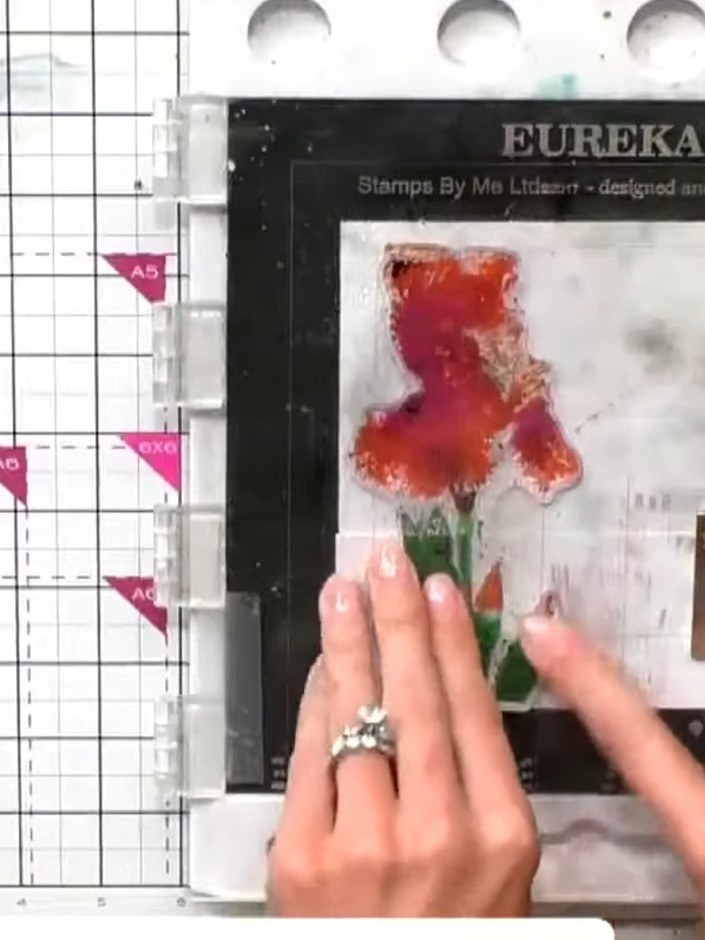
Add a touch of orange ink to the stamp pad to create colour variation. Blend the orange ink into the existing colours on the pad to achieve a varied, natural effect.
▶ voir cette étape (15:15)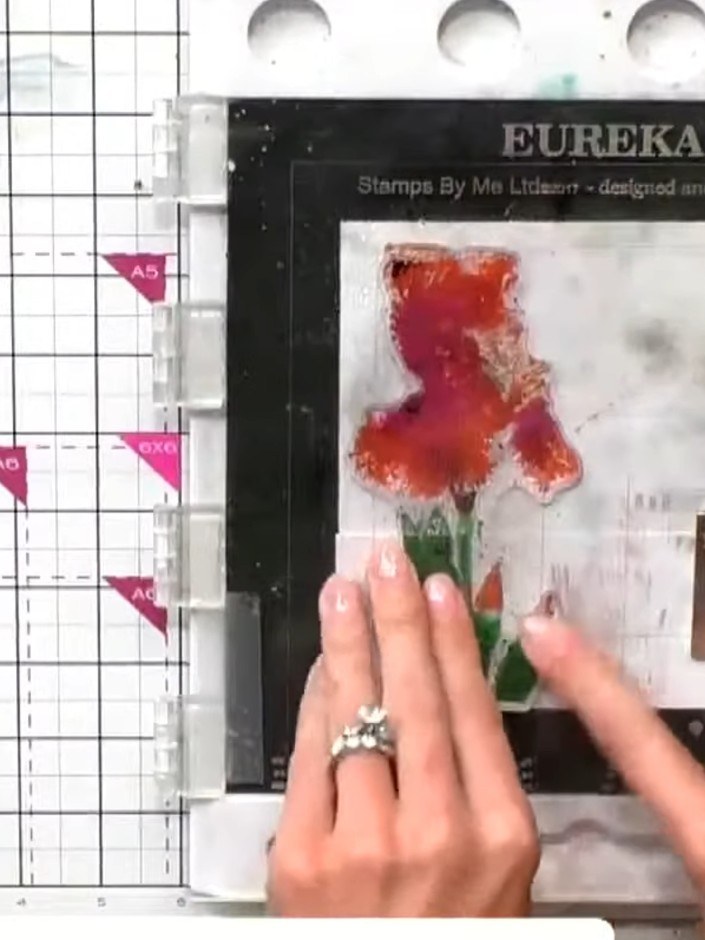
Spray the inked stamp with water to activate and blend the colours. The water will help the ink spread and create a watercolour effect on the stamp.
▶ voir cette étape (15:30)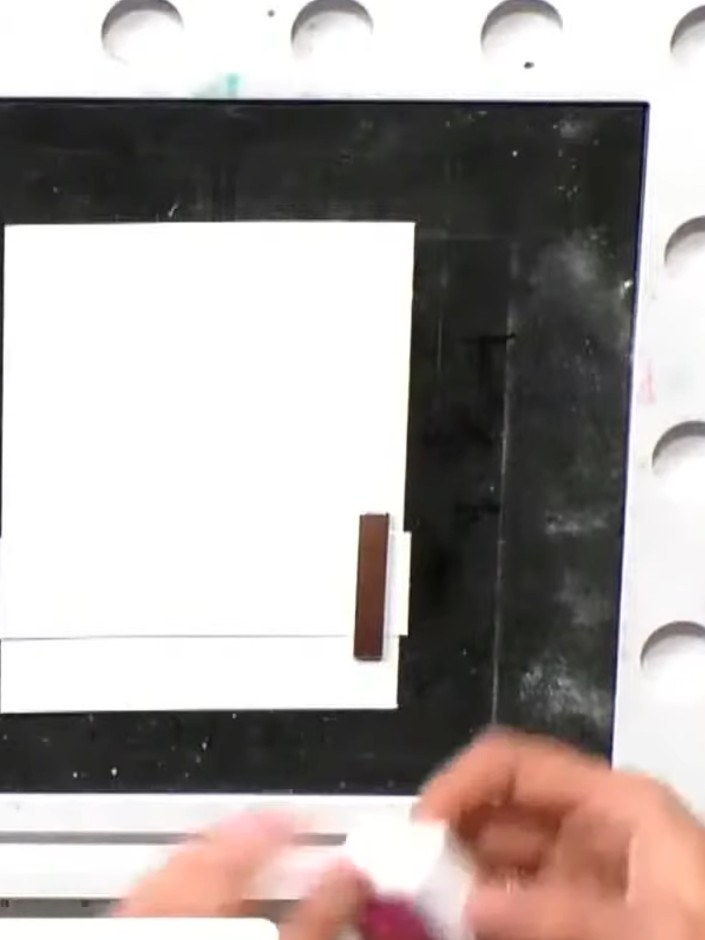
Take your stamped watercolour panel and position it onto your white card base. Press down firmly to adhere the panel in place, ensuring it is centred on the black matted frame.
▶ voir cette étape (15:45)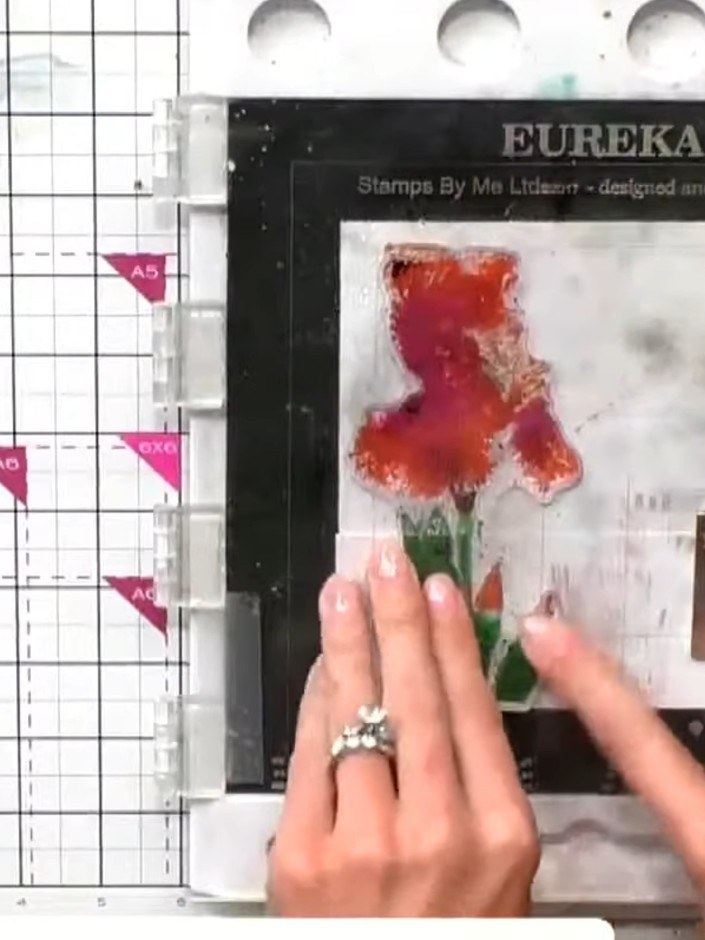
Allow the stamped image to dry slightly whilst the ink is still wet. This encourages the watercolour to bleed and create a beautiful soft effect on the card.
▶ voir cette étape (16:00)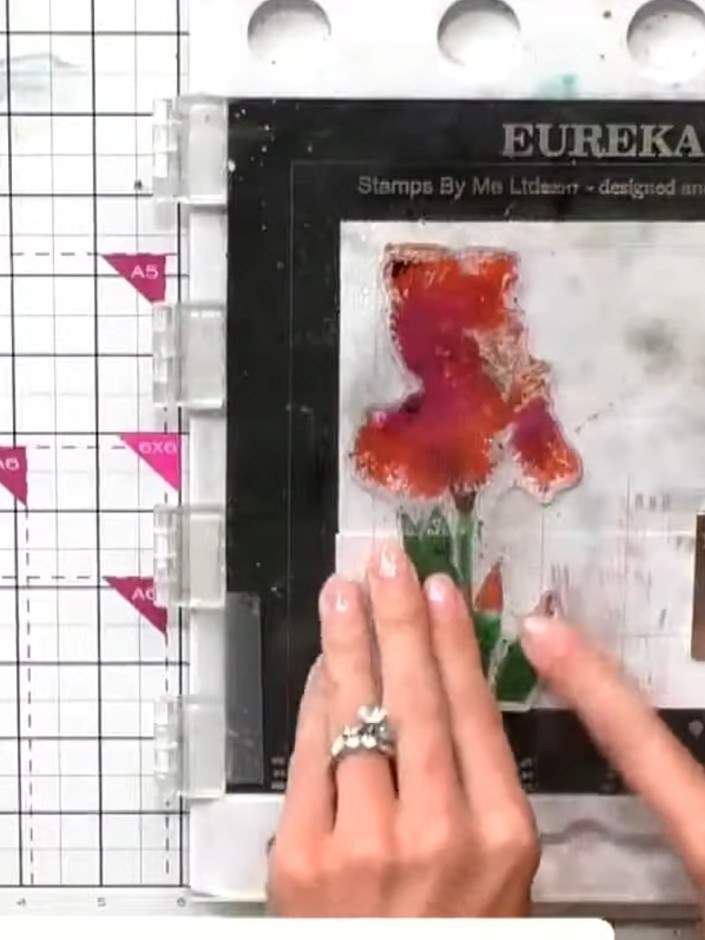
Loosely align and stamp the second layer of the iris over the first stamped image, allowing the colours to overlap naturally rather than matching perfectly. Give the stamp a good press to ensure full ink coverage.
▶ voir cette étape (16:30)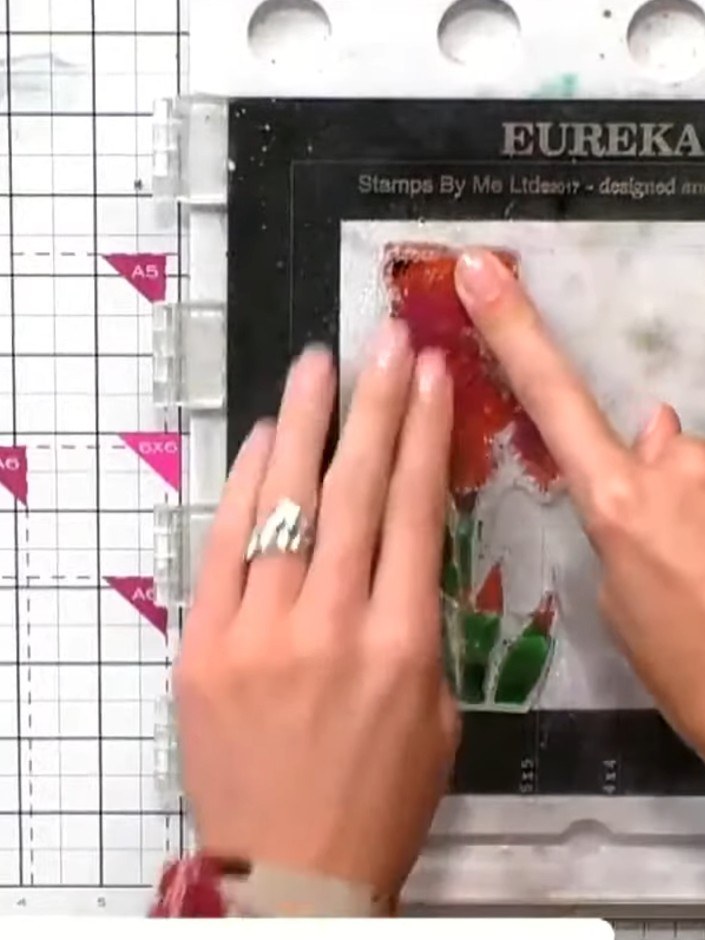
Layer your completed iris design onto coordinating cardstock to add dimension. Use the Eureka 101 mat to help position and smooth down the layers. Mount the finished piece onto your card base to complete your watercolour iris card.
▶ voir cette étape (17:00)Rédigé à partir de l'émission elle-même. Découvrez tous les guides de nos émissions · tutoriels gratuits · regarder en direct sur My Telly