Offrez à vos amis 10 € de réduction sur leur première commande !
Parrainez un AMI








Un projet de notre émission en direct CREATE AND CRAFT - NOUVEAUTÉS ET EXCLUSIVITÉS - Retrouvez Toni pour ses derniers produits et ses idées créatives, émission 2 - Diffusion du 12 oct. 22 · 12/10/2022 · à voir dès 46:15
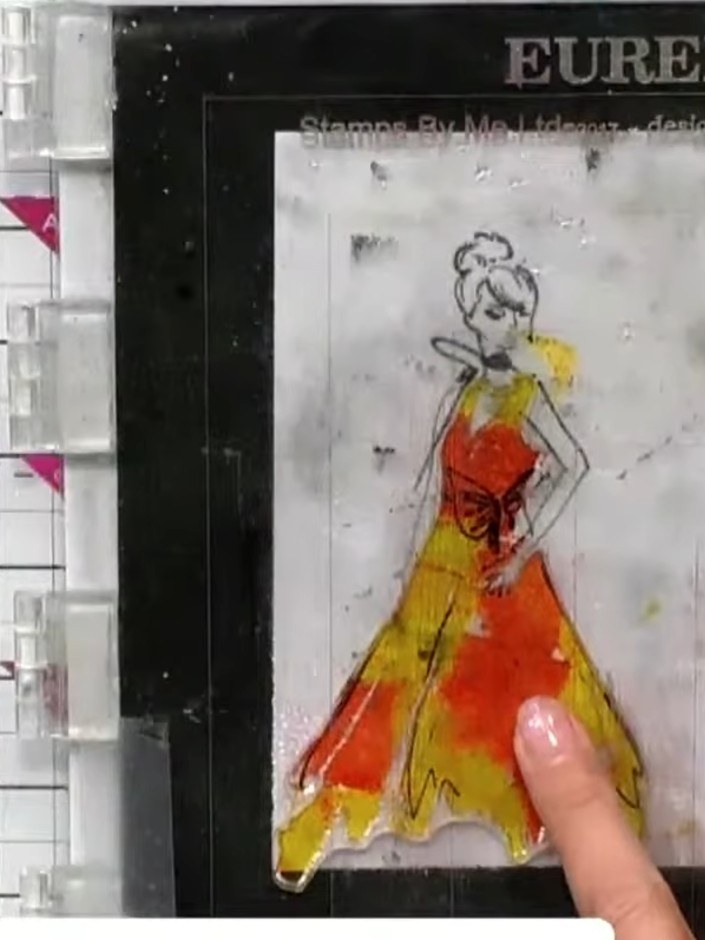
Create an elegant card featuring a beautifully dressed figure using two-part lamination stamps, then integrate complementary floral stamps to frame and enhance the design. This project demonstrates how to combine multiple stamp sets for a sophisticated, layered effect with a classic colour palette. The finished card showcases dimensional stamping techniques with careful alignment and artistic embellishment.
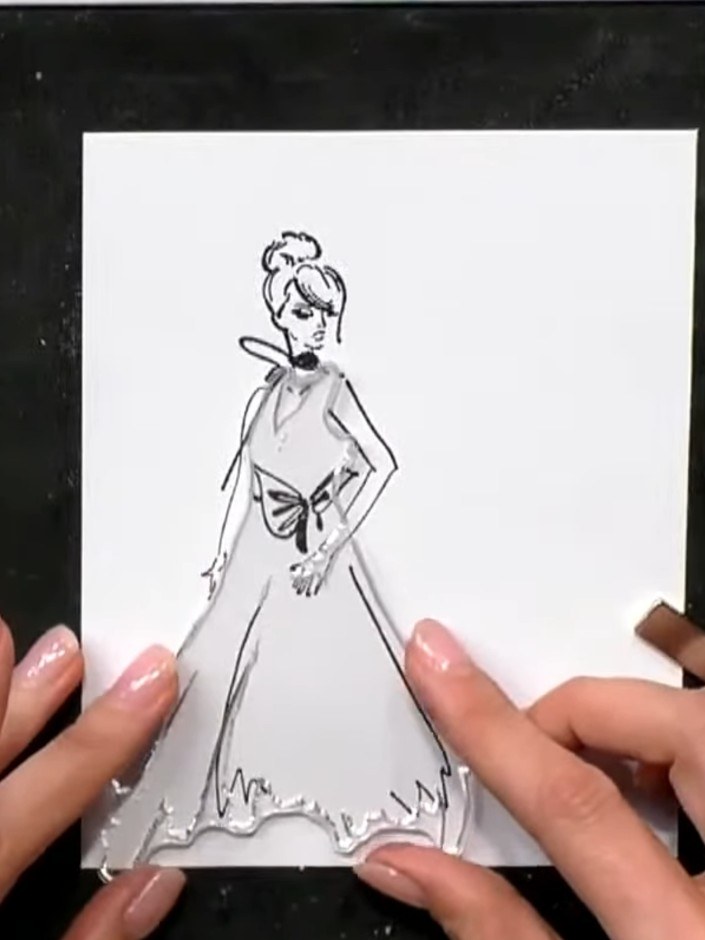
Ink the solid portion of the gown stamp outline with black ink using your stamping platform. The stamp shows a lady in an elegant gown with detailed bodice and flowing skirt.
▶ voir cette étape (46:30)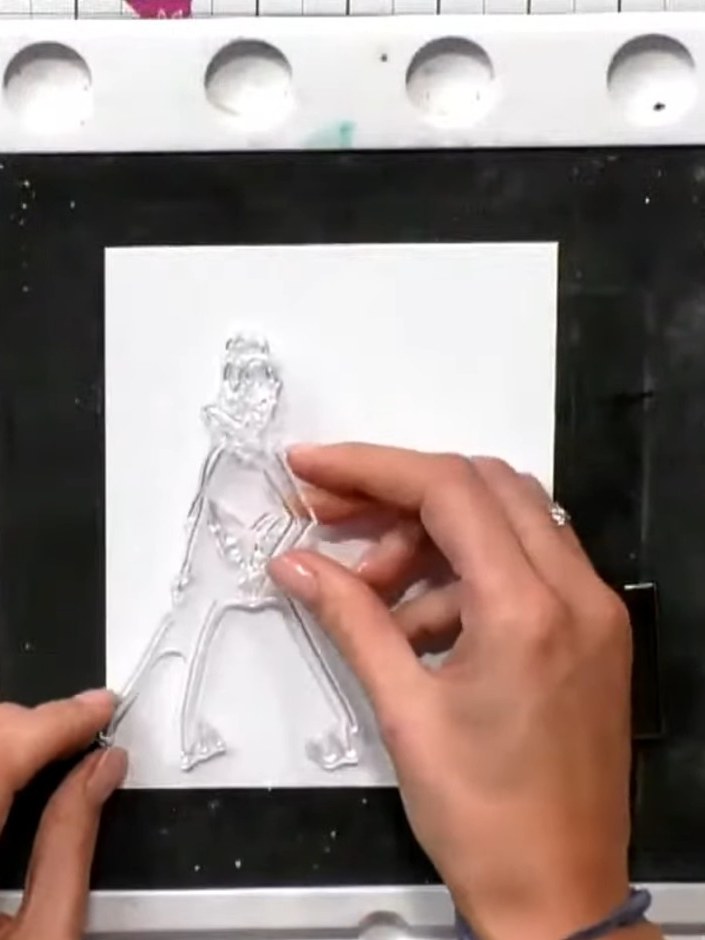
Stamp the outline image from the Celebrate Bundle onto white cardstock to create the figure's silhouette. Position the stamp carefully to establish the base of your design.
▶ voir cette étape (46:45)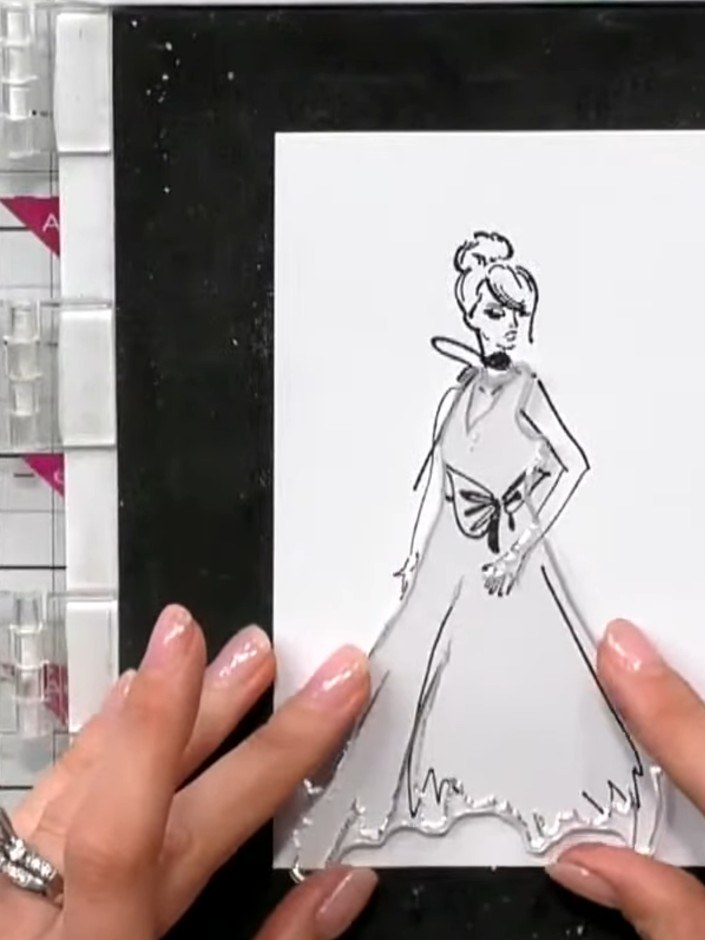
Ink the solid portion of the gown stamp with orange ink. Stamp the image onto white cardstock to create a sketchy outline of the dress.
▶ voir cette étape (47:00)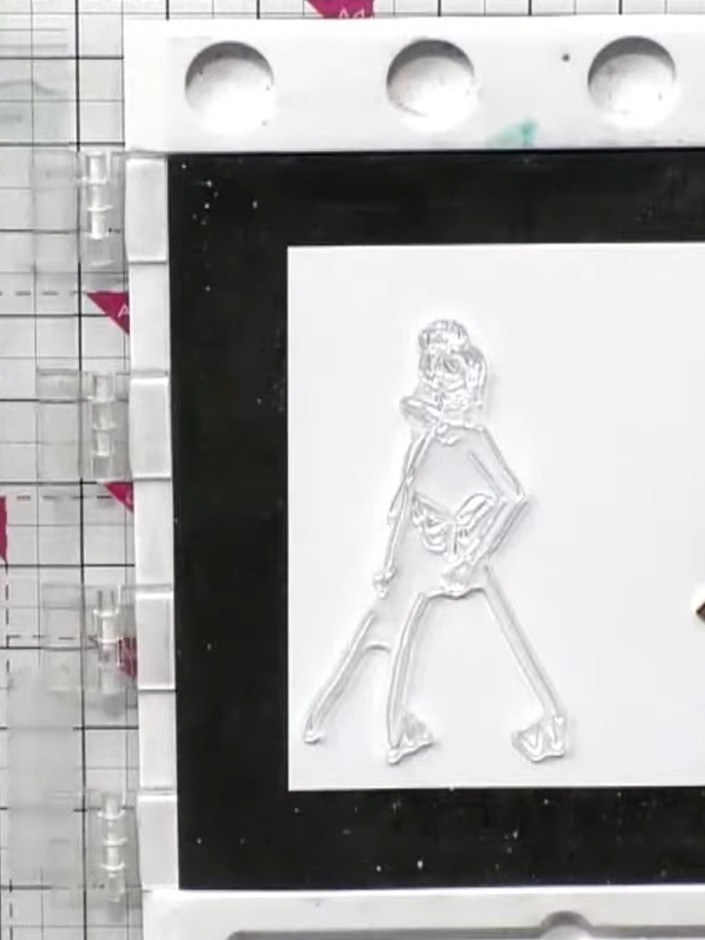
Add yellow ink to the same stamp pad to create colour variation. Tap the yellow ink onto the pad alongside the existing colour to blend and create a multi-toned effect.
▶ voir cette étape (47:15)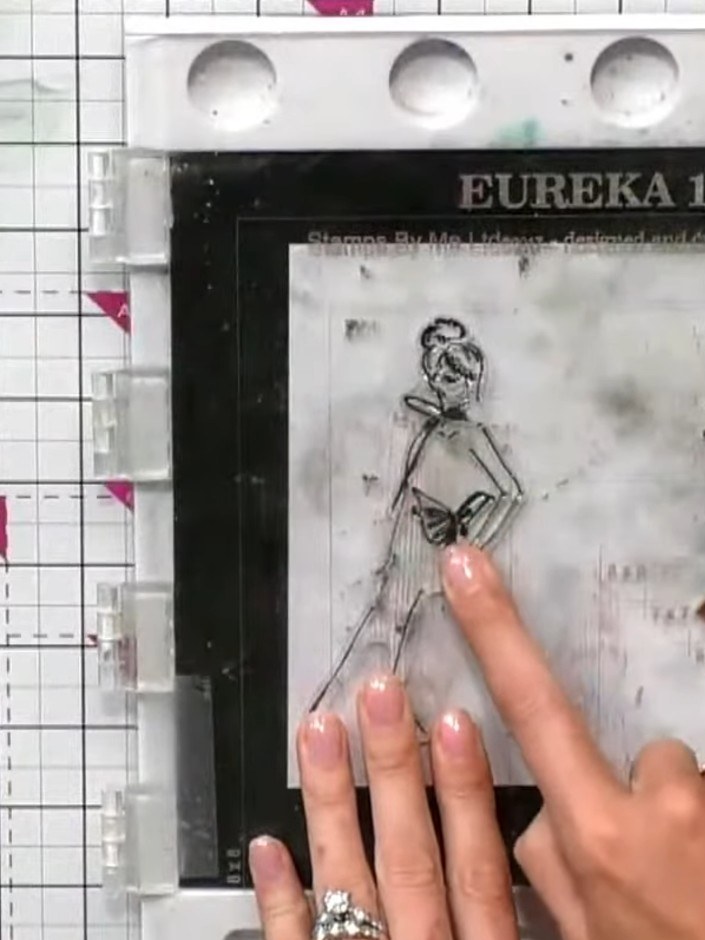
Lightly spray the stamped gown image with water to activate the watercolour effect on the ink. Use a fine mist to gently blend the colours.
▶ voir cette étape (47:30)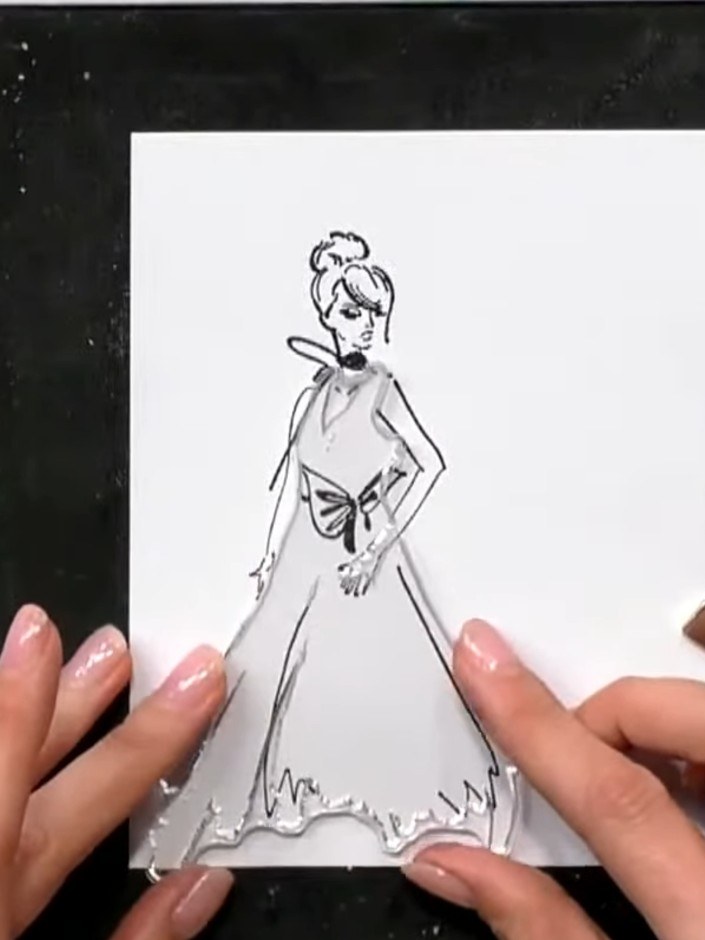
Stamp the gown image over the figure outline on white card, using the blended ink colours to create an ombré effect on the dress.
▶ voir cette étape (47:45)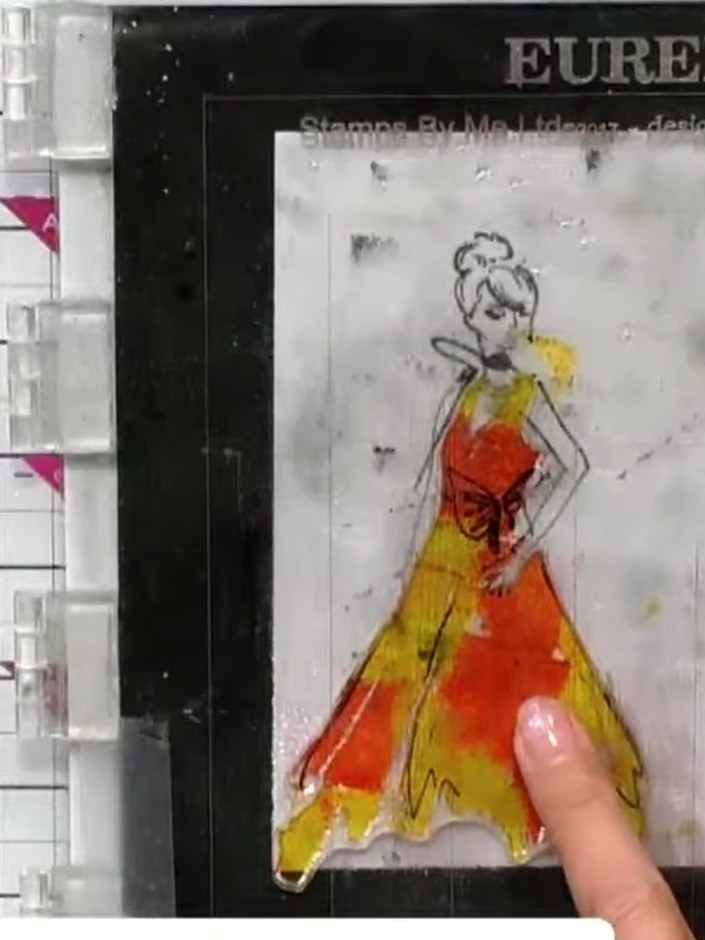
If desired, add pink ink to the same stamp pad and re-stamp the image to enhance the colour variation and create a more vibrant effect.
▶ voir cette étape (48:00)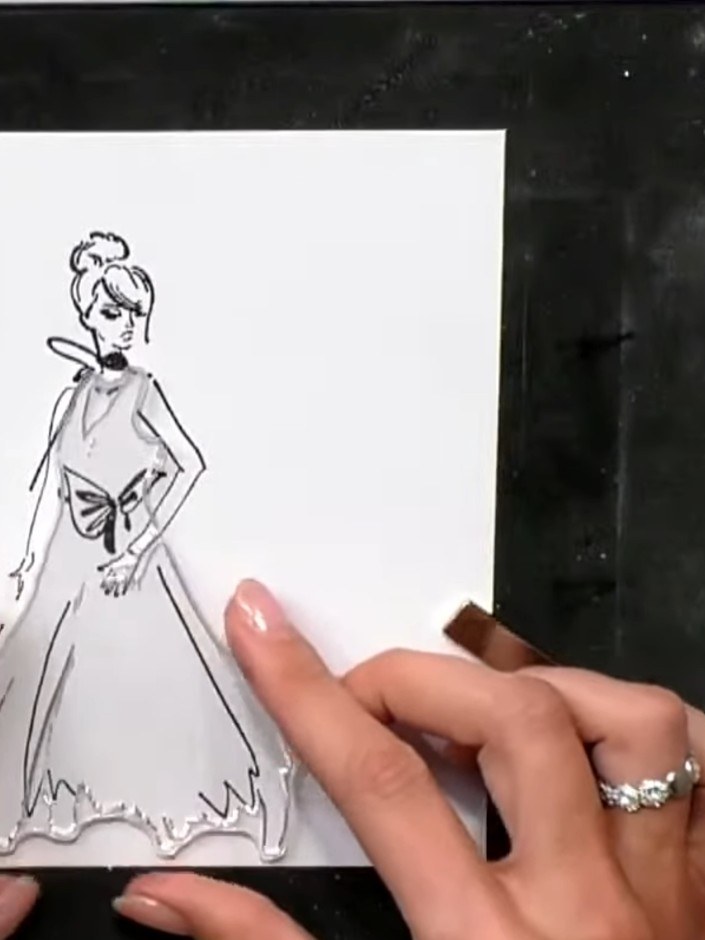
Ink the outline stamp of the gown in black ink and carefully layer it over the previously coloured gown image, aligning it precisely to create a defined border around the coloured areas.
▶ voir cette étape (48:30)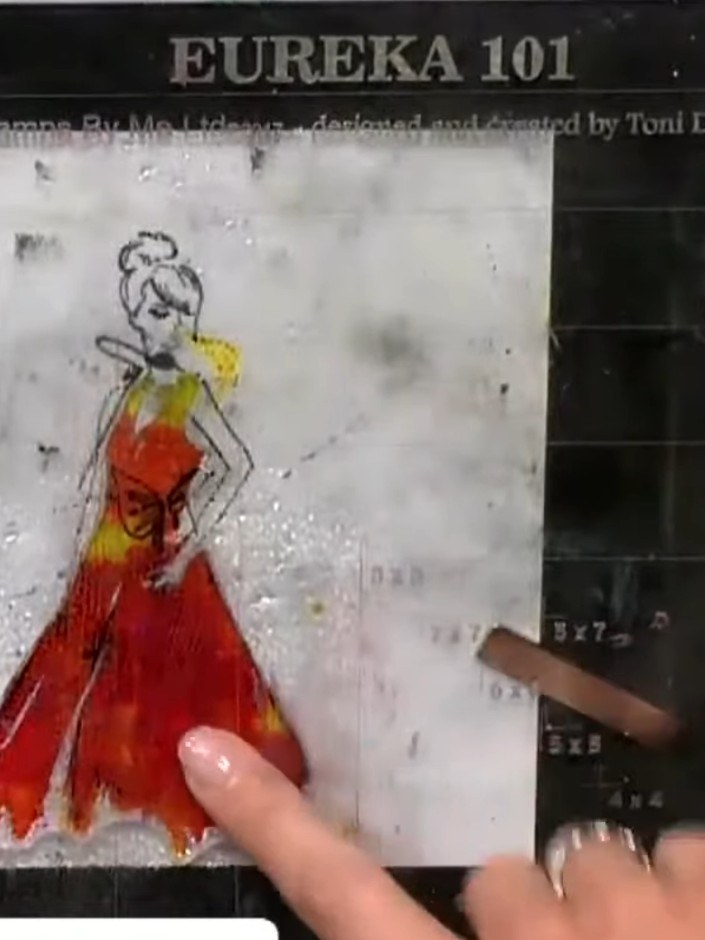
Spray the floral stamp with water and stamp it around the gown figure to create a decorative frame. The water will help create a softer, more blended effect with the stamp.
▶ voir cette étape (49:30)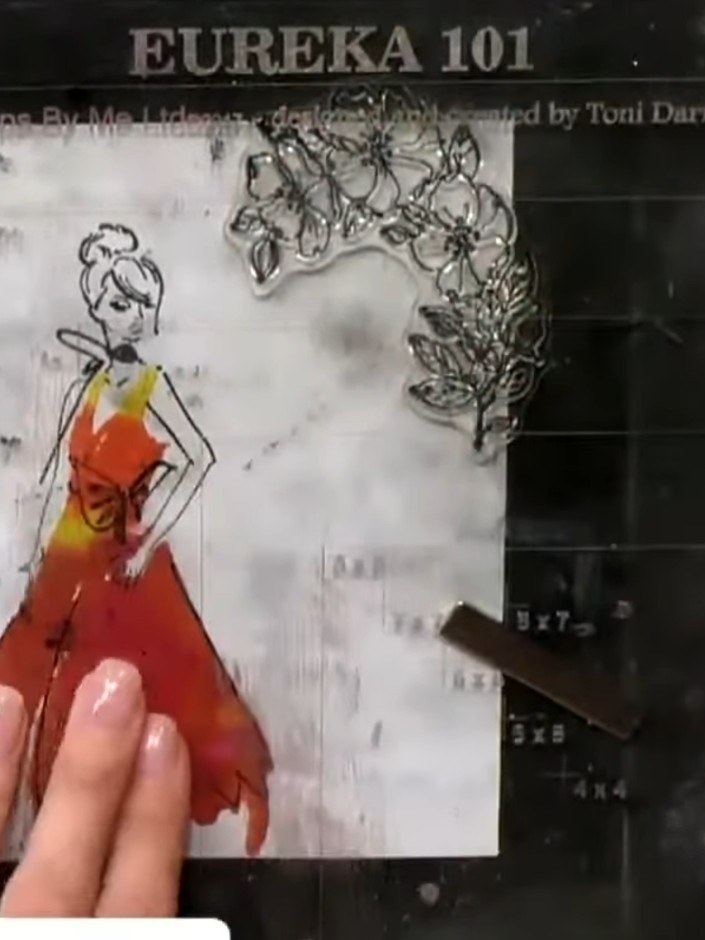
Stamp your chosen sentiment (such as 'Happy Birthday') through the gown design using black ink. Position the sentiment stamp so it integrates with the dress illustration.
▶ voir cette étape (50:30)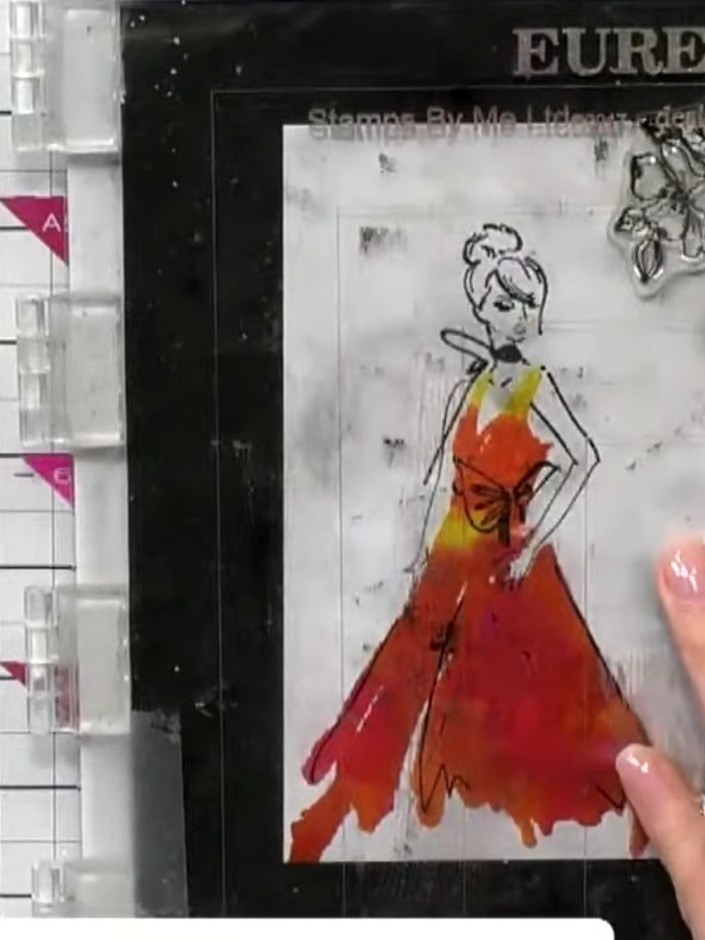
Mount the completed laminated fashion figure onto white cardstock, layering it to create depth and dimension. Position the design centrally on your card base to showcase the coloured gown and floral elements.
▶ voir cette étape (51:00)Rédigé à partir de l'émission elle-même. Découvrez tous les guides de nos émissions · tutoriels gratuits · regarder en direct sur My Telly