Offrez à vos amis 10 € de réduction sur leur première commande !
Parrainez un AMI








Un projet de notre émission en direct FRIDAY LAUNCH - Retrouvez Toni pour ses derniers produits et ses démos - Diffusion du 30 septembre 22 · 30/09/2022 · à voir dès 14:15
Create a charming interactive pocket album from a single 12x12 sheet of cardstock. This clever design features multiple hinged flaps and pockets created through strategic scoring and folding, perfect for holding photos, tags, and small mementos. The result is a personalised keepsake album that makes a thoughtful handmade gift.
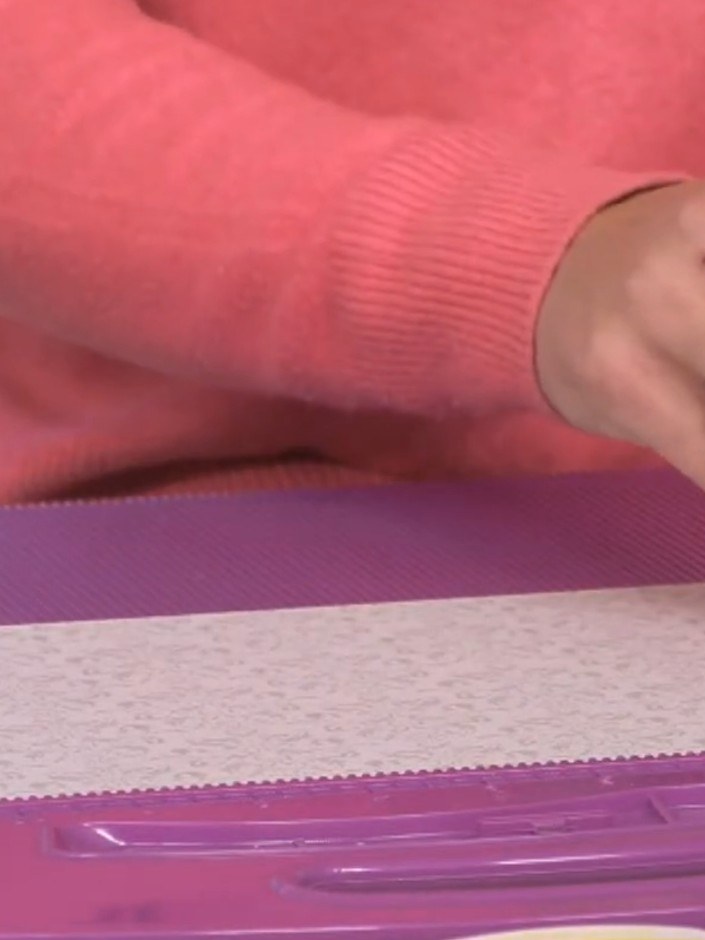
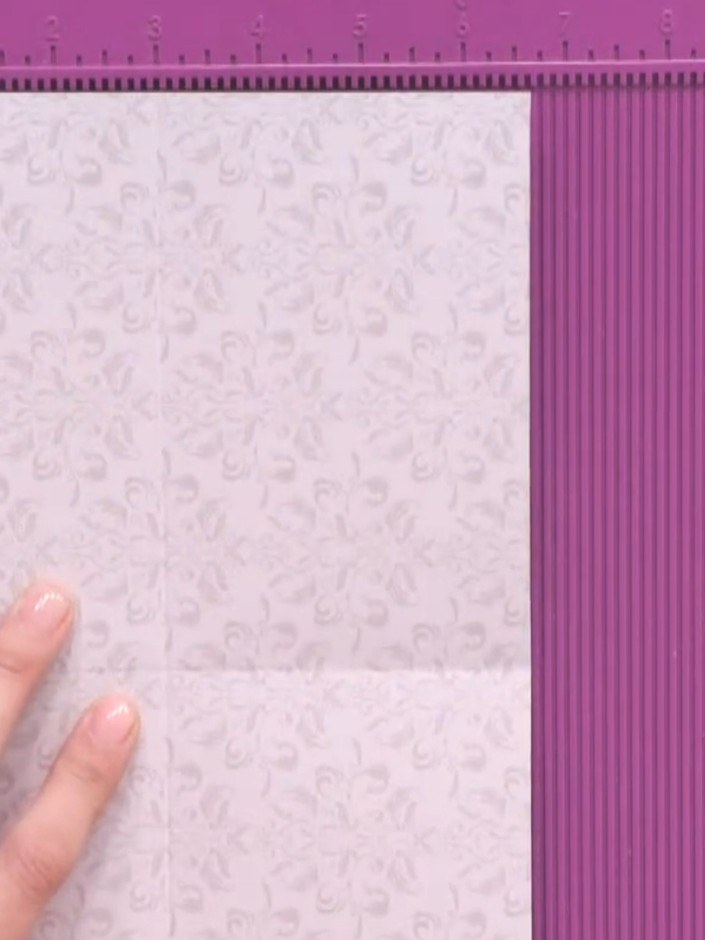
Take a 12x12 inch sheet of cardstock and place it on your scoreboard. Score a line at the 6 inch mark lengthwise to create a fold line at the halfway point.
▶ voir cette étape (14:15)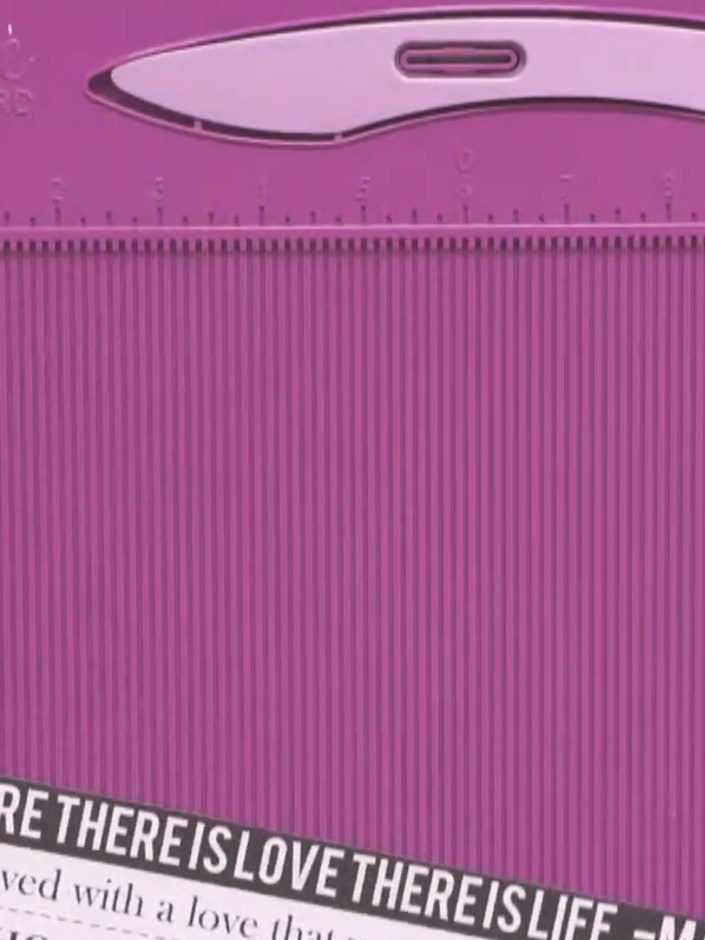
Fold the pink corrugated card in half along the score line to create a hinge.
▶ voir cette étape (14:45)
Score additional lines at 3 inches and 2 inches from the fold to create multiple pocket sections on your paper.
▶ voir cette étape (15:00)
Cut from the folded edge up to each score line using scissors, stopping at the line to avoid cutting through.
▶ voir cette étape (15:30)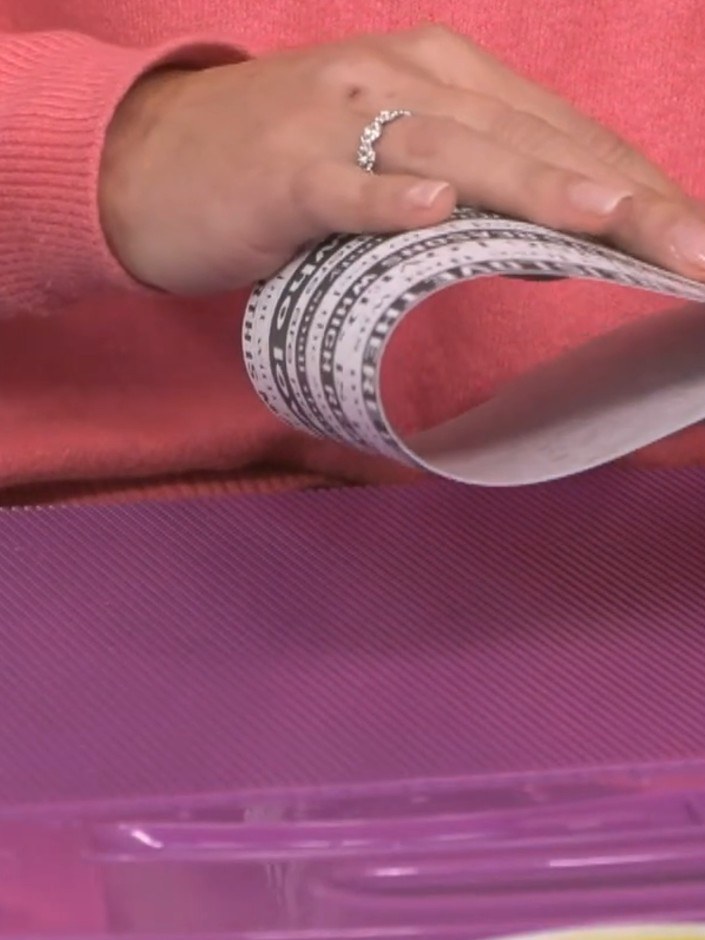
Fold each cut section outward along the score lines to create hinged flaps that reveal pockets on both sides of the pink corrugated card.
▶ voir cette étape (16:00)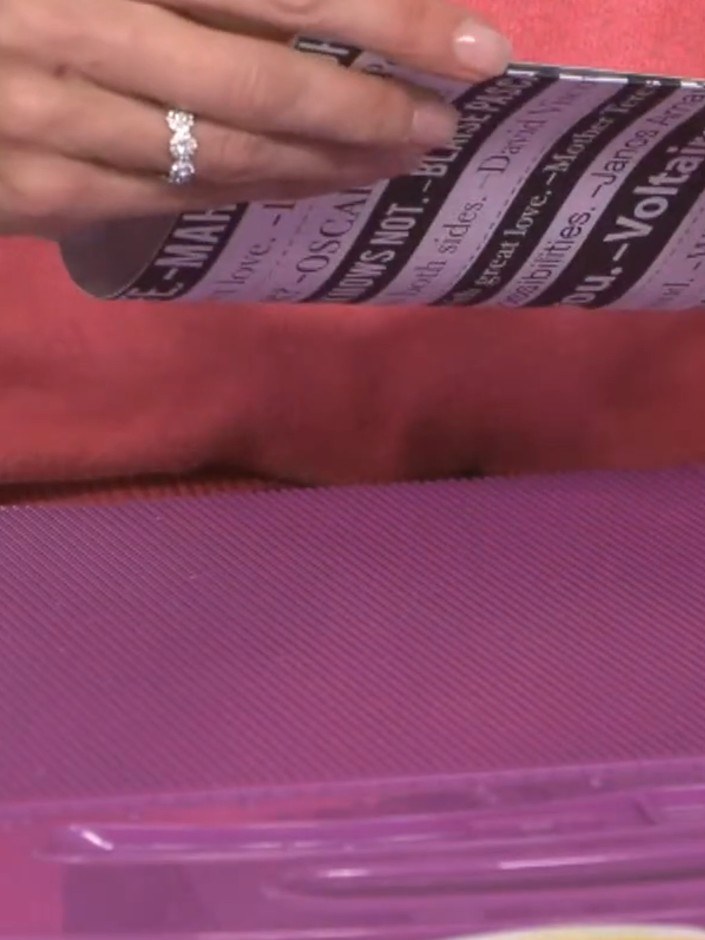
Adhere the pockets in place using tape or glue along the sides and bottom edges, leaving the top openings free for inserting items.
▶ voir cette étape (16:30)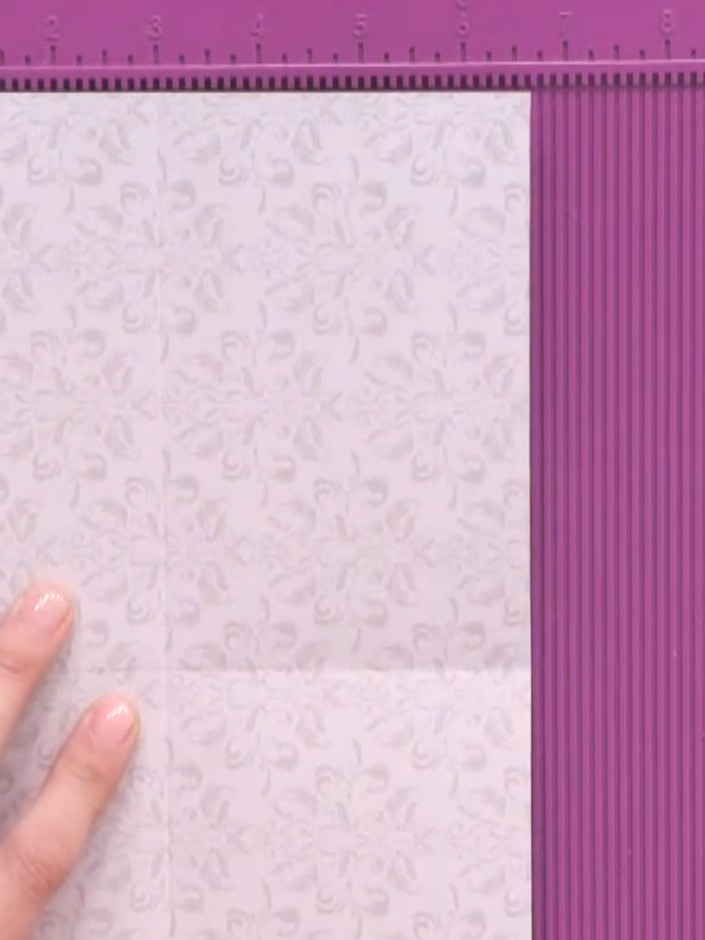
Decorate the front and back covers of your album with patterned paper from your paper stack. Alternatively, use toppers from the paper pad to embellish the covers as desired.
▶ voir cette étape (17:00)Rédigé à partir de l'émission elle-même. Découvrez tous les guides de nos émissions · tutoriels gratuits · regarder en direct sur My Telly