Offrez à vos amis 10 € de réduction sur leur première commande !
Parrainez un AMI








Un projet de notre émission en direct FRIDAY LAUNCH - Retrouvez Toni pour ses derniers produits et ses démos - Diffusion du 30 septembre 22 · 30/09/2022 · à voir dès 26:45
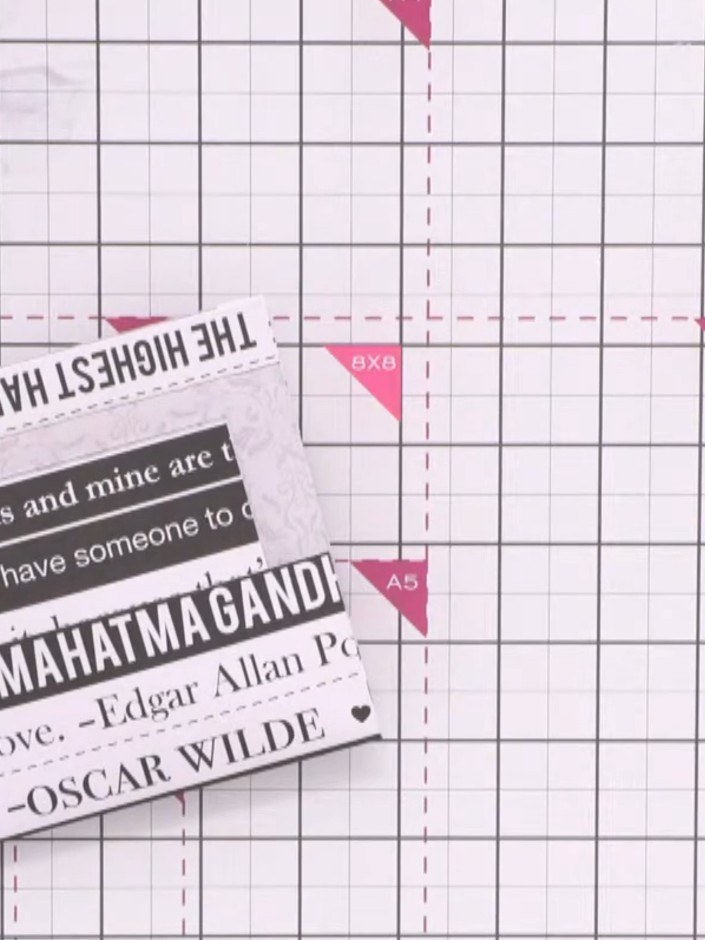
Create a charming mini booklet insert designed to fit perfectly inside album pockets. This interactive element features rounded corners, internal pockets, and uses offcut cardstock in coordinating pink and black tones with sentiment text. The folded design adds depth and dimension to your memory keeping projects whilst making clever use of leftover materials.
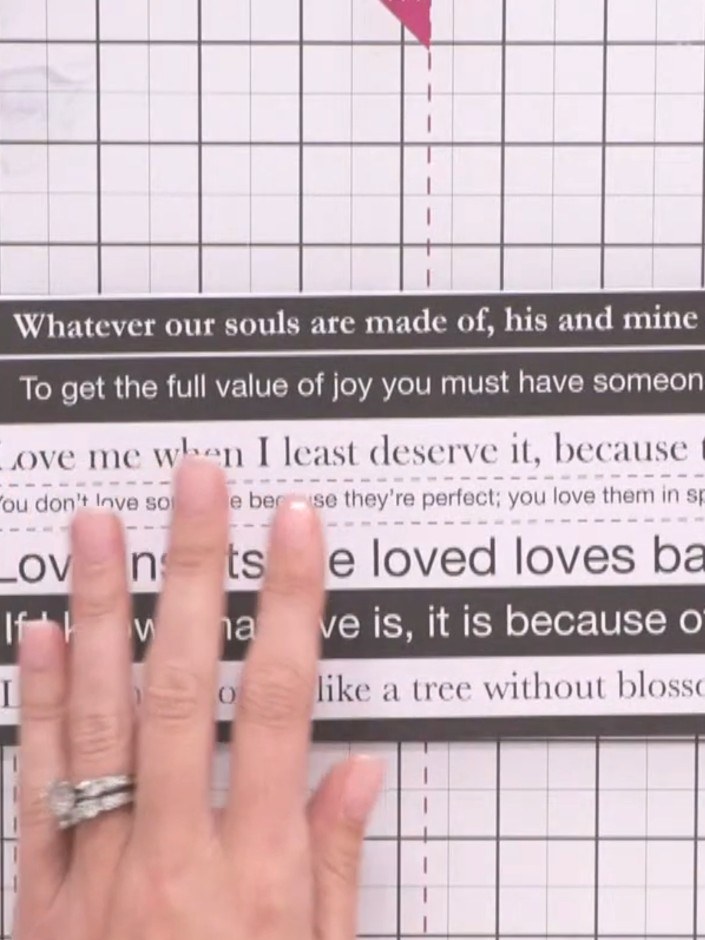
Using a guillotine, cut a piece of off-white cardstock to approximately 8 inches in length.
▶ voir cette étape (26:45)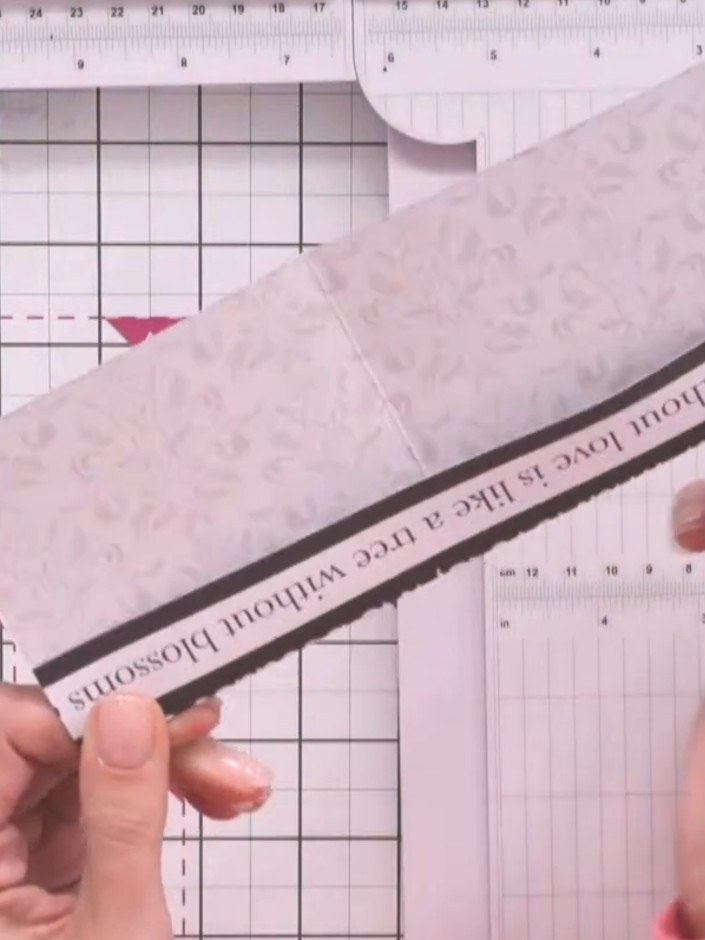
Score the card in half at 4 inches using a scoreboard to create a centre fold.
▶ voir cette étape (27:00)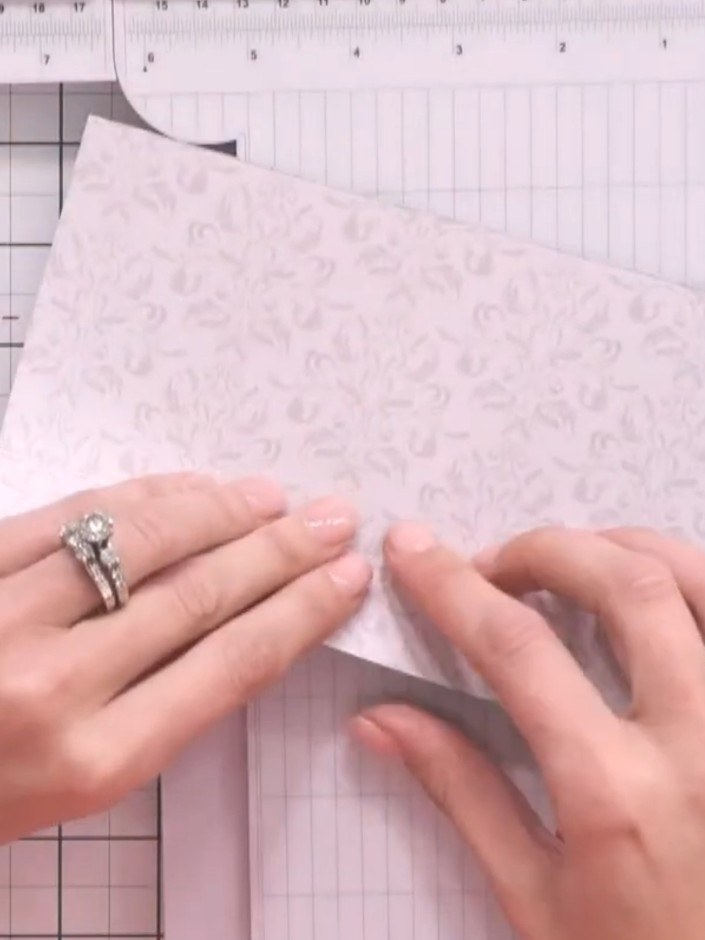
Score additional lines approximately 1 inch (2.5 cm) from the top edge of the paper to mark where the internal pockets will be created.
▶ voir cette étape (27:15)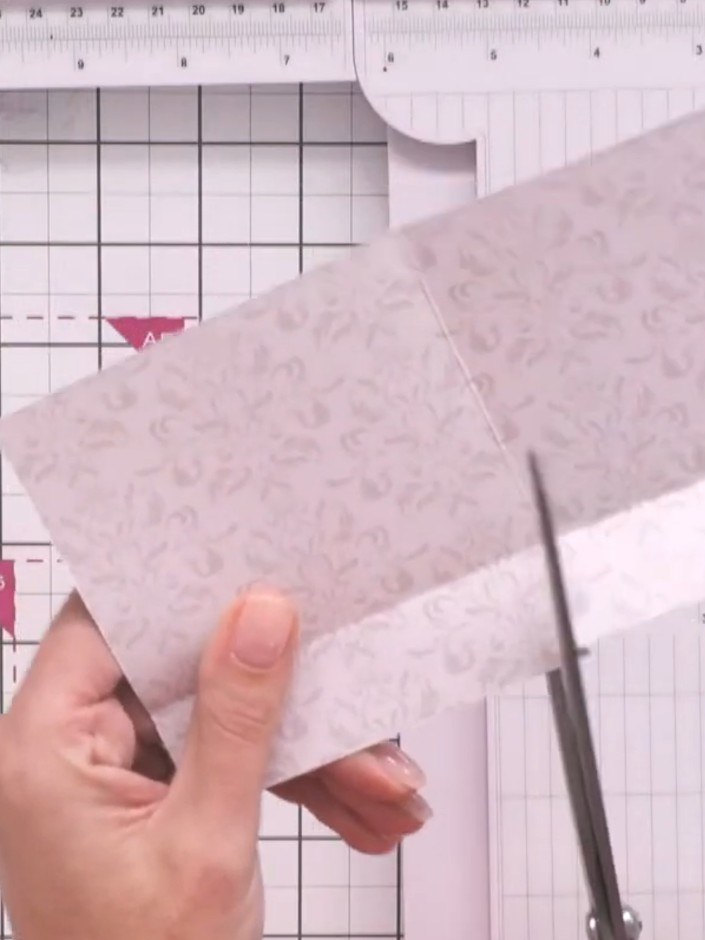
Cut from the top edge of the folded paper down to the centre fold line using scissors to create pocket flaps.
▶ voir cette étape (27:45)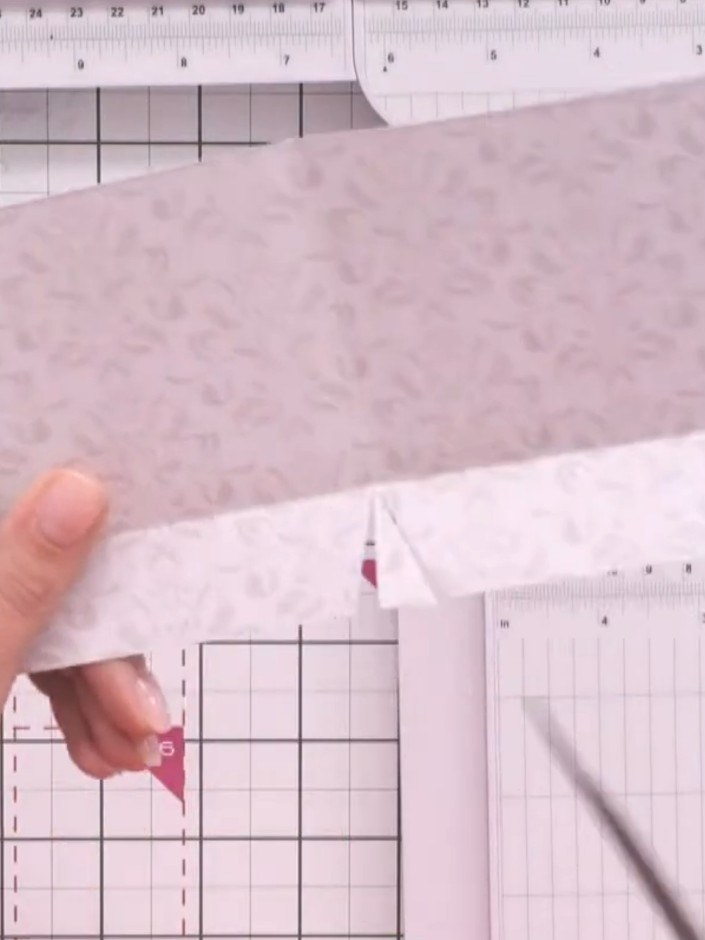
Fold the card in half along the main score line to create the mini book insert.
▶ voir cette étape (28:00)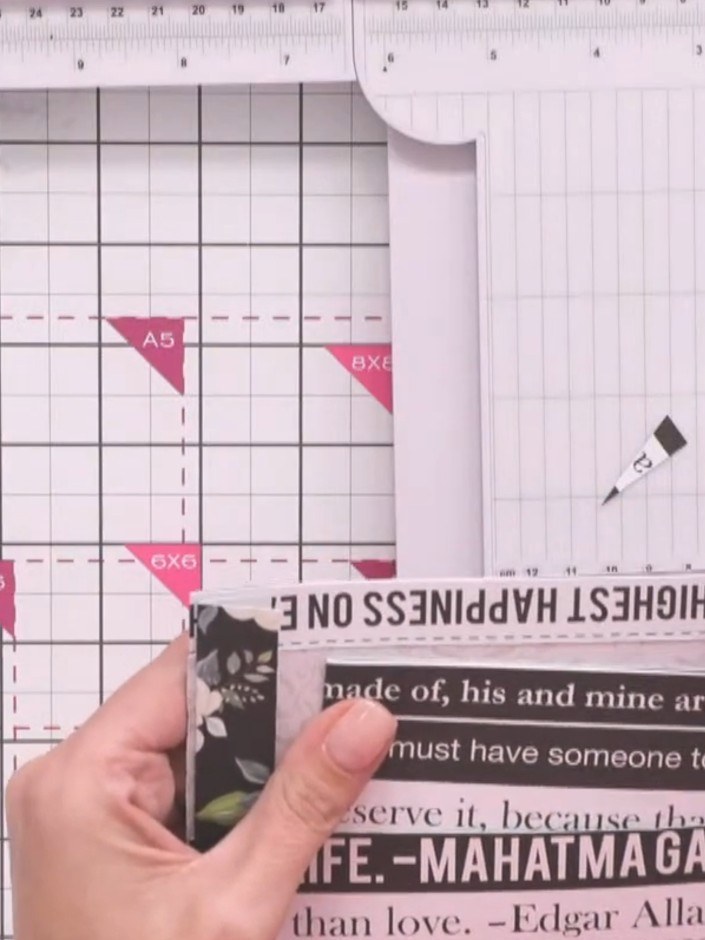
Use a corner punch to round off all four corners of the booklet for a polished, finished look.
▶ voir cette étape (28:30)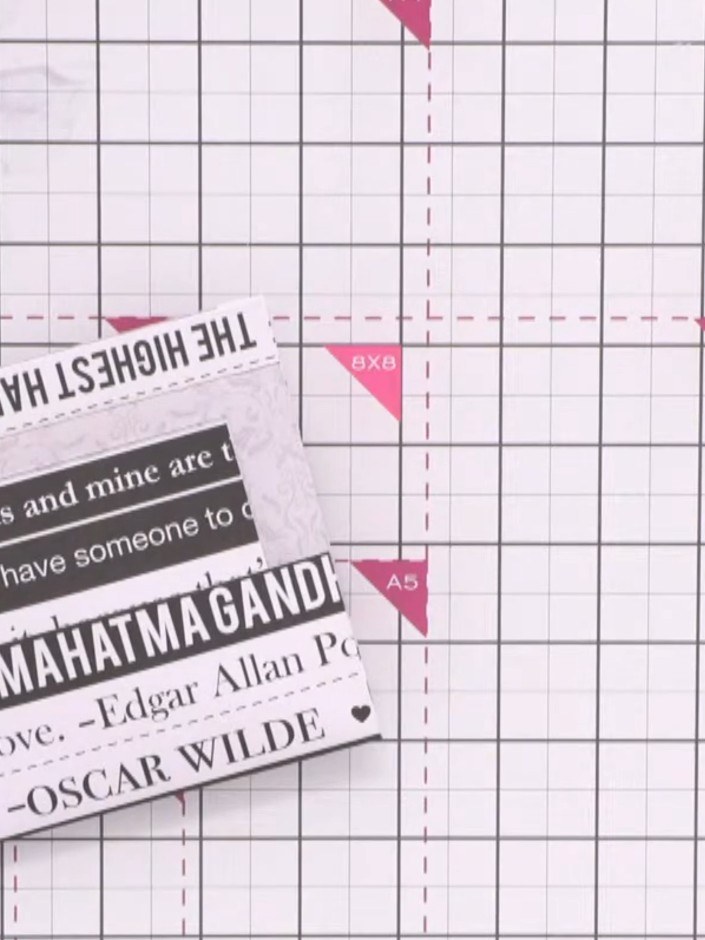
Adhere a decorative topper or piece of patterned paper to the front cover to hide any text that may be showing upside down. This completes your mini book insert.
▶ voir cette étape (29:00)Rédigé à partir de l'émission elle-même. Découvrez tous les guides de nos émissions · tutoriels gratuits · regarder en direct sur My Telly