Offrez à vos amis 10 € de réduction sur leur première commande !
Parrainez un AMI








Un projet de notre émission en direct CREATE AND CRAFT - NOUVEAUTÉS ET EXCLUSIVITÉS - Retrouvez Toni pour ses derniers produits et fêtez avec elle ses 10 ans à la télé - Diffusion du 26 sept. 22 · 26/09/2022 · à voir dès 39:00
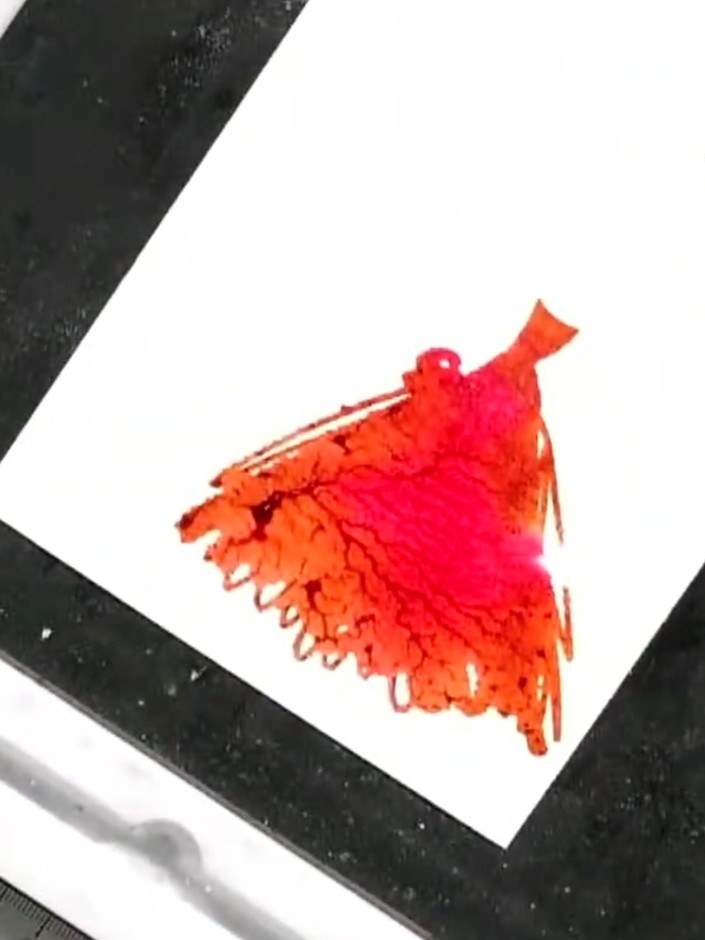
Create a striking card using a two-part lamination stamp featuring a lady in an elegant gown. You'll layer vibrant watercolour effects in pink, orange and red tones, adding depth with ink, water spray and optional embossing. The finished piece combines beautiful watercolour blending with dimensional stamped detail for a sophisticated handmade card.
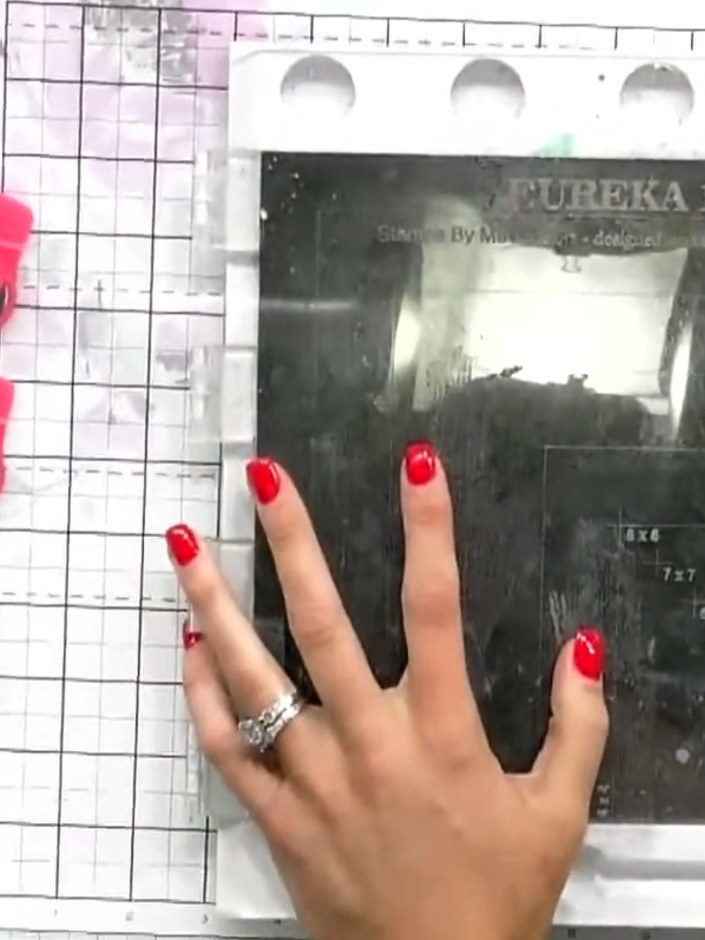
Place your watercolour or card stock on the magnetic glass mat with the grid side facing up. The magnetic surface will hold your card in place whilst you work.
▶ voir cette étape (39:00)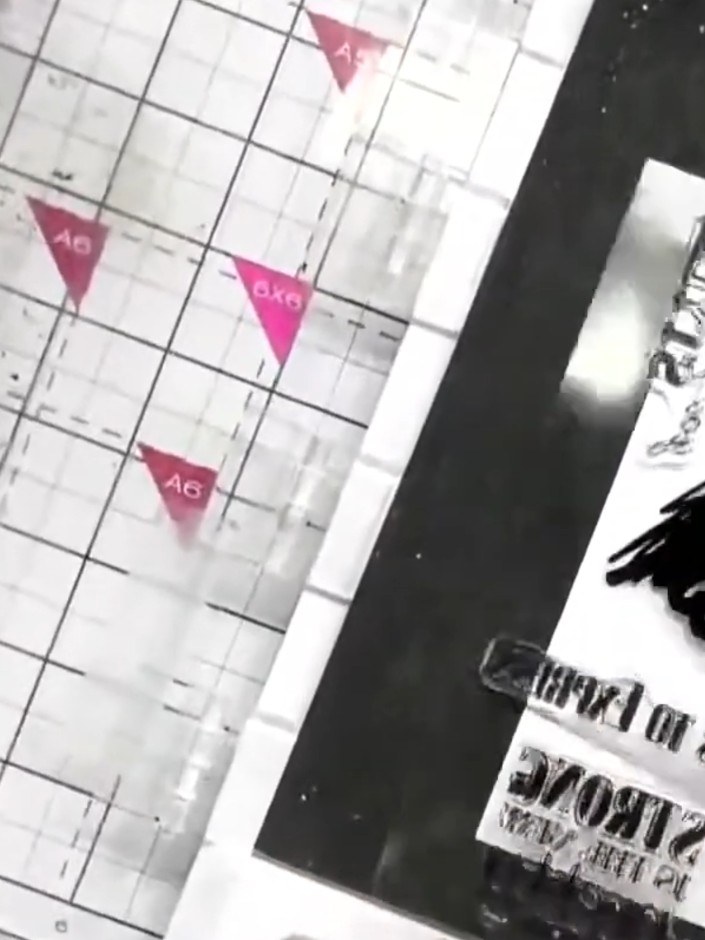
Position the lamination stamp in the corner of your watercolour card. Use the magnets on your stamping platform to secure the card in place if needed.
▶ voir cette étape (40:15)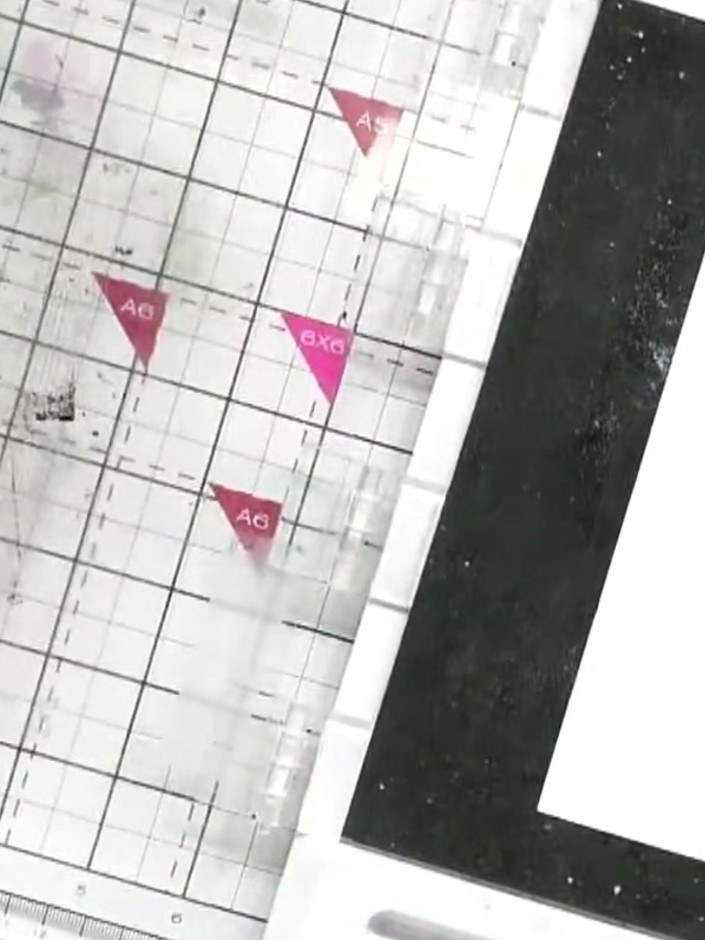
Using a spot brush, gently dab pink ink onto the solid portion of the dress stamp. Work carefully to ink up the design, creating a watercolour effect.
▶ voir cette étape (40:45)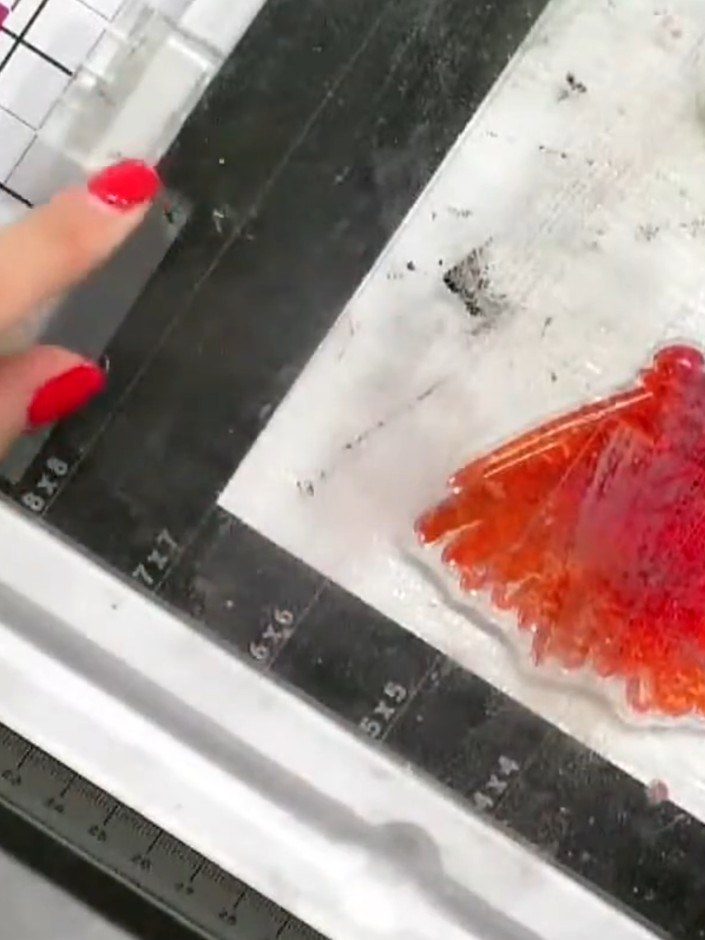
Add orange ink around the stamped dress design to complement the pink watercolour effect, creating a gradient finish.
▶ voir cette étape (41:00)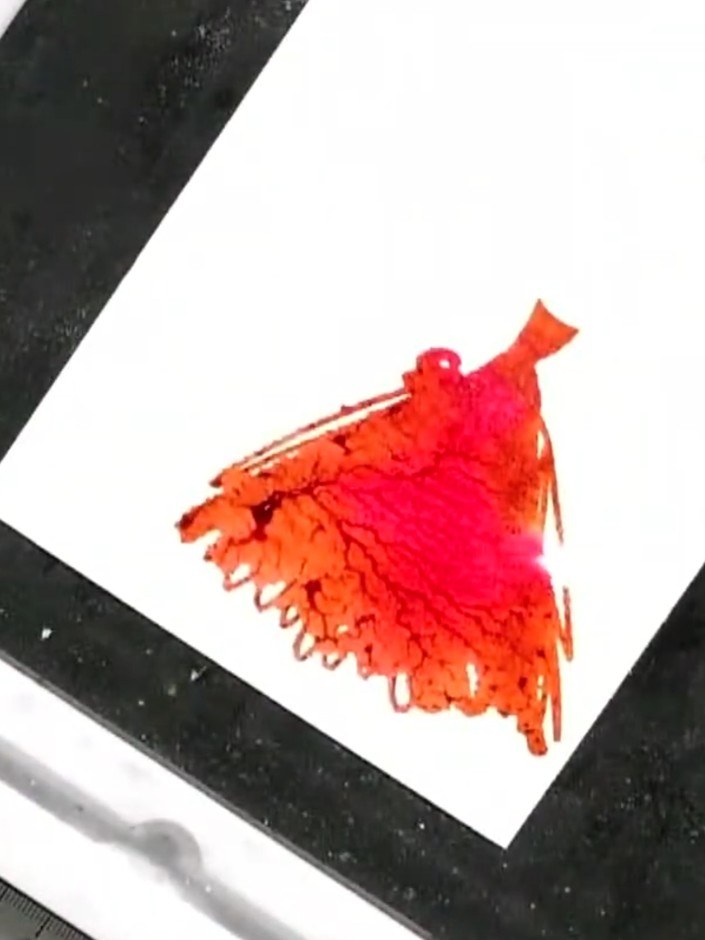
Lightly spray the inked stamp with water to create a watercolour effect. The water will blend the pink and orange inks together for a soft, graduated finish.
▶ voir cette étape (41:15)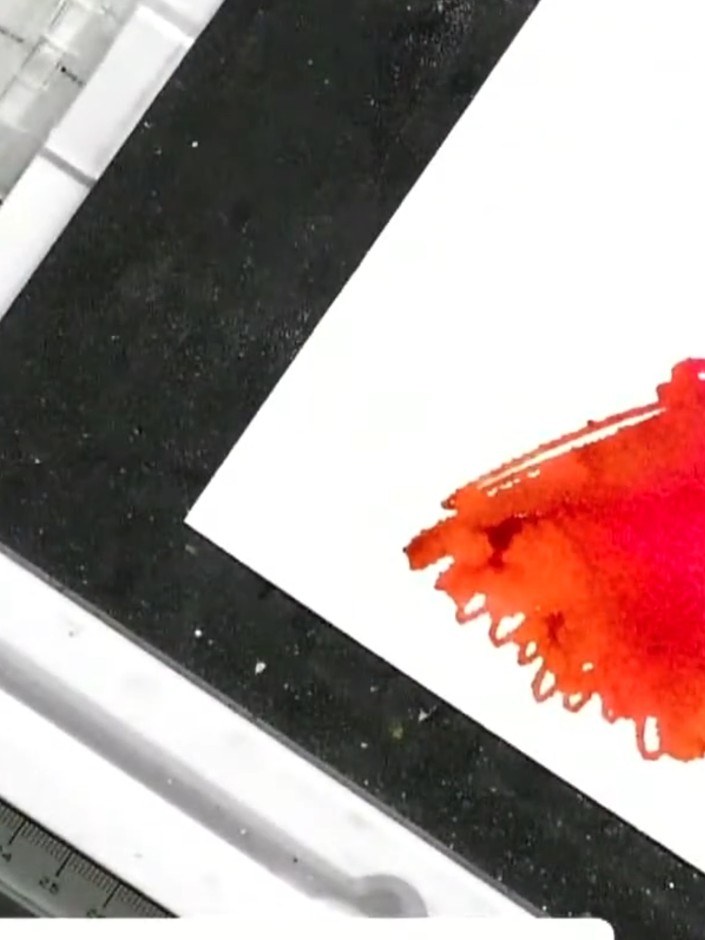
Press the stamp firmly onto your white card panel and carefully lift it away to reveal the watercolour bird image in red and orange tones.
▶ voir cette étape (41:30)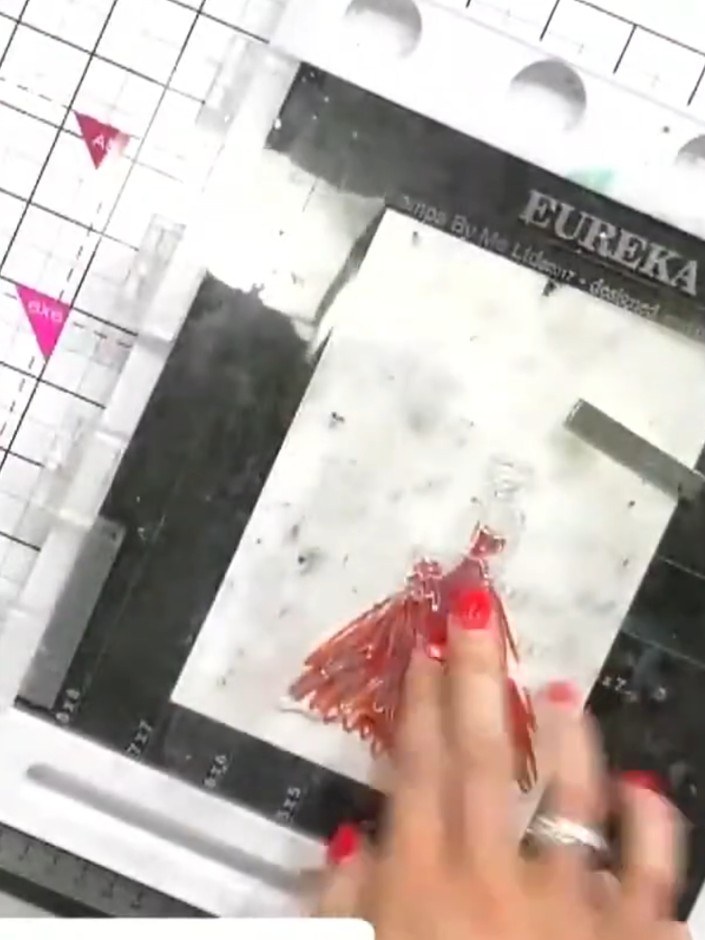
Once the watercoloured area is dry, ink the outline portion of the stamp with black ink. Carefully stamp it over the watercoloured dress to add definition and detail.
▶ voir cette étape (42:15)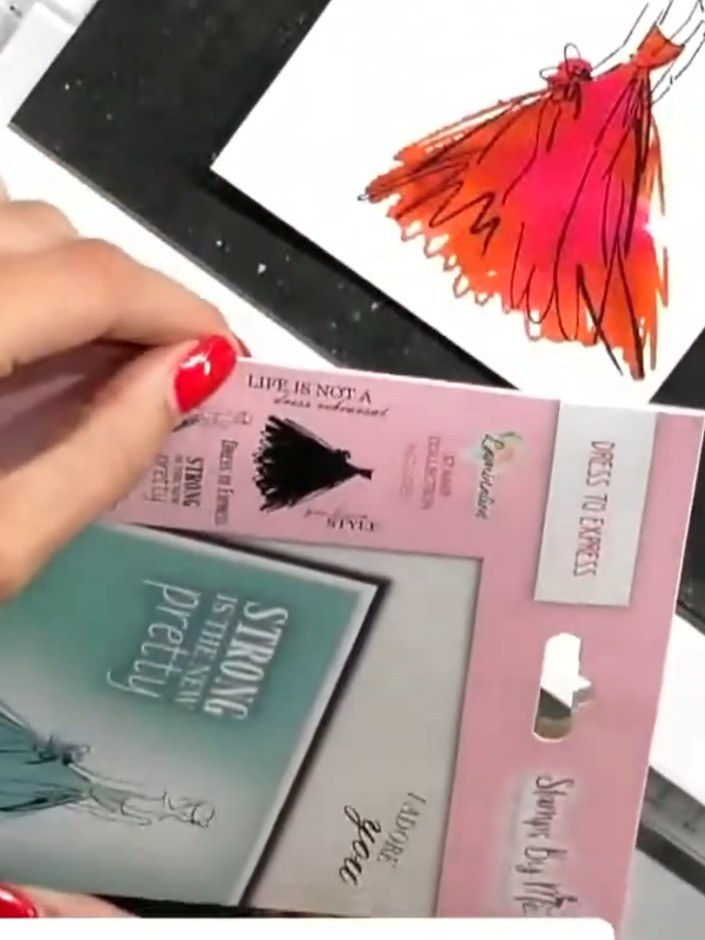
Choose a sentiment stamp from your set and stamp it onto the side of your card base using black ink. Position the sentiment to complement your coloured dress image.
▶ voir cette étape (43:15)
Optional: Run the finished card through an HD 3D embossing folder to add texture and dimension to the design. Feed the card through your die-cutting machine with the embossing folder to create a raised pattern across the surface.
▶ voir cette étape (46:30)Rédigé à partir de l'émission elle-même. Découvrez tous les guides de nos émissions · tutoriels gratuits · regarder en direct sur My Telly