Offrez à vos amis 10 € de réduction sur leur première commande !
Parrainez un AMI








Un projet de notre émission en direct CREATE AND CRAFT - NOUVEAUTÉS ET EXCLUSIVITÉS - Retrouvez Toni pour ses derniers produits et fêtez avec elle ses 10 ans à la télé - Diffusion du 26 sept. 22 · 26/09/2022 · à voir dès 30:15
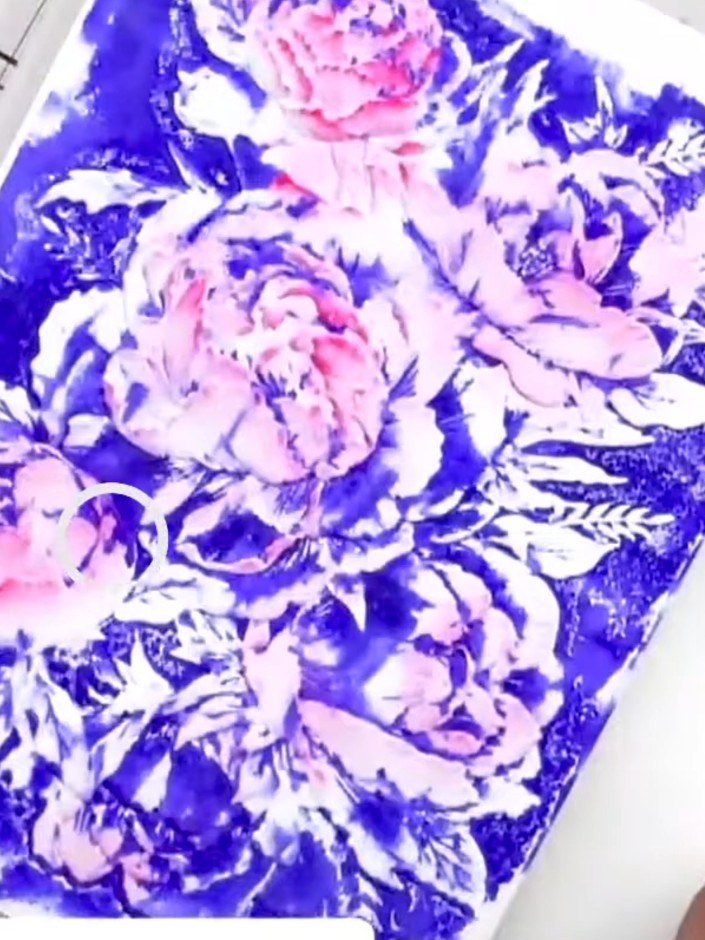
Create a stunning floral card featuring beautiful peonies in vibrant purple and pink tones. Using high-definition embossing folders, you'll achieve exceptional depth and dimensional detail that brings these gorgeous blooms to life. This elegant design showcases the dramatic contrast between the raised white flowers and the rich purple background.
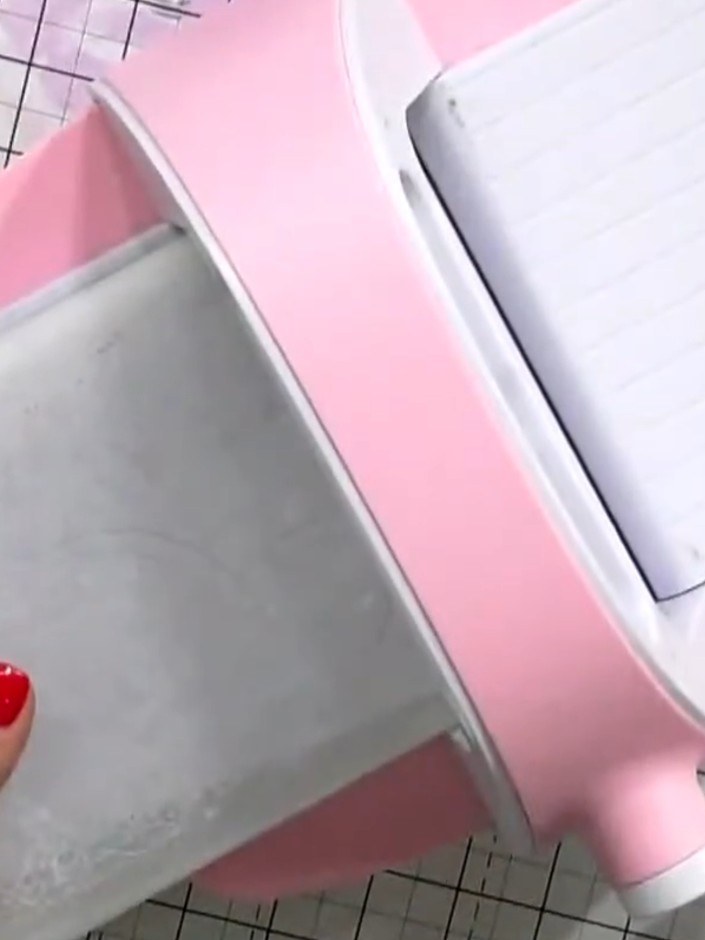
Place your card stock into the die-cutting machine. Ensure the card stock is positioned correctly on the cutting platform with the embossing folder in place. Run it through the machine following your manufacturer's settings.
▶ voir cette étape (30:30)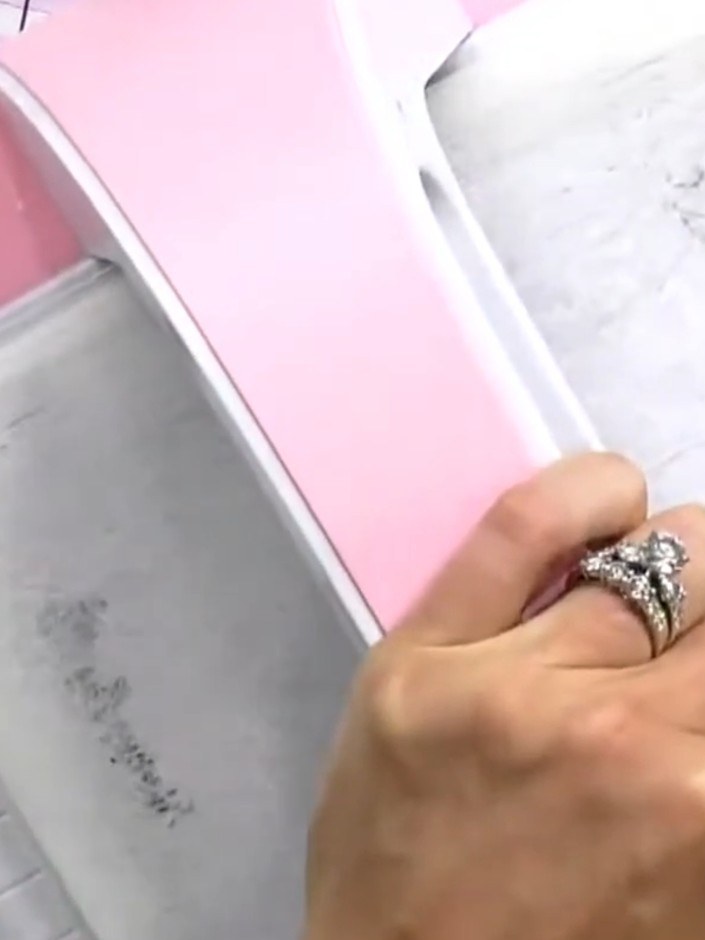
Place your card stock inside the HD 3D embossing folder. Insert the folder into the embossing machine and run it through to create the embossed design.
▶ voir cette étape (30:45)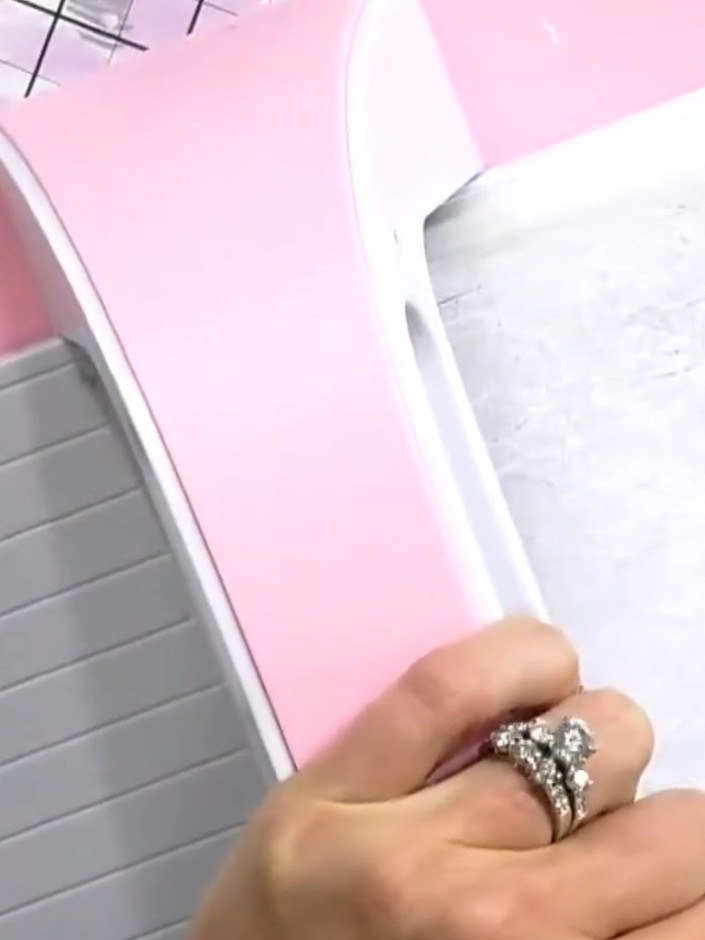
Remove the embossed card from the embossing folder. Examine the detailed embossed design on both the front and back of the card to see the raised pattern created.
▶ voir cette étape (31:00)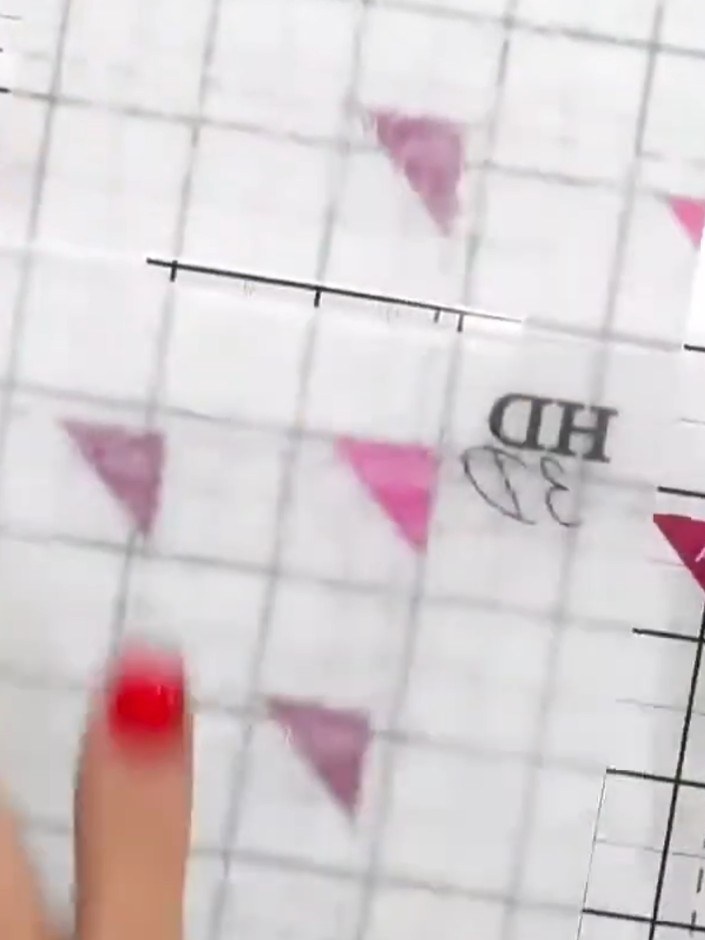
Feel the embossed design with your fingers to identify where the raised and recessed areas are located. This helps you understand which areas are solid and which are indented on the embossing folder.
▶ voir cette étape (32:45)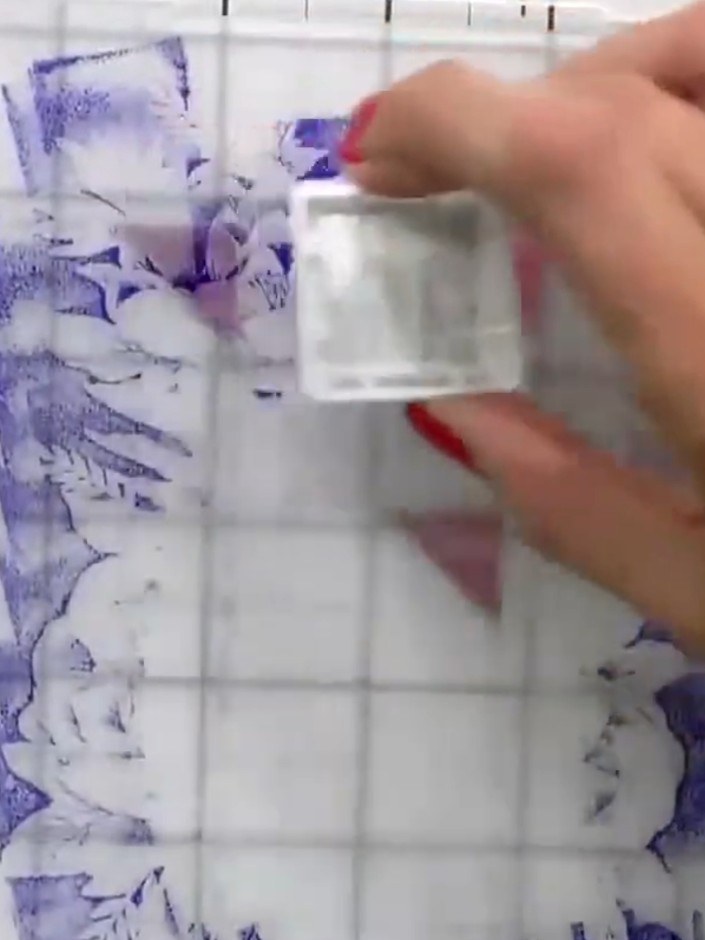
Gently pat the ink pad onto the raised portions of the embossed design. Work on one side of the embossing folder, applying the ink to the 3D raised areas. Don't be too precise with the application.
▶ voir cette étape (33:00)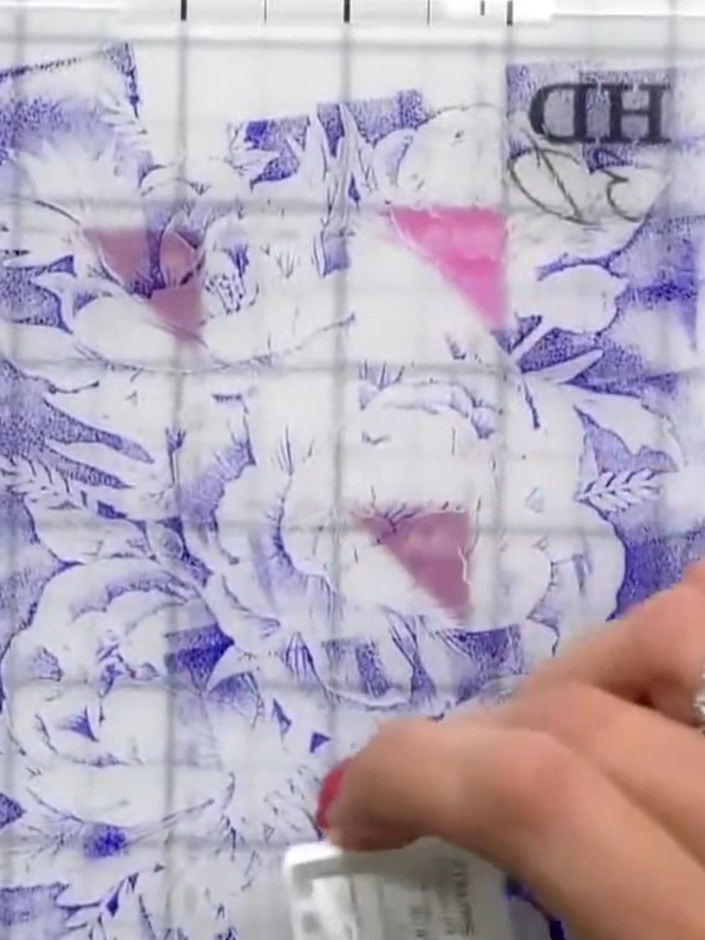
Lightly spray the inked embossed design with water to create a watercolour effect. The water will blend and soften the purple ink on the peony and tiger lily design.
▶ voir cette étape (33:15)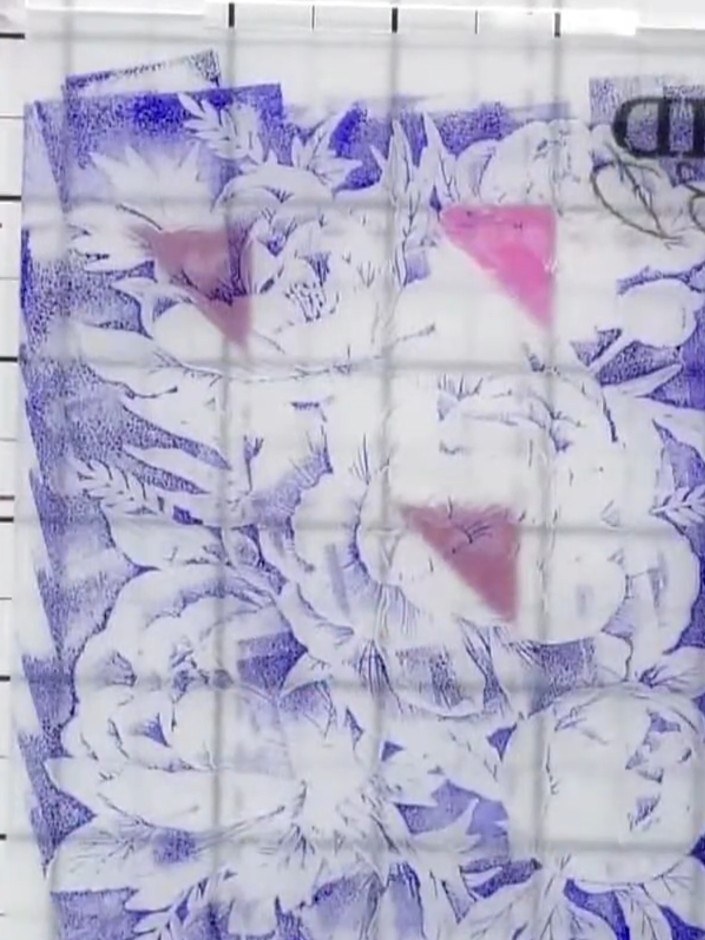
Remove the embossed card from the folder and set it aside to dry completely before continuing with your project.
▶ voir cette étape (33:30)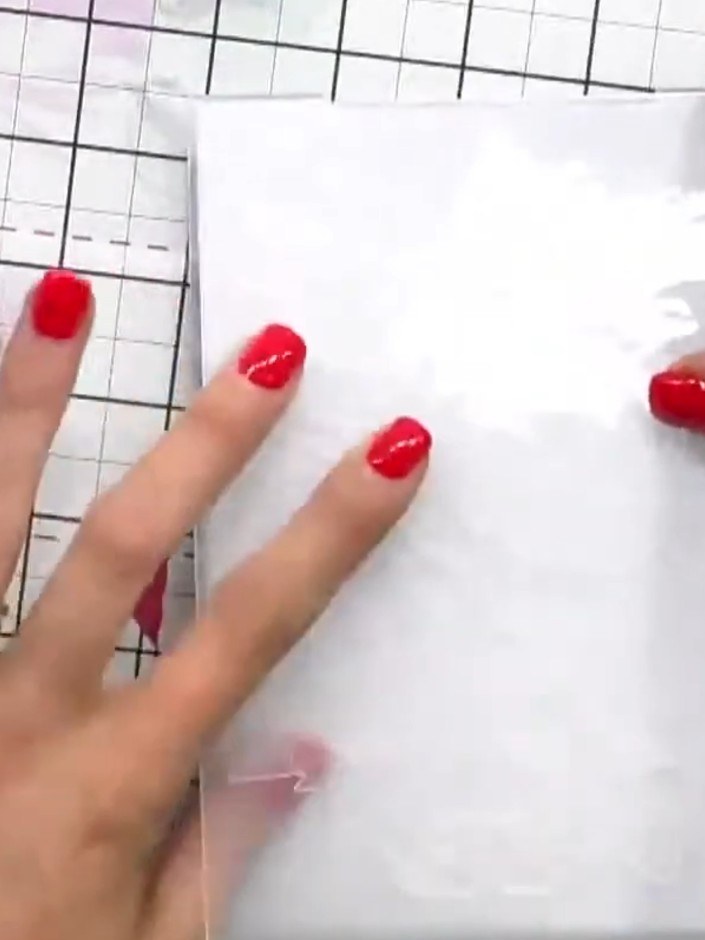
Using a different ink colour, apply ink to another area of the embossed design to add depth and dimension. Choose a complementary shade that works well with your first colour.
▶ voir cette étape (34:00)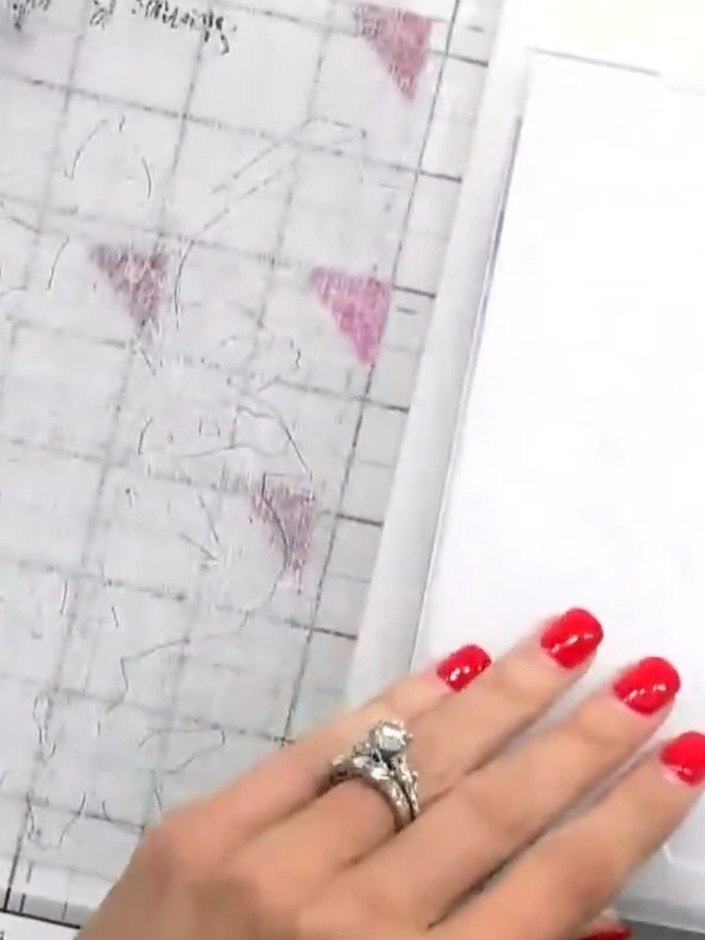
Use a spot brush to lightly apply colour over specific areas of the embossed design to highlight details and bring the peony and tiger lily to life.
▶ voir cette étape (34:15)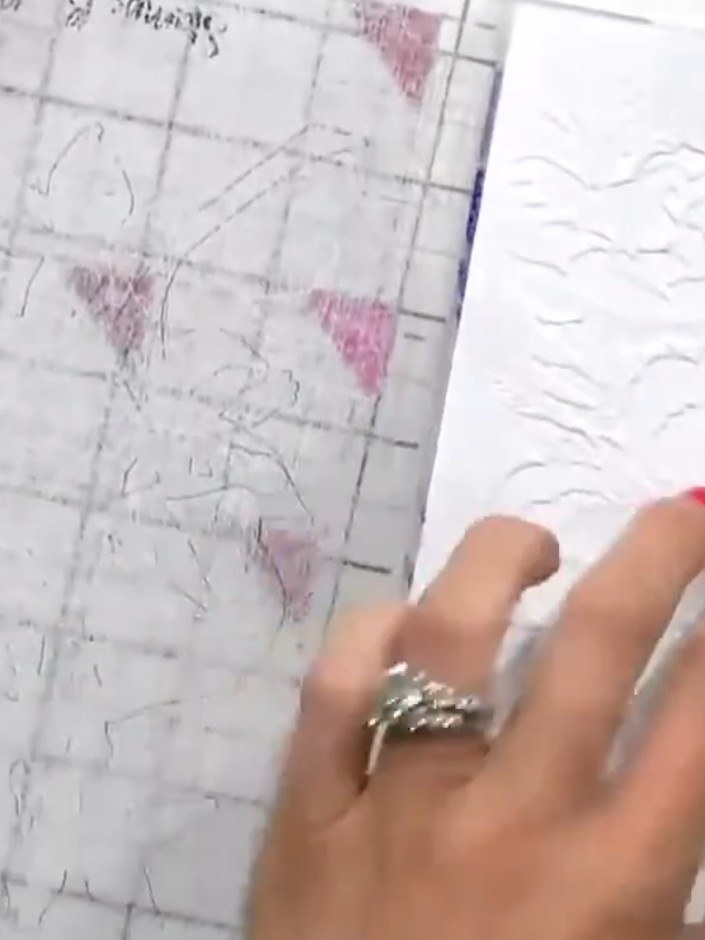
Add a sentiment to complete your card if desired, or leave it simple as a one-and-done design. The embossed floral pattern creates a beautiful finished card on its own.
▶ voir cette étape (34:45)Rédigé à partir de l'émission elle-même. Découvrez tous les guides de nos émissions · tutoriels gratuits · regarder en direct sur My Telly