Offrez à vos amis 10 € de réduction sur leur première commande !
Parrainez un AMI








 Hidden Gemsmer. 4 nov. 5 h 00
 The Thursday Dropjeu. 5 nov. 13 h 00
 The Friday Final Cutven. 6 nov. 5 h 00
Les prix sont mis à jour immédiatement. Les traductions sont réalisées par Google.
Une création de notre émission en direct REVOYEZ TECHNIQUE TUESDAY avec Toni dans le studio HTCN – diffusion du 16 nov. 21 · 16/11/2021
A beautiful card featuring a hand-painted watercoloured lily image stamped in black, complemented by stacked die-cut floral elements, white card base with red ink corner halo, and embellished with sequins and gems for a festive, dimensional finish.
Die-cut the floral bird design three times using your die-cutting machine, setting aside the cut pieces.
Apply PVA glue to the back of the first die-cut piece and stack the second piece on top, pressing down firmly to secure.
Apply glue to the second stacked piece and add the third die-cut on top, ensuring alignment for a dimensional embellishment.
Stamp the lily image onto white card stock using black ink, pressing firmly for a clear impression.
Die-cut the stamped lily image using the smallest die from the set, carefully running it through your die-cutting machine.
Paint the lily petals with watercolour, starting with orange, then adding pink to the centre, leaving white spaces for dimension.
Add green watercolour to the leaves and stems, following the line work in the stamp design and leaving a pale halo effect.
Use oil pencils to add feathered shading and definition to the petals and leaves, working from the centre outwards with a flicking motion.
Add white gel pen highlights to the artwork to make it pop from the page and restore any lost line details.
Colour the small buds in the centre with a yellow oil pencil for added detail.
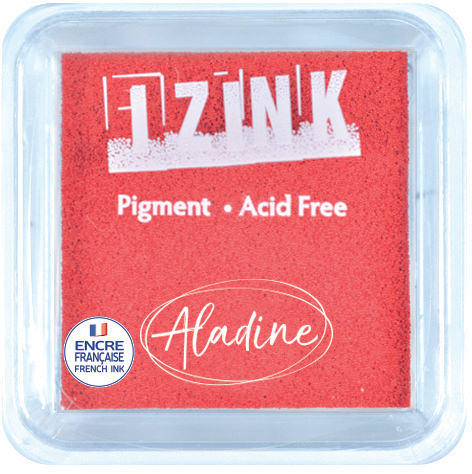
Ink the corner of a white card base with red pigment ink, creating a halo effect to frame your design.
Add white confetti ink splats to the red corner to break up the solid colour and add texture.
Stamp the 'thankful for today' sentiment in black ink onto the card base in the bottom corner.
Glue the painted lily image onto the white card base, positioning it as your focal point.
Glue the stacked floral die-cut embellishment onto the card, using foam pads to elevate it for dimension.
Add white and iridescent sequins around the design using a pickup tool, placing them strategically for sparkle.
Partagez votre création avec la communauté Stamps By Me - et gardez ce tutoriel pour la prochaine fois.
Rédigé à partir de l’émission elle-même. Tous les tutoriels de nos émissions · tutoriels gratuits · en direct sur My Telly · l’ancienne présentation