Offrez à vos amis 10 € de réduction sur leur première commande !
Parrainez un AMI








 Hidden GemsDemain 5 h 00
 The Thursday Dropjeu. 5 nov. 13 h 00
 The Friday Final Cutven. 6 nov. 5 h 00
Les prix sont mis à jour immédiatement. Chaque langue est notre propre traduction, pas Google.
Une création de notre émission en direct REVOYEZ MONDAY MADNESS avec Simon dans le studio HTCN – diffusion du 25 oct. 21 · 25/10/2021
An interactive card with a rotating mechanism that reveals a rainbow when turned. The front features a stormy cloud scene with rain, and pulling the ribbon handle rotates a circular disc behind an aperture to show the rainbow.
Glue a white card layer onto a blue card base to create the front panel.
Use a white pen to trace around a template showing the cloud aperture and shapes you wish to cut out.
Pierce the centre of the aperture with scissors, then carefully fussy-cut around all the cloud shapes and details.
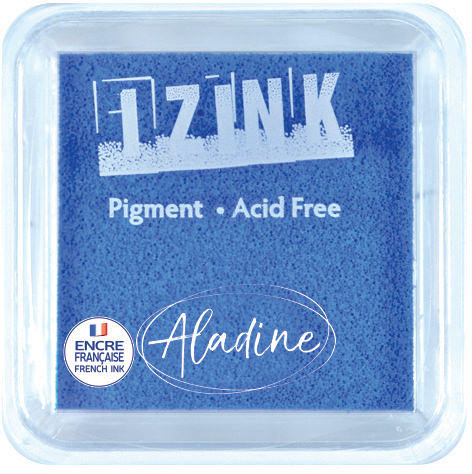
Use a cloud stencil and white ink pad to dab cloud patterns across the blue area to break up the solid colour.
Use a white pen to outline and enhance the cloud definition for added depth.
Glue rainbow ribbon across the bottom of the card to create the ground for character placement.
Create the rotating disc by layering coloured card (red, yellow, green and blue) in concentric rings to form a rainbow.
Trim the excess coloured layers flush with the blue base layer using scissors.
Draw white raindrop shapes of varying sizes across the blue side of the disc using a white pen.
Add watercolour detail to some raindrops and use a fine brush to add coloured water droplets for depth.
Pierce a hole through the centre of the rotating disc and the card base to align them.
Insert a split pin through the hole to create the rotating mechanism.
Attach a ribbon loop with a star to the split pin on the front as a pull handle.
Test the rotation mechanism and trim any areas that catch or obstruct smooth turning.
Apply double-sided tape around the edges of the rotating disc, avoiding the centre mechanism.
Use a pale blue ink pad and cloud stencil to lightly add cloud detail to the white card blank edges.
Partagez votre création avec la communauté Stamps By Me - et gardez ce tutoriel pour la prochaine fois.
Rédigé à partir de l’émission elle-même. Tous les tutoriels de nos émissions · tutoriels gratuits · en direct sur My Telly · l’ancienne présentation