Offrez à vos amis 10 € de réduction sur leur première commande !
Parrainez un AMI








 Community Showcaselun. 9 nov. 5 h 00
 Hobbymaker Tvlun. 9 nov. 9 h 00
 Deal Huntersmar. 10 nov. 9 h 00
Les prix sont mis à jour immédiatement. Chaque langue est notre propre traduction, pas Google.
Un projet de notre émission en direct HIDDEN GEMS - Diffusé le 4 novembre 2026 · 04/11/2026 · à voir dès 22:00
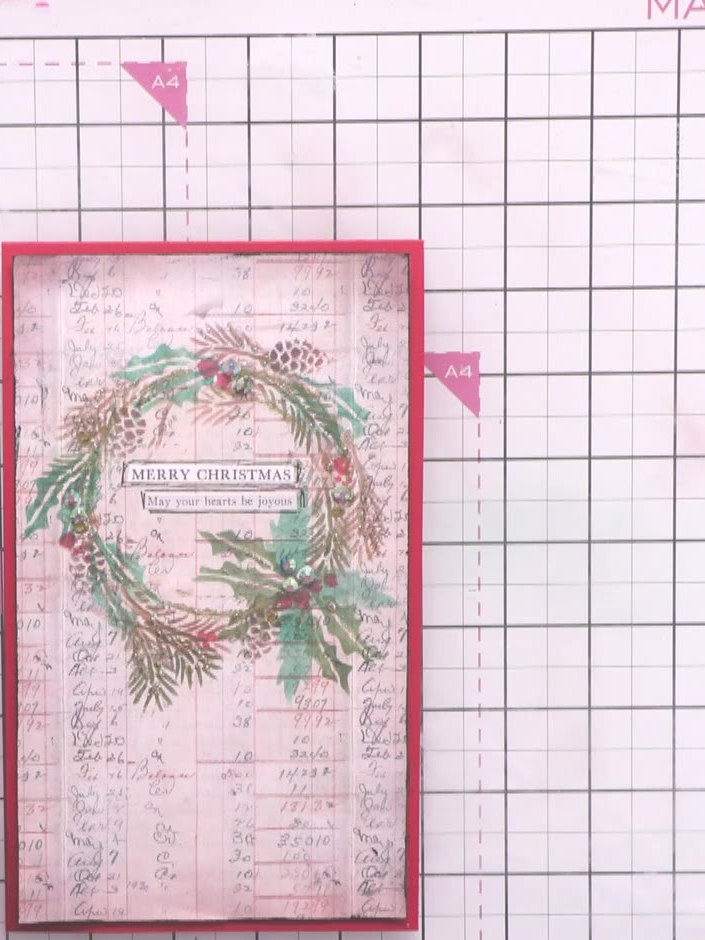
Create a beautiful festive Christmas card featuring a decorative wreath design with layered botanical elements in soft greens, warm browns, and luxurious gold accents. Using stencilling, distress inks, and gilding wax techniques, you'll build up a richly textured wreath adorned with a sentiment label and sparkling embellishments for an elegant seasonal greeting.
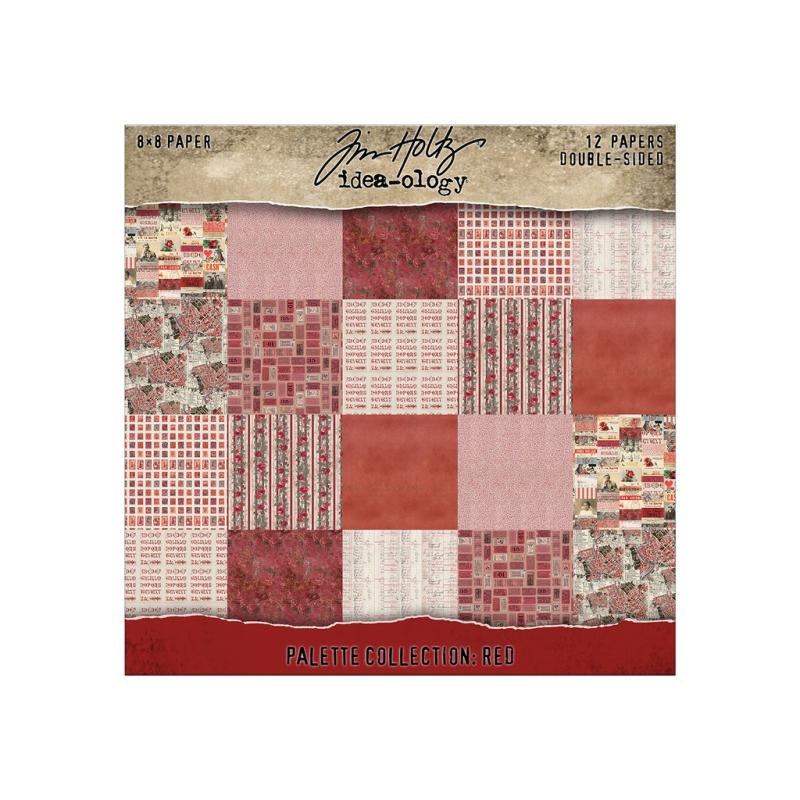 Tim Holtz Idea-ology - Palette Collection: Red (8"x8")VOIR
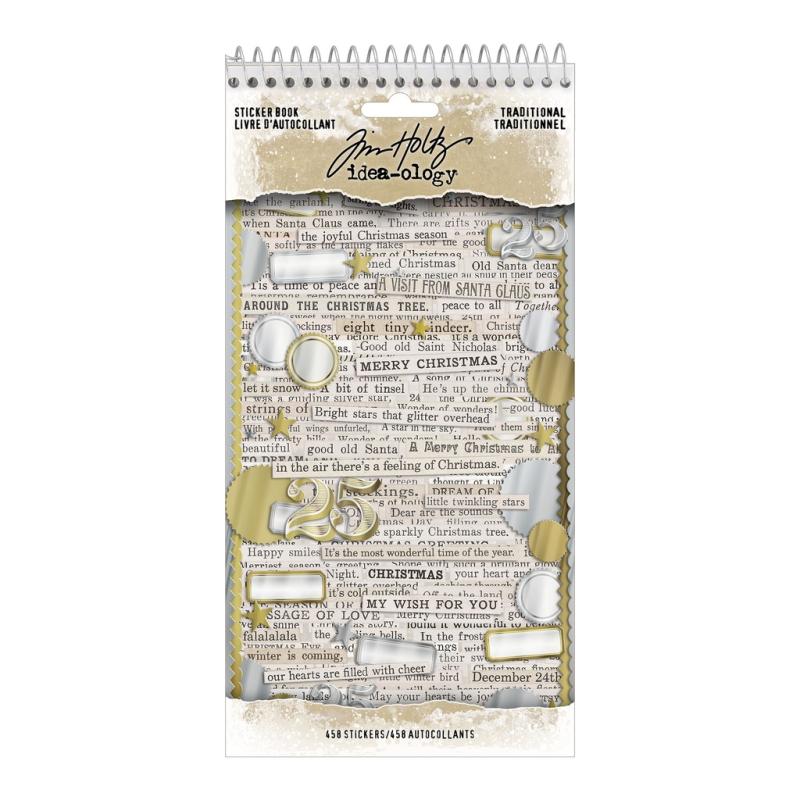 Tim Holtz Idea-ology - Sticker Book TraditionalVOIR
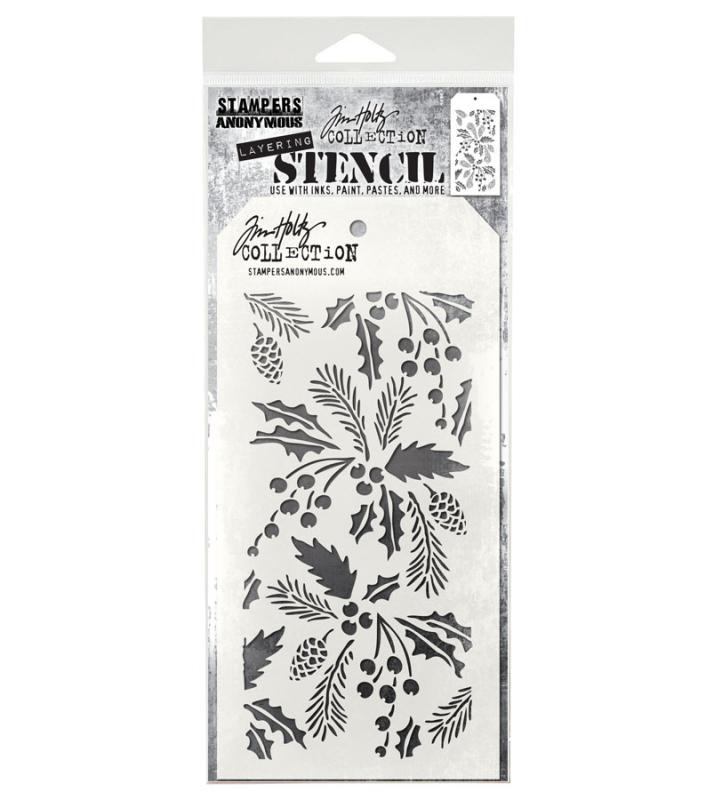 Tim Holtz Pochoir à superposer - FestiveVOIR
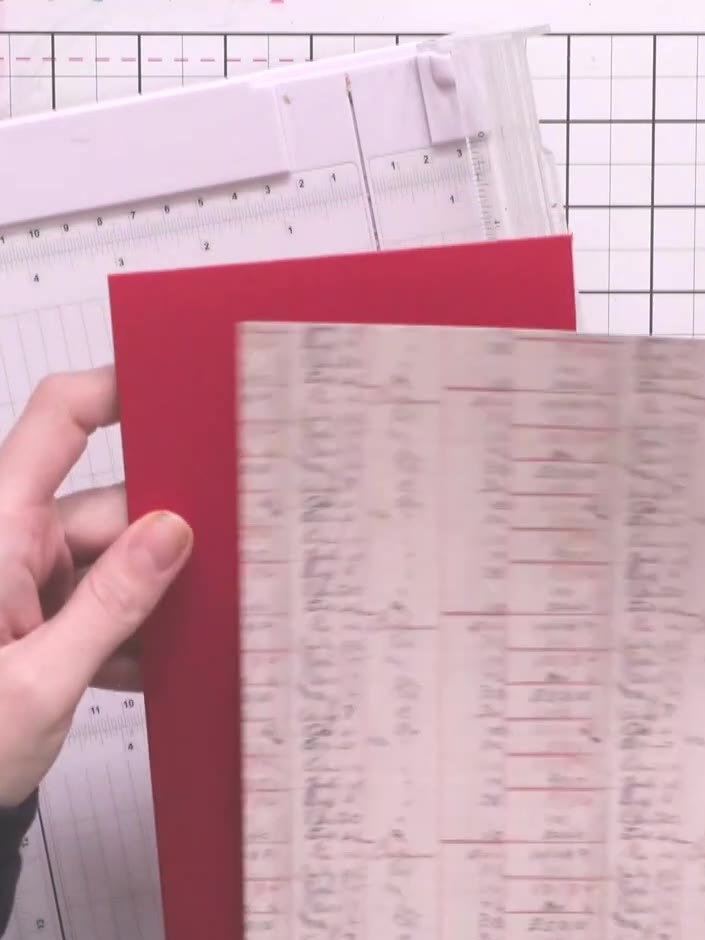
Cut a red card blank to your desired size. Trim a piece of the red palette paper slightly smaller to layer on top of the card blank.
▶ voir cette étape (22:15)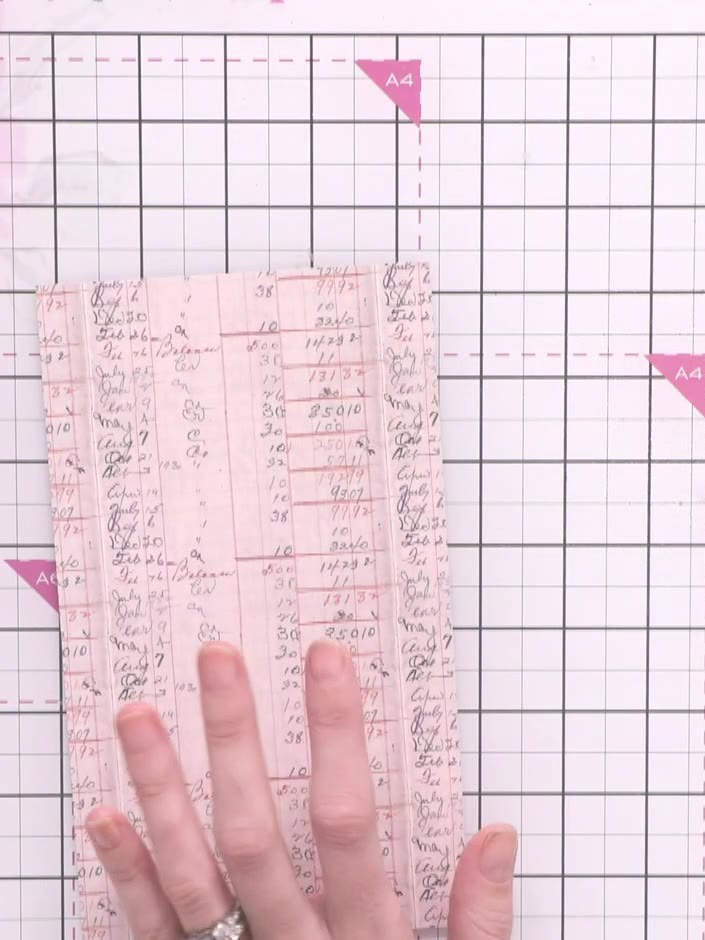
Apply white ink pad to the patterned paper. Spray lightly with water to create a washed, distressed base effect on the paper.
▶ voir cette étape (24:45)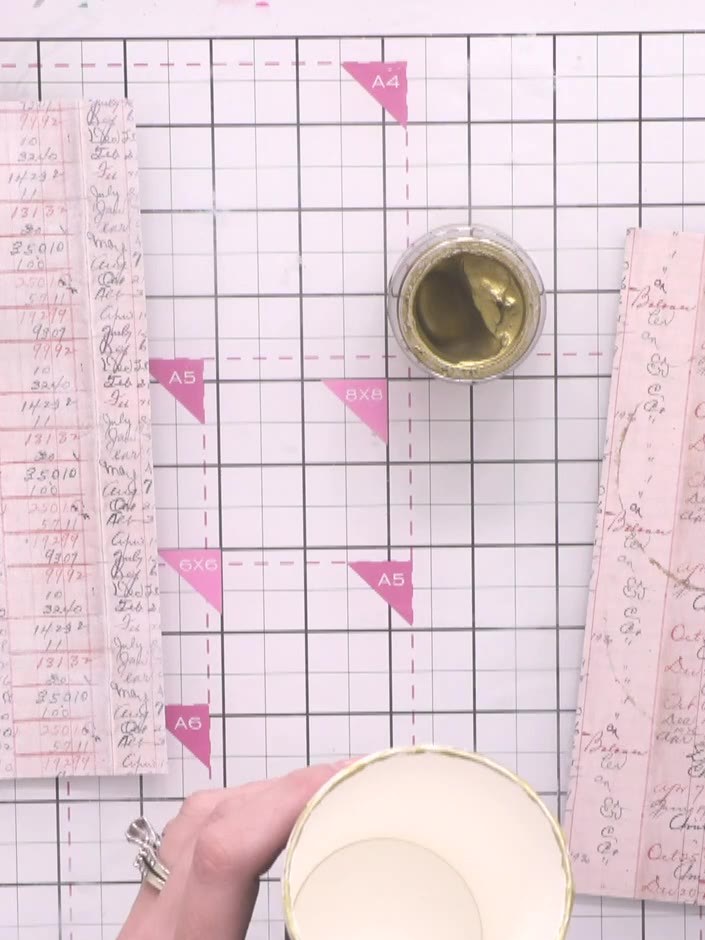
Apply gilding wax around the rim of a cup lid with your finger to create a circular guide on your craft mat.
▶ voir cette étape (27:30)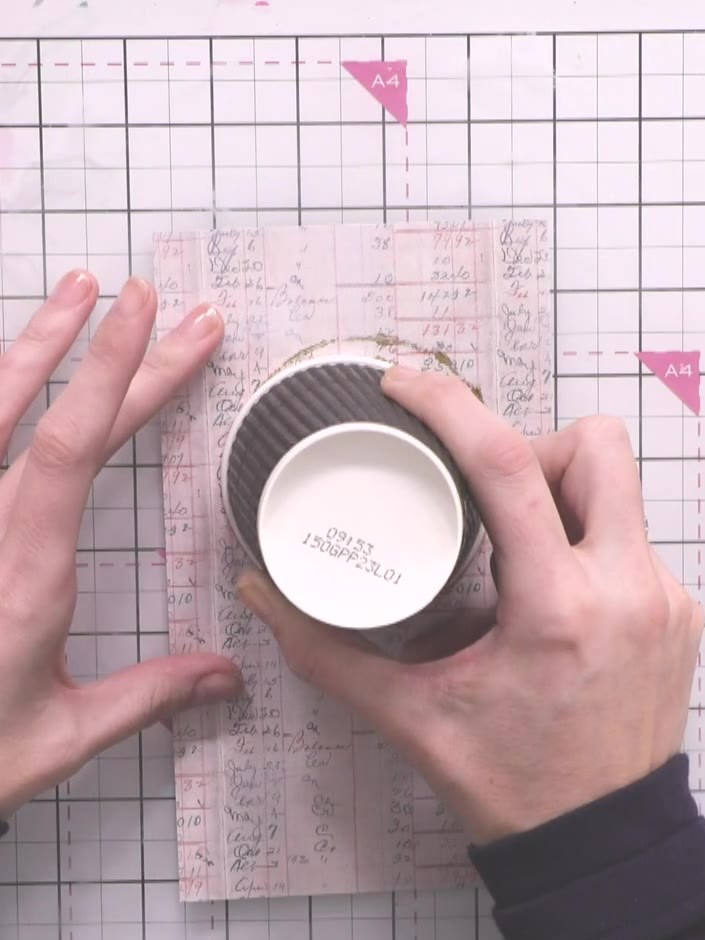
Press the waxed cup lid onto your patterned paper to create the first gold circle for the wreath base. The metallic wax will transfer a gold circular impression onto the paper.
▶ voir cette étape (29:30)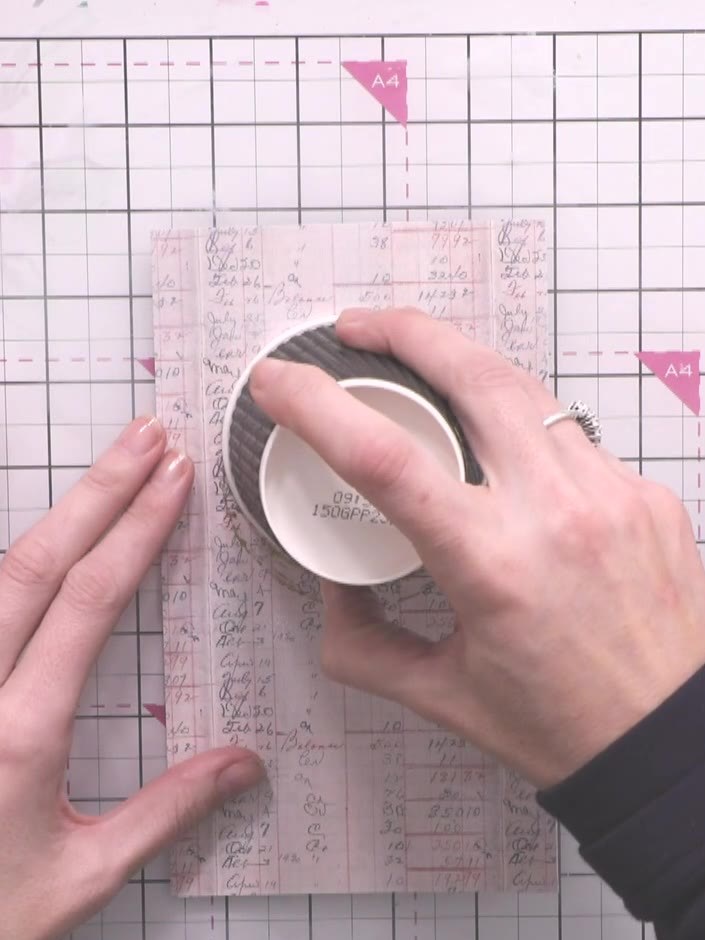
Reapply gilding wax to the cup lid and press it onto the patterned paper again, slightly offset from the first circle to create a second overlapping circle.
▶ voir cette étape (29:45)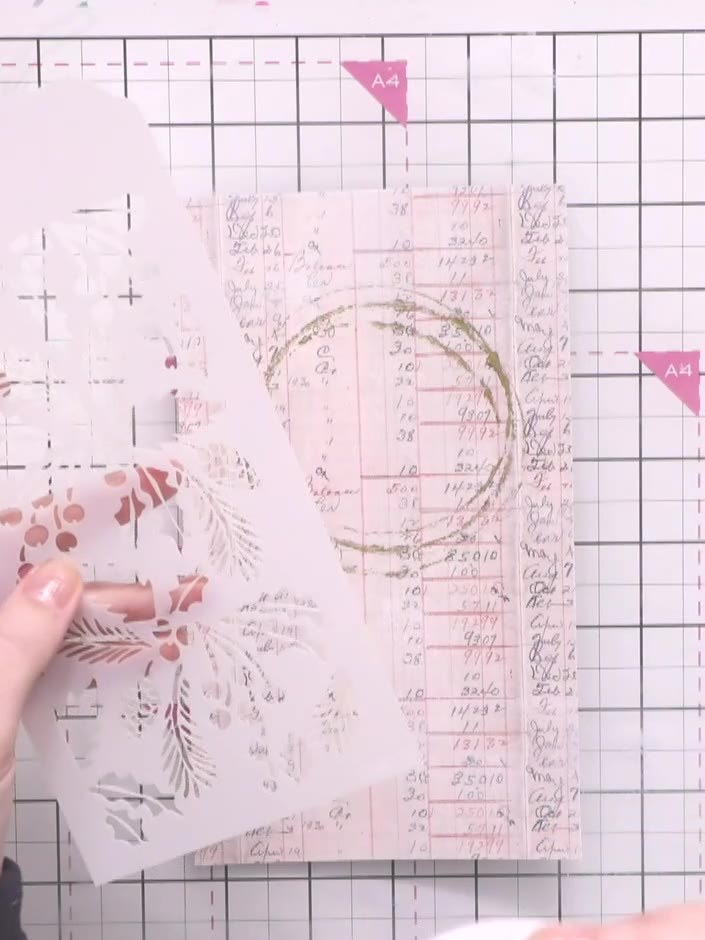
Use the festive stencil with a blending brush and green distress ink to add leaf details around the wreath. Tap gently to build up the colour gradually.
▶ voir cette étape (31:00)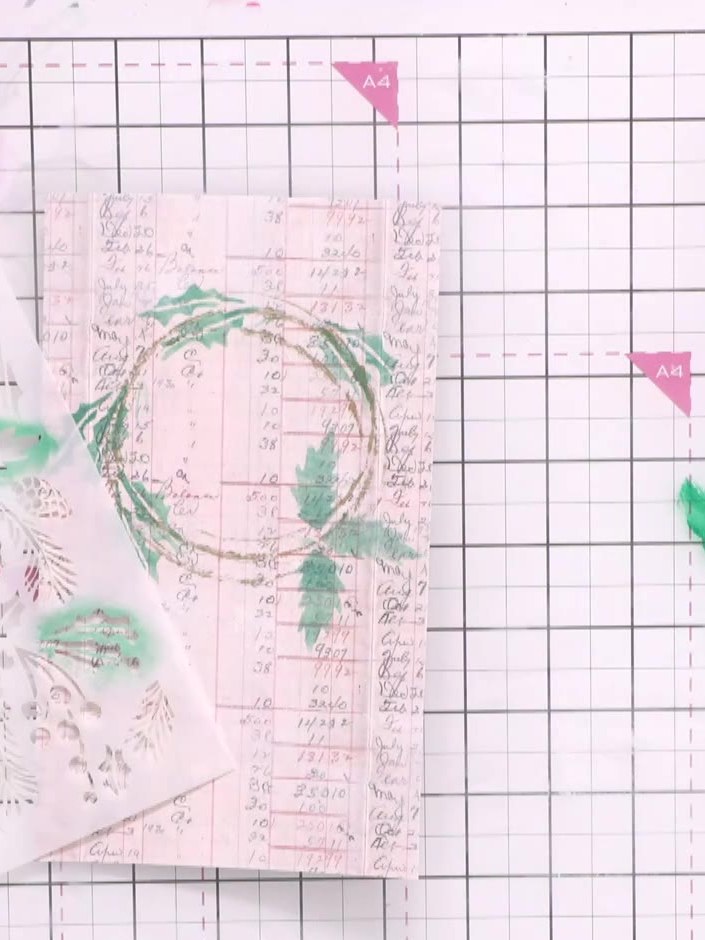
Switch to brown distress ink and use the Tim Holtz Pochoir à superposer - Festive to add wooden elements and fern details through the stencil. Build up depth and variety by layering these natural textures over your existing green ink work.
▶ voir cette étape (34:00)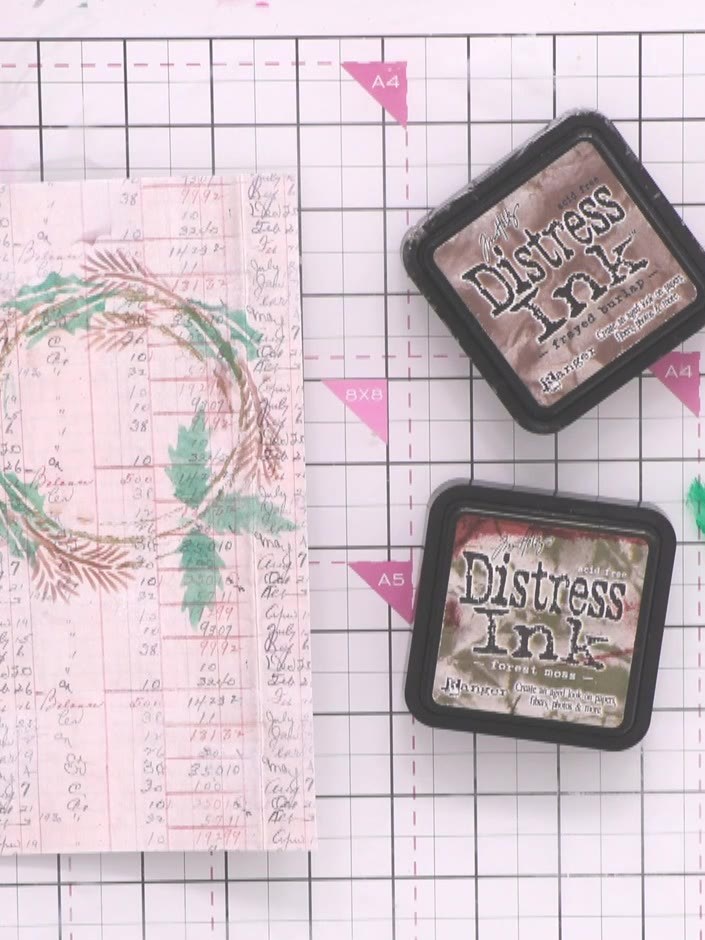
Using the black Distress Ink pad, lightly dab darker accents onto the wreath to create pine cone details and add shadows. Apply the ink sparingly to build up depth and dimension.
▶ voir cette étape (36:30)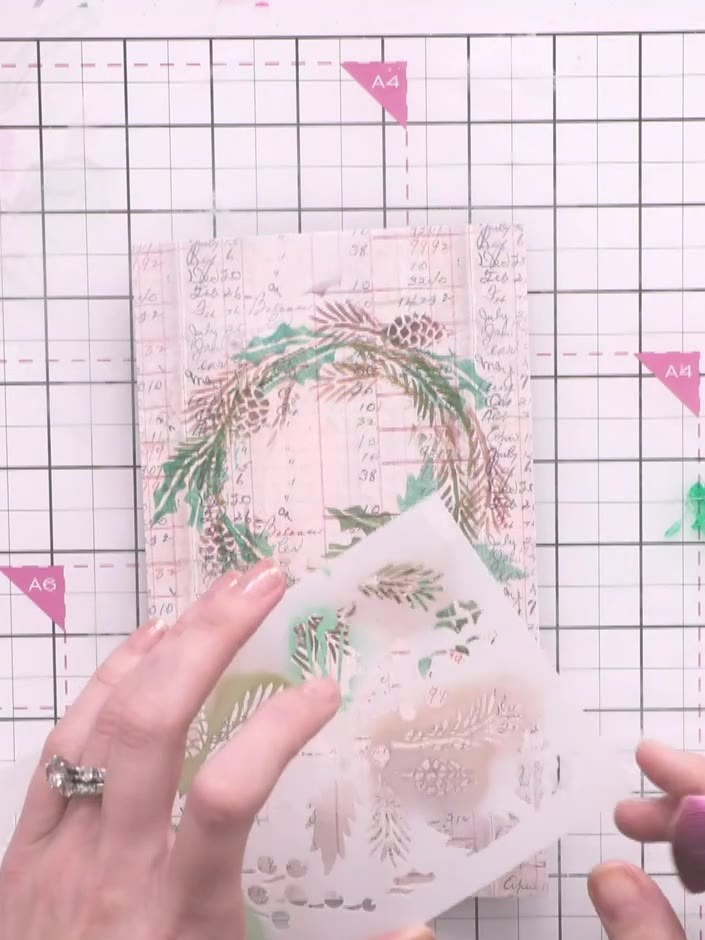
Peel sentiment stickers from the Traditional sticker book and position them around the wreath design. Place phrases such as 'Merry Christmas' or festive greetings to complement the wreath composition.
▶ voir cette étape (42:15)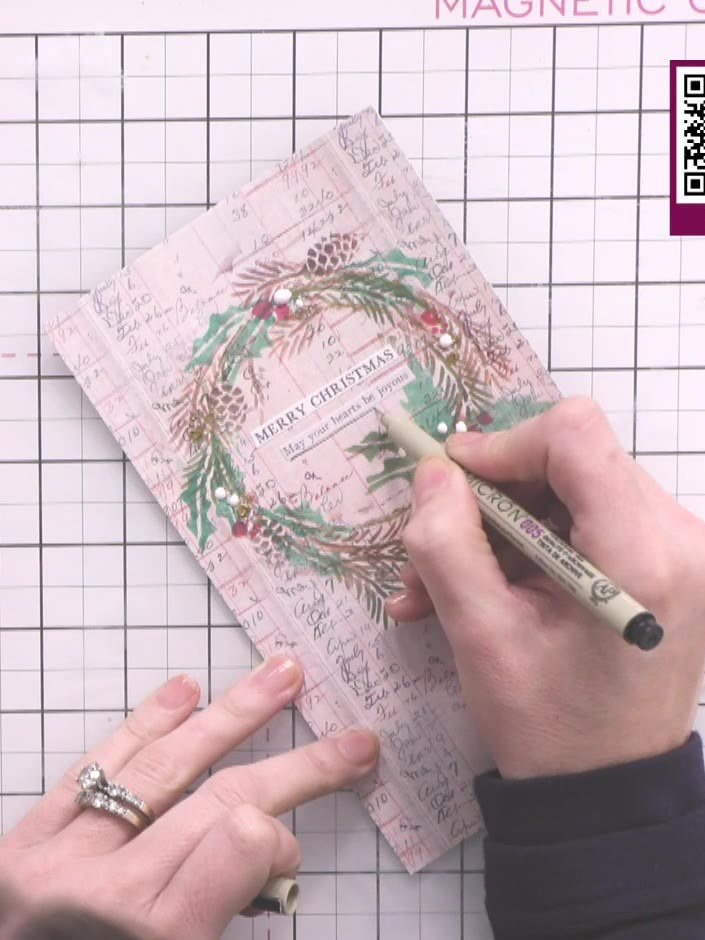
Use a fine liner pen to draw around the stickers with single or double lines. This will ground them and add a grungy, distressed effect to your Christmas wreath design.
▶ voir cette étape (50:00)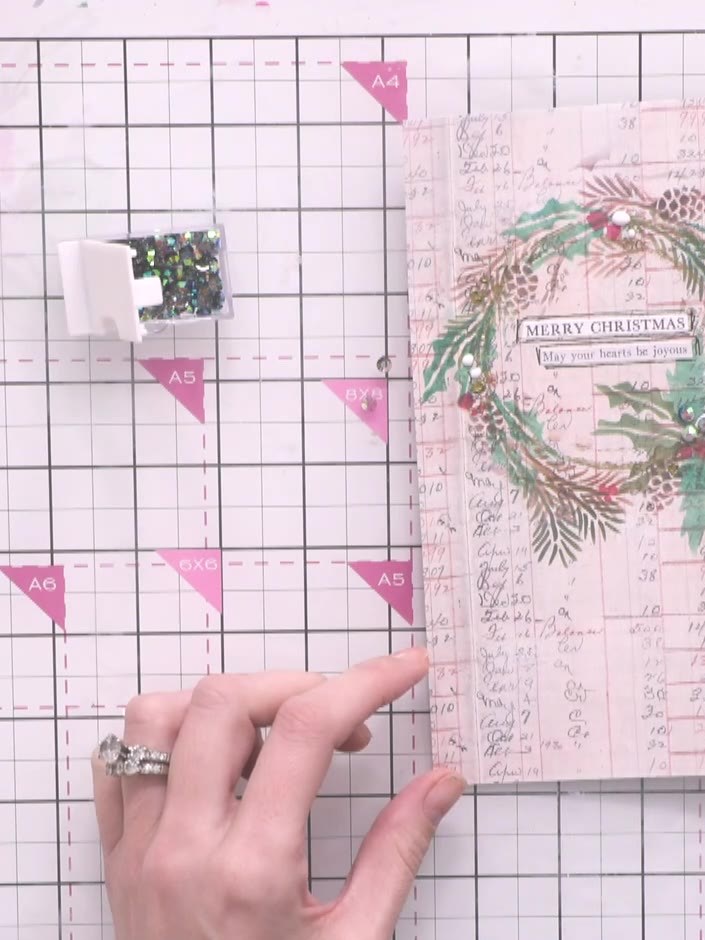
Glue red pearl gems and green diamantés onto the wreath in clusters of three to add sparkle and dimension.
▶ voir cette étape (51:45)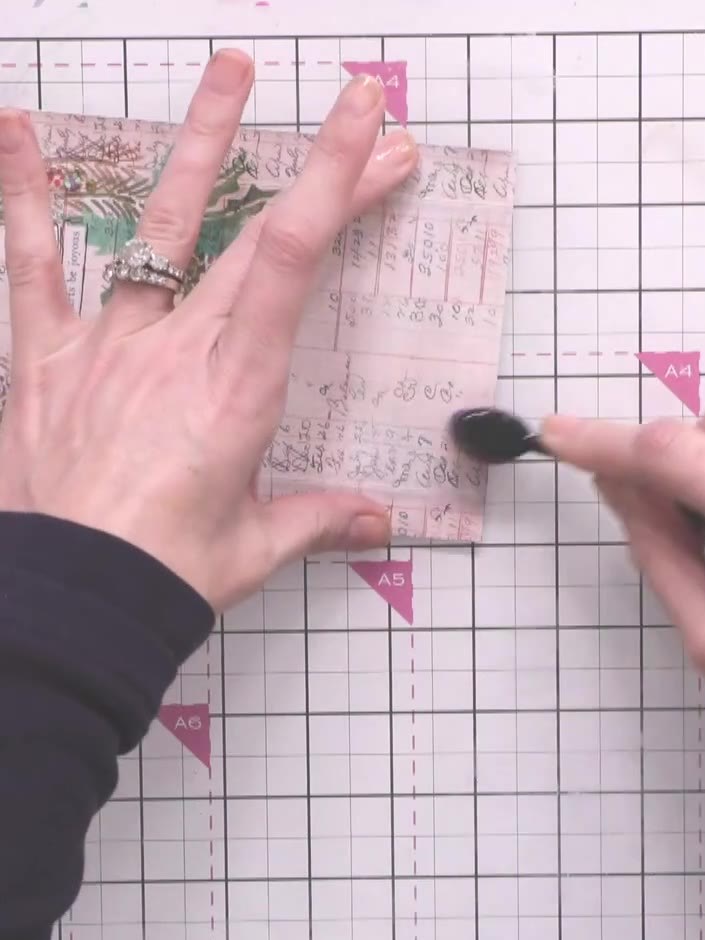
Distress the edges of your paper layer using brown and black ink pads. Tilt the ink pad as you work to create a soft, aged effect around all edges.
▶ voir cette étape (52:45)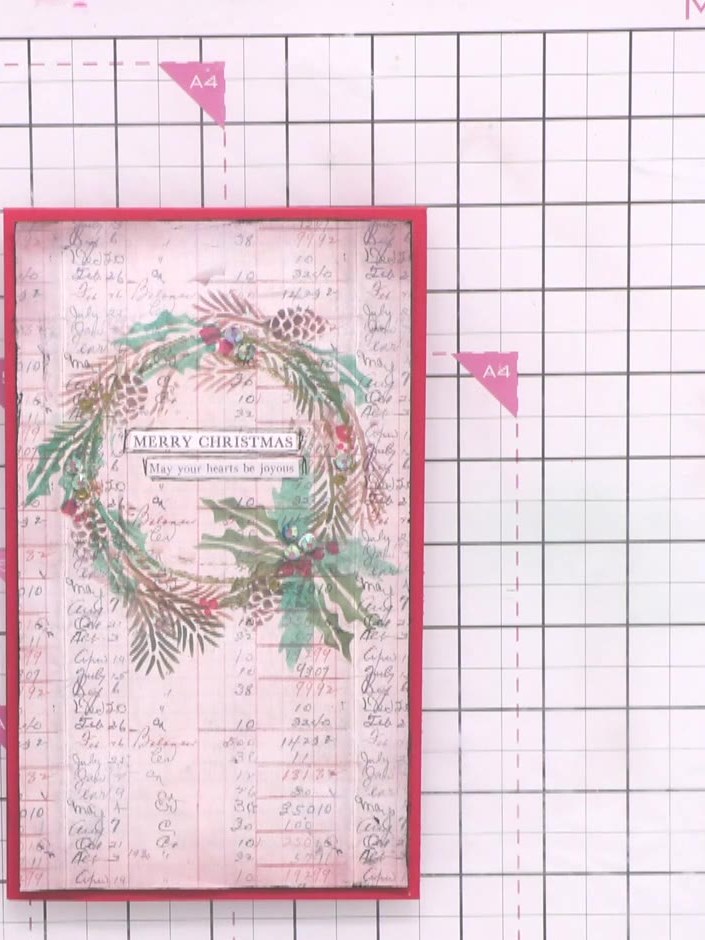
Adhere the finished wreath panel to the red card base using glue, ensuring it is centred and aligned properly.
▶ voir cette étape (54:30)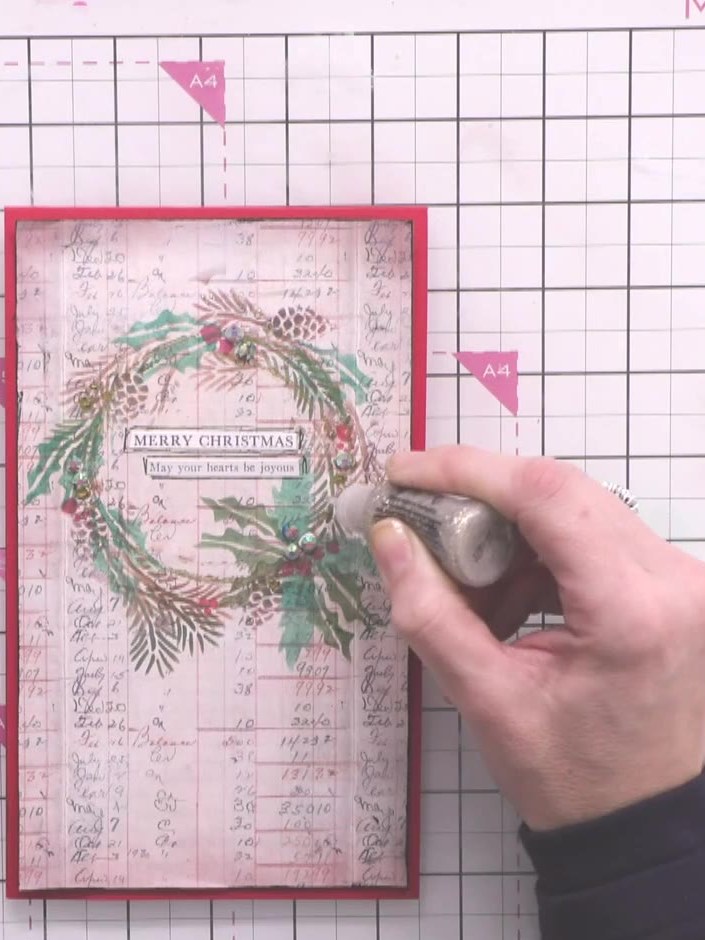
Apply gold Stickles glitter glue to the sprigs and foliage on the wreath for extra sparkle and shimmer. Work carefully around the design to add gilded accents to the greenery.
▶ voir cette étape (55:00)Rédigé à partir de l'émission elle-même. Découvrez tous les guides de nos émissions · tutoriels gratuits · regarder en direct sur My Telly