Offrez à vos amis 10 € de réduction sur leur première commande !
Parrainez un AMI








 Community Showcaselun. 9 nov. 5 h 00
 Hobbymaker TVlun. 9 nov. 9 h 00
 Deal Huntersmar. 10 nov. 9 h 00
Les prix sont mis à jour immédiatement. Chaque langue est notre propre traduction, pas Google.
Une création de notre émission en direct EN REPLAY : Simon et son Monday Madness dans les studios How To Craft Network 4 oct. 21 · 04/10/2021
A bright, multi-layered card featuring a watercoloured farmyard background scene with two sheep characters and flowers. The design uses corner-punched layers to create visual interest and depth, with a sentiment reading 'sending you love'.
Stamp the large A5 farmyard background scene onto watercolour card using the stamping platform, pressing firmly to capture all the texture and detail.
Stamp the two sheep characters and flower elements onto scrap card pieces, inking well to ensure good coverage.
Watercolour the background scene, starting with green tones for the grass and bushes, then adding blue for the sky and orange for the sun.
Watercolour the two sheep using diluted black to create a washy grey, adding darker details for noses and features, then add green to the flower centres.
Heat-dry all the watercoloured pieces with a heat gun to ensure they are completely dry.
Die-cut the sheep characters and flowers using the complementary dies from the stamp set.
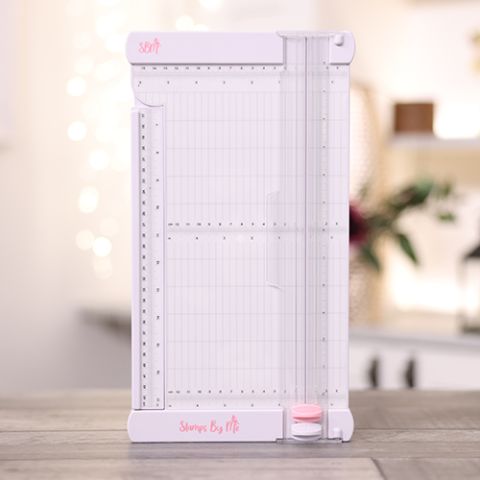
Trim the watercoloured background scene into three strips of approximately one-and-a-half inches each using the paper trimmer.
Use the corner punch to round off two opposite diagonal corners on a green cardstock base layer, keeping two corners square for visual interest.
Stencil a grass detail along the bottom of the green base layer using the emerald ink and farmyard stencil.
Stamp the 'sending you love' sentiment onto the card using black ink, positioning it in the upper area.
Cut three slightly larger green mounting layers with the same corner punch treatment to create a coordinating border around each scene strip.
Mount the three scene strips onto the green layers using tape, then attach all three panels to the card base with foam pads for height and dimension.
Attach the sheep and flower die-cuts to the card using foam pads, positioning the sheep on the grass and flowers as accents.
Partagez votre création avec la communauté Stamps By Me - et gardez ce tutoriel pour la prochaine fois.
Rédigé à partir de l’émission elle-même. Tous les tutoriels de nos émissions · tutoriels gratuits · en direct sur My Telly · l’ancienne présentation