Offrez à vos amis 10 € de réduction sur leur première commande !
Parrainez un AMI








 Community Showcaselun. 9 nov. 5 h 00
 Hobbymaker TVlun. 9 nov. 9 h 00
 Deal Huntersmar. 10 nov. 9 h 00
Les prix sont mis à jour immédiatement. Chaque langue est notre propre traduction, pas Google.
Une création de notre émission en direct EN REPLAY : CARLEY et TONI pour Stencil Heaven – Découvrez ces fantastiques designs de Stamps By Me · 18/06/2021
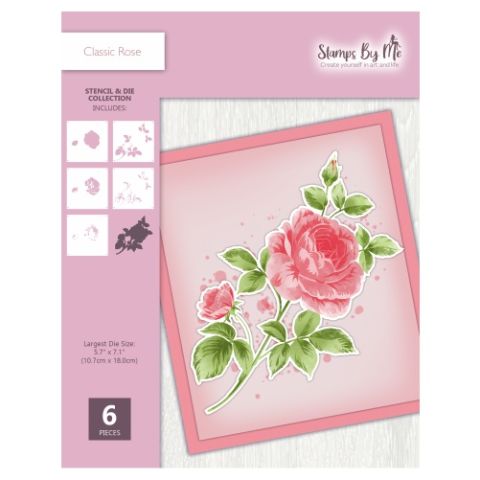
A five-layer stencilled rose card with soft pink, purple and green tones creating a shabby chic, vintage garden rose effect. The layering technique builds realistic depth and dimension to the flower.
Place stencil number one onto your cardstock and mark the registration hearts at the top.
Apply a soft pink ink through the first stencil layer using a brush.
Align stencil number two by matching the hearts and apply a darker shade of pink.
Position stencil number three and apply a purple shade to create shadow and cast depth on the rose petals.
Line up stencil number four using the heart guides and apply green ink for the leaves.
Place stencil number five and apply a darker green to add final dimension to the foliage.
Remove the stencil and place the coordinating outline die around the completed image.
Run the die through your machine to cut out the rose with all intricate details.
Mount onto a pink card base to complete the finished card.
Partagez votre création avec la communauté Stamps By Me - et gardez ce tutoriel pour la prochaine fois.
Rédigé à partir de l’émission elle-même. Tous les tutoriels de nos émissions · tutoriels gratuits · en direct sur My Telly · l’ancienne présentation