Give your friends €10 off their first order!
Refer a FRIEND








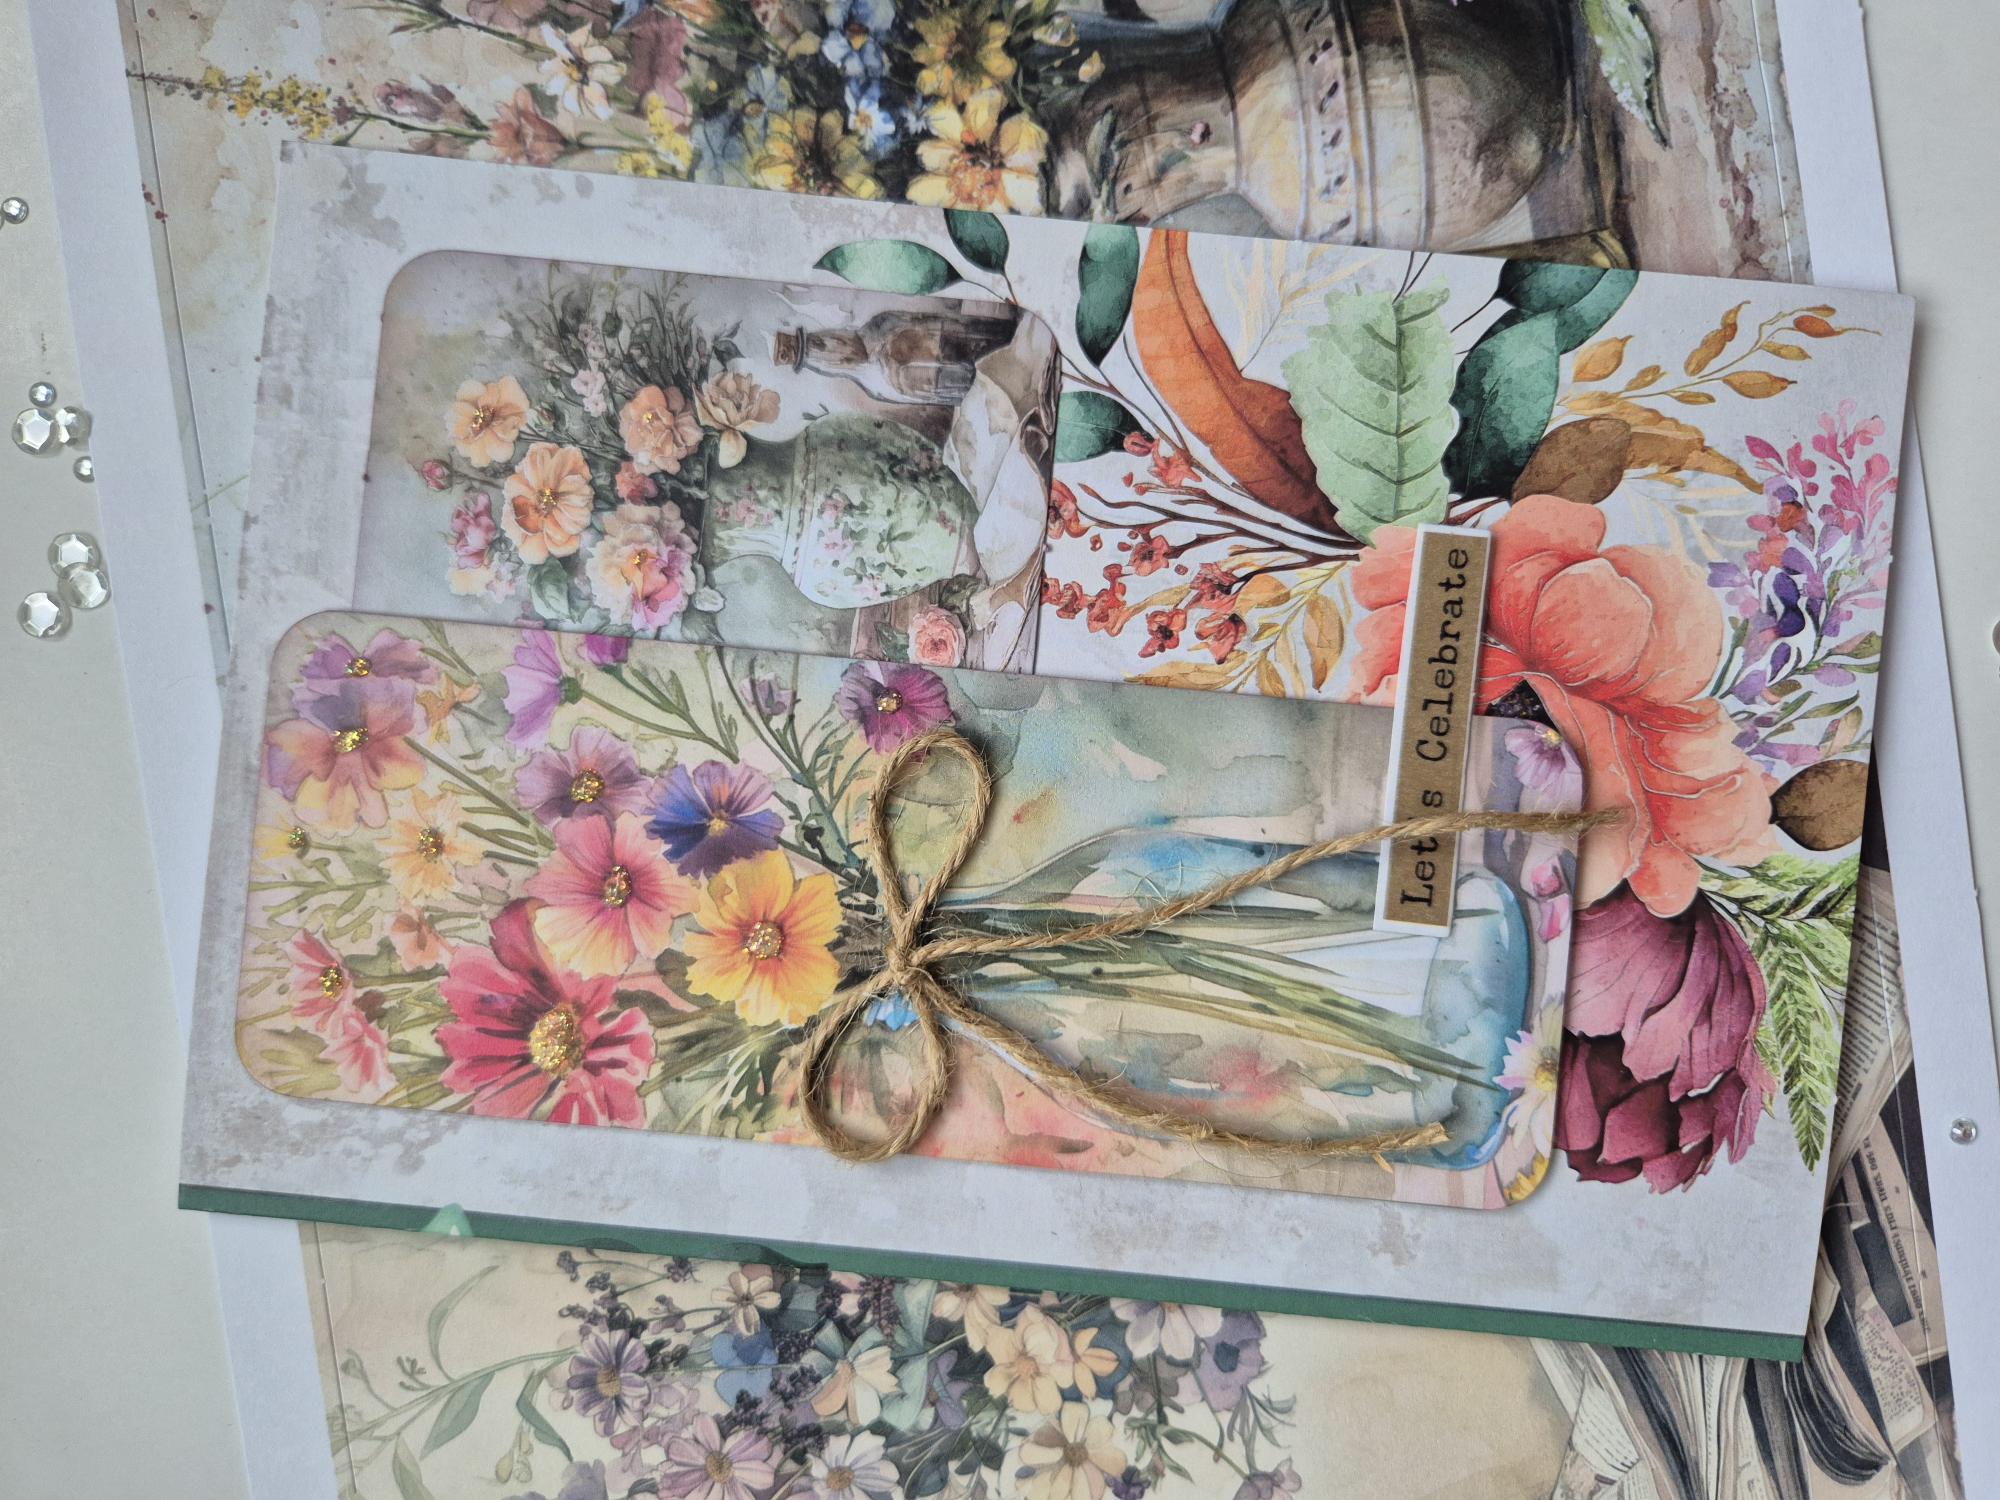
WHAT YOU WILL NEED:
Coral Florals Memory Album Kit (also part of the Summer Party bundle)
Sepia Washi Tape & Die Sentiments Tabs
A4 White cardstock
SBM Dye Ink Pad: Heather
Blending brush
Corner punch
Stickles/glitter
Twine
SBM A3 Magnetic glass mat
Paper Trimmer
Glue/foam pads
Die Cutting machine
[click image to enlarge] 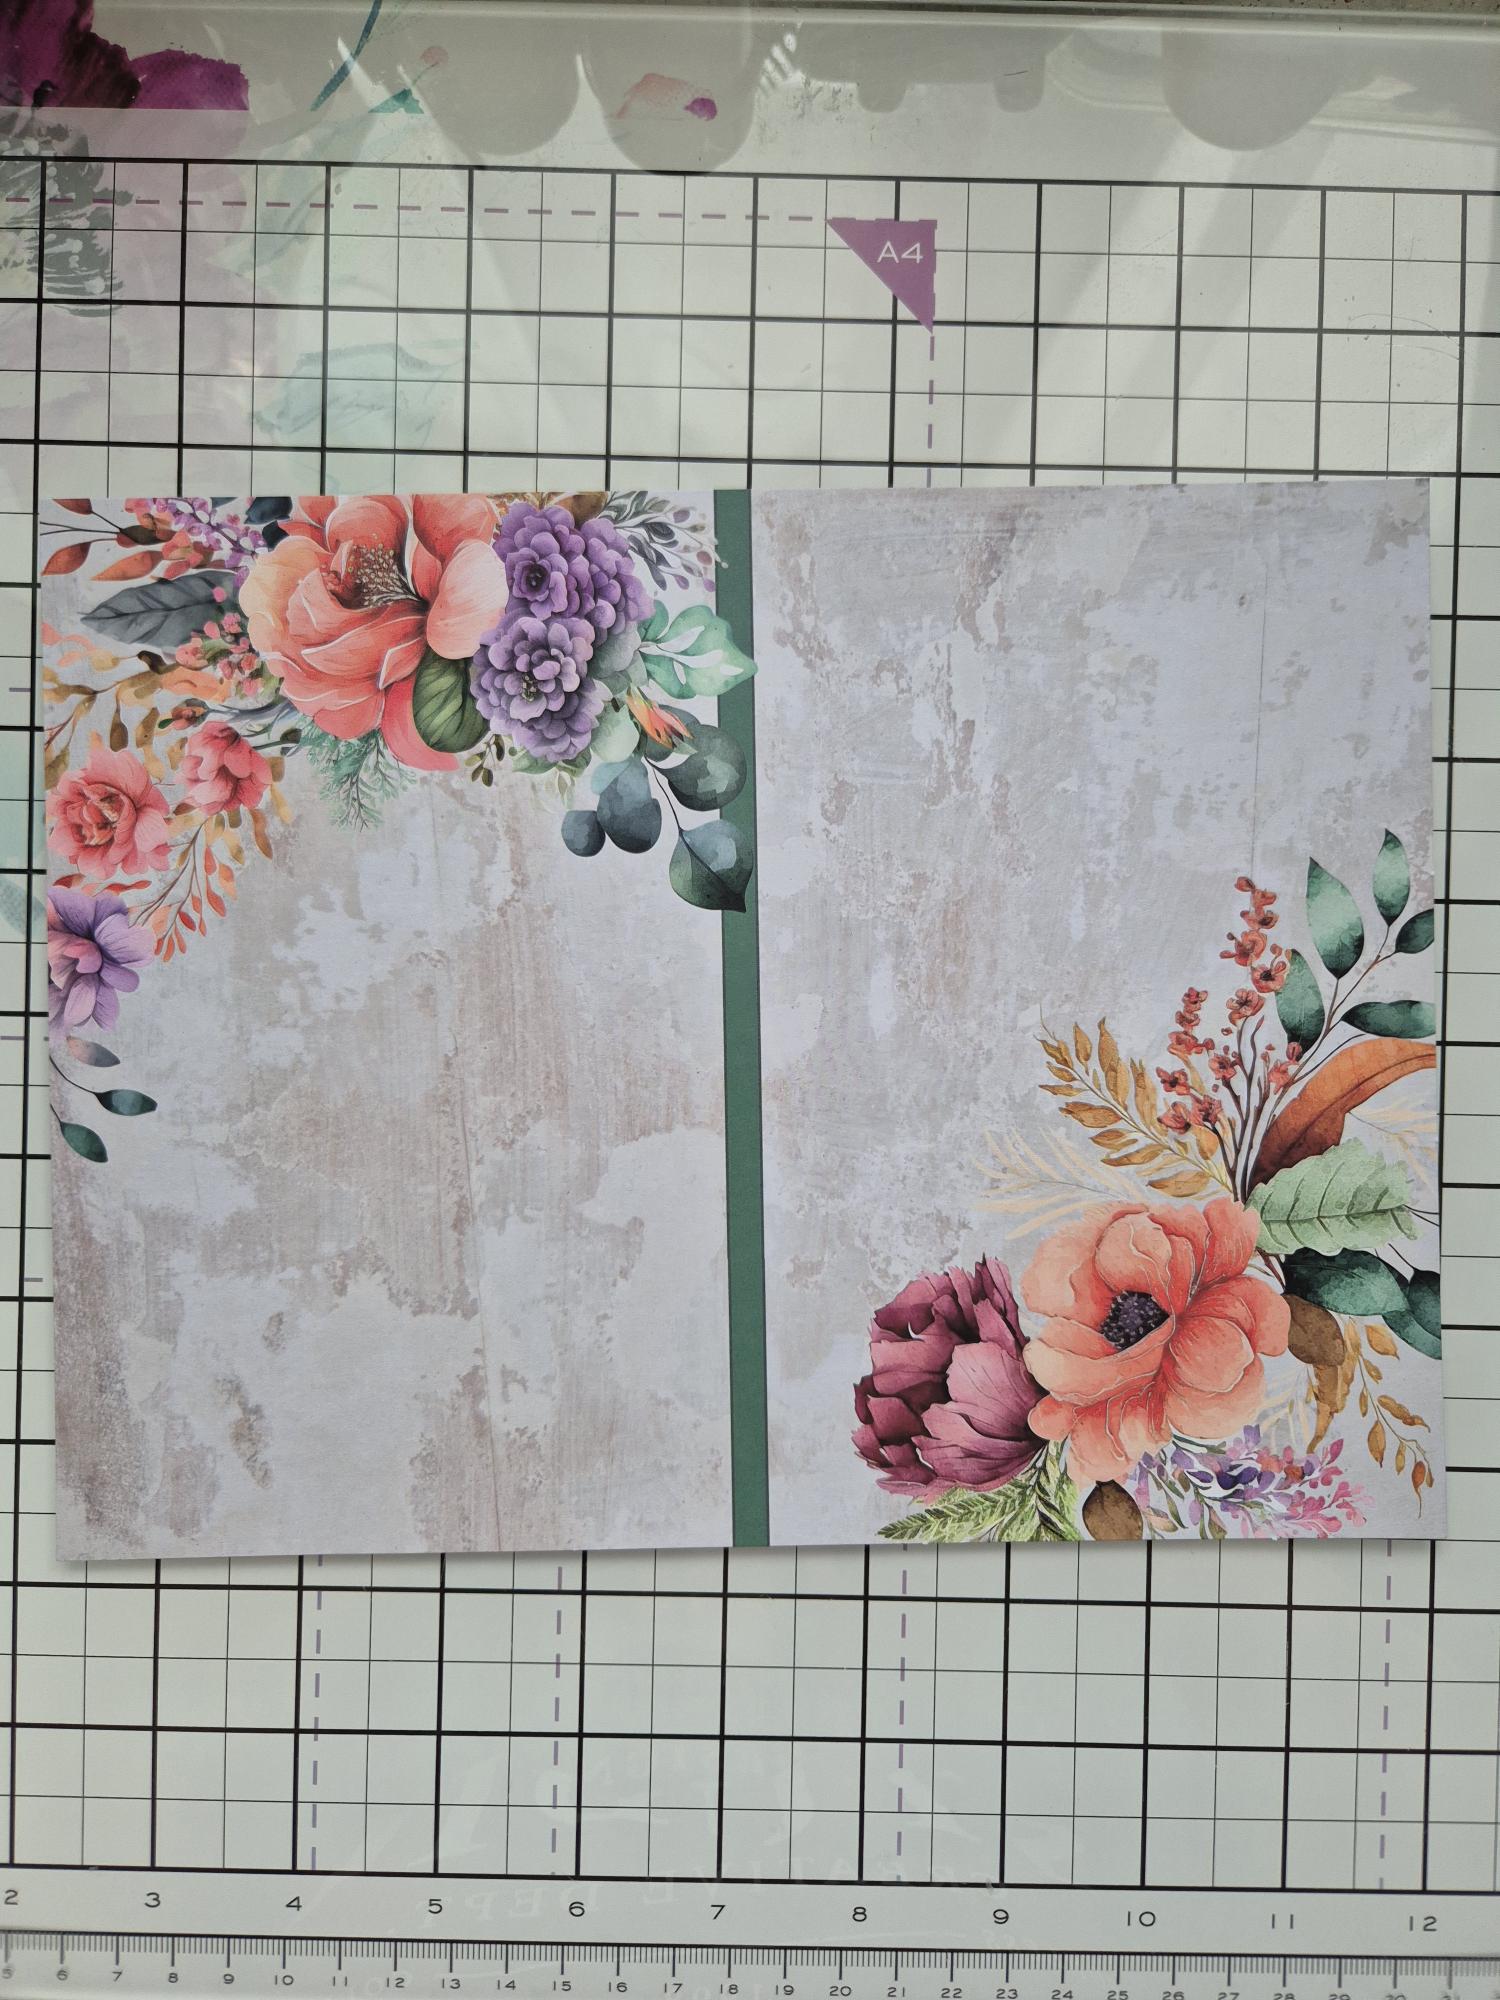
|
Remove this decorative sheet of card from your kit. |
|
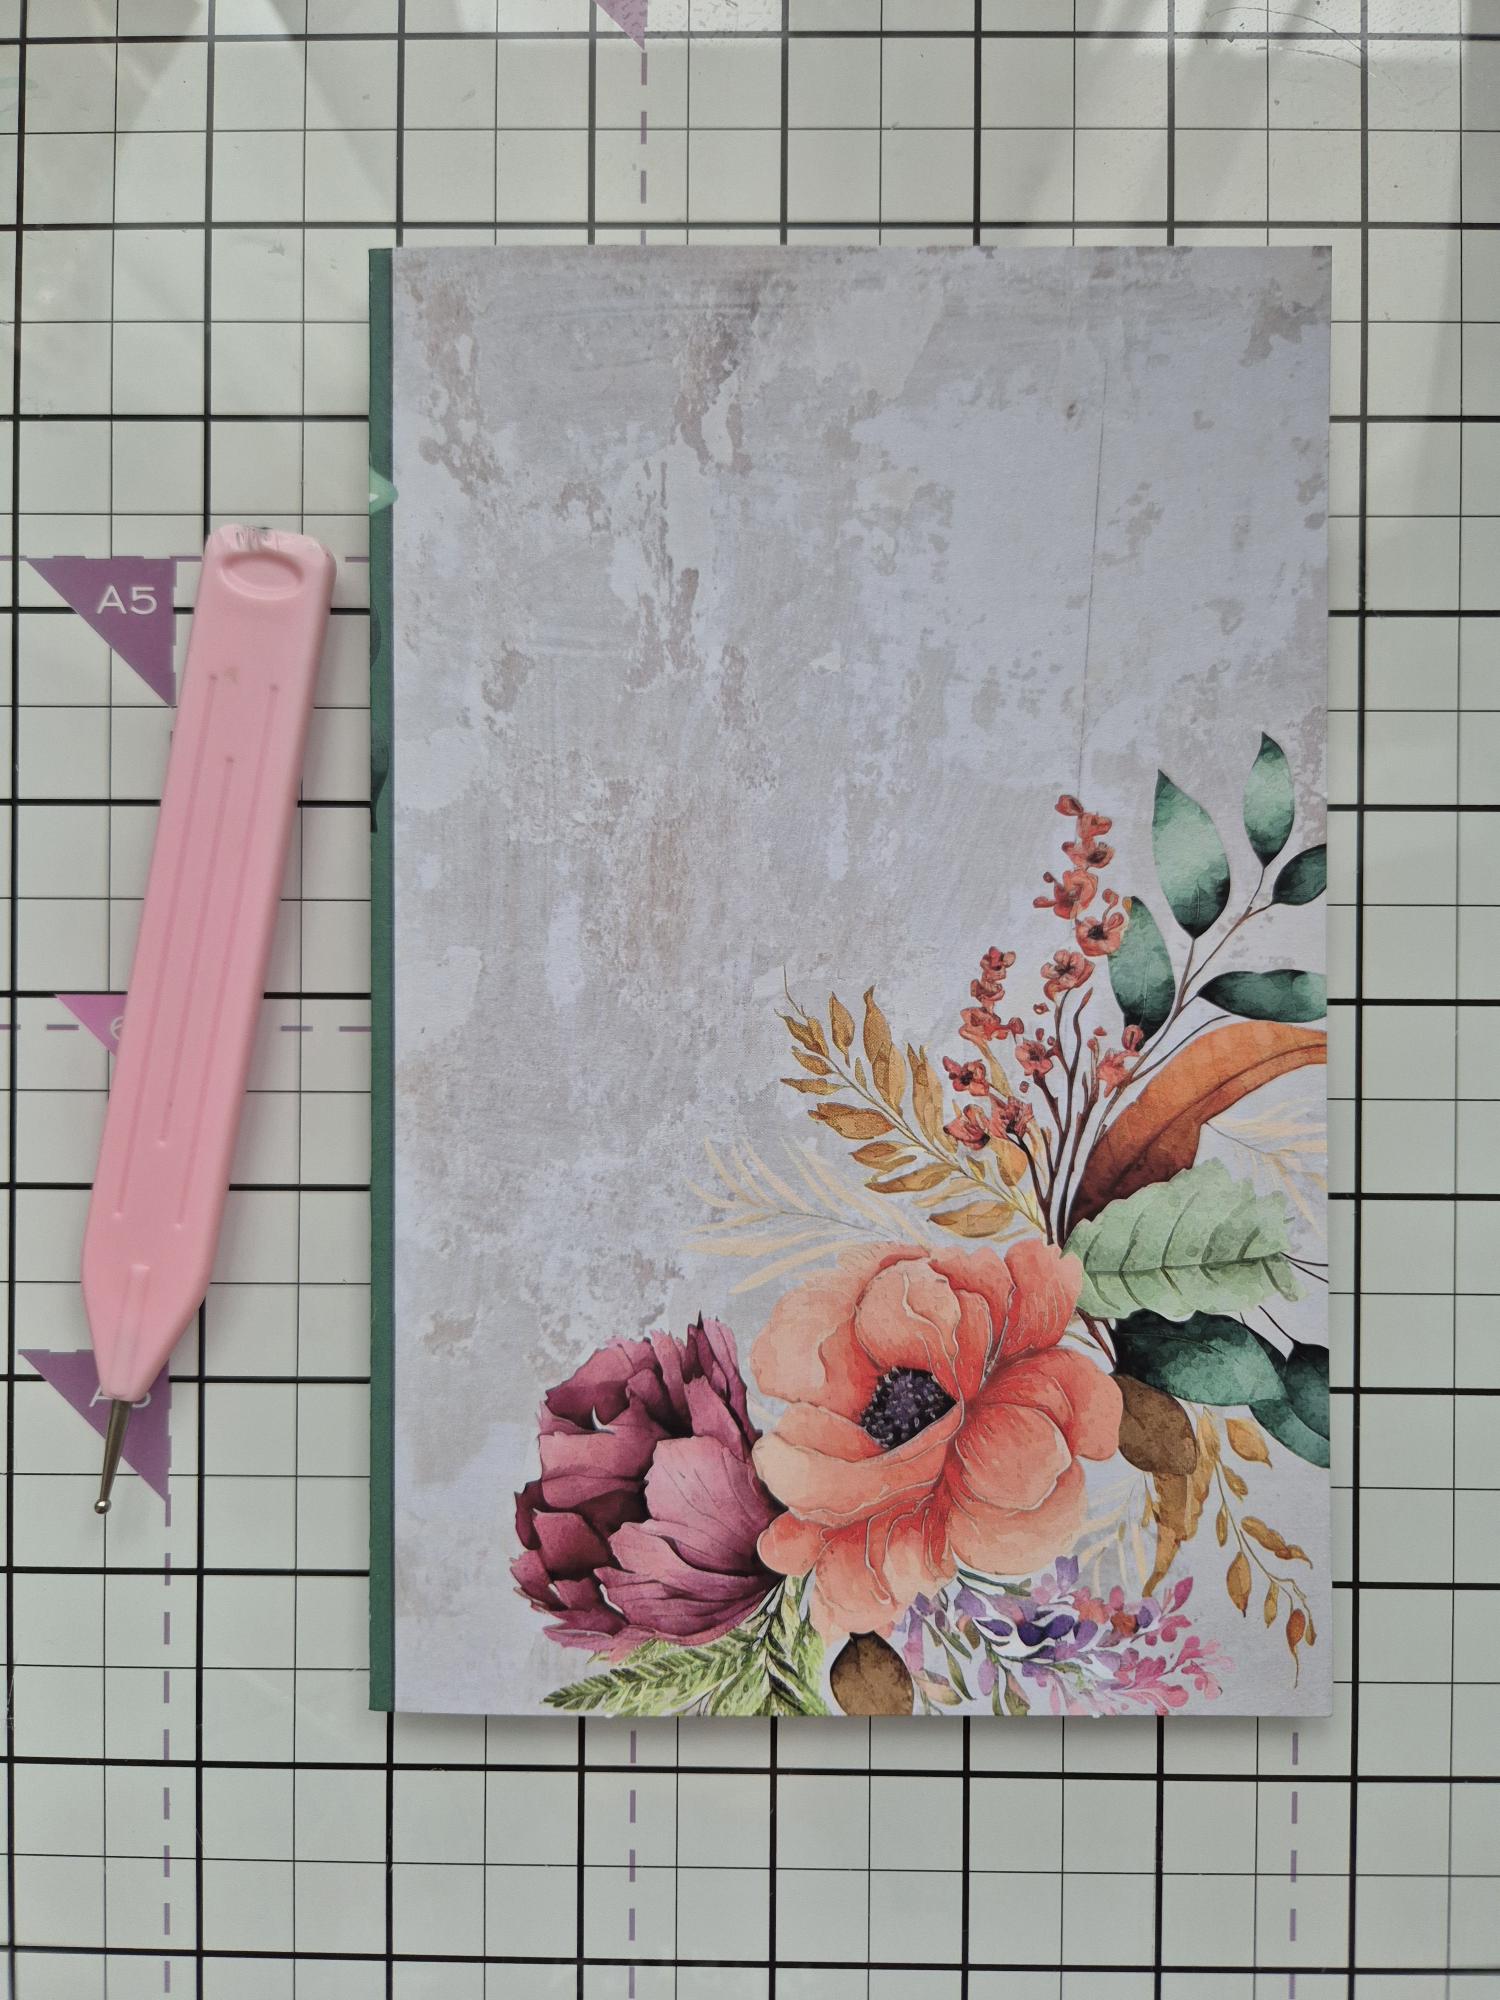
Score and fold in half to create your decorative card blank. |
|
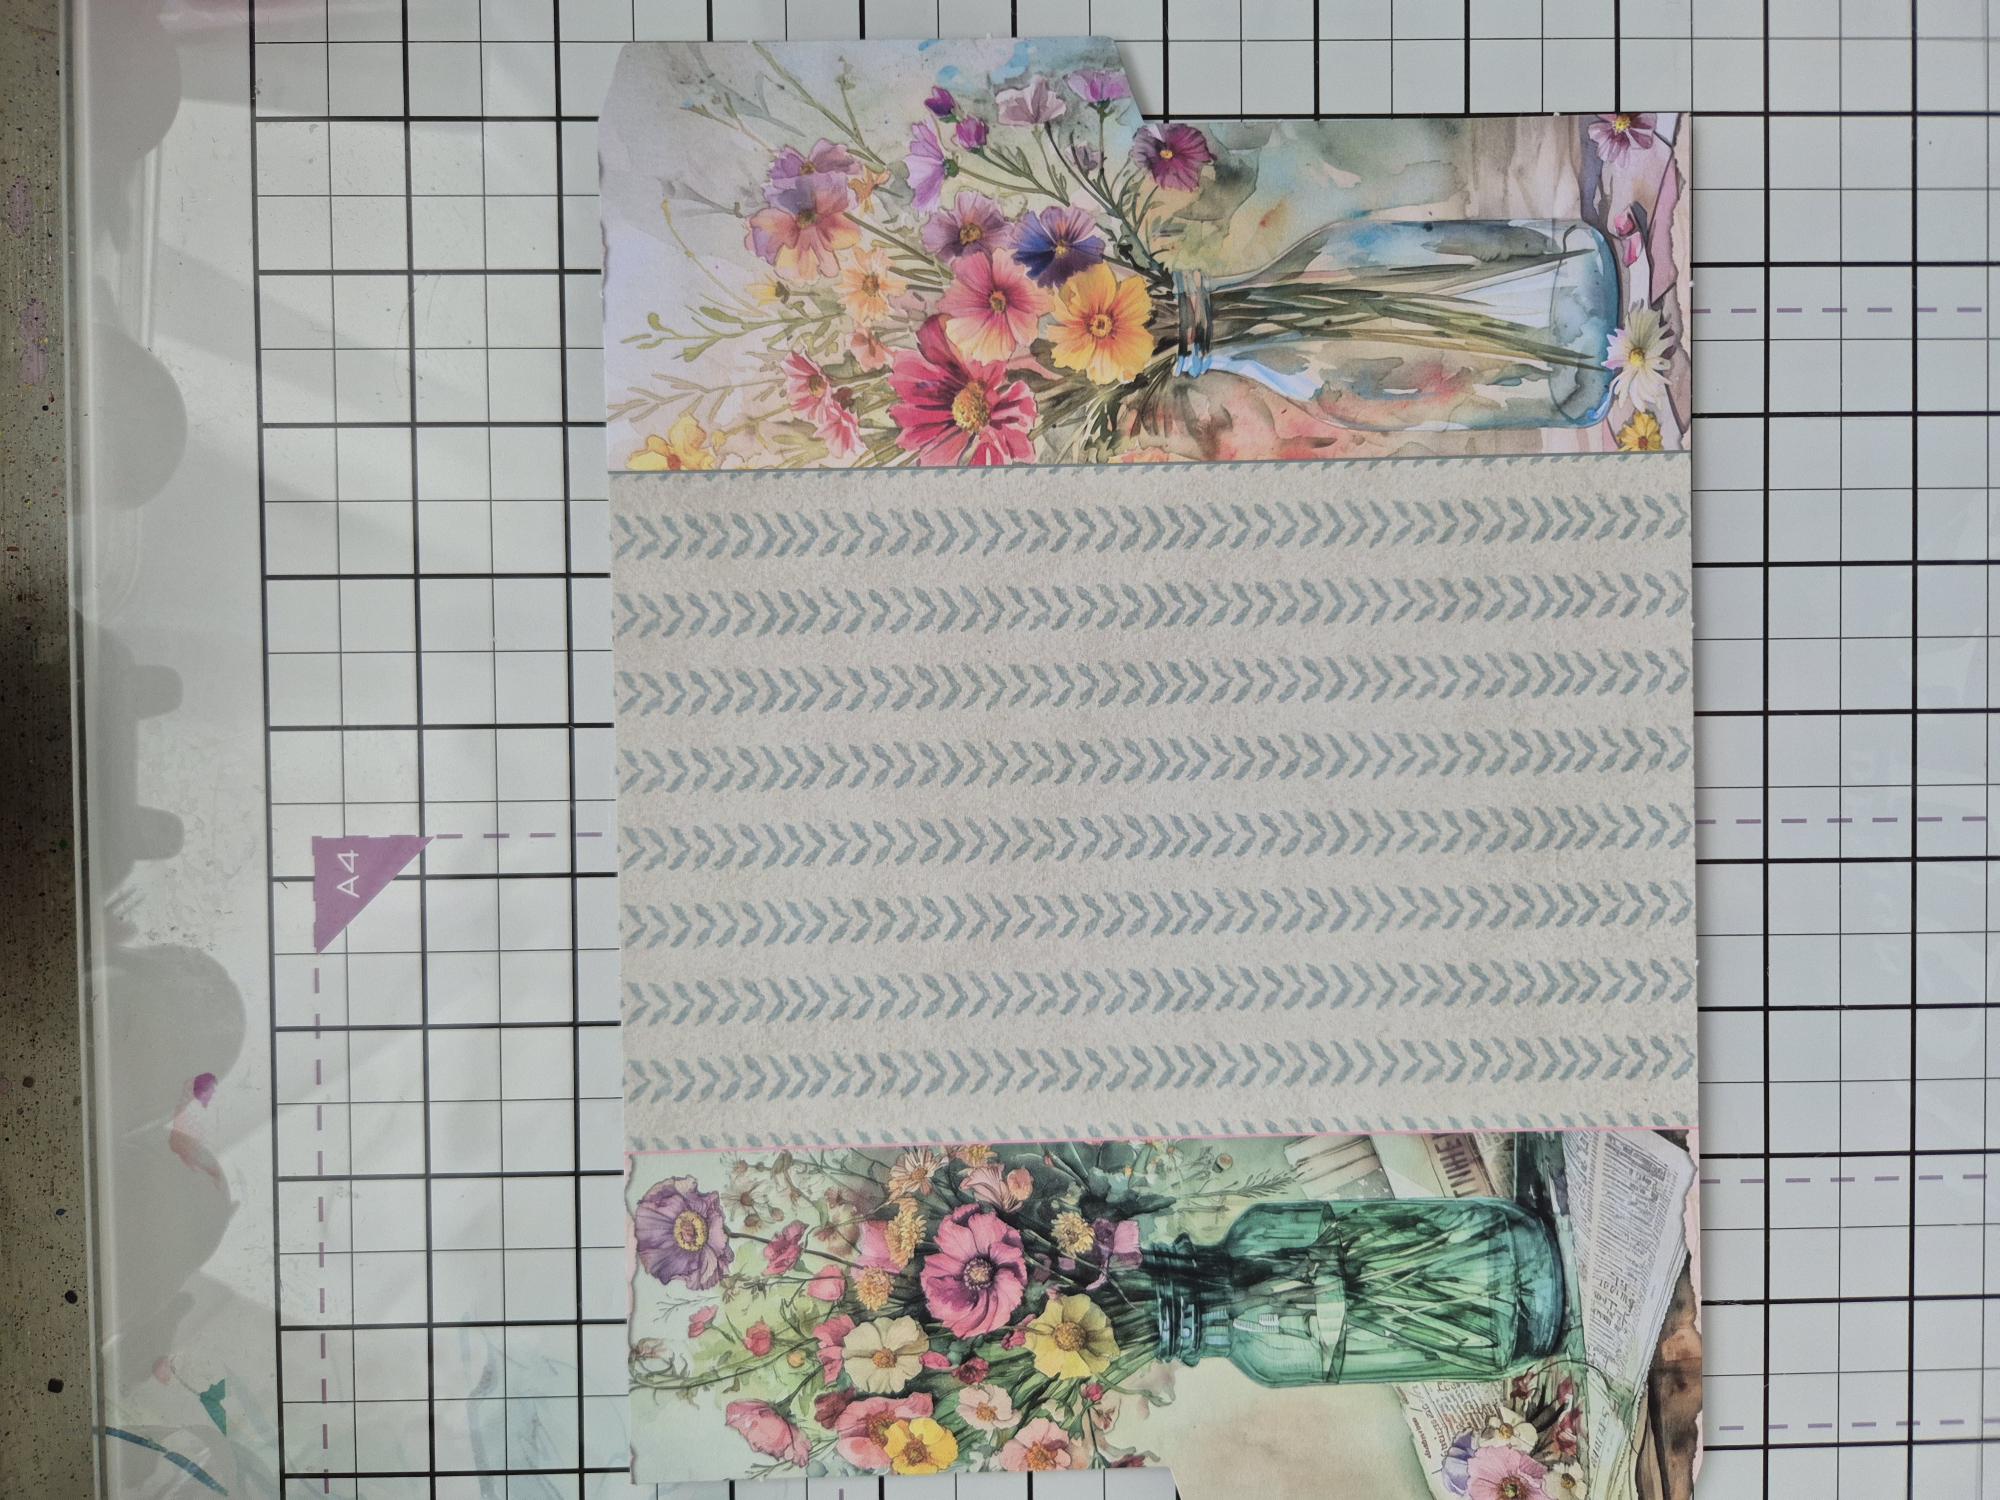
Remove this sheet from the kit. |
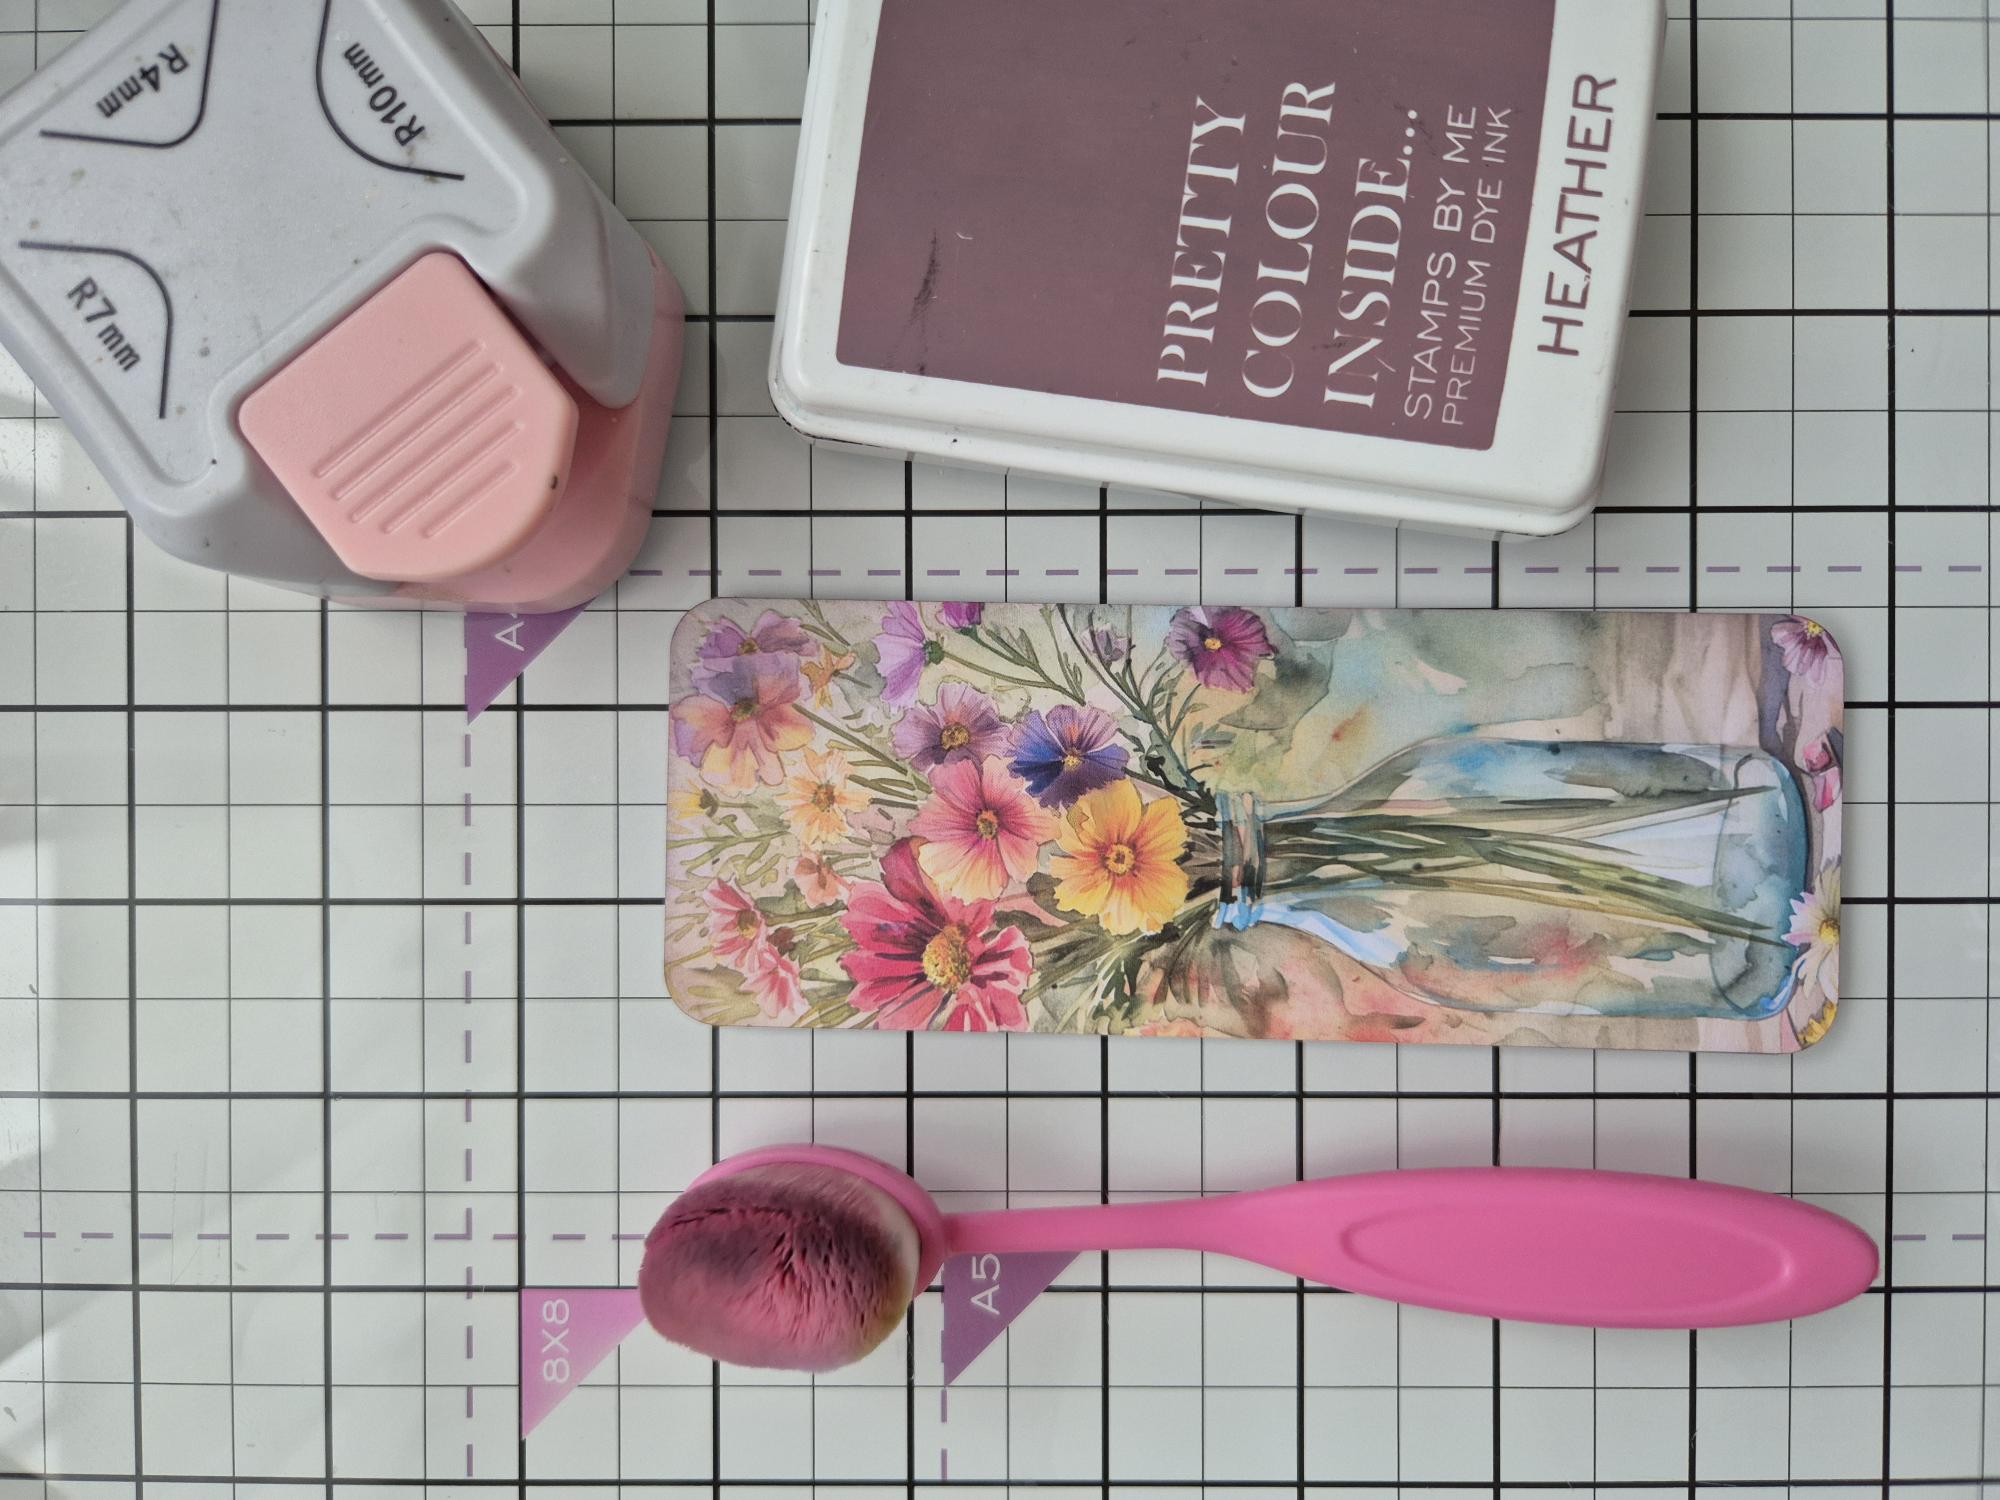
|
Trim off the panel on the right, round off the corners with your corner punch and blend Heather around the edges. |
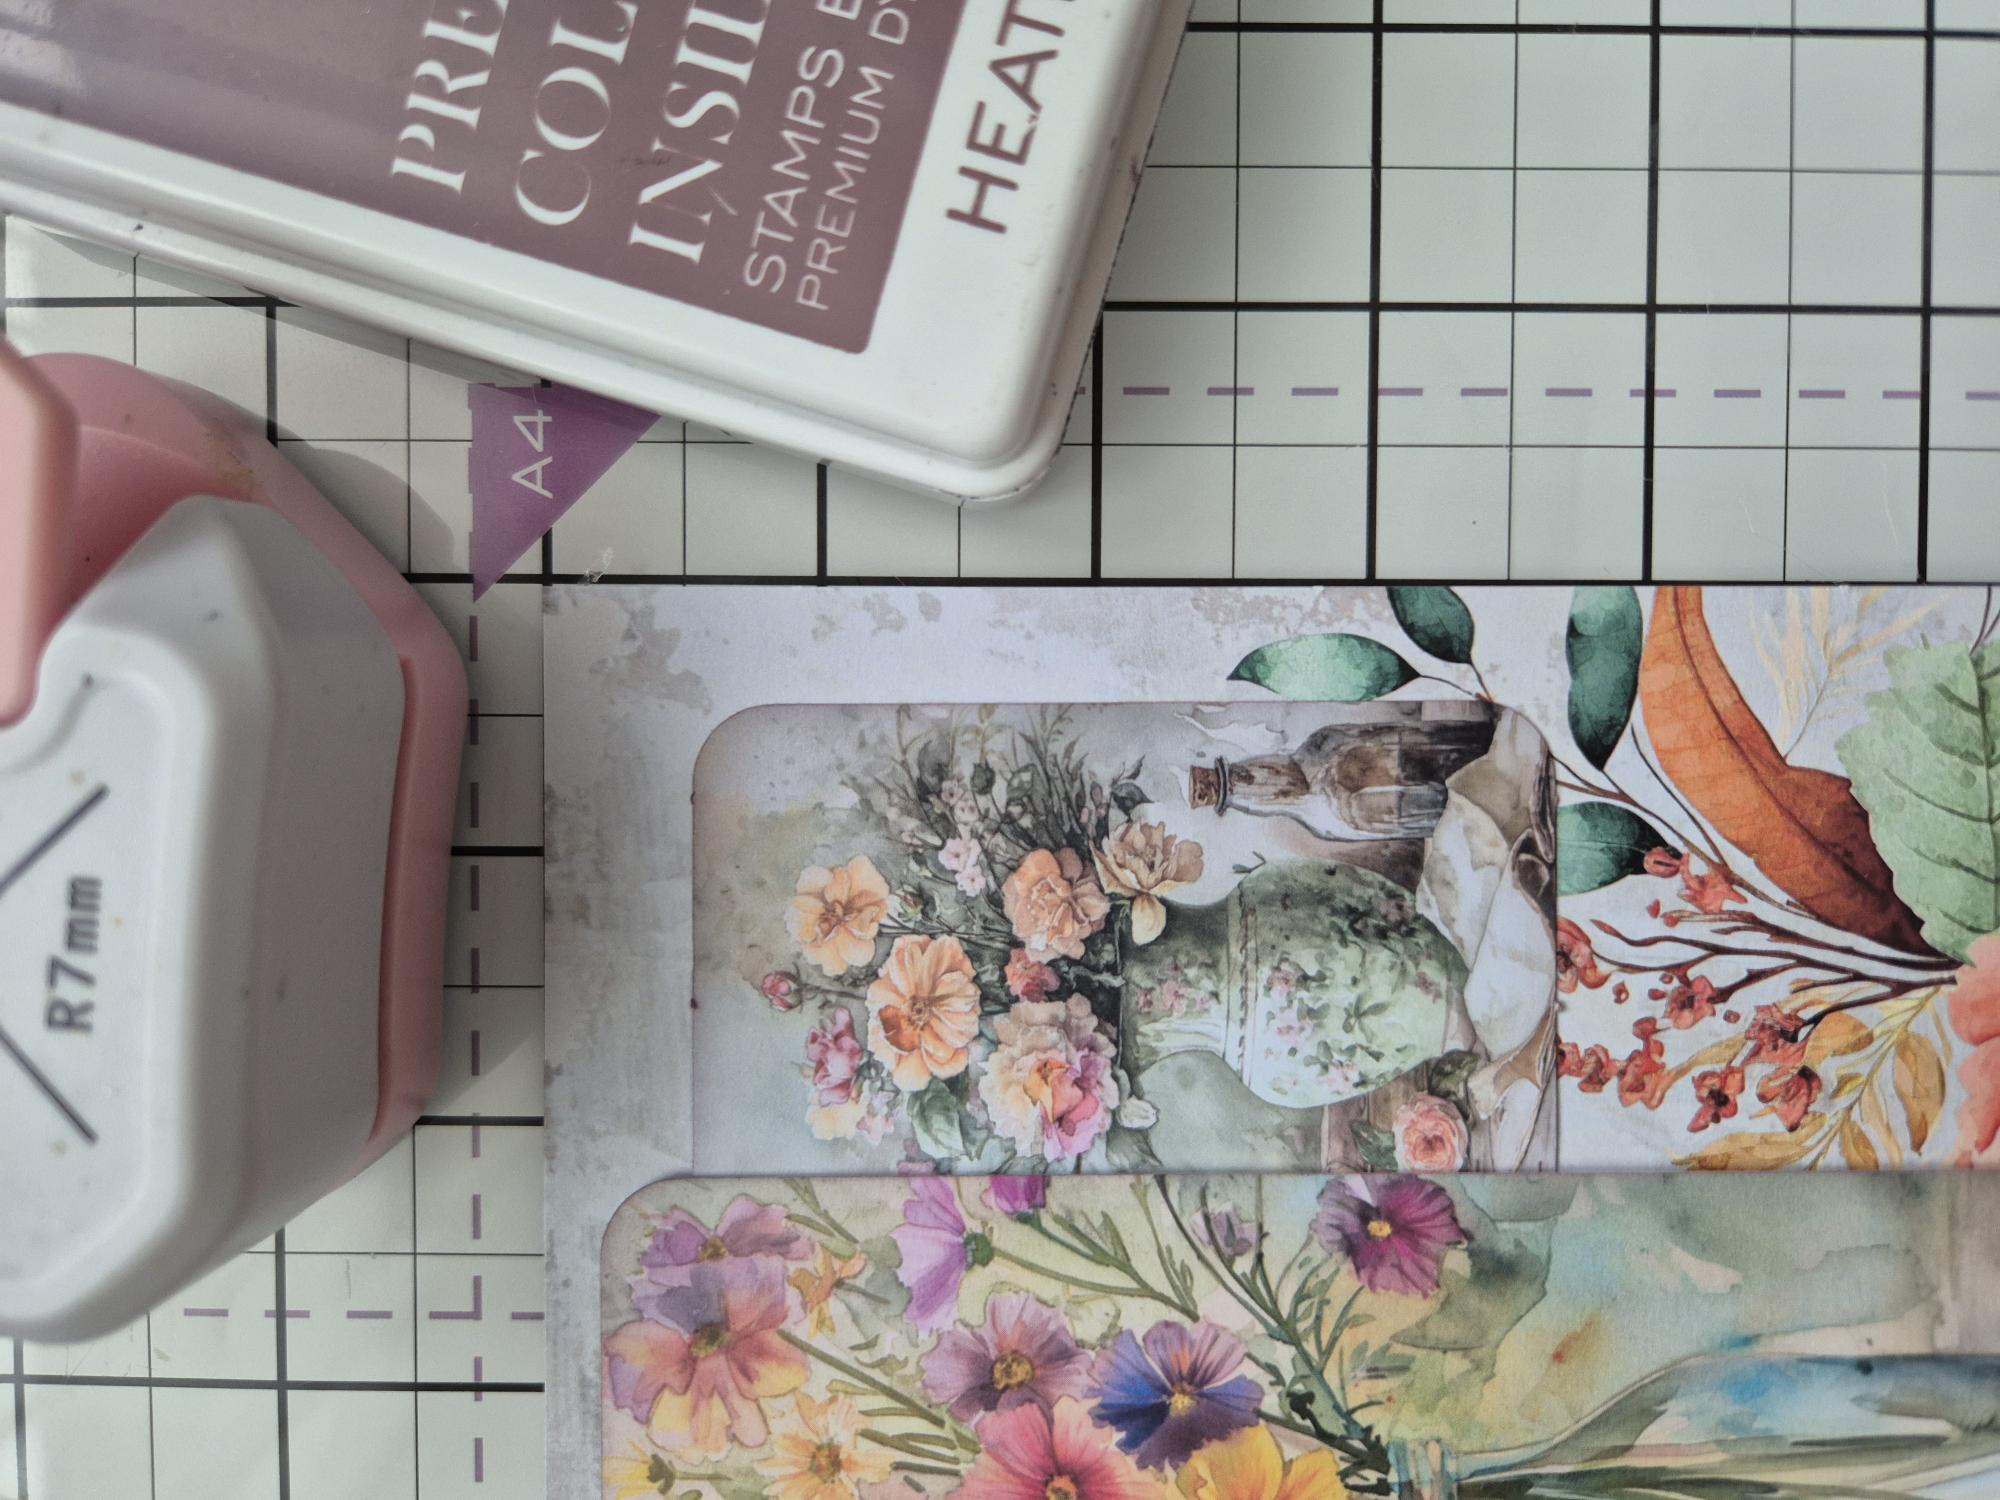
|
Remove a smaller square topper, round off the edges and blend with Heather. Adhere the smaller topper peeking out from the larger panel topper, on to the front of your decorative card blank. |
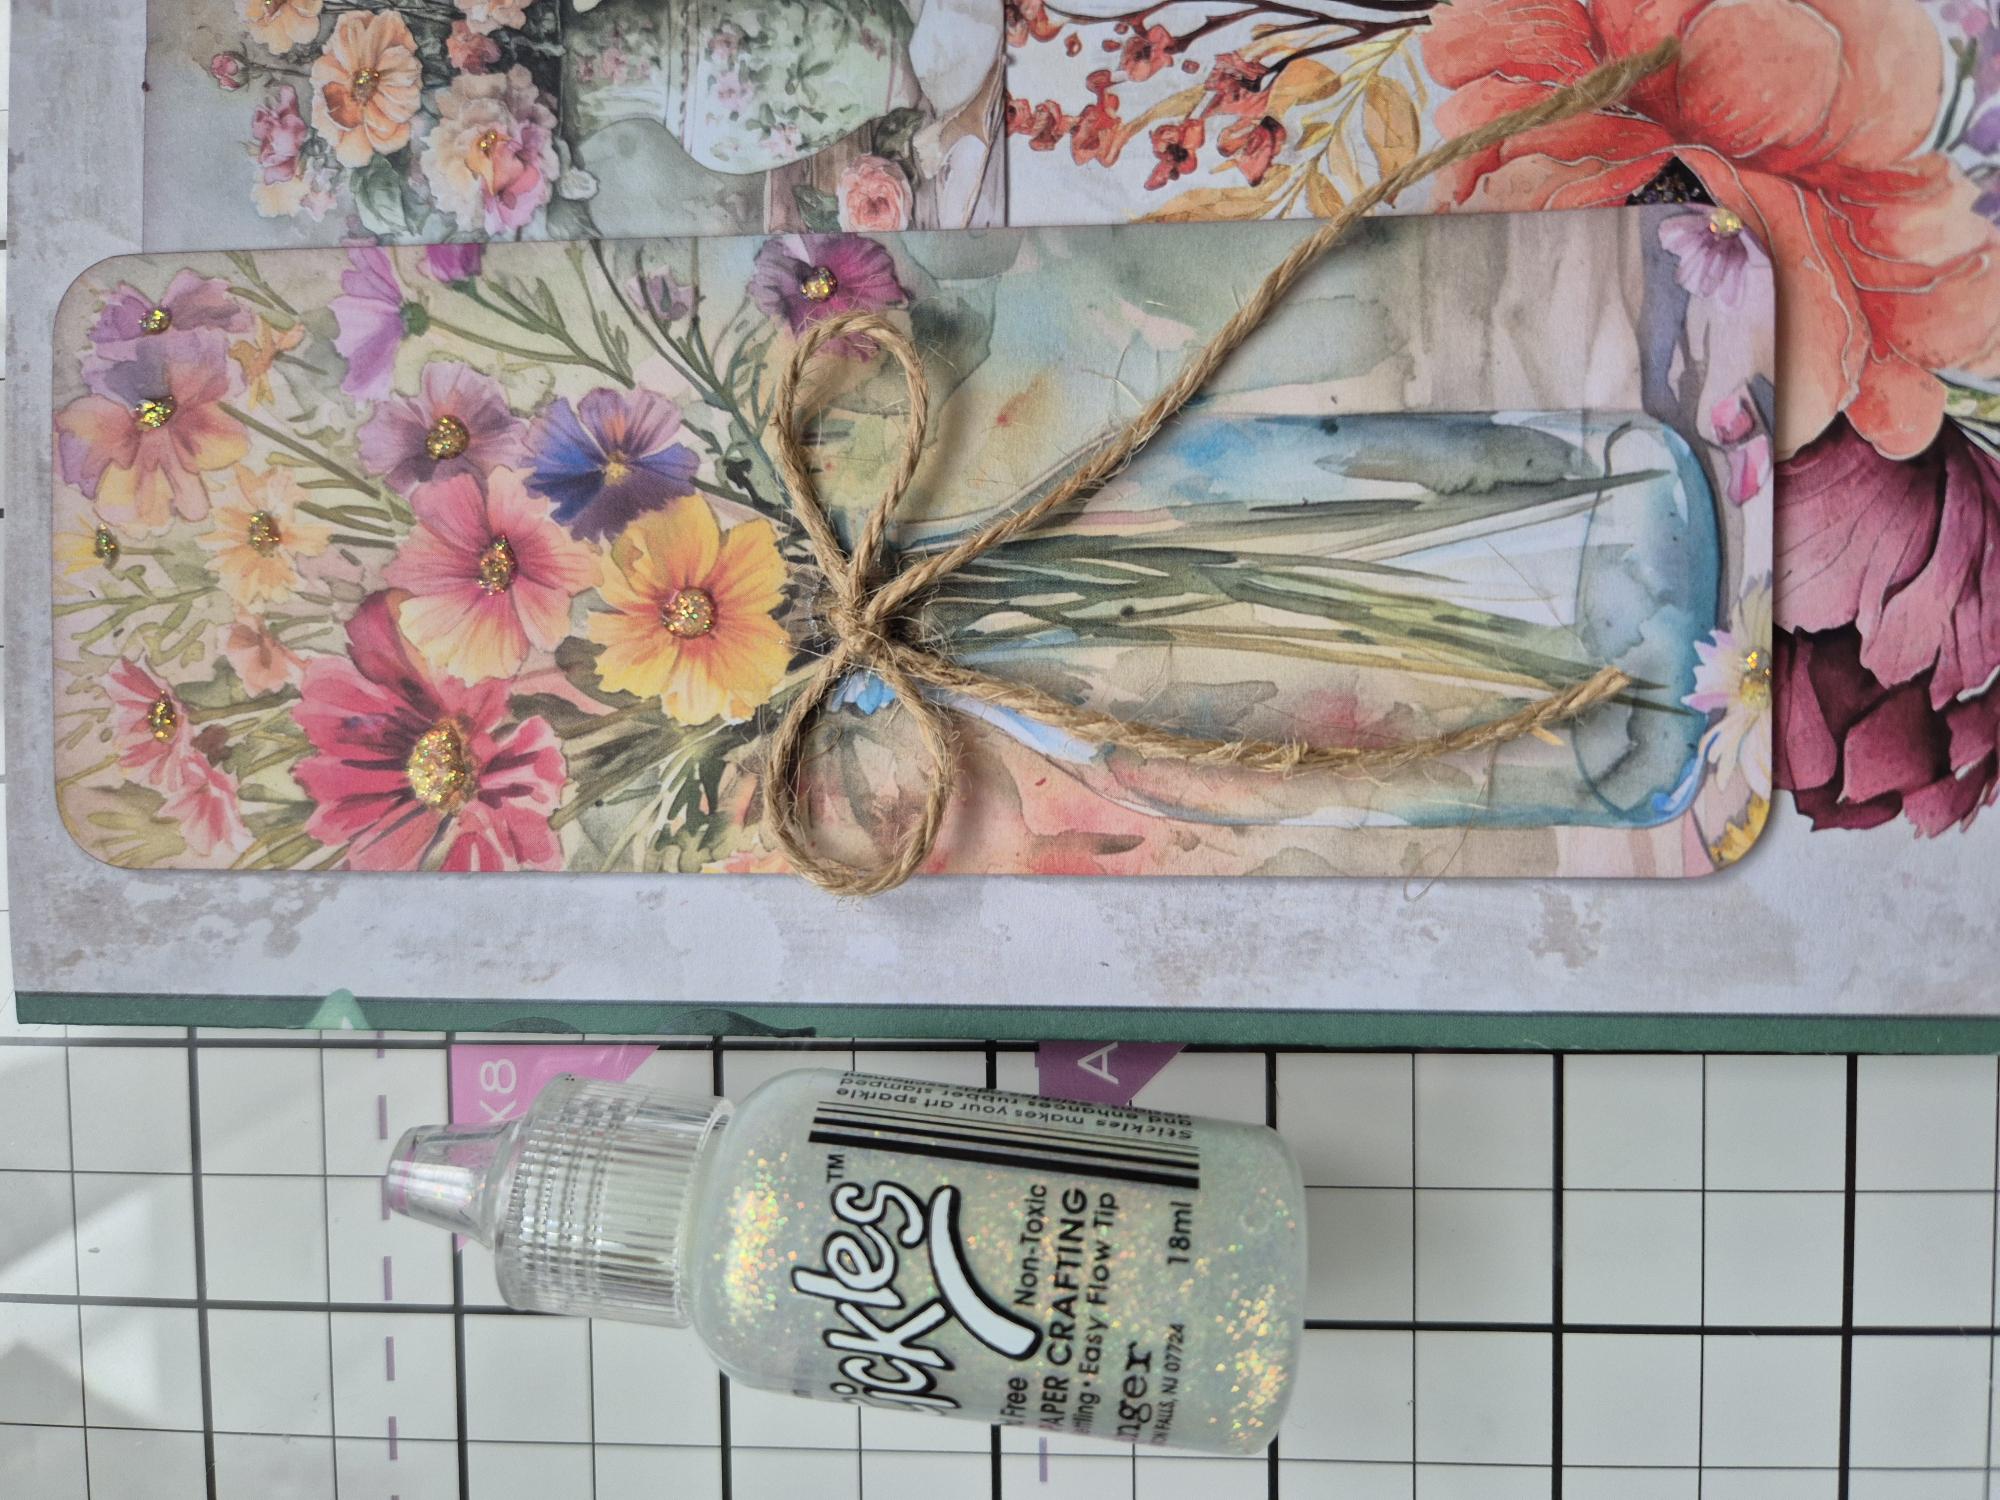
|
Use your Stickles to add glitter/sparkle. |
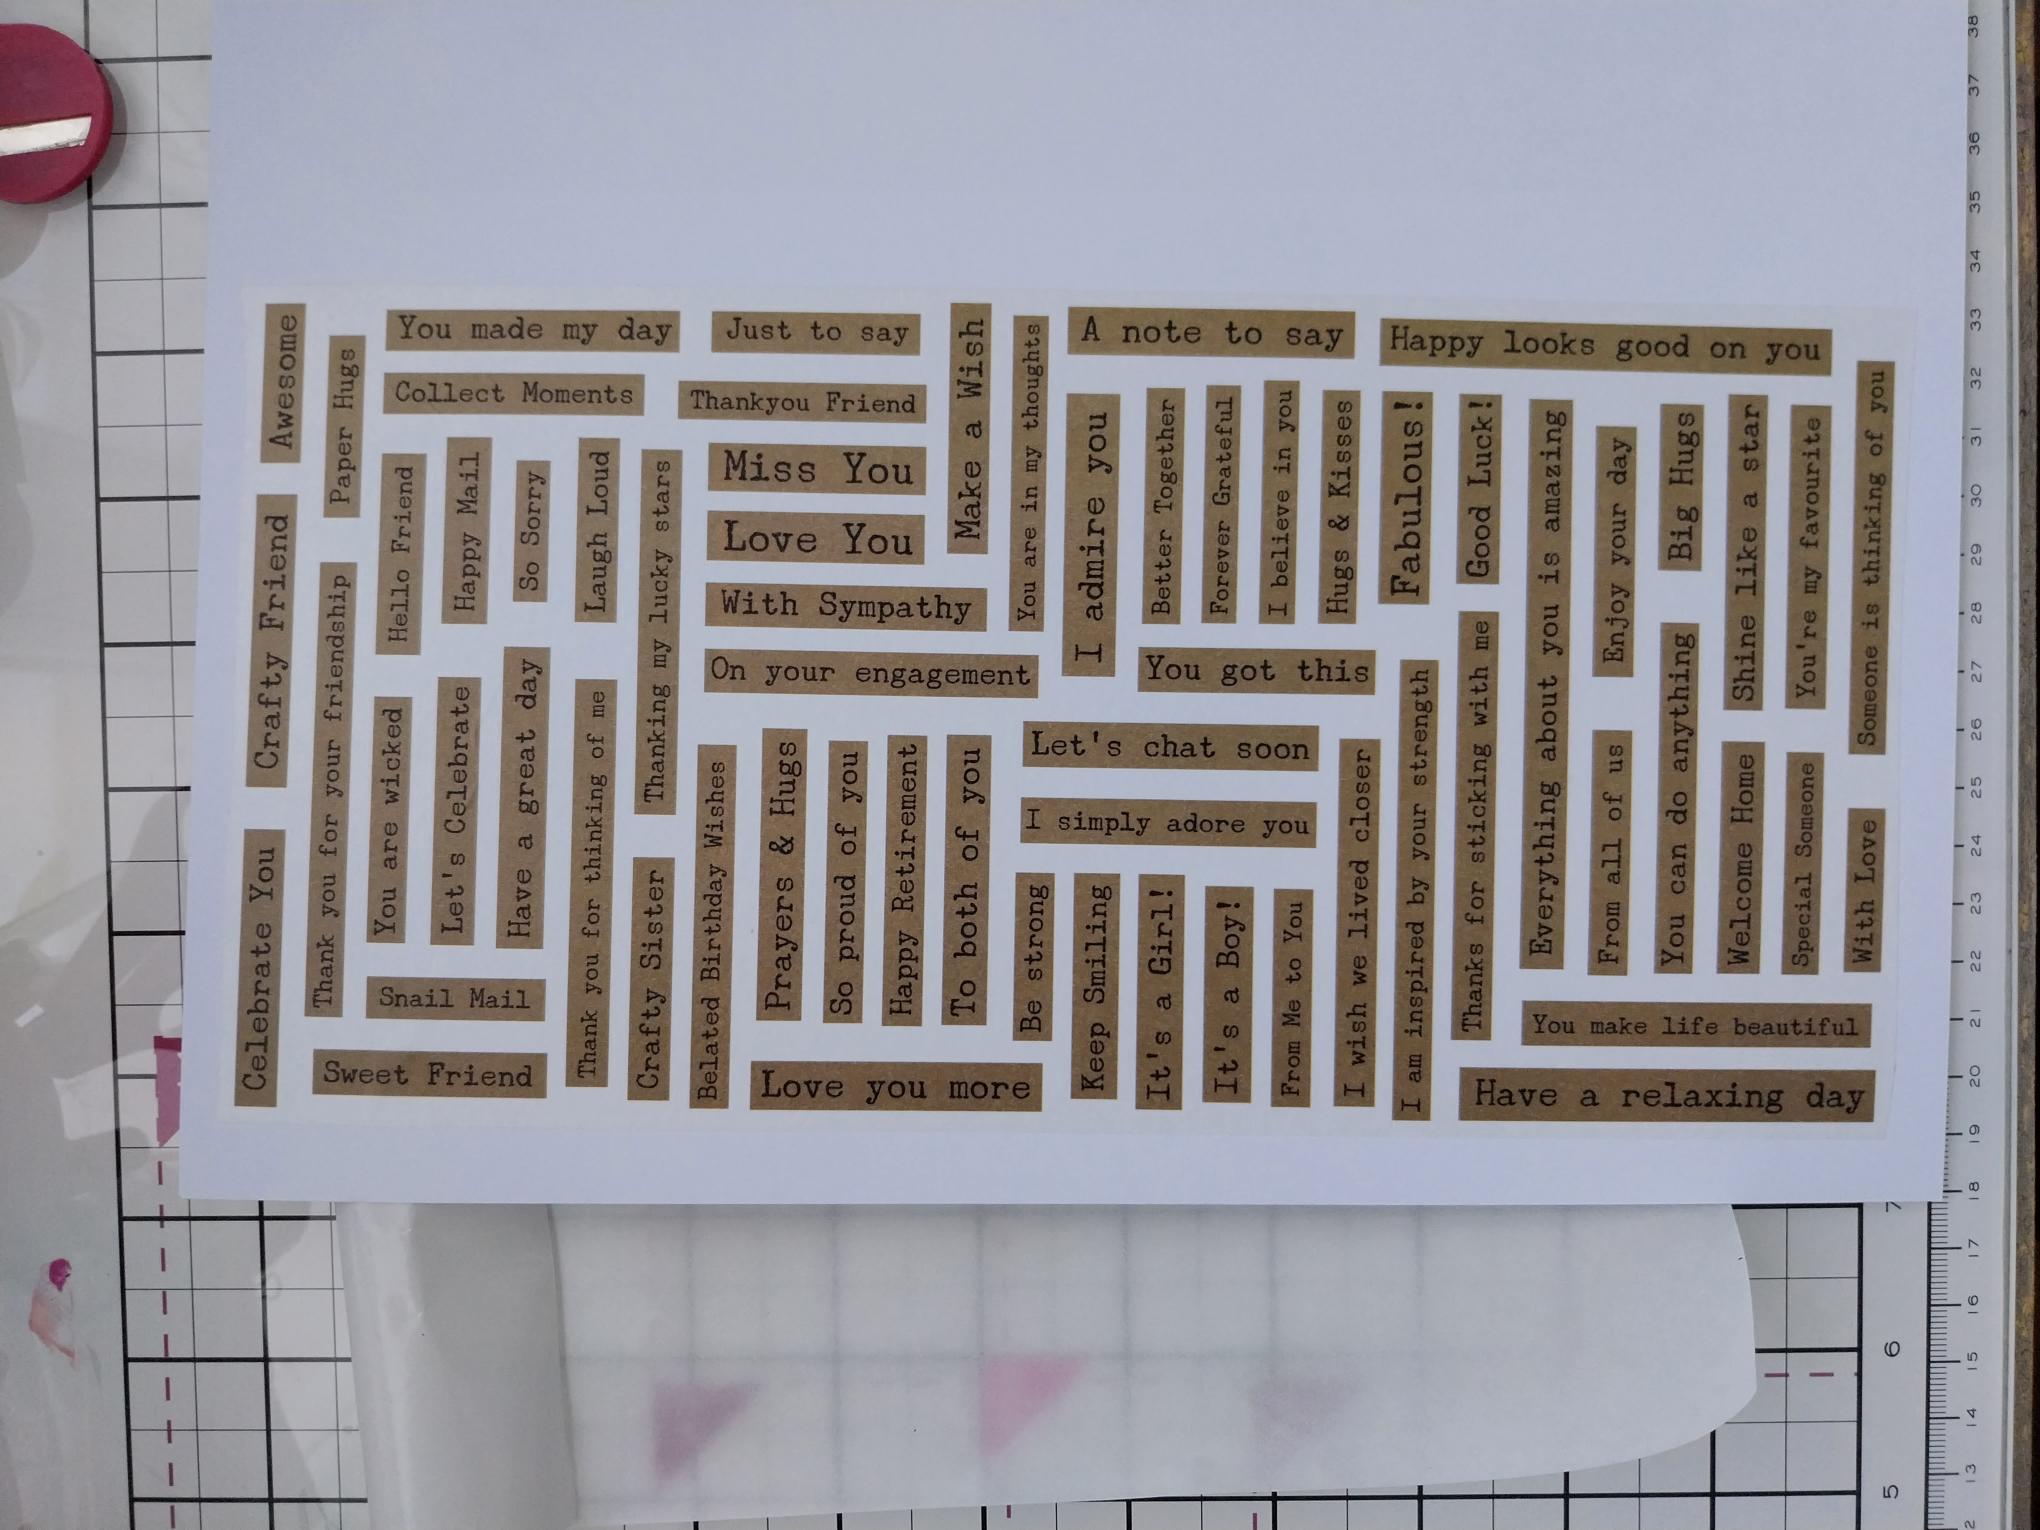
|
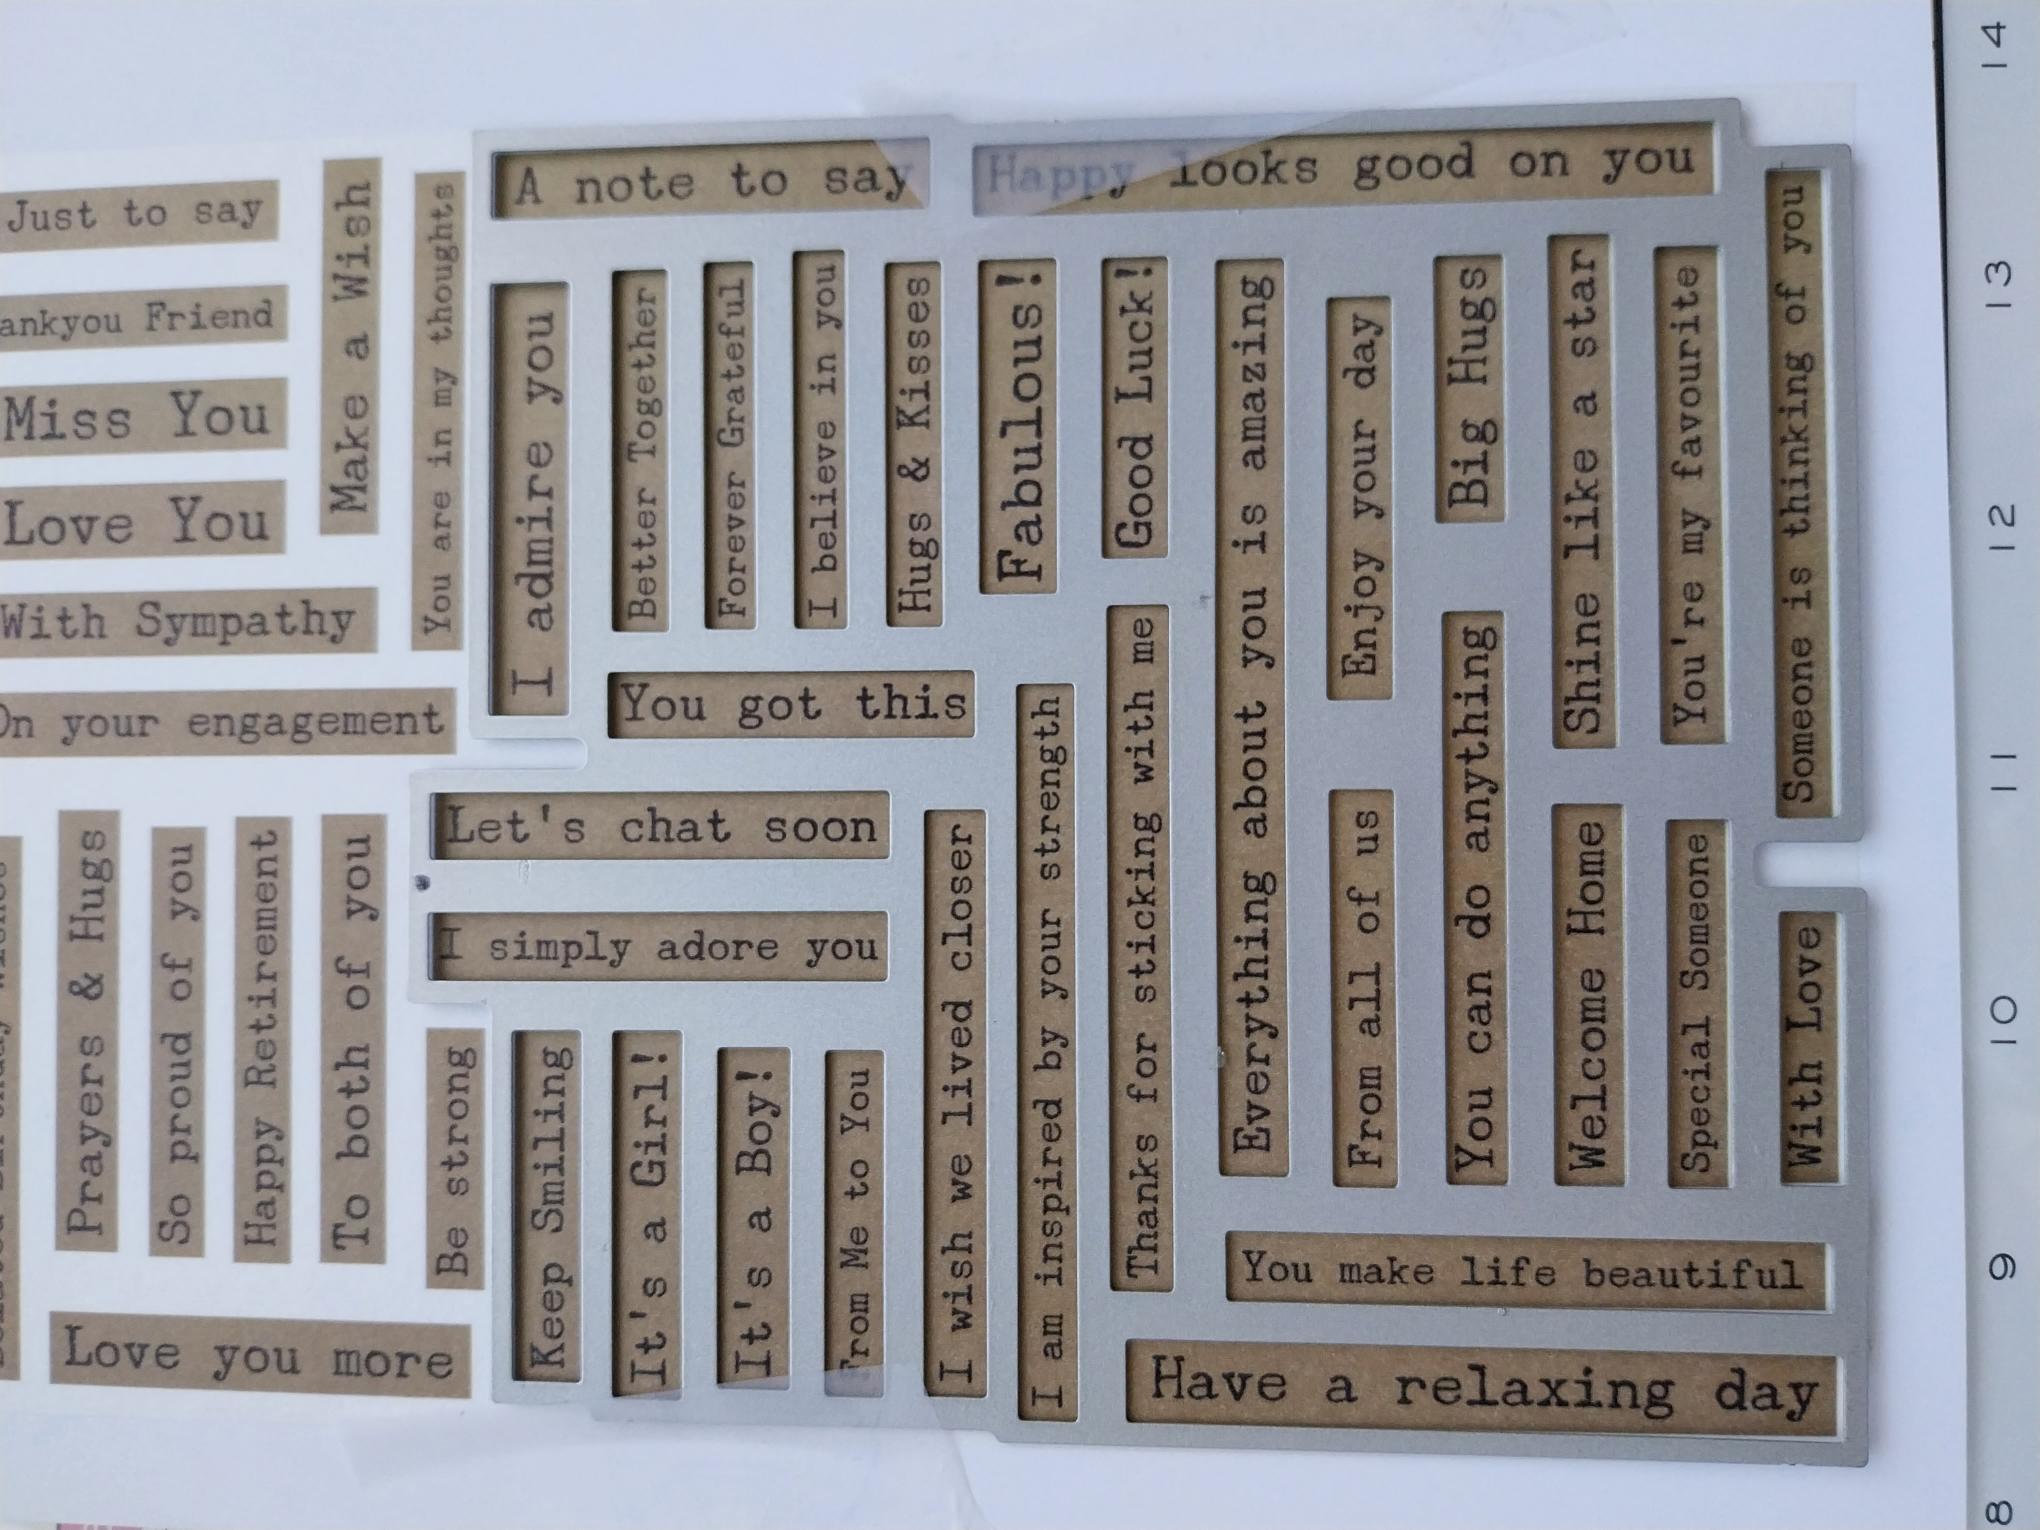
Using the dies as a guide, cut ONE drop from the Sepia washi roll. Lift up the backing sheet along one end of the tape and adhere across the top of an A4 sheet of white card. Slowly peel away the backing, as you use your hand to smooth the washi tape down on to the card. Once the backing has been fully removed, you can burnish the washi to ensure there are no air bubbles or creases. |
|
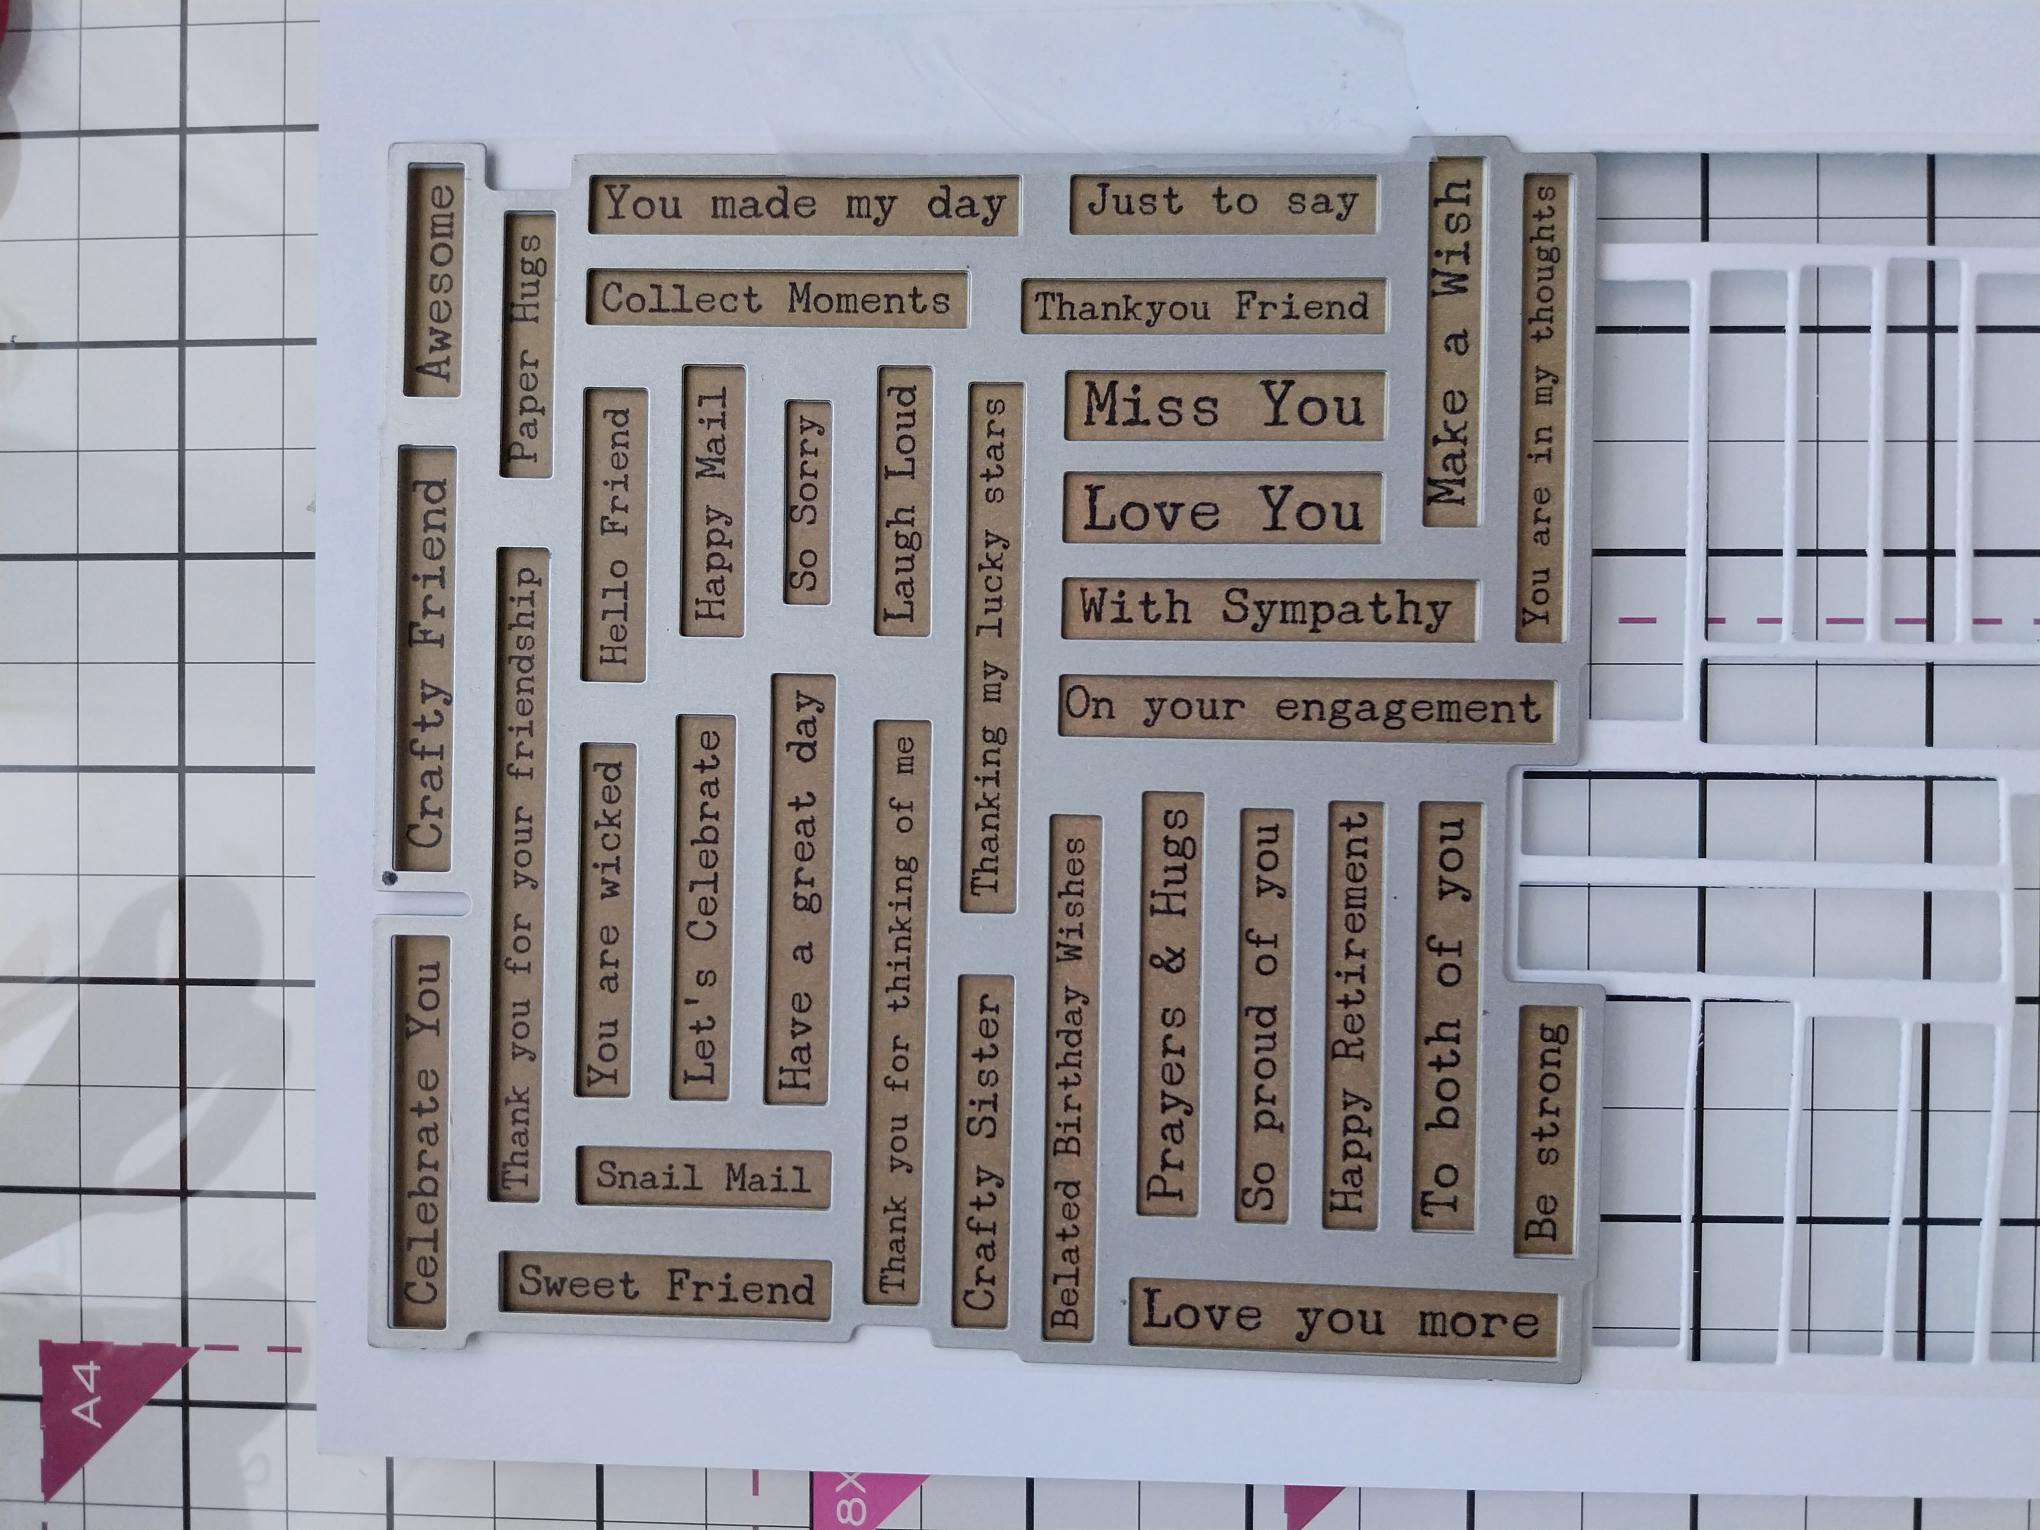
Line up the second die, secure in place and run through your machine. |
|
Once all elements are die cut, pop out the sentiments, pick out the one you are using for this project and keep the rest in a tub for future projects. |
|
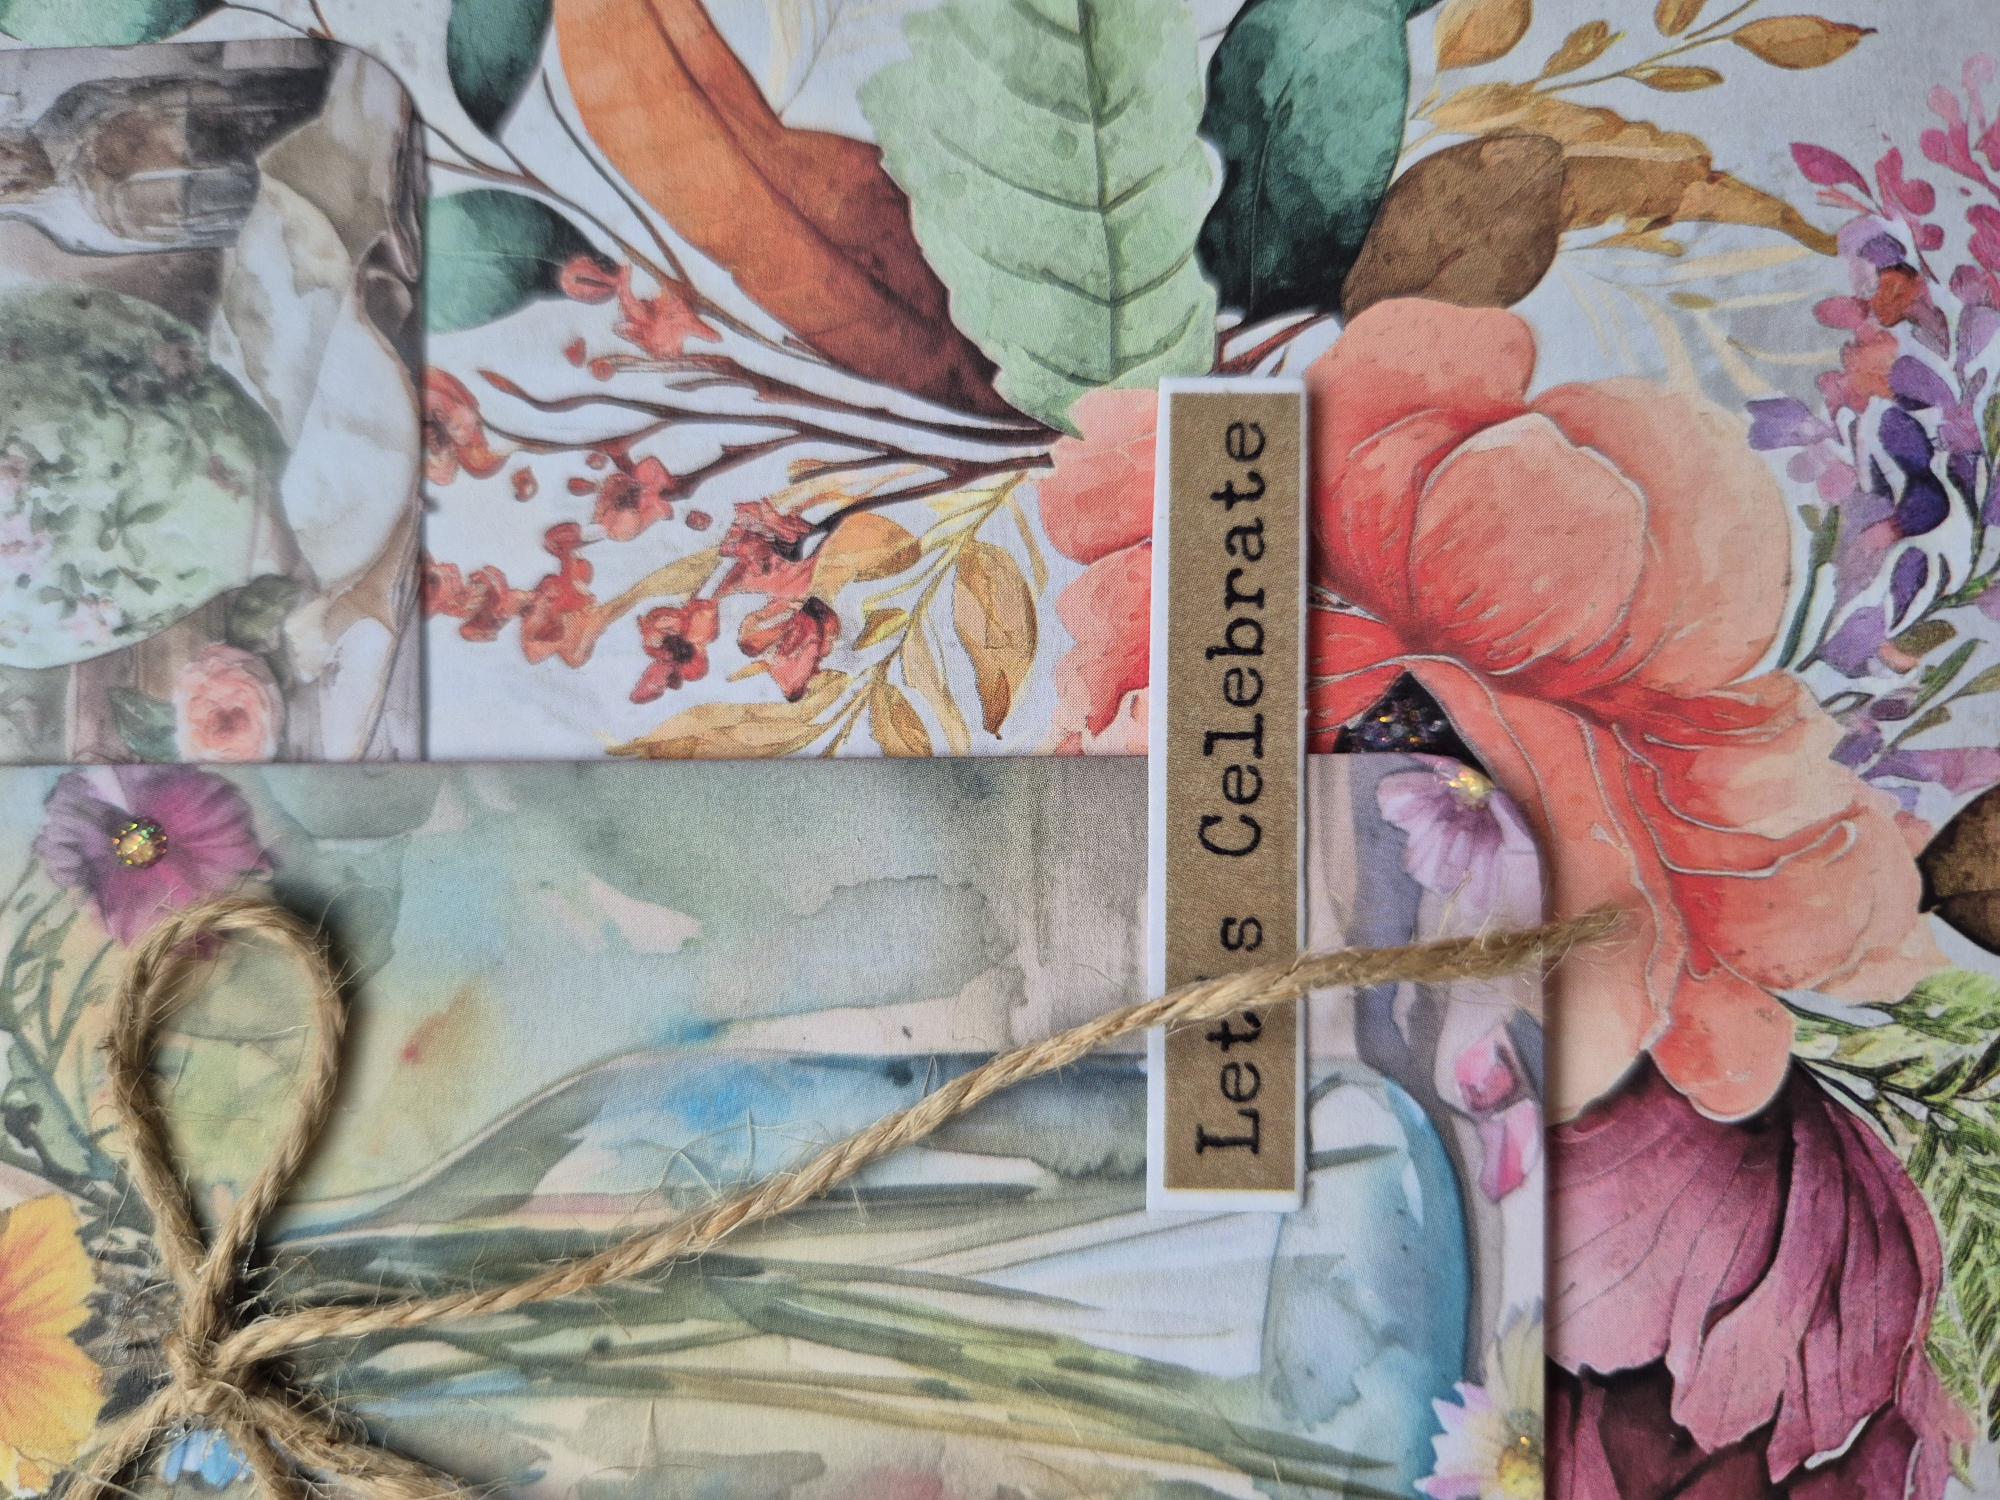
Complete your project by adhereing your chosen tab sentiment with foam pads. |