Regala ai tuoi amici 10 € di sconto sul loro primo ordine!
Invita un AMICO








I prezzi si aggiornano subito. Le traduzioni sono a cura di Google.
Un progetto dalla nostra diretta Thirsty Brush - Unisciti a Emma per un po' di creatività "pasticciona", trasmessa l'11 feb · 11/02/2022
Create a vibrant, loose watercolour background by wet-spraying card and dropping in multiple colours, then stamp large floral designs on top. The blended colours create depth and interest whilst the stamped florals provide focal points.
Spray your card base with water to dampen it thoroughly.
Pick up watercolour paint on a wet brush and dab it onto the damp card, keeping colours apart initially.
Add a second colour (such as pink) to a different area of the card.
Add a third colour (such as yellow) and spray more water to encourage the colours to blend and move together.
Use a heat tool to dry the background quickly, or allow it to air dry for a softer effect.
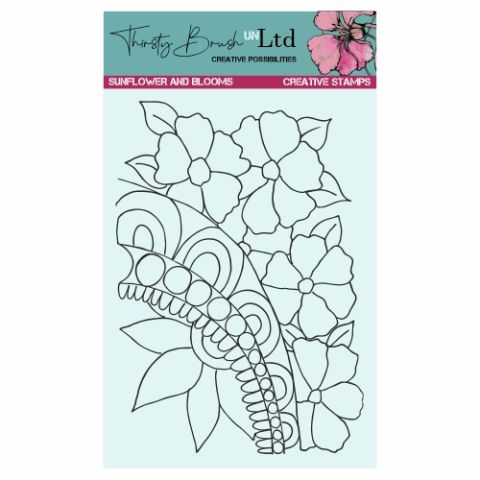
Stamp the large sunflower and blooms stamp onto the dried background using a dark ink pad.
Colour in selected areas of the stamped image with watercolours if desired.
Use a dauber and dark ink pad to add shading around the edges of the stamped design.
Mount the finished background onto coloured card to frame it and enhance the colours.
Condividi il tuo progetto con la community di Stamps By Me - e conserva questa guida per la prossima volta.
Scritto direttamente dalla puntata. Vedi tutti i tutorial delle nostre puntate · tutorial gratuiti · guarda in diretta su My Telly · la versione precedente