Regala ai tuoi amici 10 € di sconto sul loro primo ordine!
Invita un AMICO








 Hidden Gemsmer 4 nov 5:00
 The Thursday Dropgio 5 nov 13:00
 The Friday Final Cutven 6 nov 5:00
I prezzi si aggiornano subito. Le traduzioni sono a cura di Google.
Un progetto dalla nostra diretta RIVEDI la puntata con Simon: MONDAY MADNESS dallo studio HTCN, trasmessa il 15 nov 21 · 15/11/2021
A three-dimensional card featuring a rolled and peeled edge that reveals a repeating 'big thanks' sentiment stamped underneath. The design combines layered cardstock with stencilled balloon details and a hand-coloured elephant character holding a balloon, creating depth and visual interest.
Stamp the 'big thanks' sentiment repeatedly across a piece of cardstock using black ink and a stamping block, building outwards from the centre.
Stamp the 'big thanks' sentiment across the entire back of the card, ensuring enough coverage for when the edge is rolled back.
Prepare a separate piece of starry patterned cardstock as the front design layer.
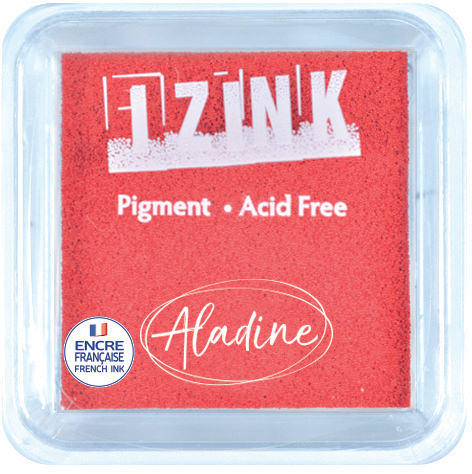
Use the balloon stencil and red ink to create a stencilled balloon design across the back cardstock, taping the stencil in place to prevent movement.
Lightly tap red ink through the balloon stencil, then apply heavier circular motions to deepen the colour and create dimension.
Reposition the stencil down the card and continue the balloon design, aligning it with the previous stamps to create a continuous pattern.
Adhere the starry patterned cardstock to the back layer using double-sided tape along all edges.
Cut a horizontal line through the centre of the layered card using long scissors, using the star pattern as a guide to keep the line level.
Gently curl and tease the top half of the card upwards by hand, breaking the fibres to create a smooth rolled edge without creases.
Secure the rolled edge in place using red liner tape on the back of the card.
Apply double-sided tape around the entire edge and into the middle of the card, then position the 'big thanks' sentiment layer underneath.
Stamp the elephant with umbrella character onto cardstock using black ink, then colour it with grey, red, and black using watercolour techniques.
Die-cut the coloured elephant, then carefully cut away the umbrella portion using scissors to remove the unwanted element.
Glue a pre-coloured balloon into the elephant's trunk where the umbrella was removed, creating a seamless substitution.
Mount the elephant with balloon onto the card using foam pads, positioning it in the bottom corner.
Add a second elephant character with balloons to the top of the card using foam pads for additional dimension and visual interest.
Condividi il tuo progetto con la community di Stamps By Me - e conserva questa guida per la prossima volta.
Scritto direttamente dalla puntata. Vedi tutti i tutorial delle nostre puntate · tutorial gratuiti · guarda in diretta su My Telly · la versione precedente