Give your friends €10 off their first order!
Refer a FRIEND








A project from our live show HSN PRODUCT INSPIRATION - Join me for a fun filled show broadcast 20th October 2026 · 20/10/2026 · watch it from 1:06:15
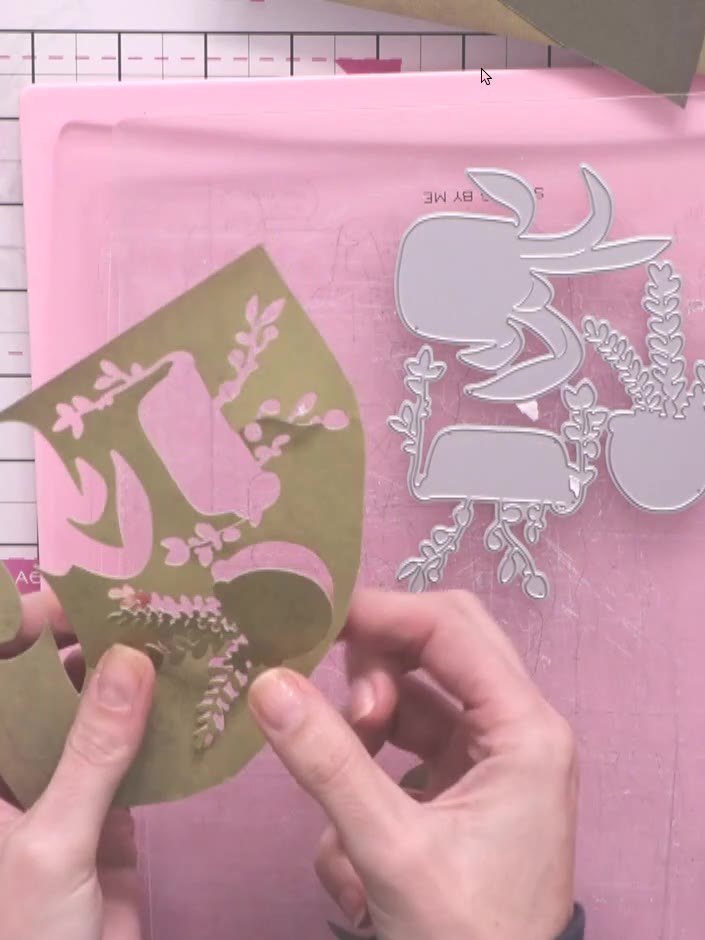
Create a beautiful card featuring layered potted flowers in varying shades of green and brown cardstock. The dimensional layering technique builds depth and allows you to create multiple pots in one pass, which can be positioned flat or with 3D foam pads for added perspective. This elegant design showcases hanging plants in decorative pots arranged in a striking vertical composition.
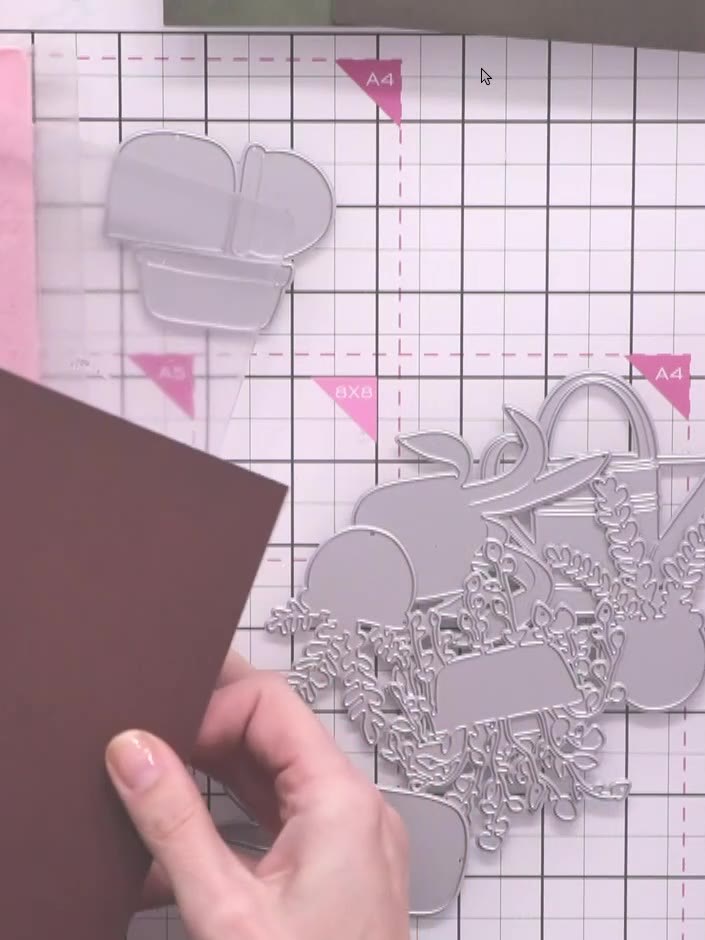
Cut a piece of brown cardstock to size. Position the brown cardstock on your die-cutting machine plate with the pot die on top.
▶ watch this step (1:10:00)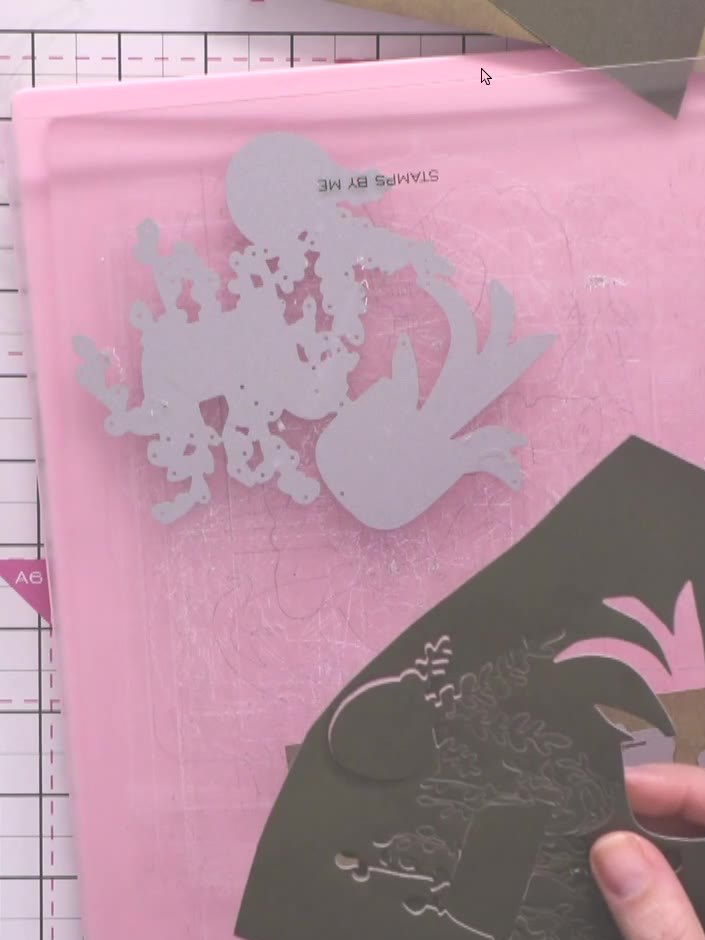
Carefully remove all die-cut pieces from the magnetic glass plates. Take care to remove the small floral filler pieces as well as the larger bird and flower elements.
▶ watch this step (1:13:30)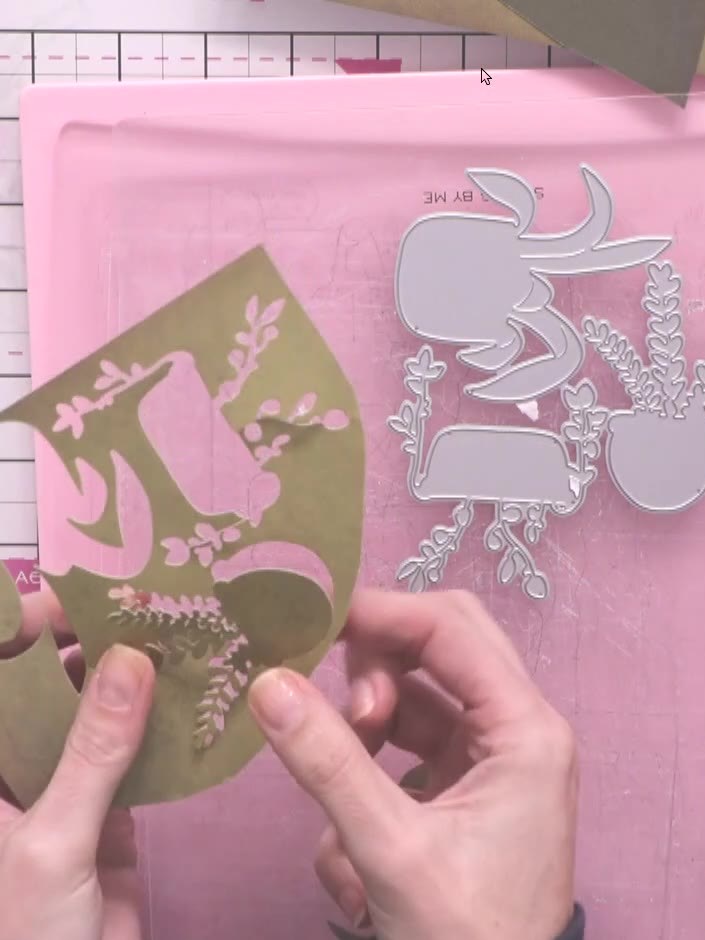
Layer the three pot pieces together in order, starting with the darkest shade at the back. Position the medium shade on top, followed by the lightest shade at the front to create dimension.
▶ watch this step (1:16:15)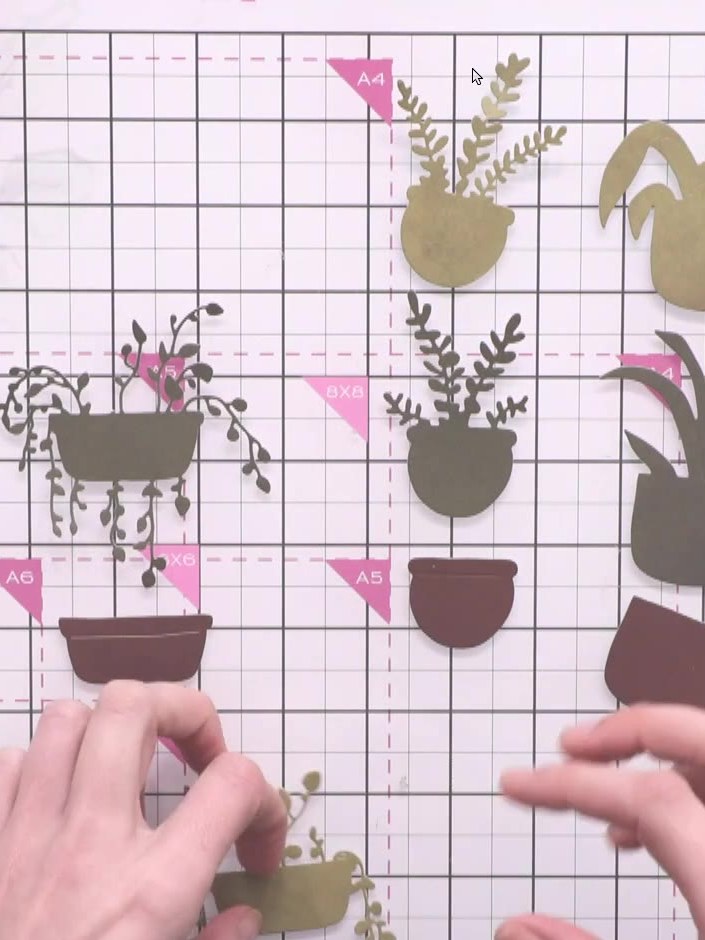
Add small floral pieces to the top of the layered pots using glue. Position the delicate foliage and flower elements onto each pot arrangement to complete the design.
▶ watch this step (1:17:00)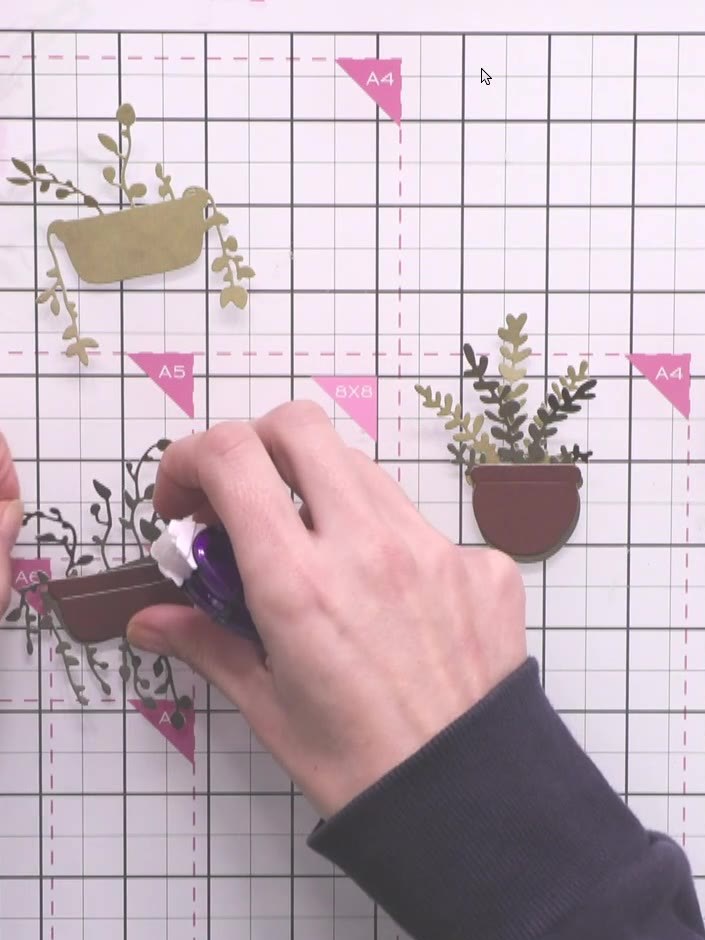
Apply a small 3D foam pad to the back of the brown pot piece to add dimension to your layered assembly.
▶ watch this step (1:17:30)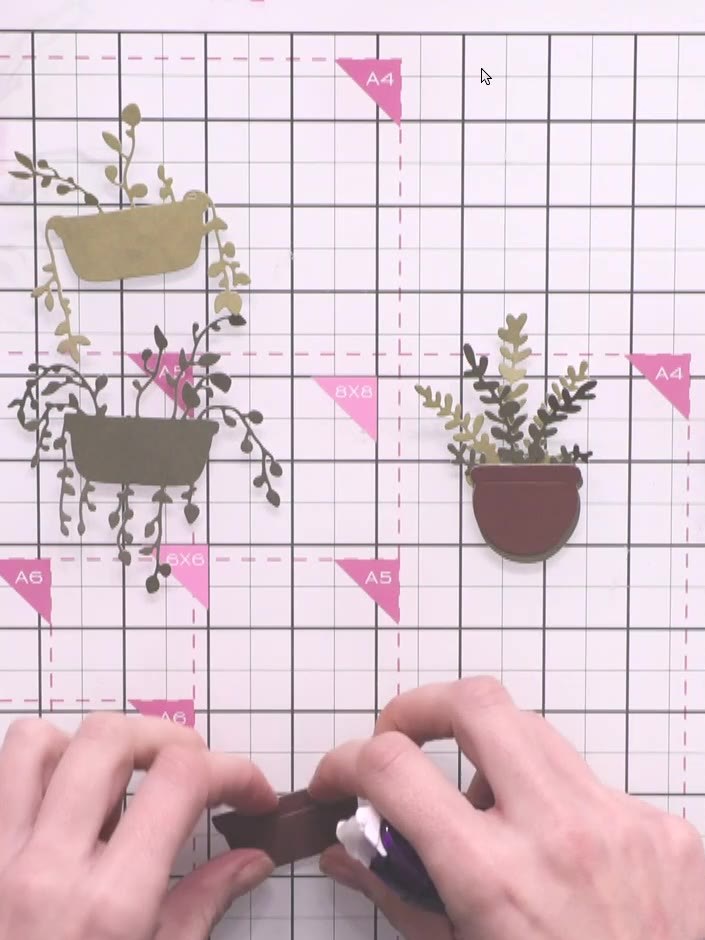
Position the finished pot onto your card base and glue it in place to complete your layered potted flowers card.
▶ watch this step (1:18:00)Written up from the show itself. See every guide from our shows · free how-to guides · watch live on My Telly