Give your friends €10 off their first order!
Refer a FRIEND








A project from our live show MONDAY MADNESS - Join Simon from AVAGO-INK for his latest products - Broadcast 16th JAN 23 · 16/01/2023 · watch it from 27:45
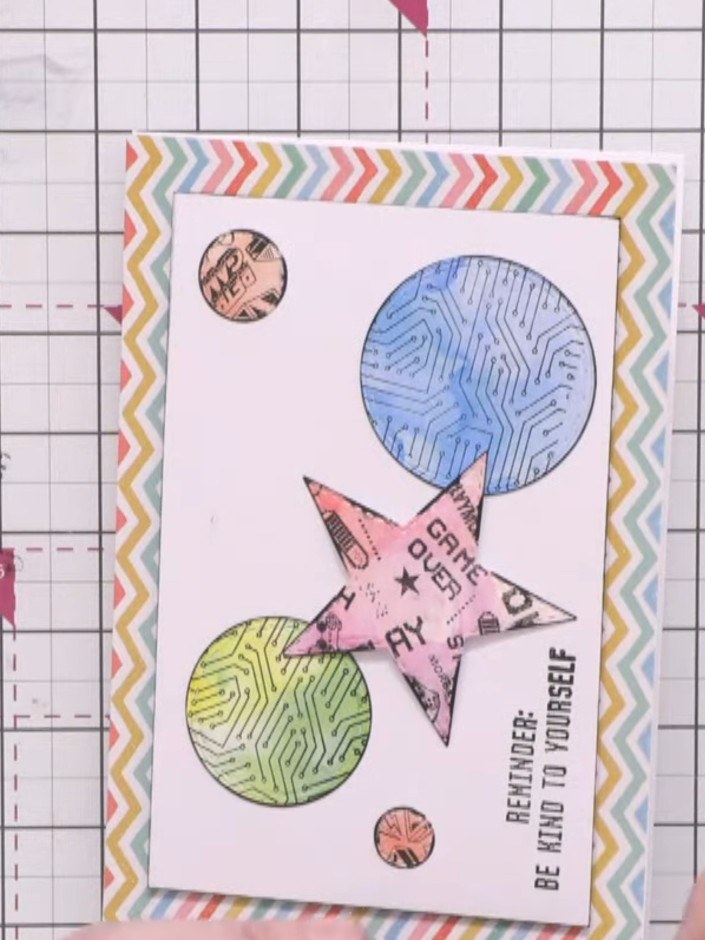
Create a modern, eye-catching card featuring die-cut shapes with stamped gaming-themed backgrounds in vibrant blues, pinks, and greens. The design uses leftover card scraps layered together, with shapes inked at the edges and embellished with coloured pearls. A rainbow chevron border frames the composition, whilst an inspirational sentiment completes this clean, contemporary piece.
 Izink Spray Black Liquorice 080621TSEE IT
 Izink Spray Sunflower Yellow 080621NSEE IT
 Izink Spray Wild Rose 080621XSEE IT
 100089 - HTCN - Eureka 101 Watercolour and Scoring Tablet - 240921GSEE IT
 Stamps By Me - Premium Hybrid Ink - Midnight - 121022NSEE IT
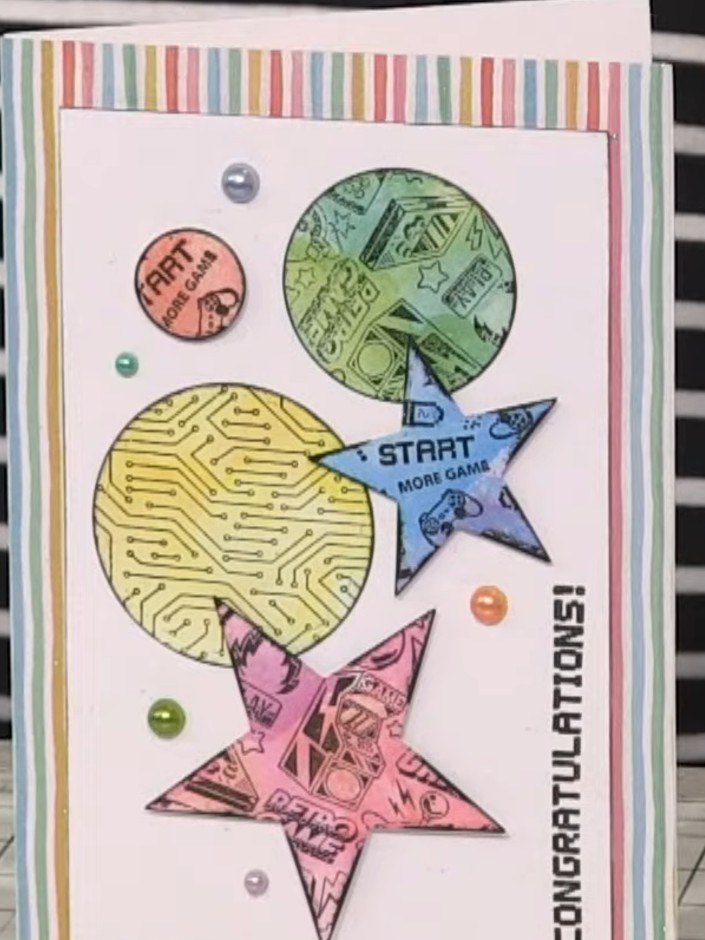
Start with a blank white card measuring 5½ by 8 inches. Select a coordinating coloured card from your scrap pieces to use as a mat layer.
▶ watch this step (28:00)
Adhere the coloured card to the blank card base using a tape runner, ensuring it is aligned to the edge.
▶ watch this step (28:45)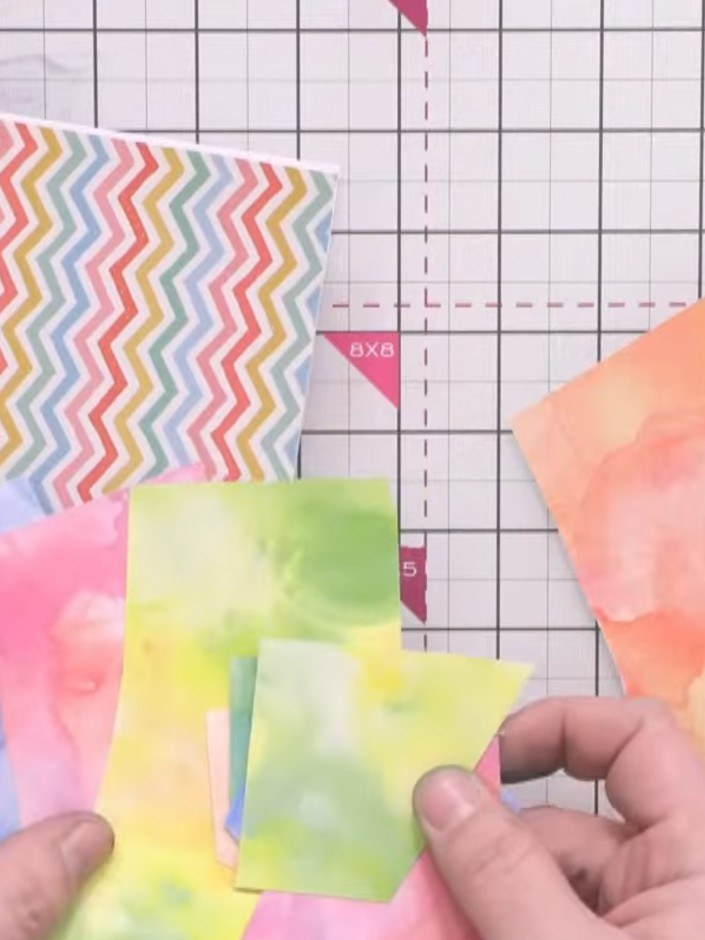
Arrange small scraps of coloured card and watercolour paper onto the black base card in a pleasing layout. Use a variety of colours and patterns, including the watercolour pieces and patterned papers. Position them at different angles to create visual interest.
▶ watch this step (29:45)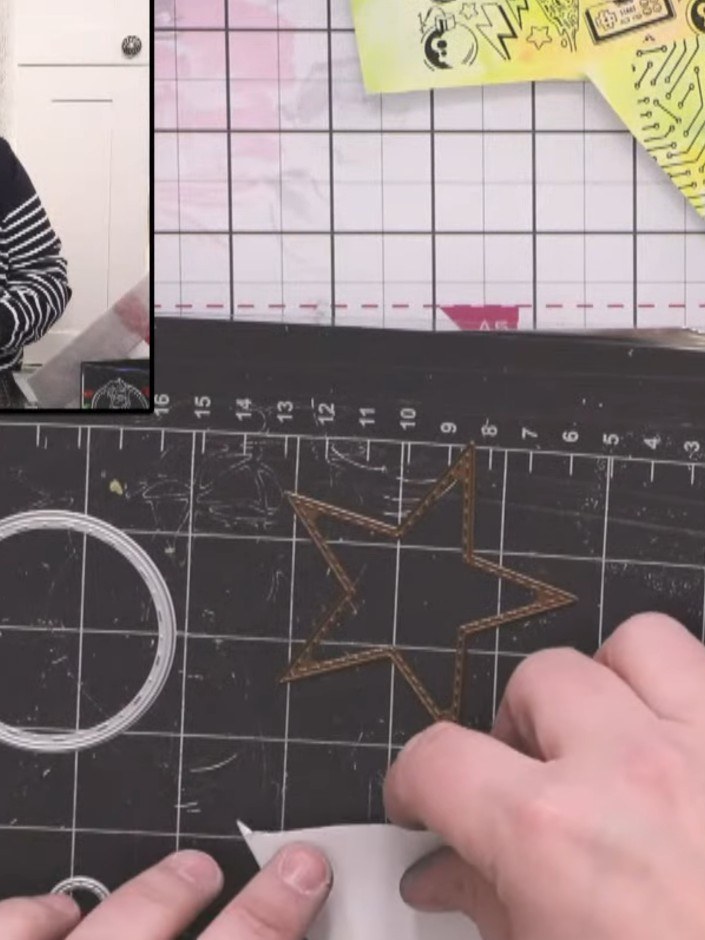
Die-cut circles and stars from the stamped and coloured card scraps using a die-cutting machine with cutting plates.
▶ watch this step (33:00)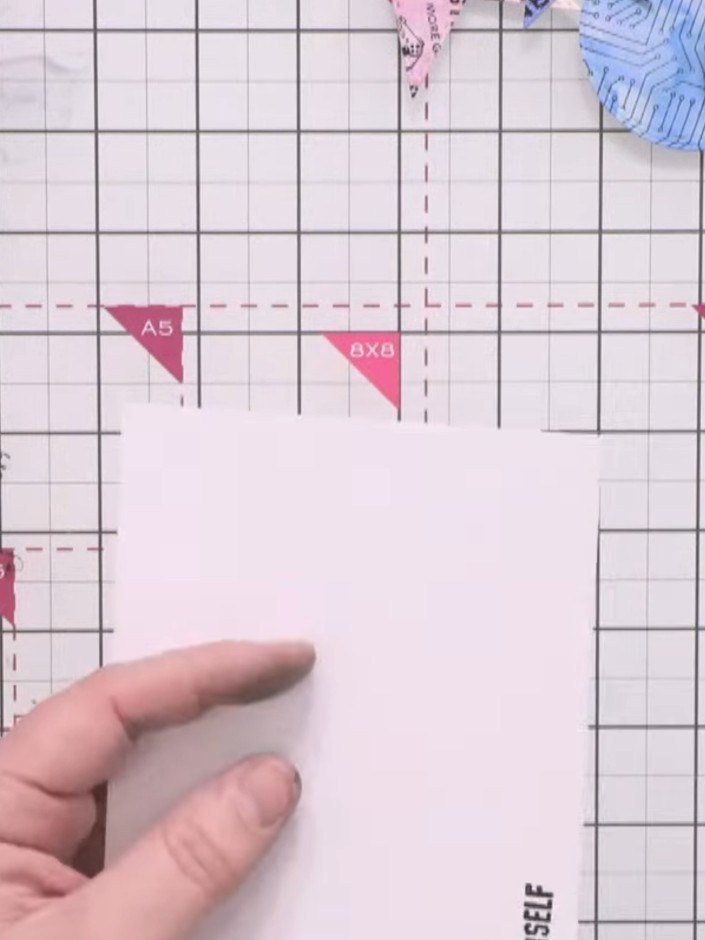
Cut a piece of white card to 4½ by 7 inches to create a border frame for the card.
▶ watch this step (35:15)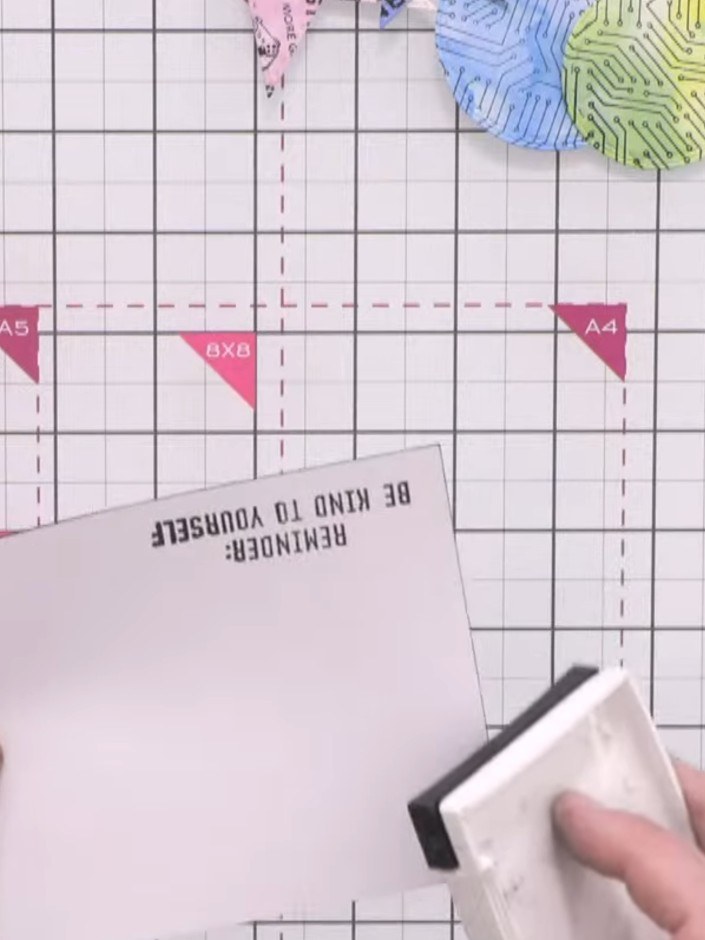
Stamp a sentiment such as 'Congratulations' onto the white card frame using the black ink pad.
▶ watch this step (35:30)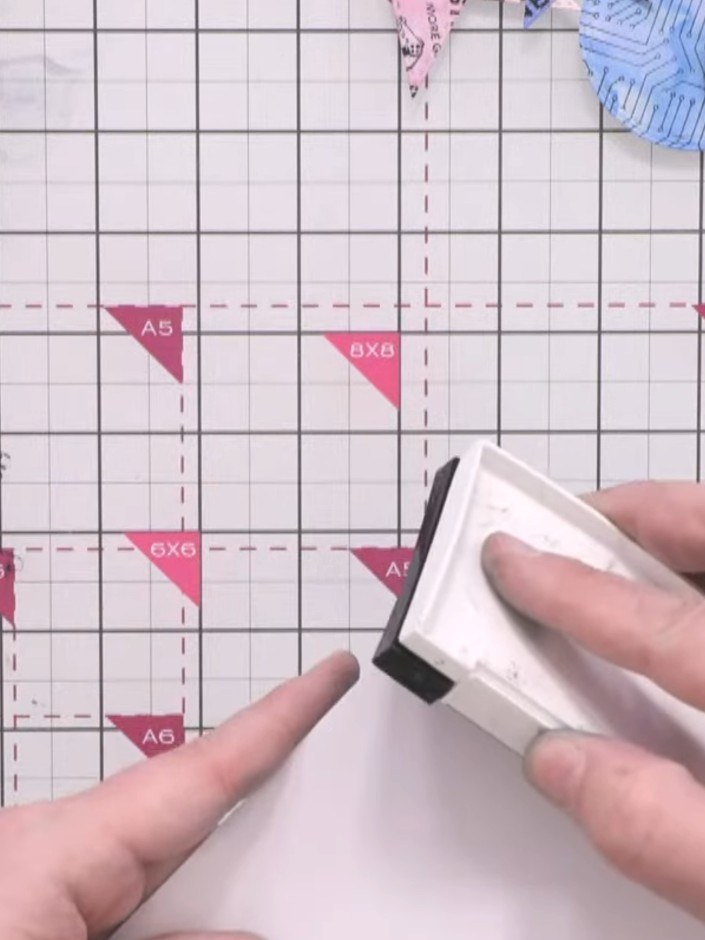
Ink the edges of the white card frame with the black ink pad, brushing around the perimeter to create a defined border.
▶ watch this step (36:15)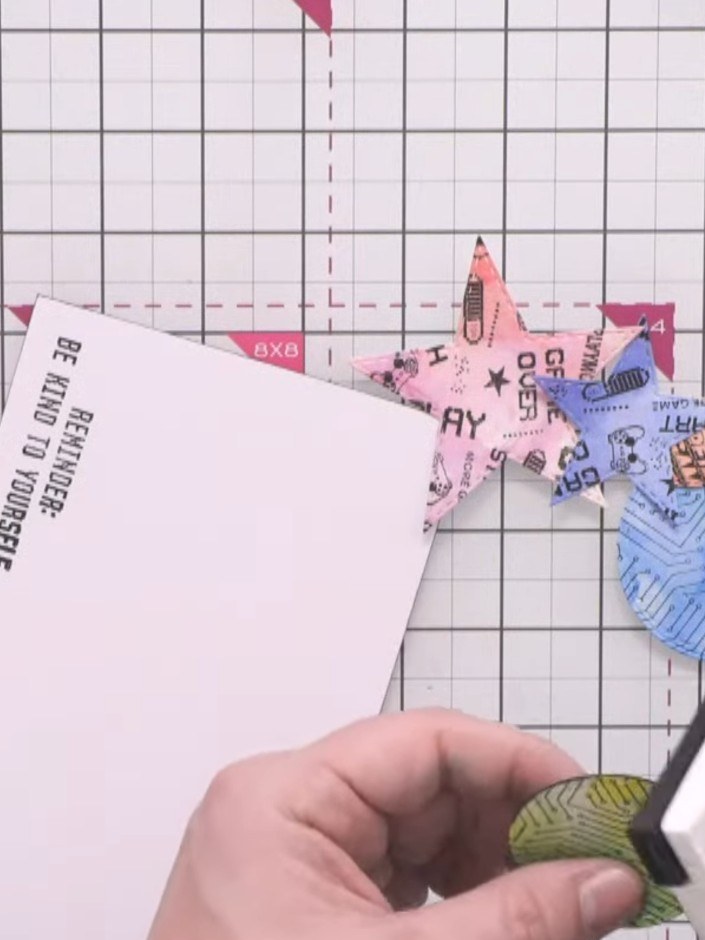
Edge the die-cut shapes with black ink using an ink pad to define their edges and add dimension. Work around each shape carefully to create a defined border.
▶ watch this step (36:45)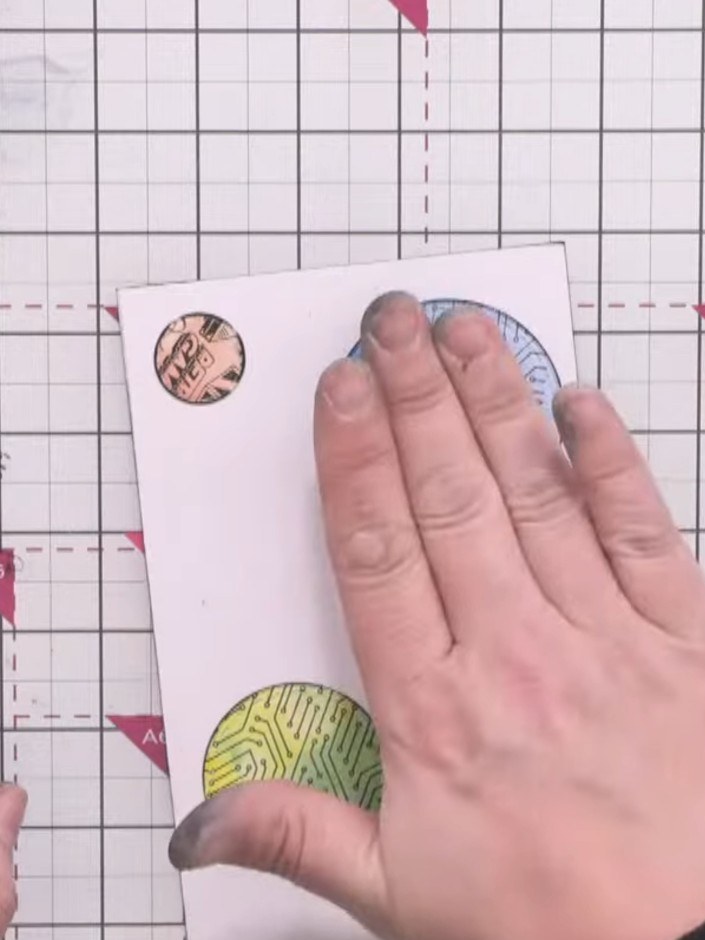
Adhere the white card frame to the coloured background using foam pads for dimension. Position it carefully to ensure even borders on all sides.
▶ watch this step (39:00)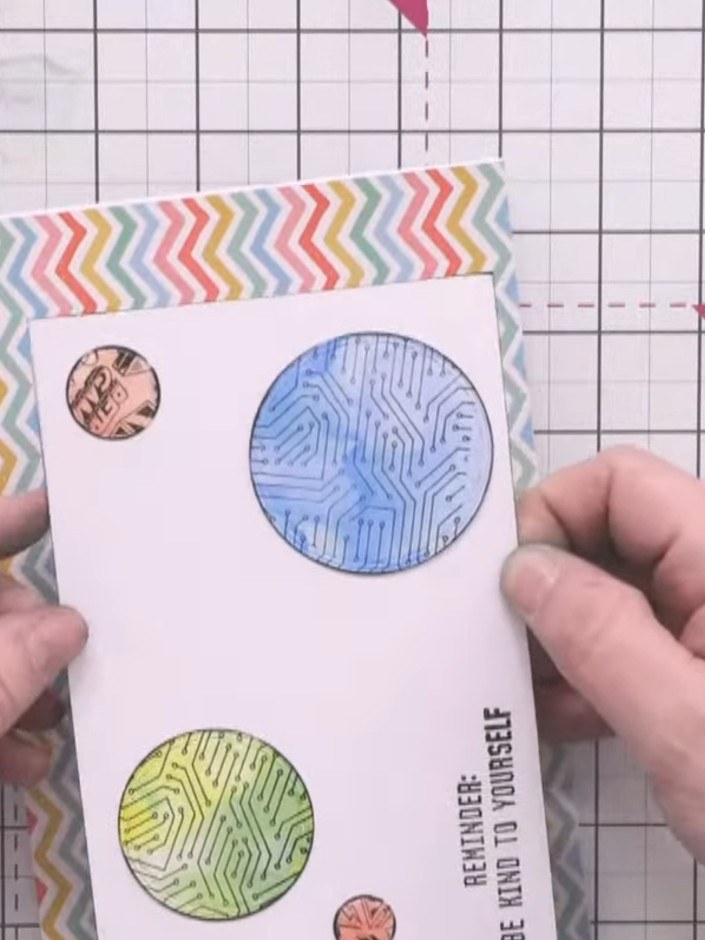
Attach the die-cut circles flat to the card front using glue. Position the blue circle at the top and the yellow-green circle at the bottom, with the smaller circles arranged around them as shown.
▶ watch this step (40:00)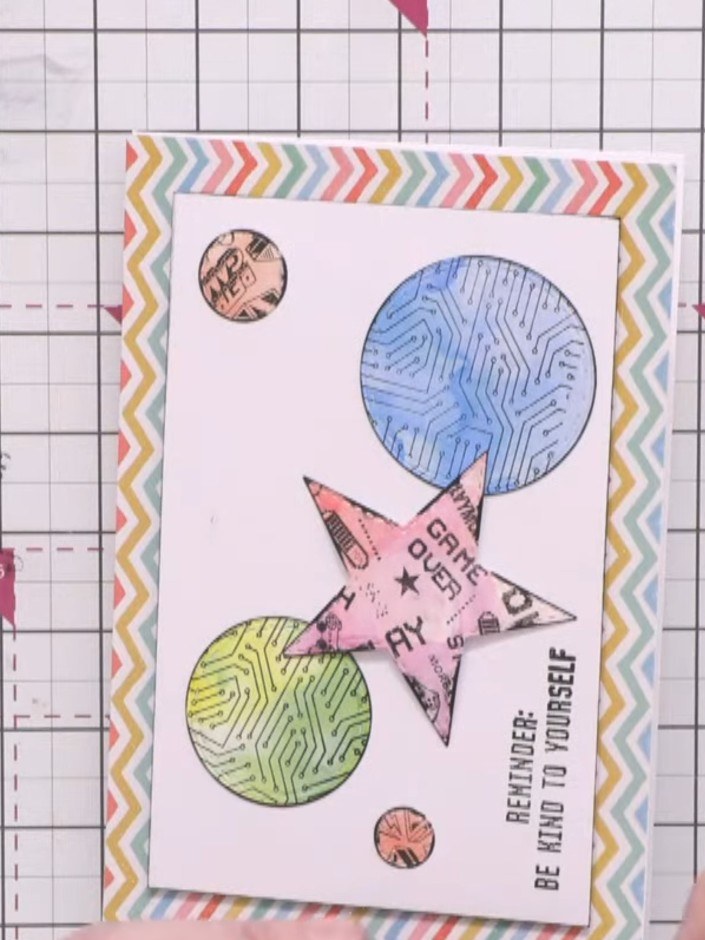
Attach the die-cut stars to the card using foam pads to raise them and create dimension.
▶ watch this step (40:15)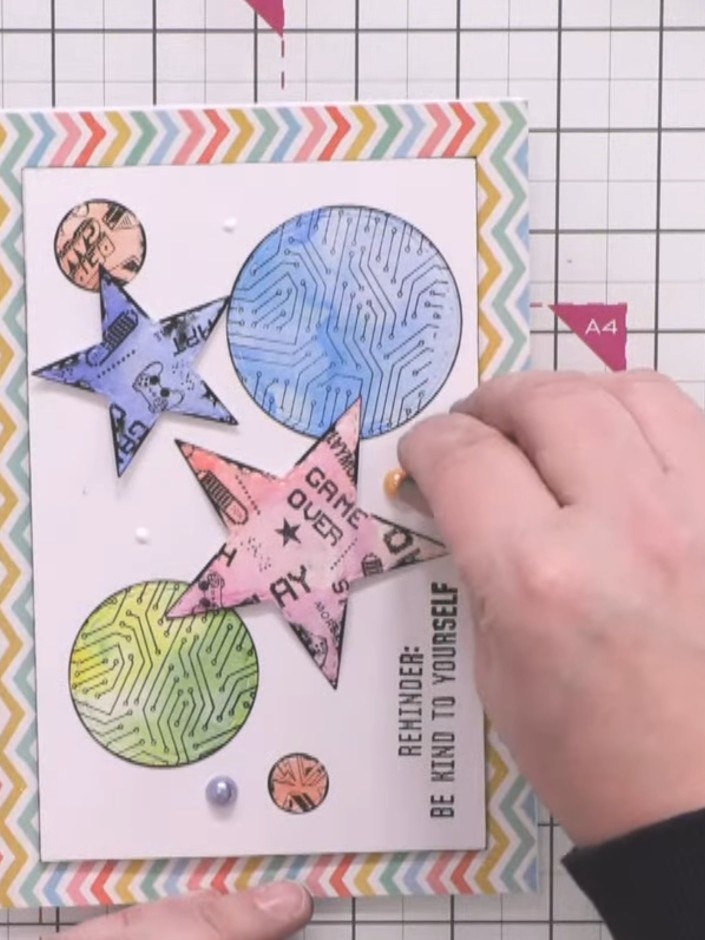
Select coloured half-pearls that coordinate with your card colours. Adhere them to the design using glue, spacing them around the shapes to balance the composition.
▶ watch this step (41:30)Written up from the show itself. See every guide from our shows · free how-to guides · watch live on My Telly