Give your friends €10 off their first order!
Refer a FRIEND








A project from our live show 811137 - SBM My Sunshine Lamination Stamps · 01/01/2023 · watch it from 0:45
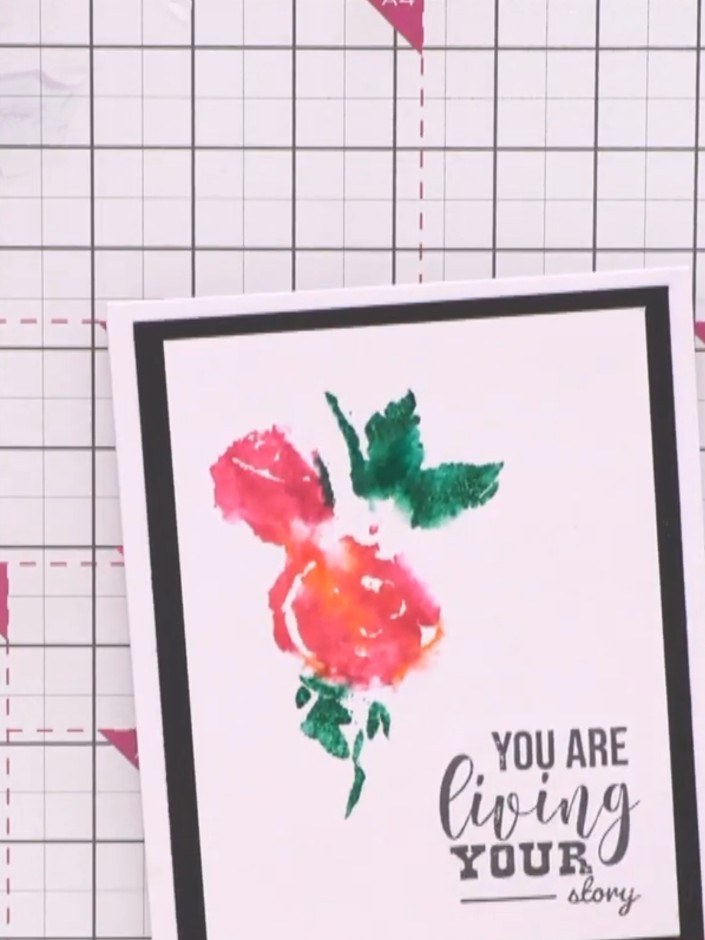
Create a stunning hand-painted effect card using the two-part lamination stamp technique. The solid portion is coloured with ink pads, then sprayed with water for a watercolour finish, and the outline stamp adds precise detail for a professional, artistic result. This elegant floral design features roses in soft pink and coral tones with green foliage on a white card with black matting.
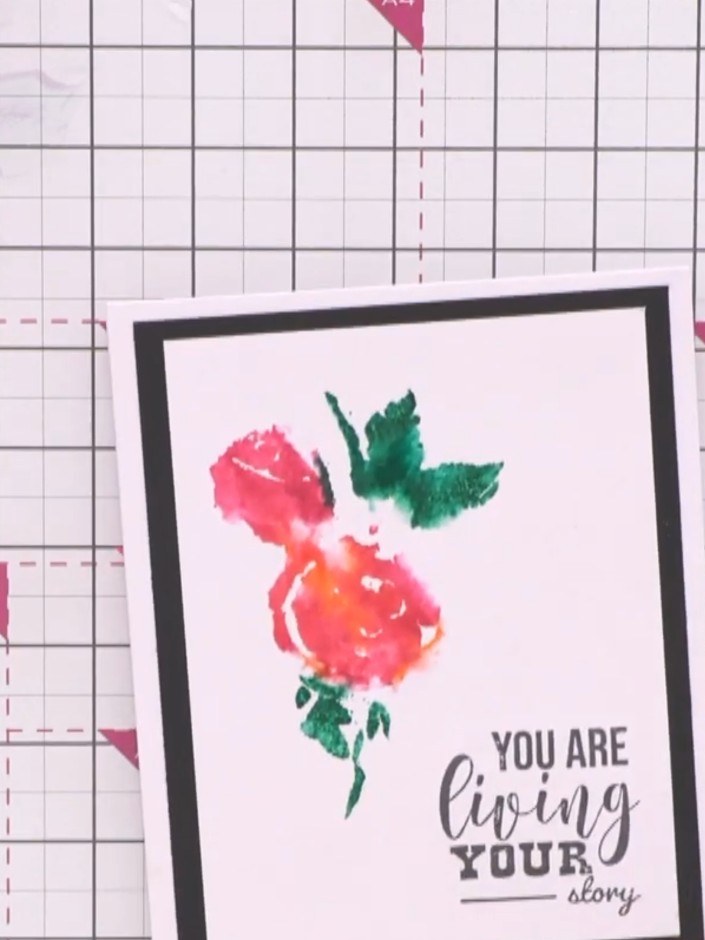
Apply orange and pink ink to the solid portion of the lamination stamp using your everyday ink pads. Build up the colour by dabbing the ink pads directly onto the stamp surface.
▶ watch this step (0:45)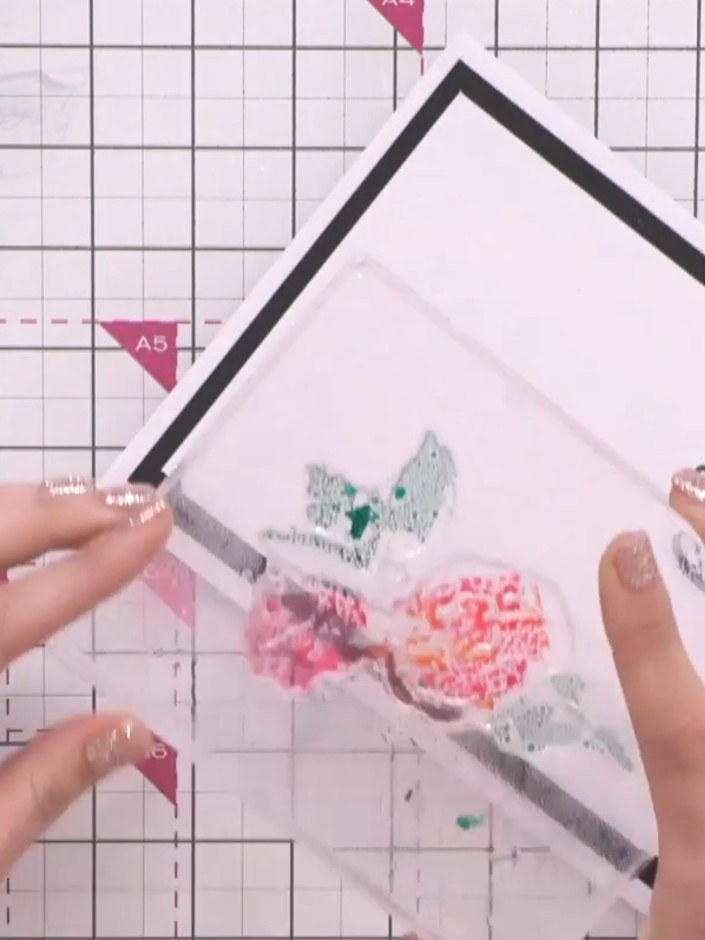
Apply green ink to the remaining solid stamp areas to complete the colour application. Use a dabbing motion to ensure even coverage across the stamped design.
▶ watch this step (0:55)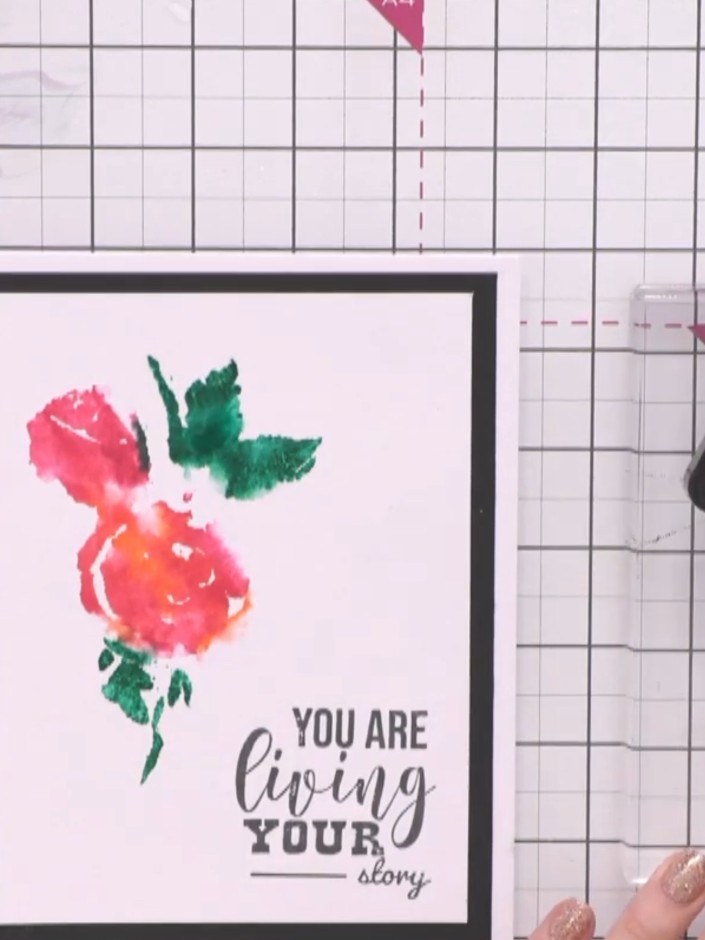
Spray the inked stamp with water to create a watercolour effect, allowing the water to bead naturally on the surface.
▶ watch this step (1:00)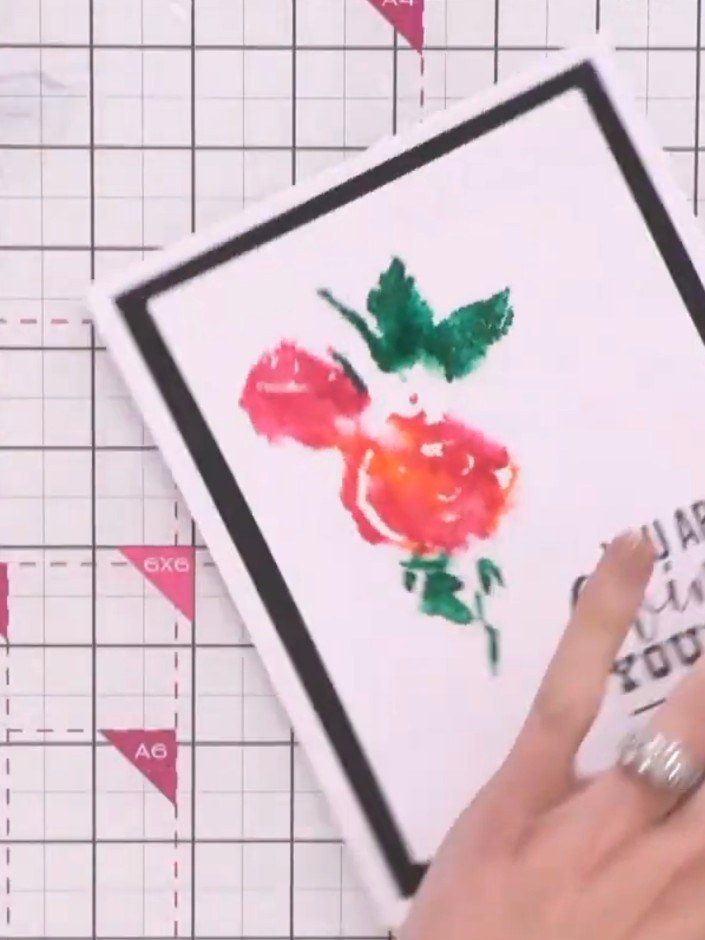
Press the stamped watercolour rose design firmly onto your white card base with the black frame border, positioning it centrally to ensure good adhesion.
▶ watch this step (1:10)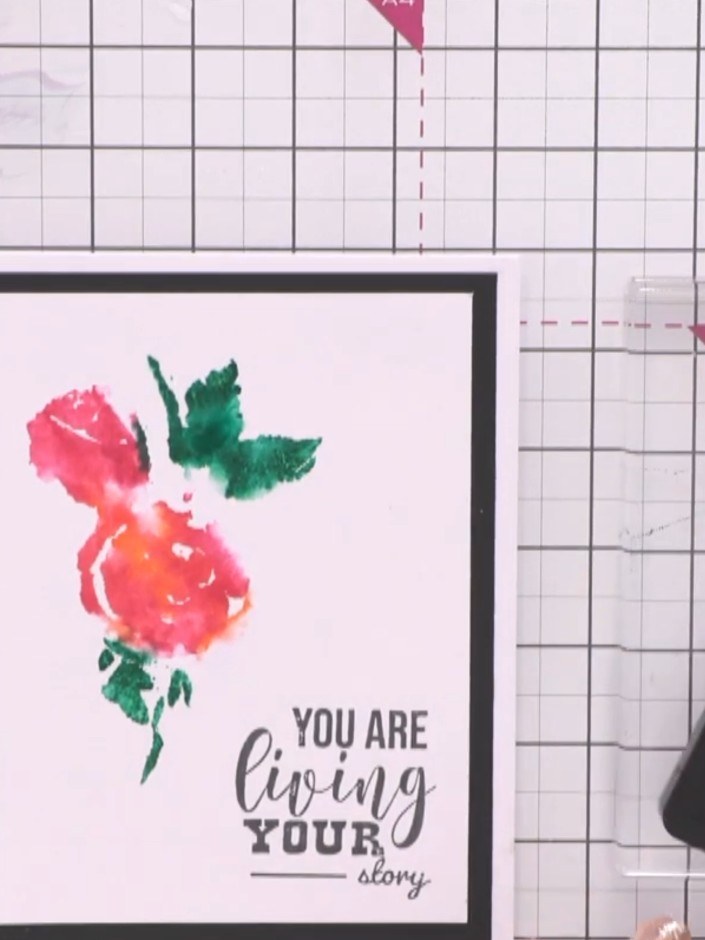
Ink the outline portion of the lamination stamp using a black ink pad. Ensure the stamp is evenly coated with ink before stamping.
▶ watch this step (1:20)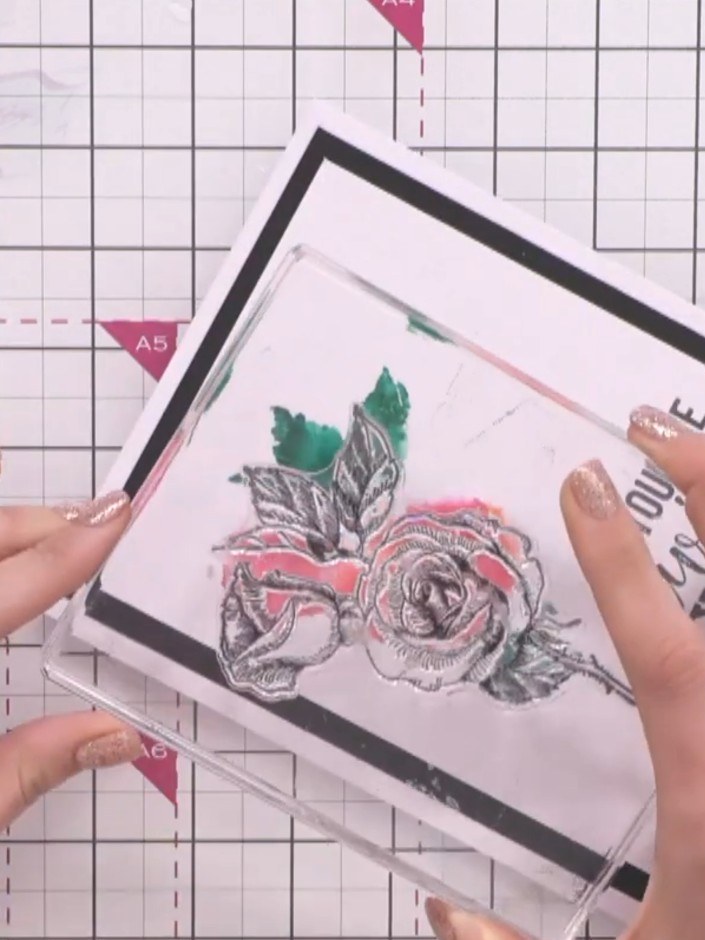
Stamp the outline rose design over the watercoloured portion using a black ink pad. This will add detail and definition to your card design.
▶ watch this step (1:30)Written up from the show itself. See every guide from our shows · free how-to guides · watch live on My Telly