Give your friends €10 off their first order!
Refer a FRIEND








A project from our live show MONDAY MADNESS - Join Simon from AVAGO-INK for his last show before Christmas - Broadcast 12th Dec 22 · 12/12/2022 · watch it from 2:30
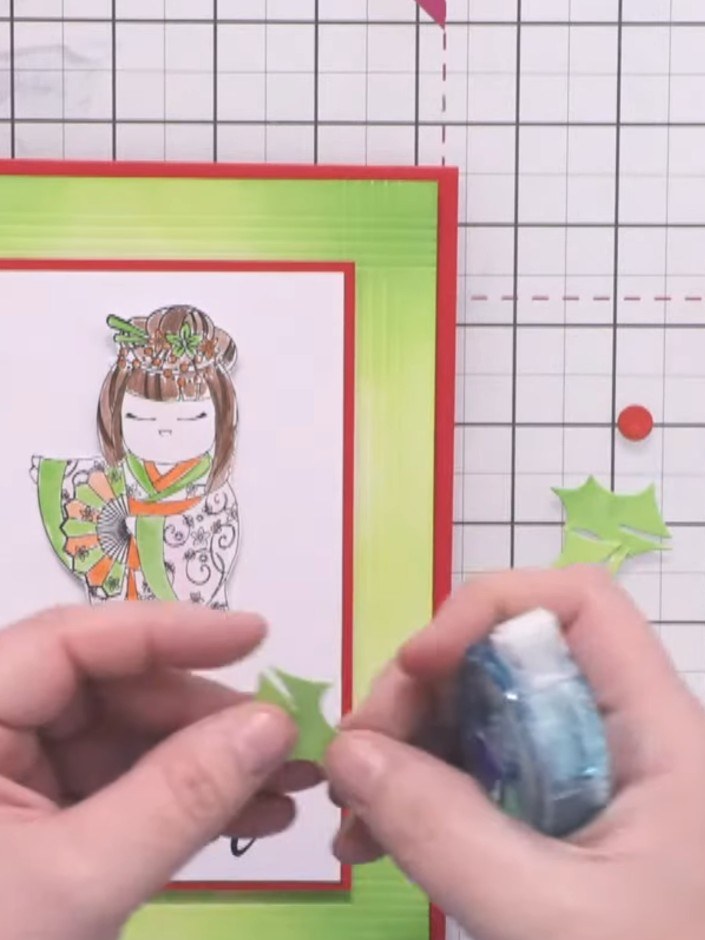
Create a charming Christmas card featuring a scored grid pattern background in festive red and green. The design showcases a hand-painted Oriental lady character holding Christmas berries and leaves instead of a traditional fan. Using layered panels and dimensional foam pads, you'll build depth and visual interest for a unique seasonal greeting card.
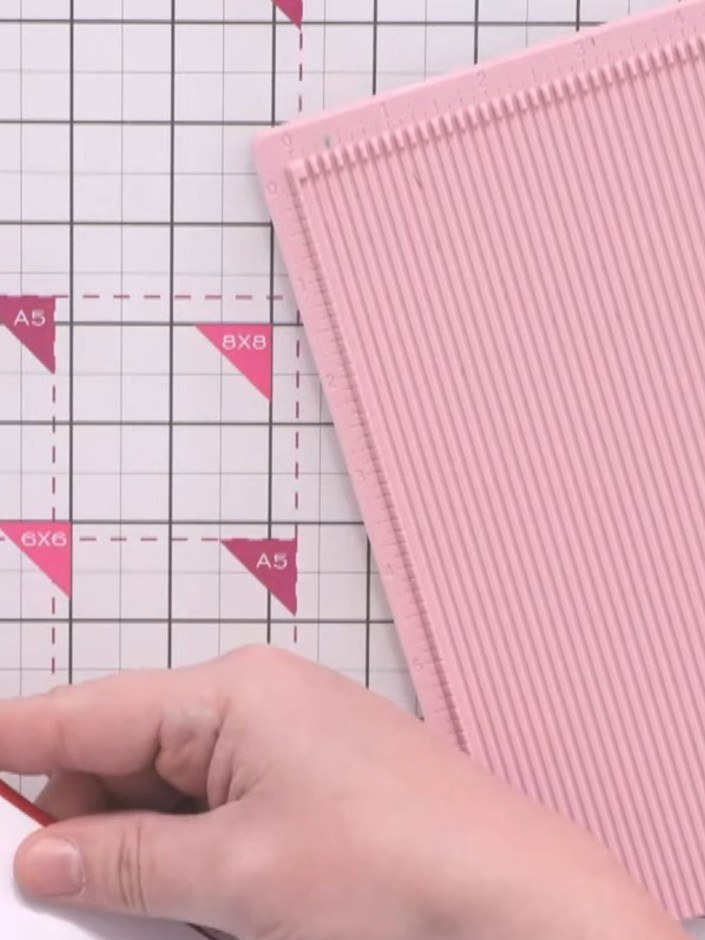
Cut a piece of pink ribbed cardstock measuring 5.5 by 8 inches. Place it onto a red top-fold note card with a white insert.
▶ watch this step (3:00)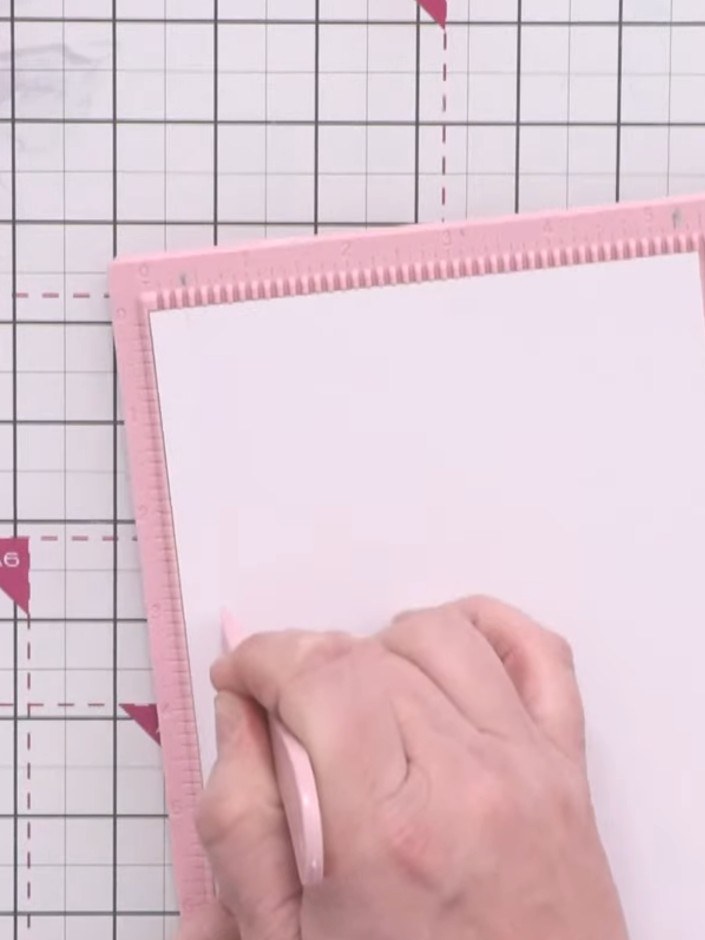
Using a scoreboard, score a grid pattern on all four sides of the white card. Start from the third notch in and work inward to create a central panel area, ensuring you use the same pattern on each side.
▶ watch this step (3:45)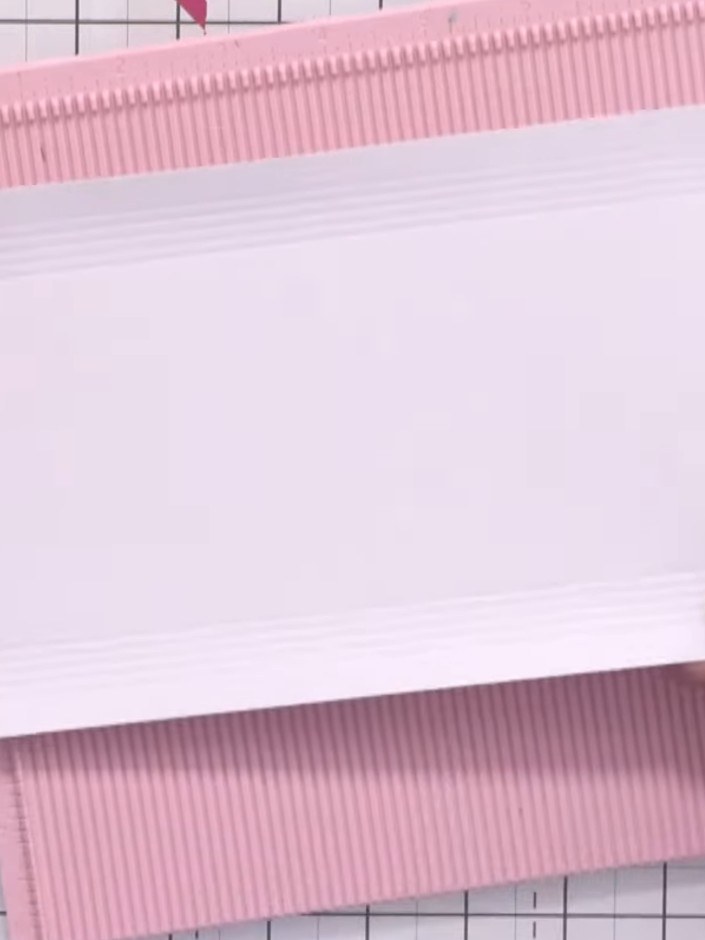
Score five vertical lines down the white card panel, then rotate it 90 degrees and score five horizontal lines across to create a crosshatch grid pattern.
▶ watch this step (4:30)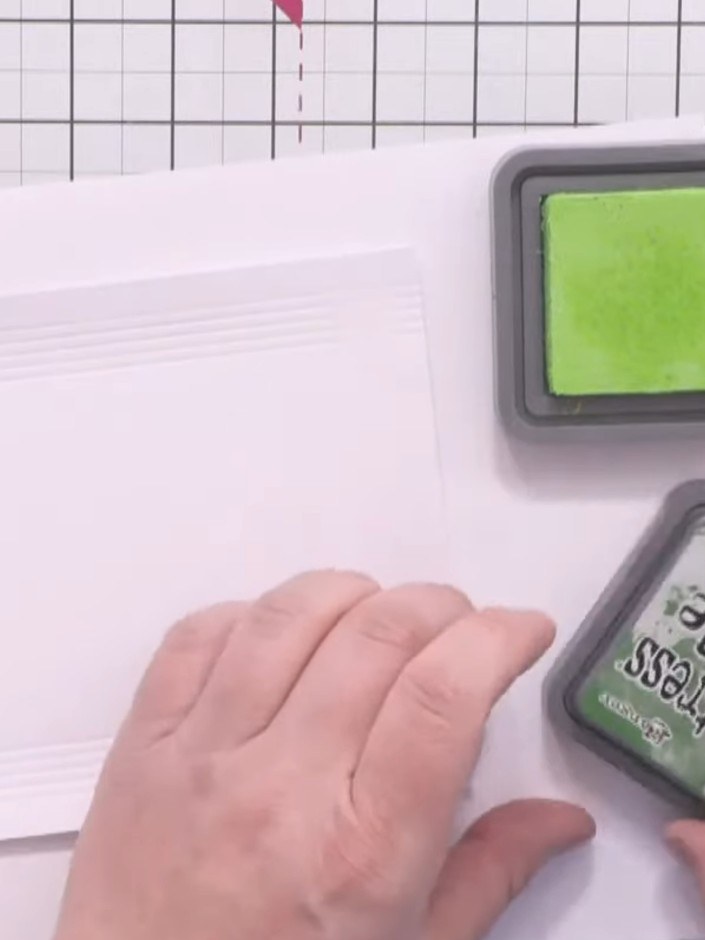
Apply Distress Oxide inks in Twisted Citron (light green) and Mowed Lawn (darker green) to the scored grid panel. Work the ink from the edges towards the centre to highlight the embossed detail.
▶ watch this step (6:00)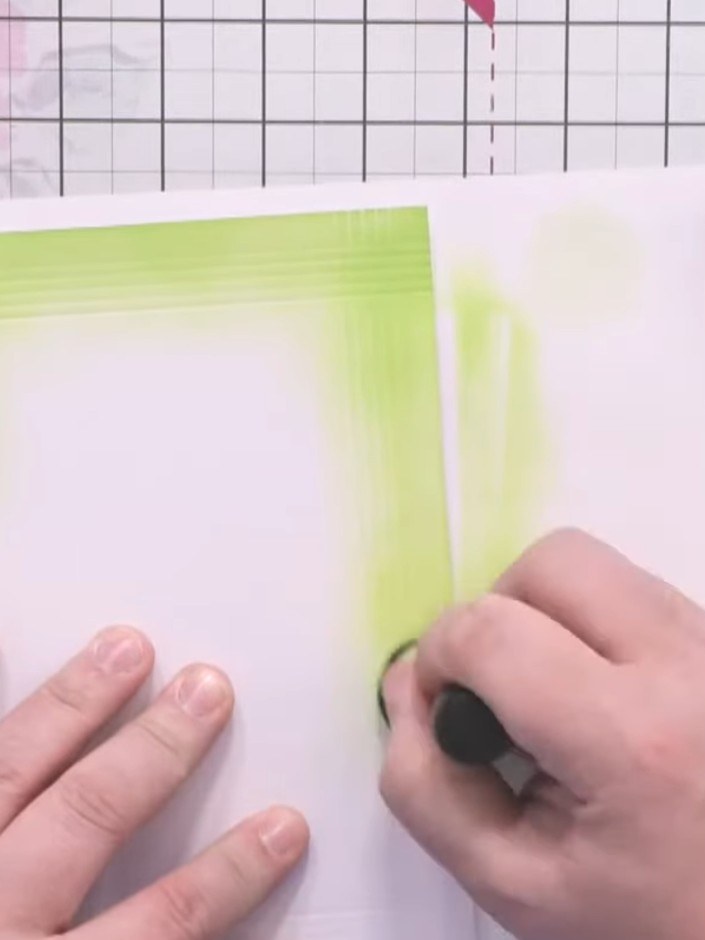
Use the darker green ink pad to add depth to the corners and edges of the inked area. Blend the darker shade along the grid lines to create dimension and definition.
▶ watch this step (6:45)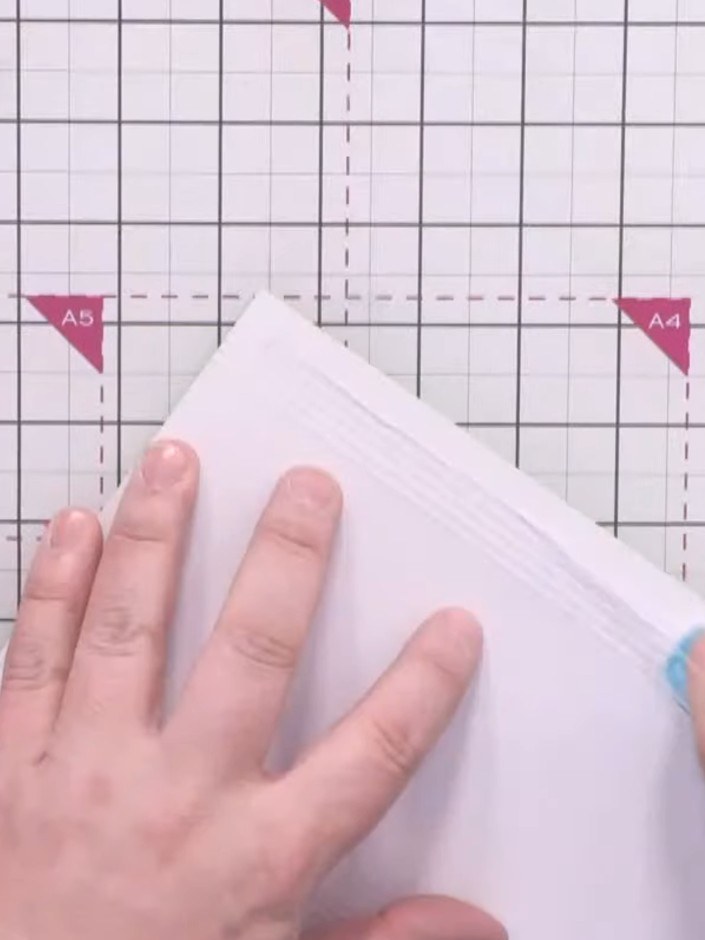
Mount the inked grid panel onto a red card base using a tape runner or wet glue. Position the panel carefully to ensure even borders on all sides.
▶ watch this step (9:30)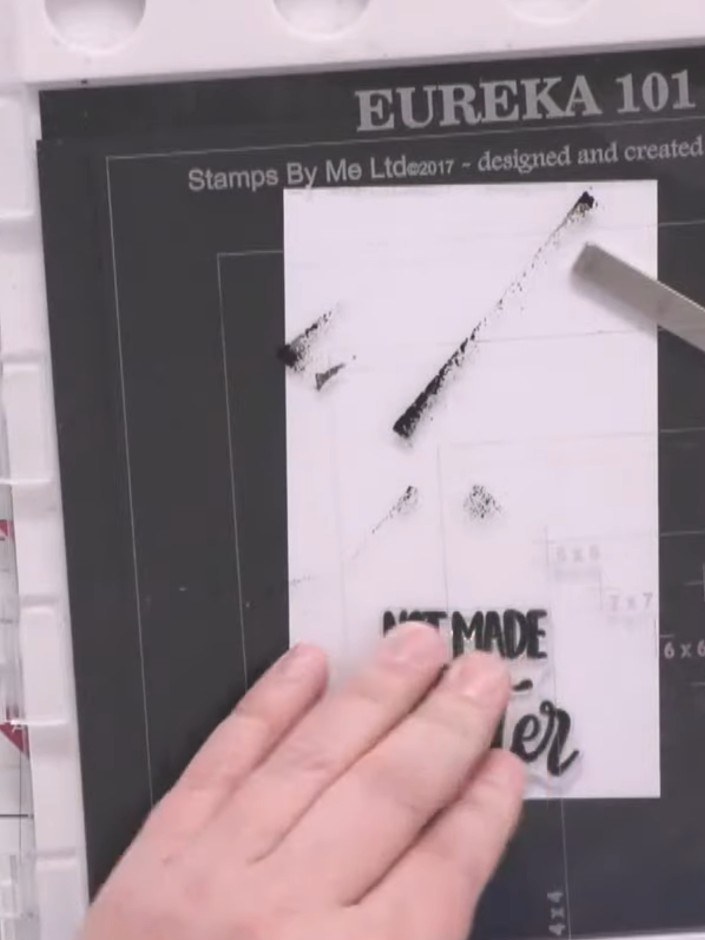
Stamp a Christmas sentiment onto a white piece of card using Versafine black ink, positioning it at the bottom of the panel.
▶ watch this step (10:45)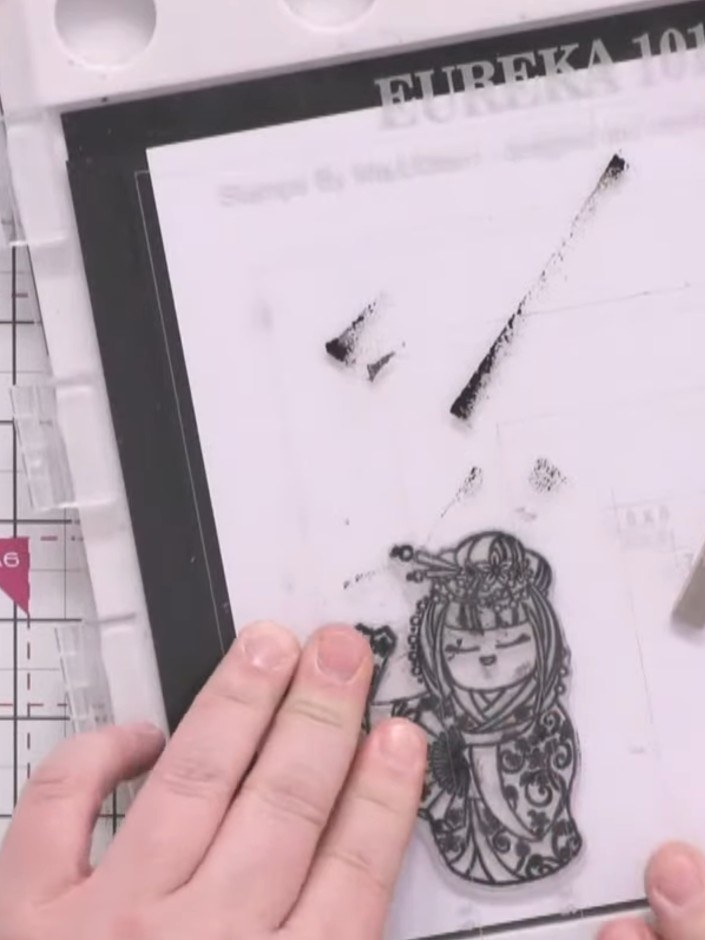
Stamp an Oriental lady character onto white card. Paint her outfit using Amalá paints in red and green tones to coordinate with your card design.
▶ watch this step (13:00)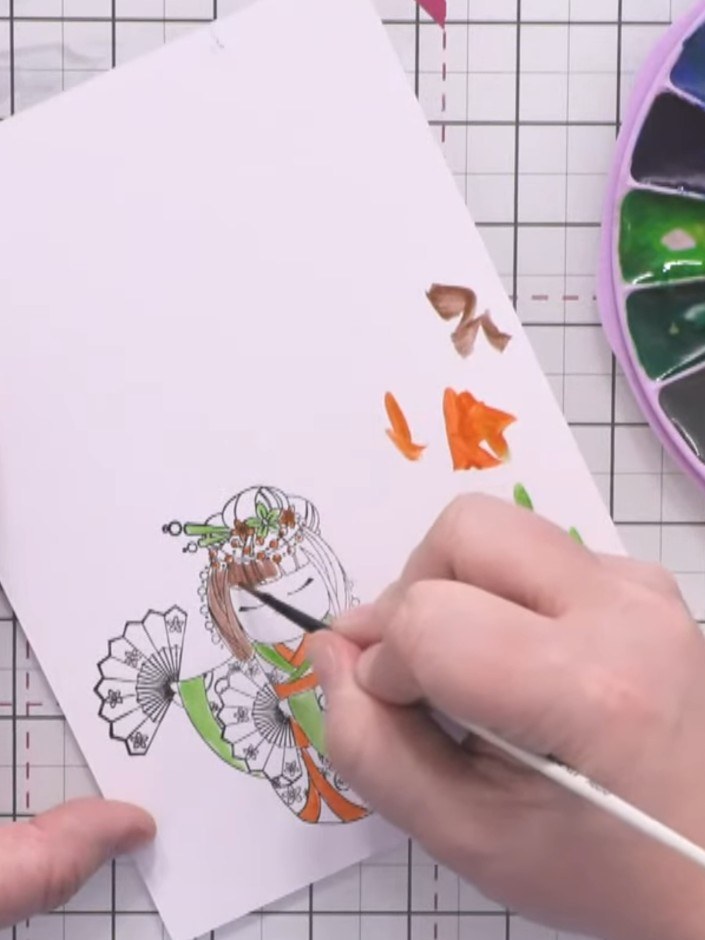
Paint the character's hair in brown using watercolour. Add facial details with the brush. Colour the fan in green and orange to coordinate with the outfit.
▶ watch this step (17:30)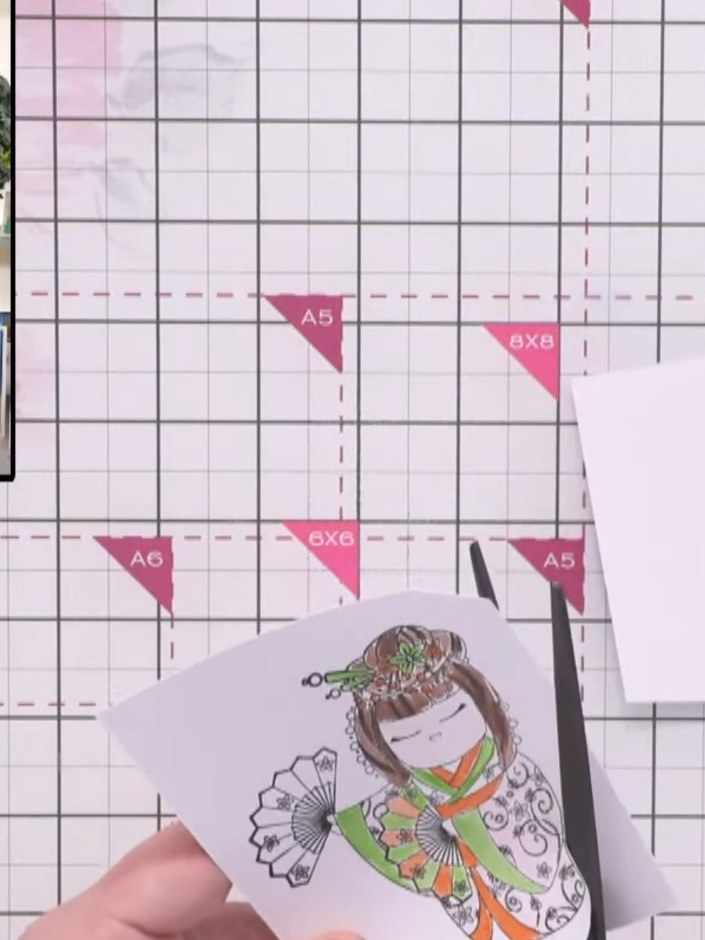
Carefully cut around the oriental character using scissors, trimming away the fan and simplifying complex areas like the hair beads to create a clean silhouette.
▶ watch this step (20:45)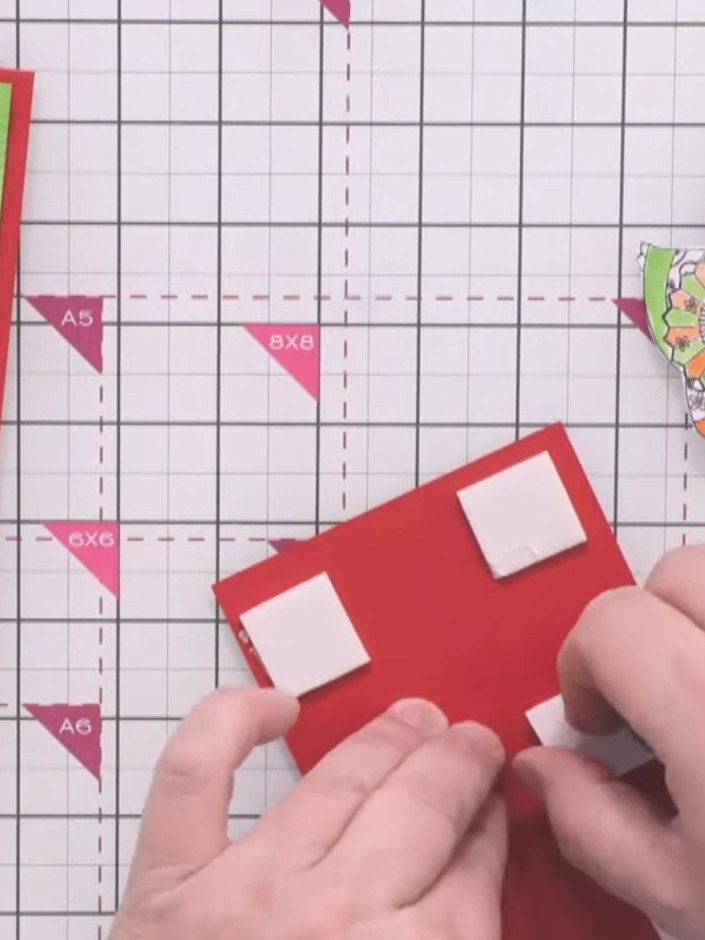
Attach foam pads to the back of the oriental character. Position the character above the sentiment in the centre of the card front.
▶ watch this step (23:00)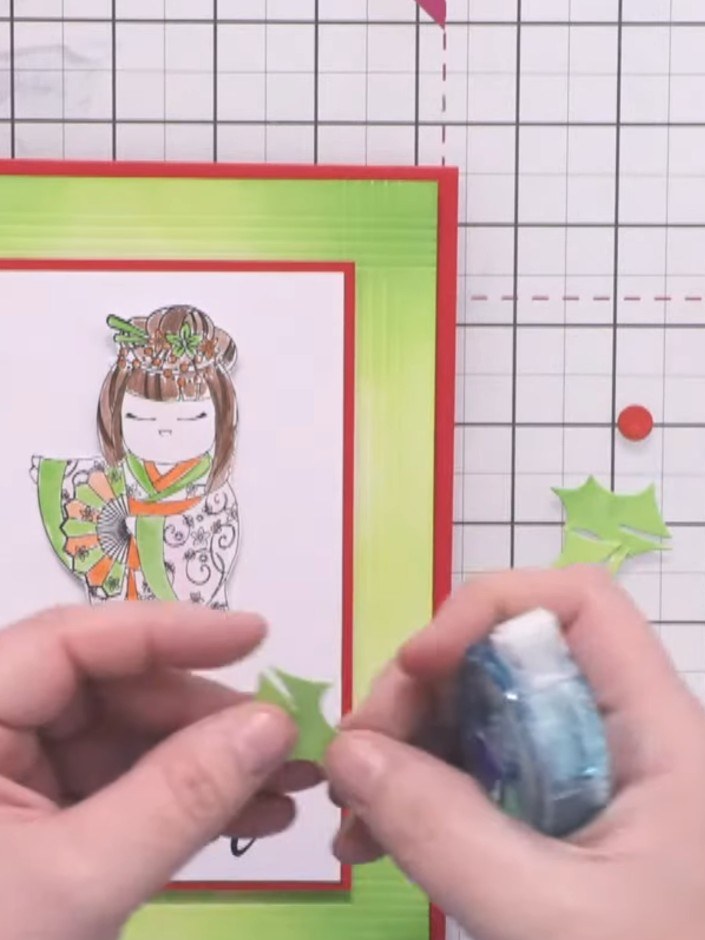
Add pre-cut green holly leaves and red berry embellishments around the oriental character using foam pads to create dimension and complete the festive design.
▶ watch this step (24:00)Written up from the show itself. See every guide from our shows · free how-to guides · watch live on My Telly