Give your friends €10 off their first order!
Refer a FRIEND








A project from our live show HOBBYMAKER TV - Join us for the latest show - Broadcast 4 p.m. (UK) 24th October 2026 · 24/10/2026 · watch it from 1:13:15
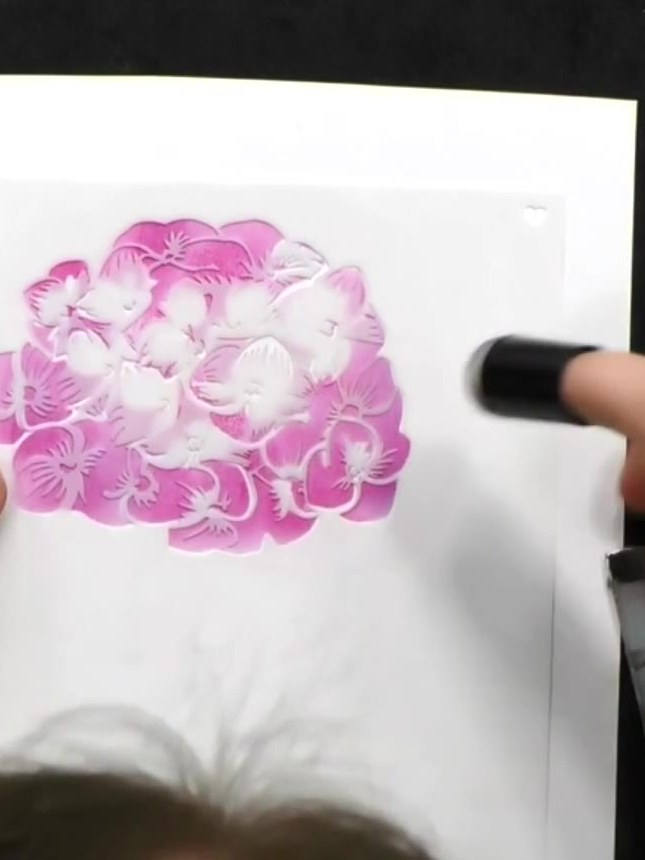
Create an elegant floral card featuring delicate layered blooms in soft purple tones. Using coordinating stencils and dies from the Floral Fusion collection, you'll build up subtle colour variations with pale inks to achieve a beautiful watercolour effect. This sophisticated design combines stencilling and die-cutting techniques for a professional finish.
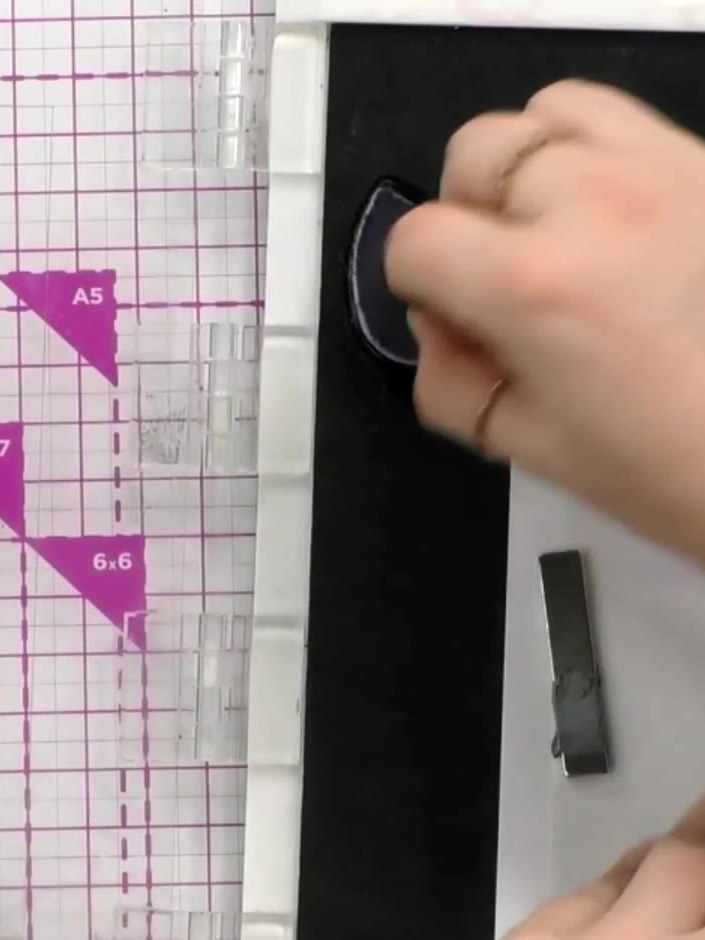
Before you begin, check the number on your first stencil to ensure it is positioned correctly. The stencil should be placed on your white card ready for use.
▶ watch this step (1:13:30)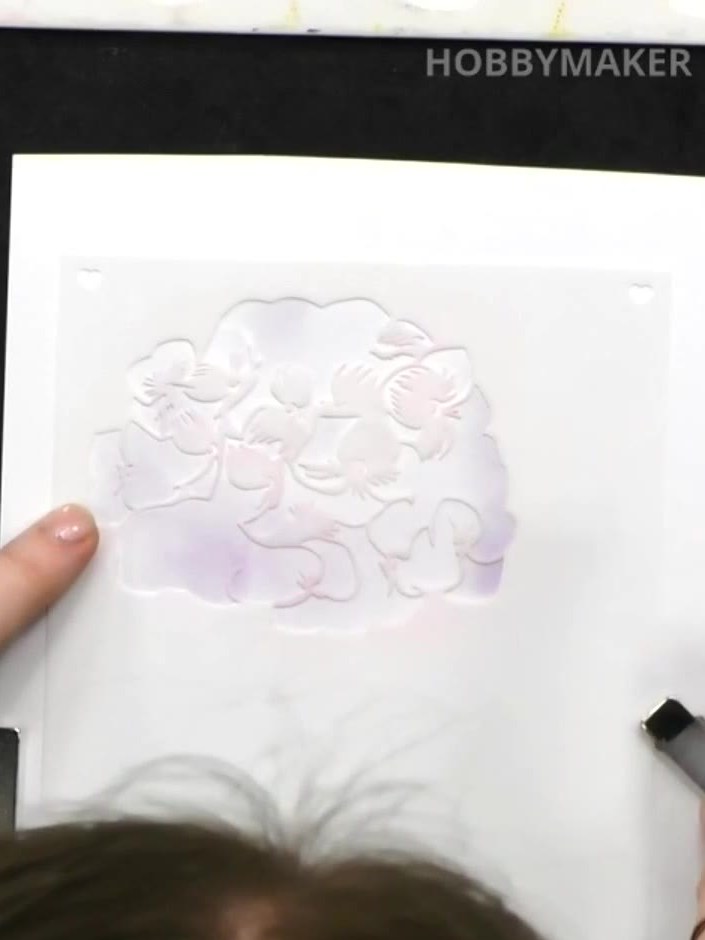
Apply pale purple ink through the stencil using a dauber, working gently to create a soft background pattern on the white card.
▶ watch this step (1:13:45)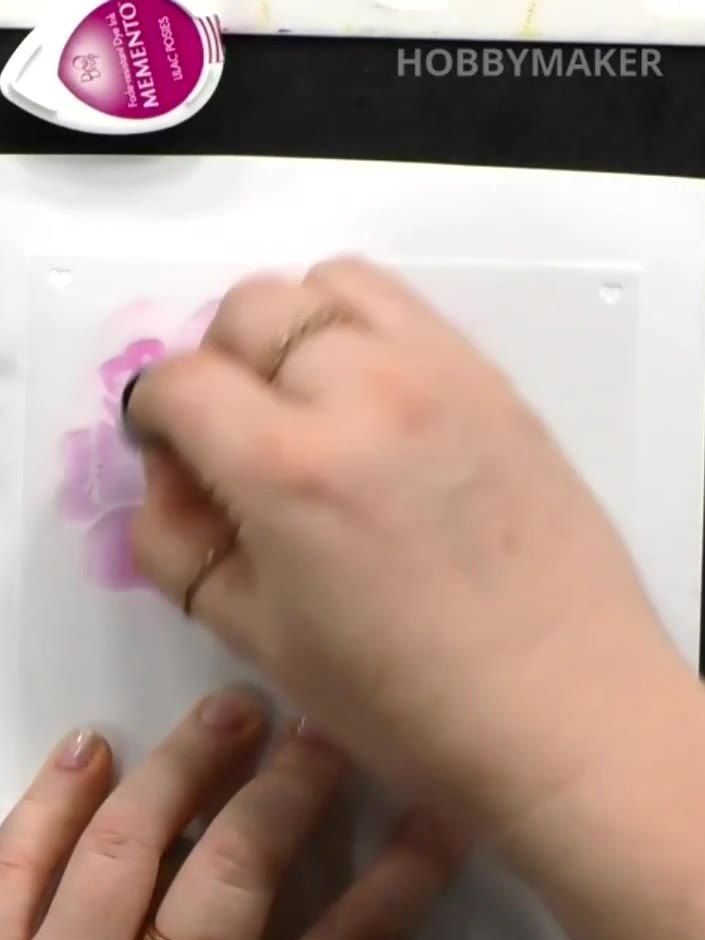
Use a dabber to apply pink ink through the stencil, focusing on the small island element in the centre. Dab gently to control the ink application and avoid bleeding into other areas of the design.
▶ watch this step (1:14:00)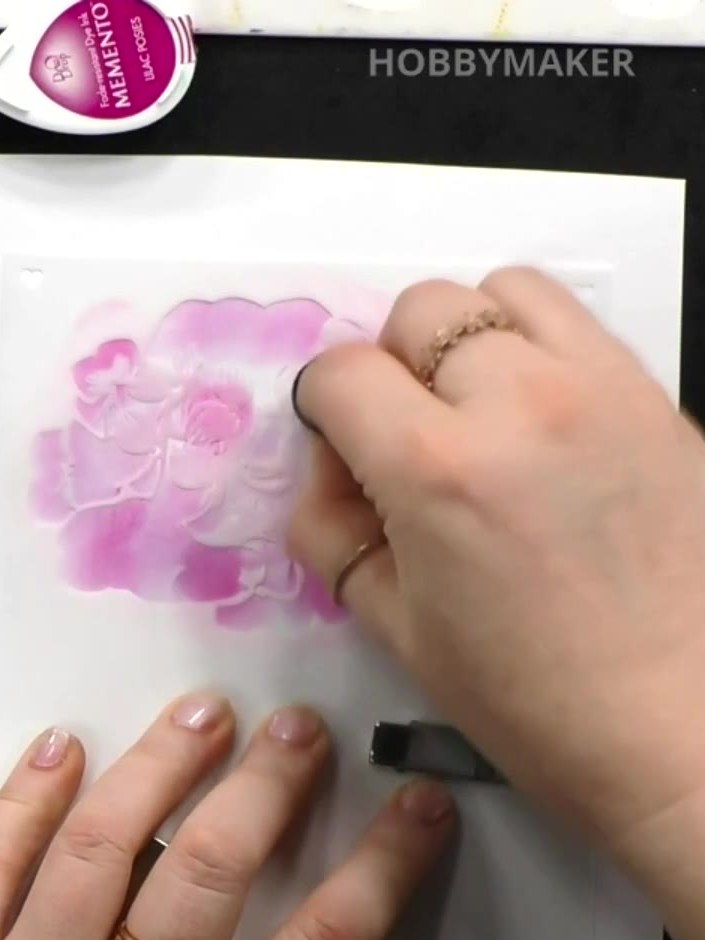
Position the second numbered stencil over your work and apply a slightly darker shade of purple ink using the dauber, building up the colour gradually.
▶ watch this step (1:14:15)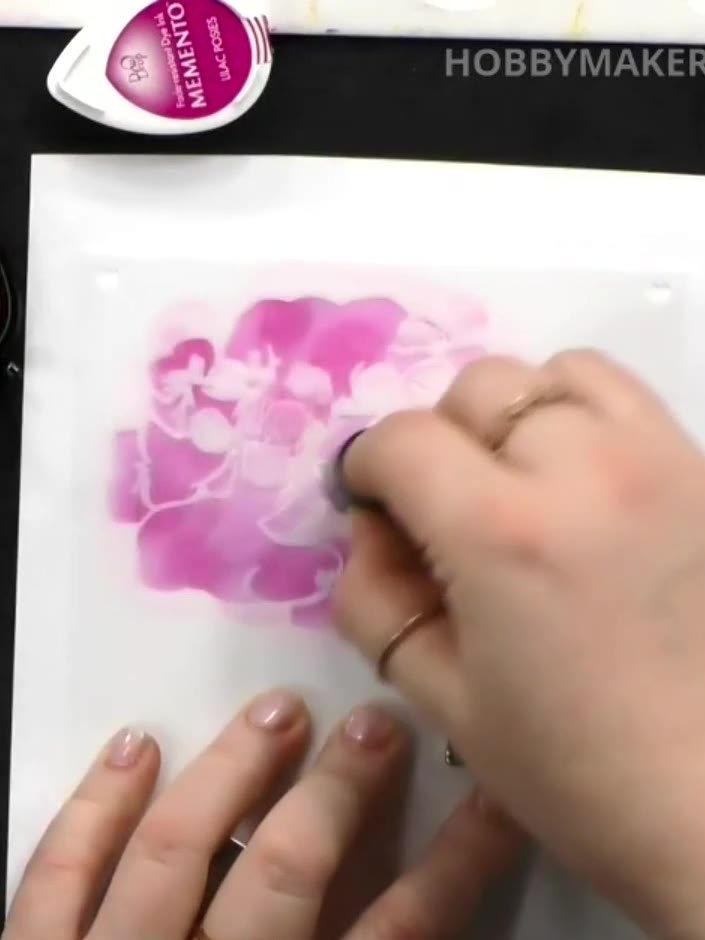
Continue building up the colour by applying more ink with the dauber. You can use the same pink colour and apply it darker for depth, or switch to a different colour entirely for variation.
▶ watch this step (1:14:30)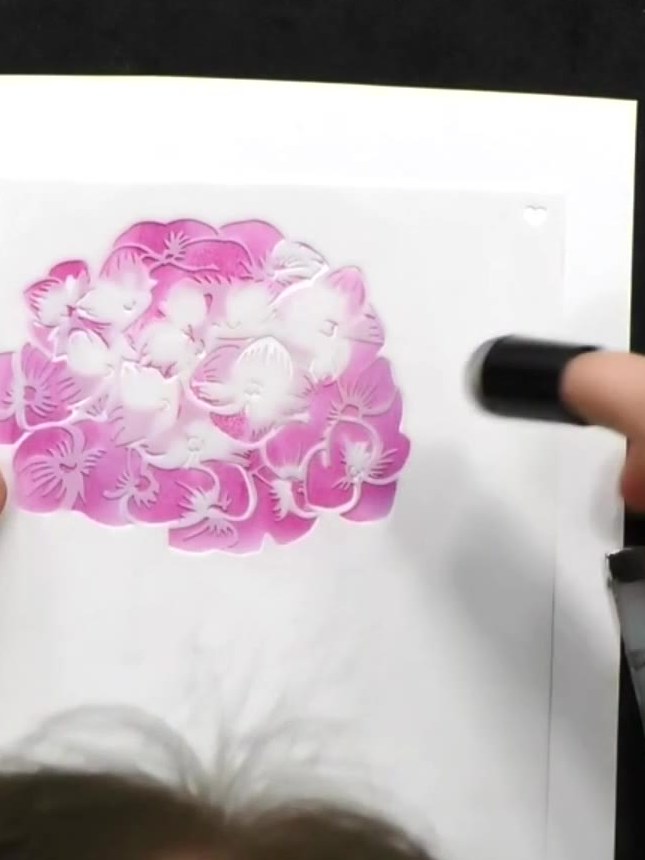
Once your stencilled floral design is complete, you can either leave it as a soft background or use the coordinating die to cut out the design as an embellishment. The die-cut piece can then be used to create dimension on your card.
▶ watch this step (1:14:45)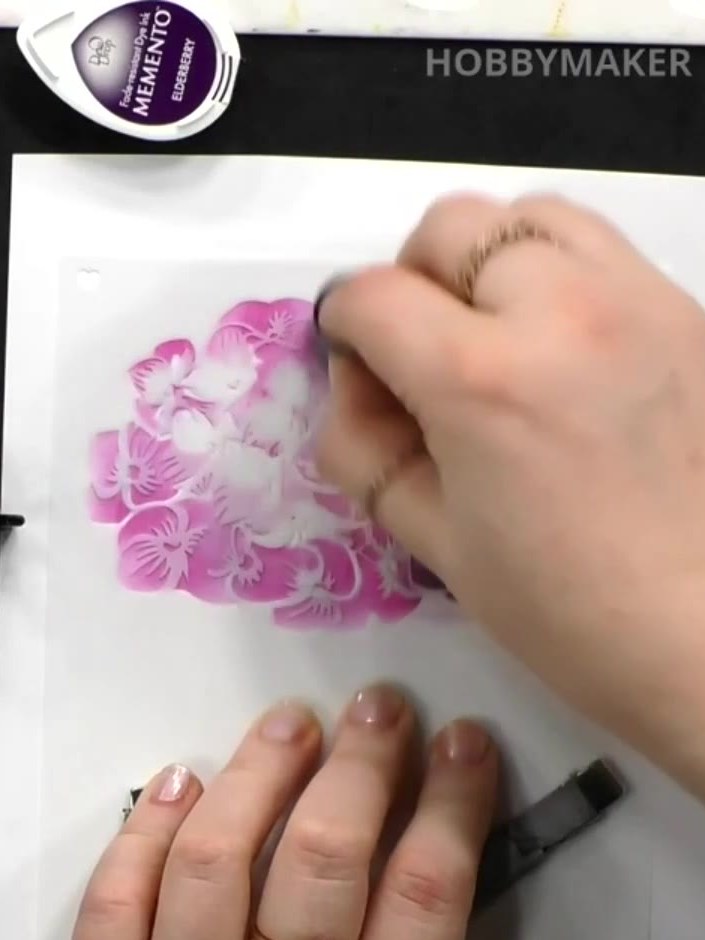
Die-cut the stencilled floral design using the coordinating die. This will create a separate element that can be added to your card.
▶ watch this step (1:15:00)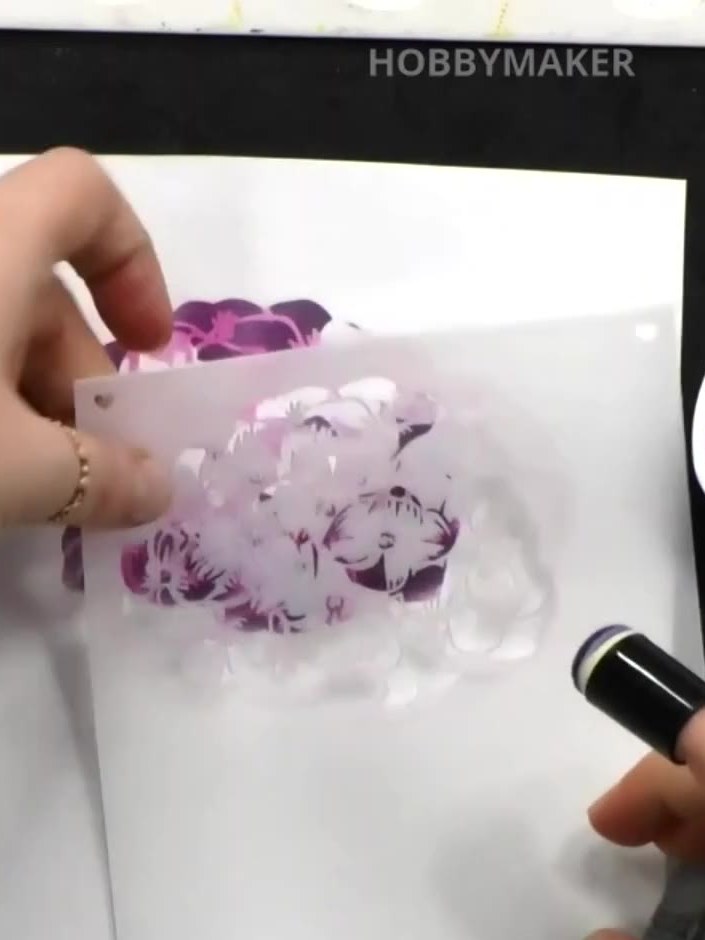
Mount the finished floral design onto a white card blank using adhesive to complete your card.
▶ watch this step (1:15:15)Written up from the show itself. See every guide from our shows · free how-to guides · watch live on My Telly