Give your friends €10 off their first order!
Refer a FRIEND








A project from our live show CREATE AND CRAFT - BRAND NEW COLLECTION - Join Toni for her latest launch show 1 - broadcast 29 Nov 22 · 29/11/2022 · watch it from 39:00
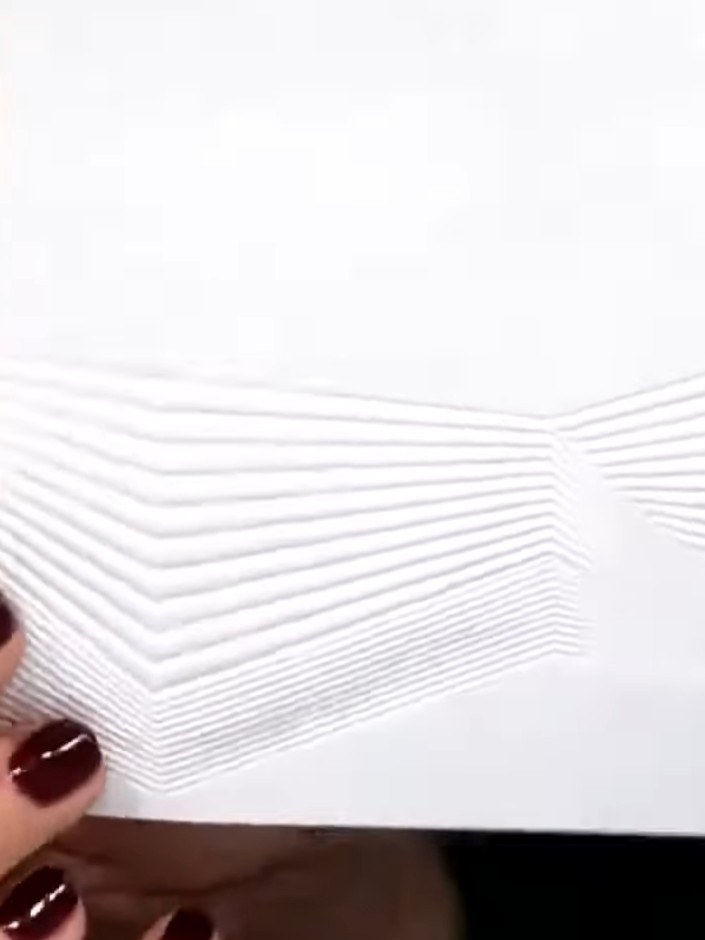
Create an elegant clean and simple card featuring geometric embossed detail. Using a DL-sized embossing folder, you'll add subtle textured lines down one side of white cardstock, mounted on a grey and white layered card base. This minimalist design is perfect for masculine cards or any occasion requiring a sophisticated, understated aesthetic.
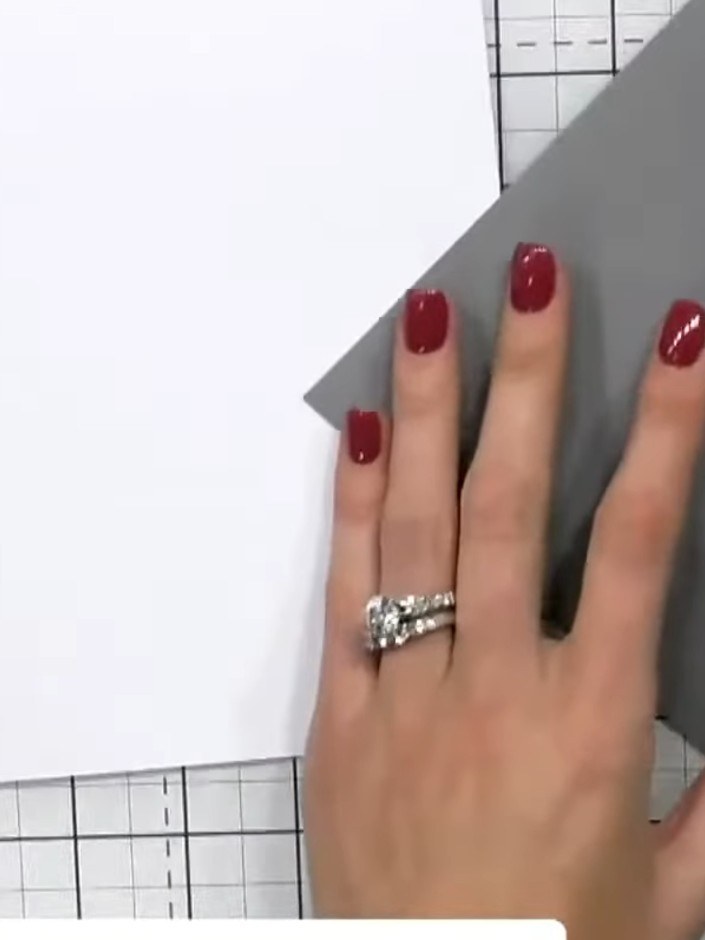
Select a grey cardstock from your neutral or pastel collection to use as the base for your card.
▶ watch this step (39:00)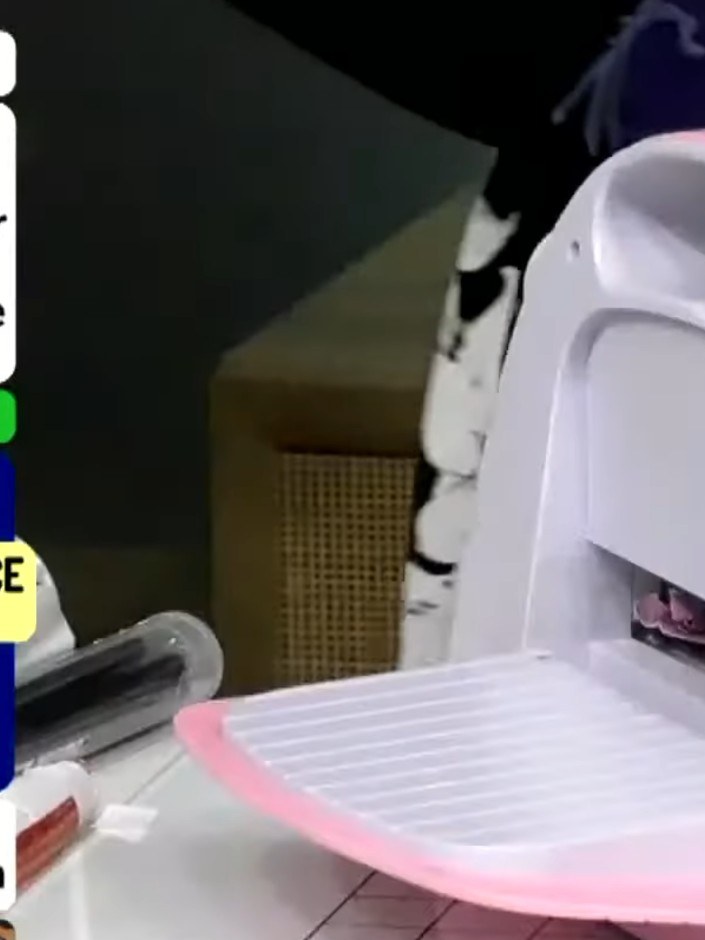
Position the DL embossing folder on your card base so that the geometric pattern runs down the right-hand side of the card.
▶ watch this step (39:15)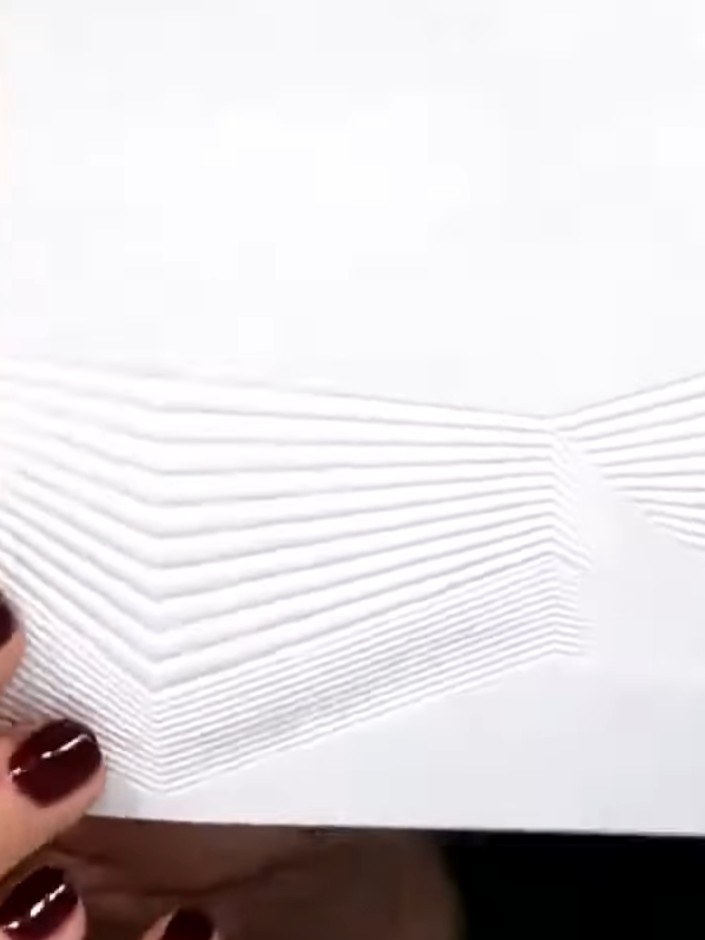
Run the white cardstock through your die-cutting machine with the embossing folder to create the raised geometric pattern on the card front.
▶ watch this step (39:30)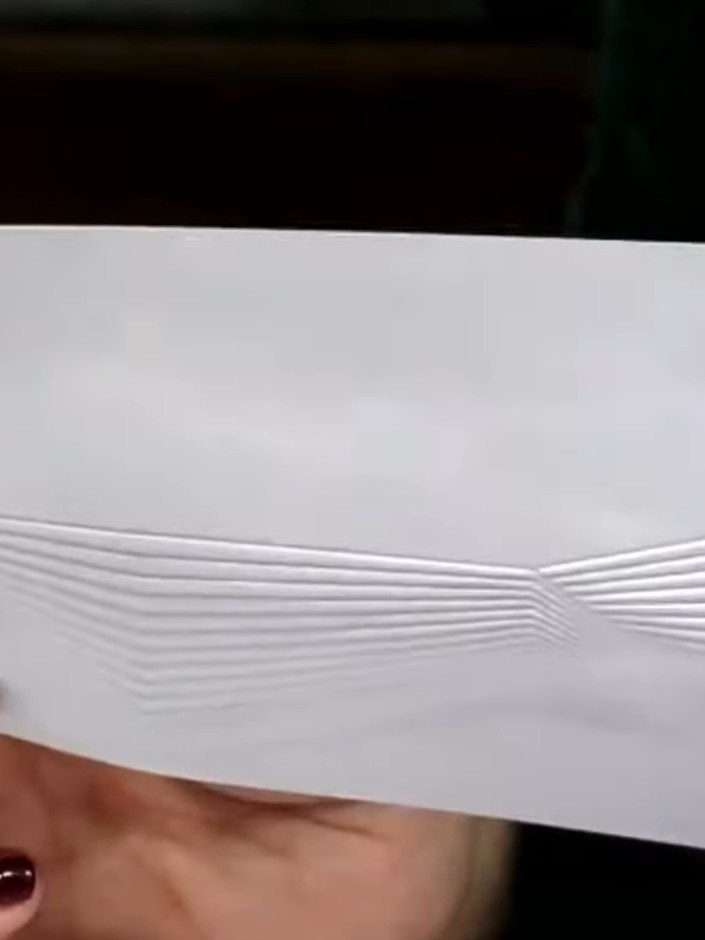
Fold your white card in half at the top to create a landscape card base.
▶ watch this step (40:00)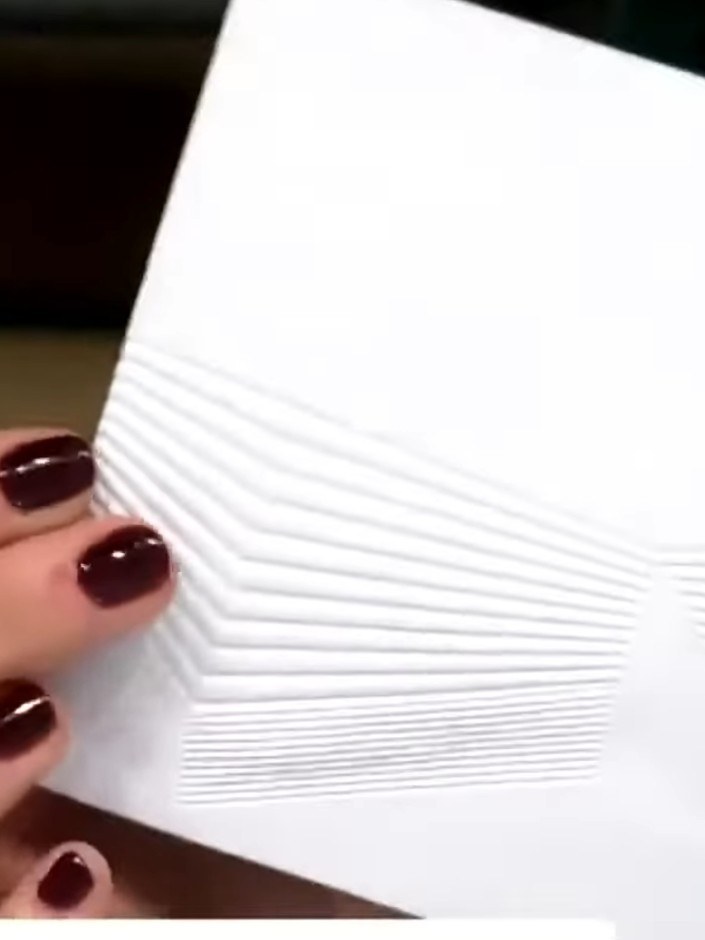
Stamp a sentiment from the Hope collection using black ink on the left-hand side of the card front.
▶ watch this step (40:30)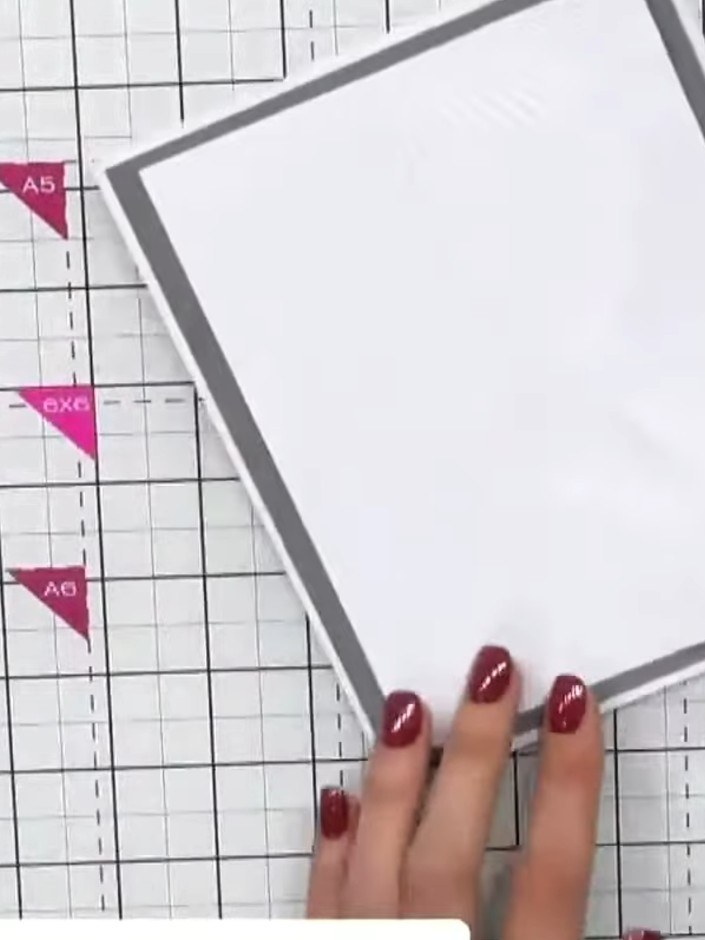
Add a small strip of grey cardstock to the card to break up the white space if desired. Position it where you feel it works best with your design.
▶ watch this step (41:00)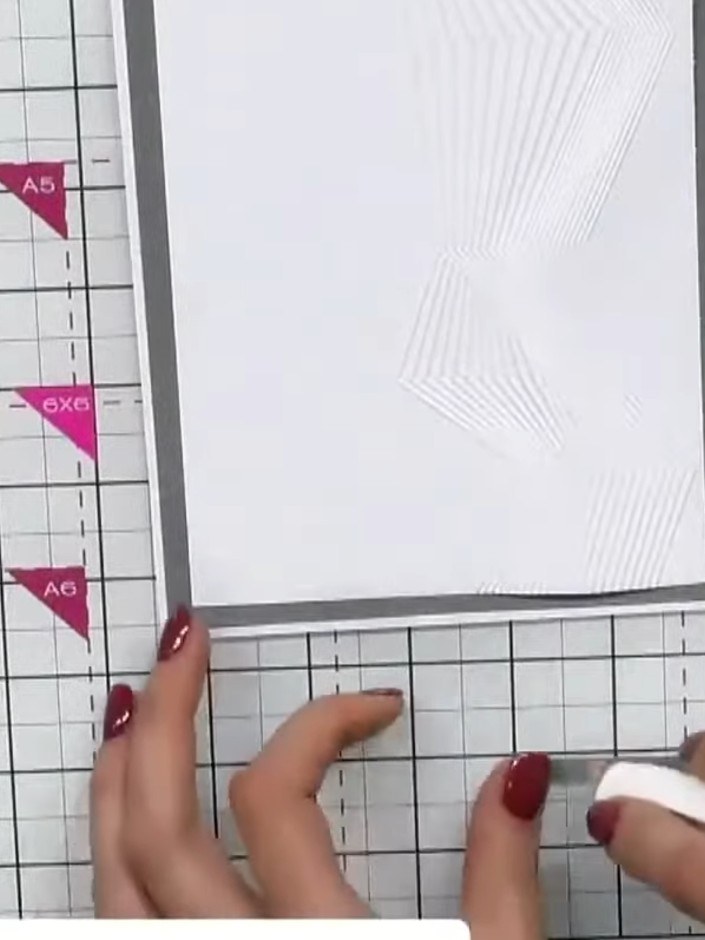
Leave the embossed geometric design uncoloured to maintain a clean and simple aesthetic. The textured linen cardstock provides subtle detail without additional embellishment.
▶ watch this step (41:30)Written up from the show itself. See every guide from our shows · free how-to guides · watch live on My Telly