Give your friends €10 off their first order!
Refer a FRIEND








A project from our live show FUNKY TUESDAY - FREE WORKSHOP with the Awesome Sarah Gray - Broadcast 22nd Nov 22 · 22/11/2022 · watch it from 10:30
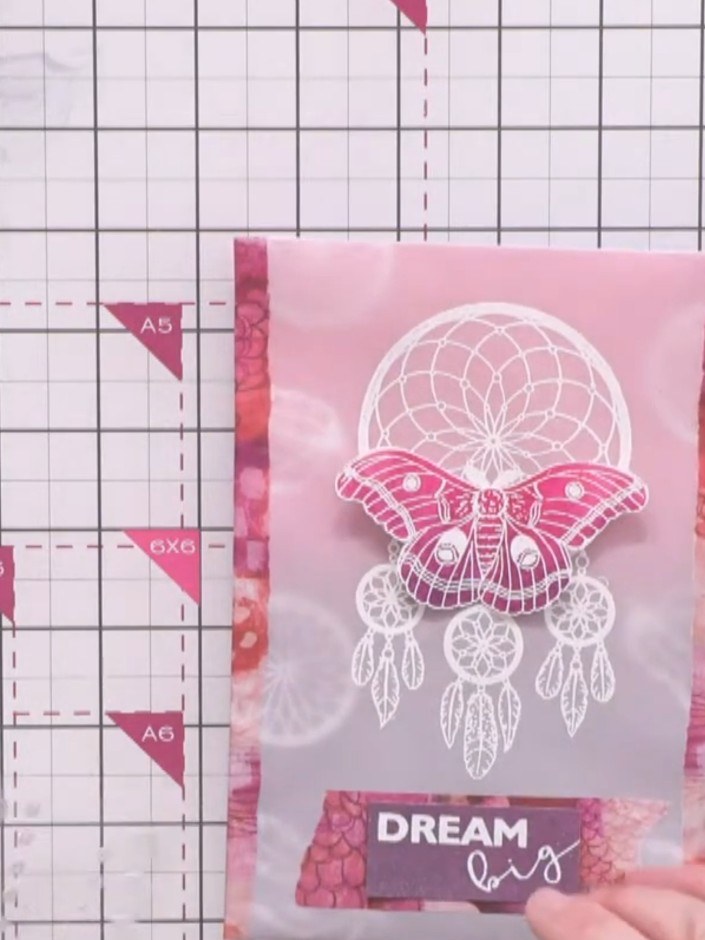
Create a striking A5 card featuring a white heat-embossed dream catcher design on vellum, layered over a vibrant spray-inked background in pink and purple tones. The vellum overlay creates an elegant, dreamy effect with the sentiment 'DREAM big' completing this beautiful handmade card. This project combines spray inking techniques with heat embossing to achieve a soft, layered look perfect for encouragement or inspirational greetings.
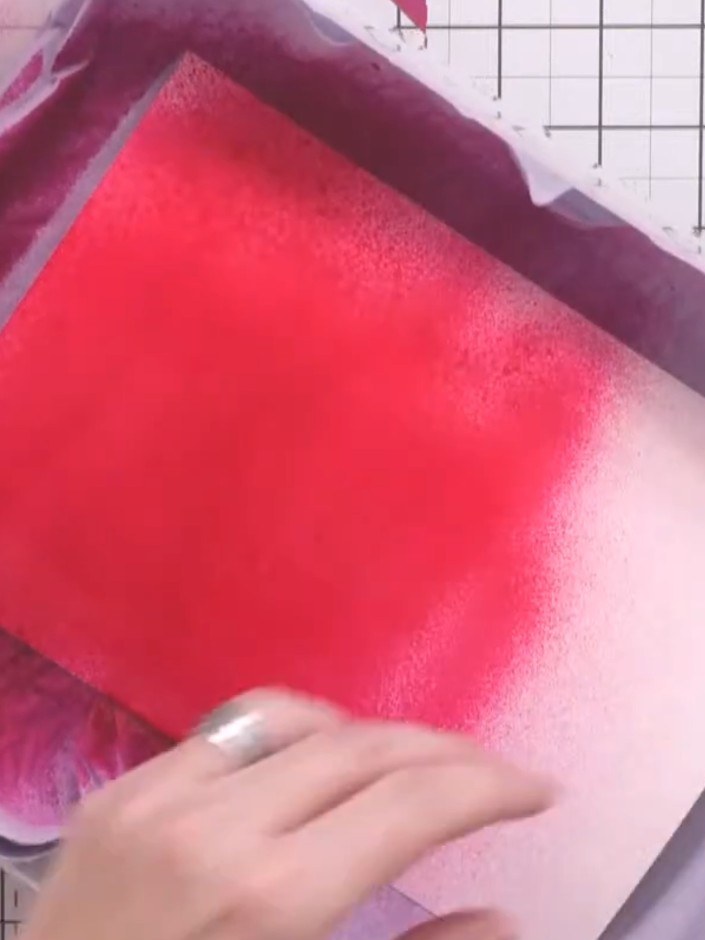
Mist a piece of white watercolour cardstock with water to keep the surface fluid for blending.
▶ watch this step (12:15)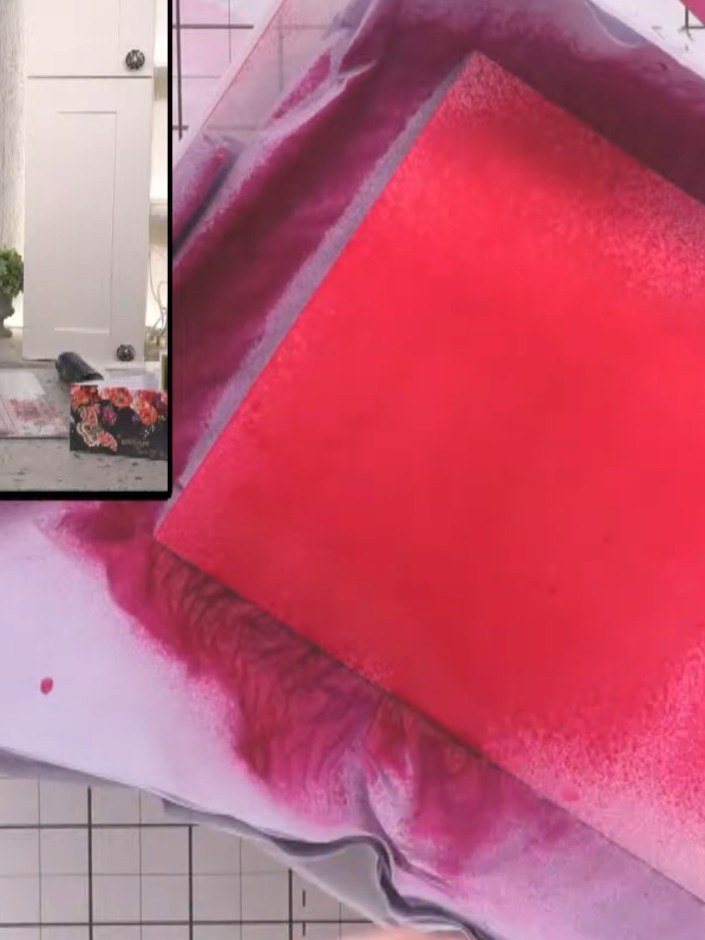
Spray the intense pink pearlescent ink across the top of the damp vellum cardstock, applying the colour confidently and strongly to create a vibrant effect.
▶ watch this step (12:45)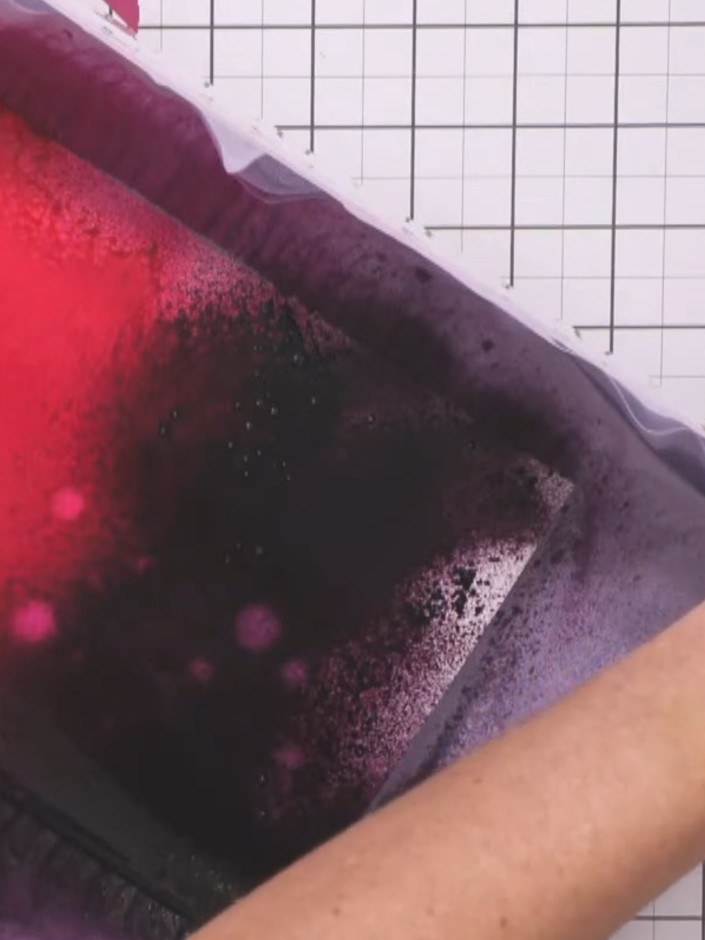
Spray the black currant purple intense diamond ink across the bottom and middle sections of the vellum, allowing the colours to blend naturally with the wet red and pink inks already applied.
▶ watch this step (13:00)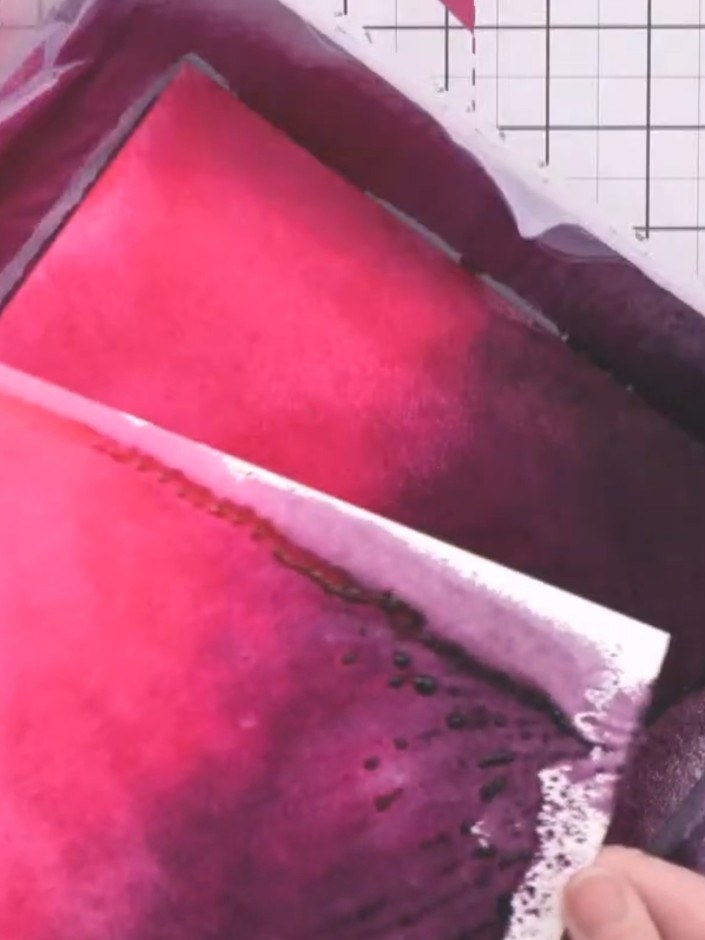
Press a fresh piece of white cardstock onto the wet sprayed surface to take a second print. Lift the cardstock to reveal the transferred ink pattern, creating another background piece from the same spray application.
▶ watch this step (13:30)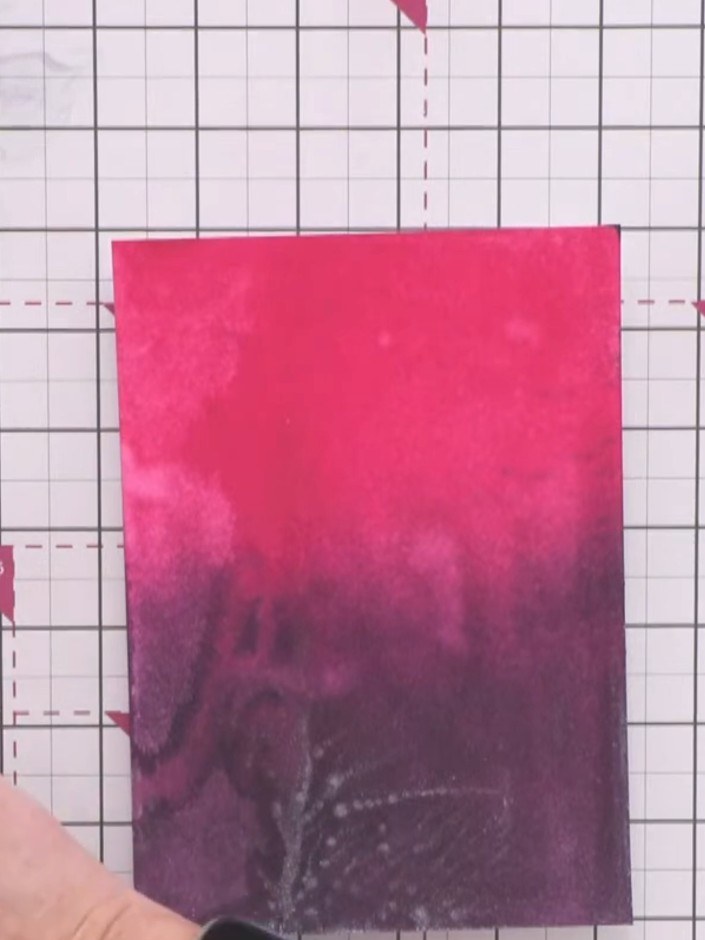
Once the background is dry, stamp the mini mandala element from the dream catcher stamp set onto the pink and purple ombre background using white embossing ink.
▶ watch this step (15:45)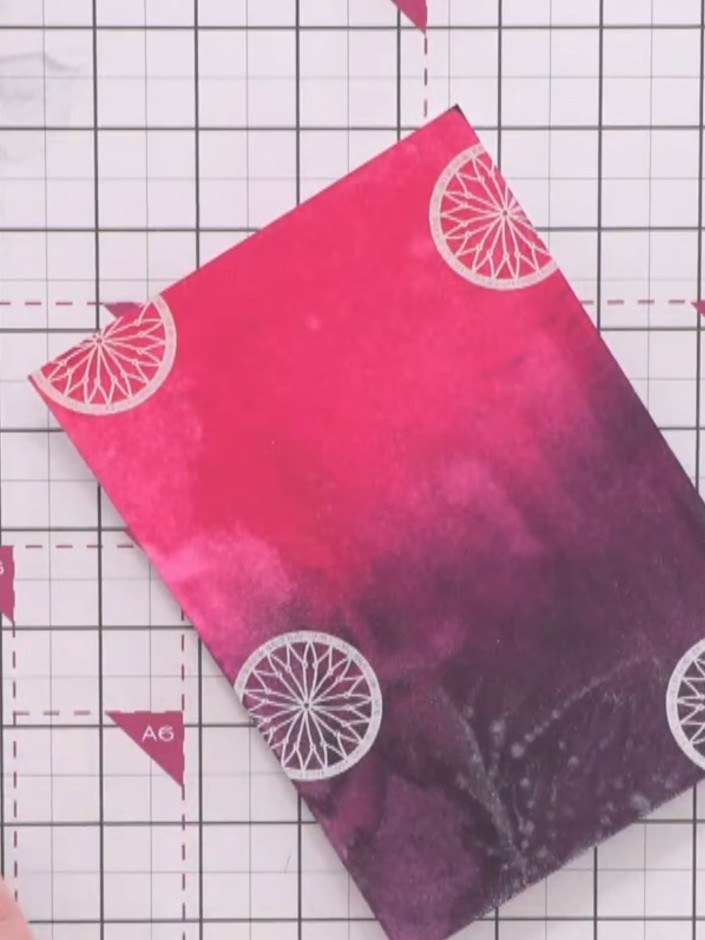
Stamp feather and bead elements from the A6 stamp set around the background, tessellating them to create supporting detail around the dream catcher design.
▶ watch this step (18:00)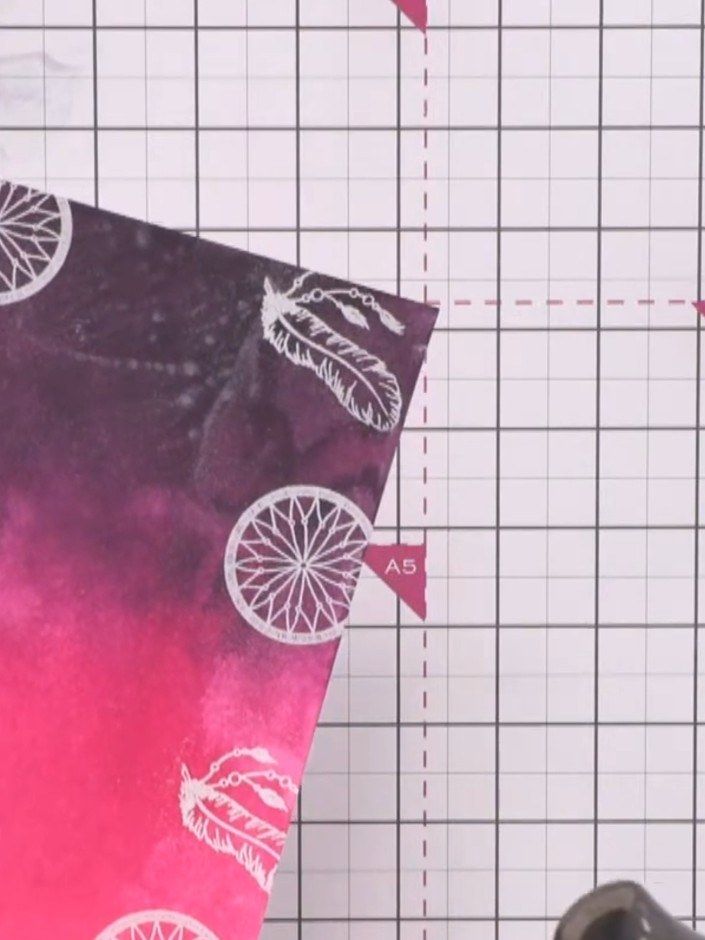
Heat set all the white embossed images using a heat tool to bring them into sharp relief against the coloured background. Move the heat tool over each embossed design until the powder melts and becomes raised and glossy.
▶ watch this step (19:30)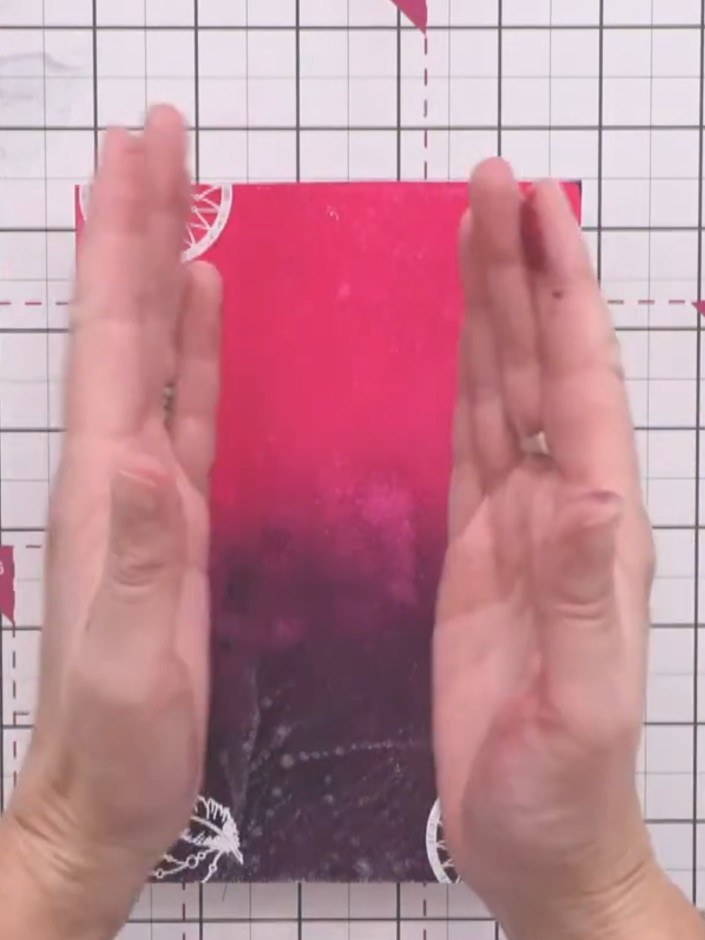
Stamp the large dream catcher image from the A5 stamp set onto vellum using white embossing ink, positioning it centrally on the vellum sheet.
▶ watch this step (21:30)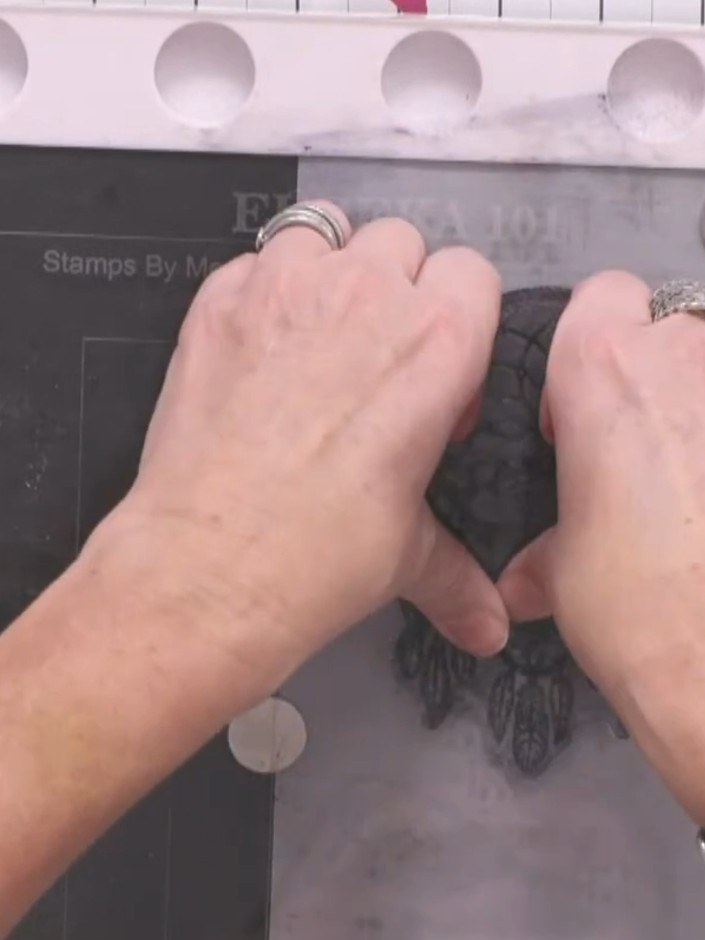
Heat set the embossed vellum using a heat tool. The vellum will set almost instantly as the heat passes straight through the transparent material.
▶ watch this step (23:15)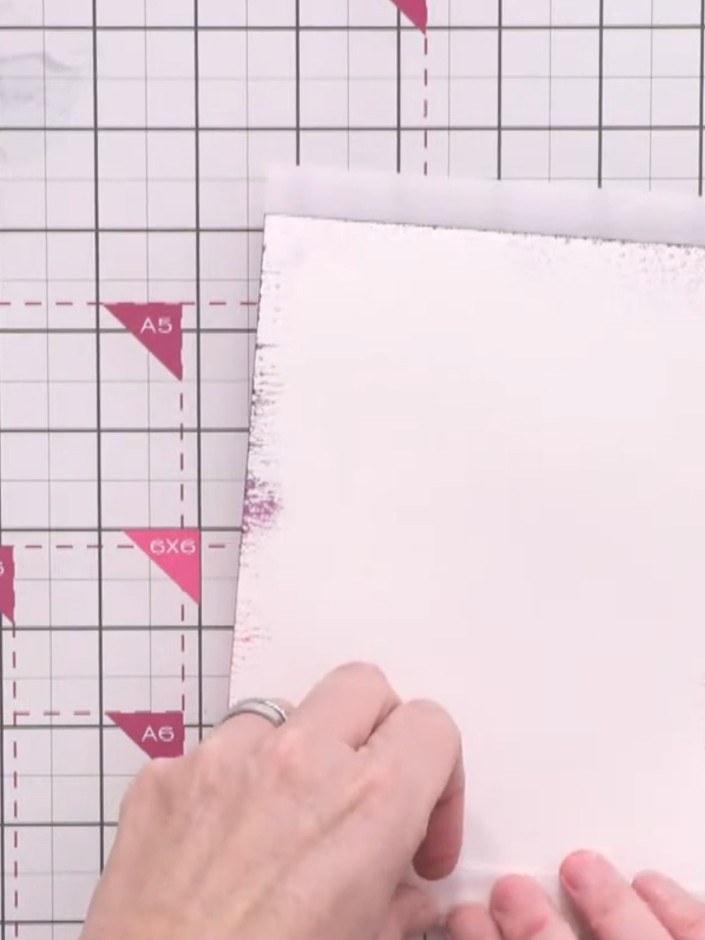
Apply adhesive to only the top and bottom edges of the vellum overlay. Adhere the vellum to the back of the sprayed pink card panel, keeping the glue hidden at the edges.
▶ watch this step (26:15)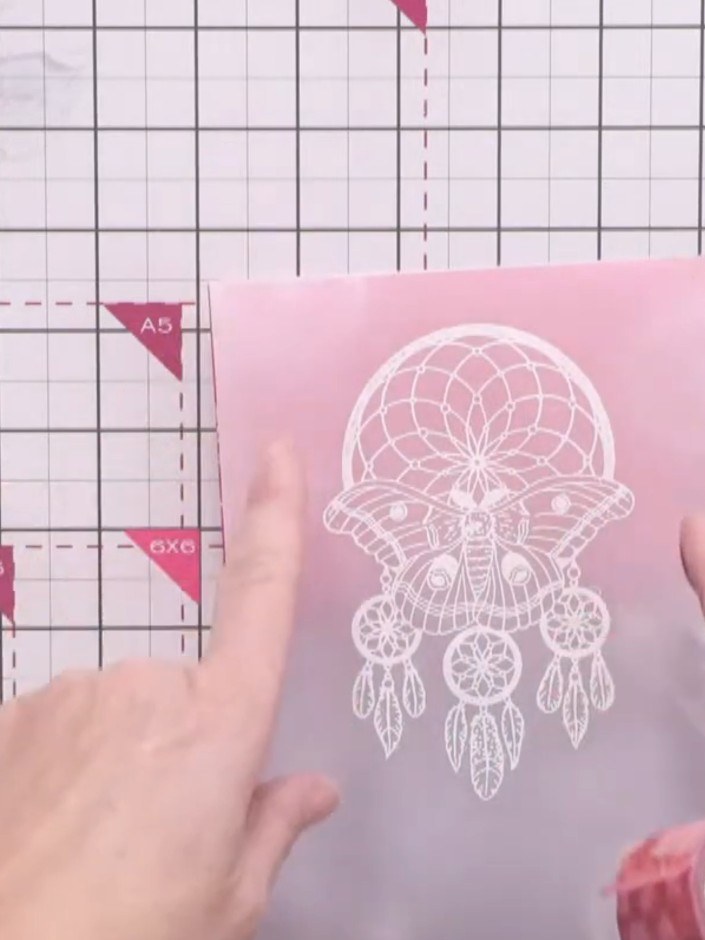
Apply washi tape down each side of the vellum panel to frame the dream catcher design and secure the vellum edges decoratively to the card base.
▶ watch this step (27:45)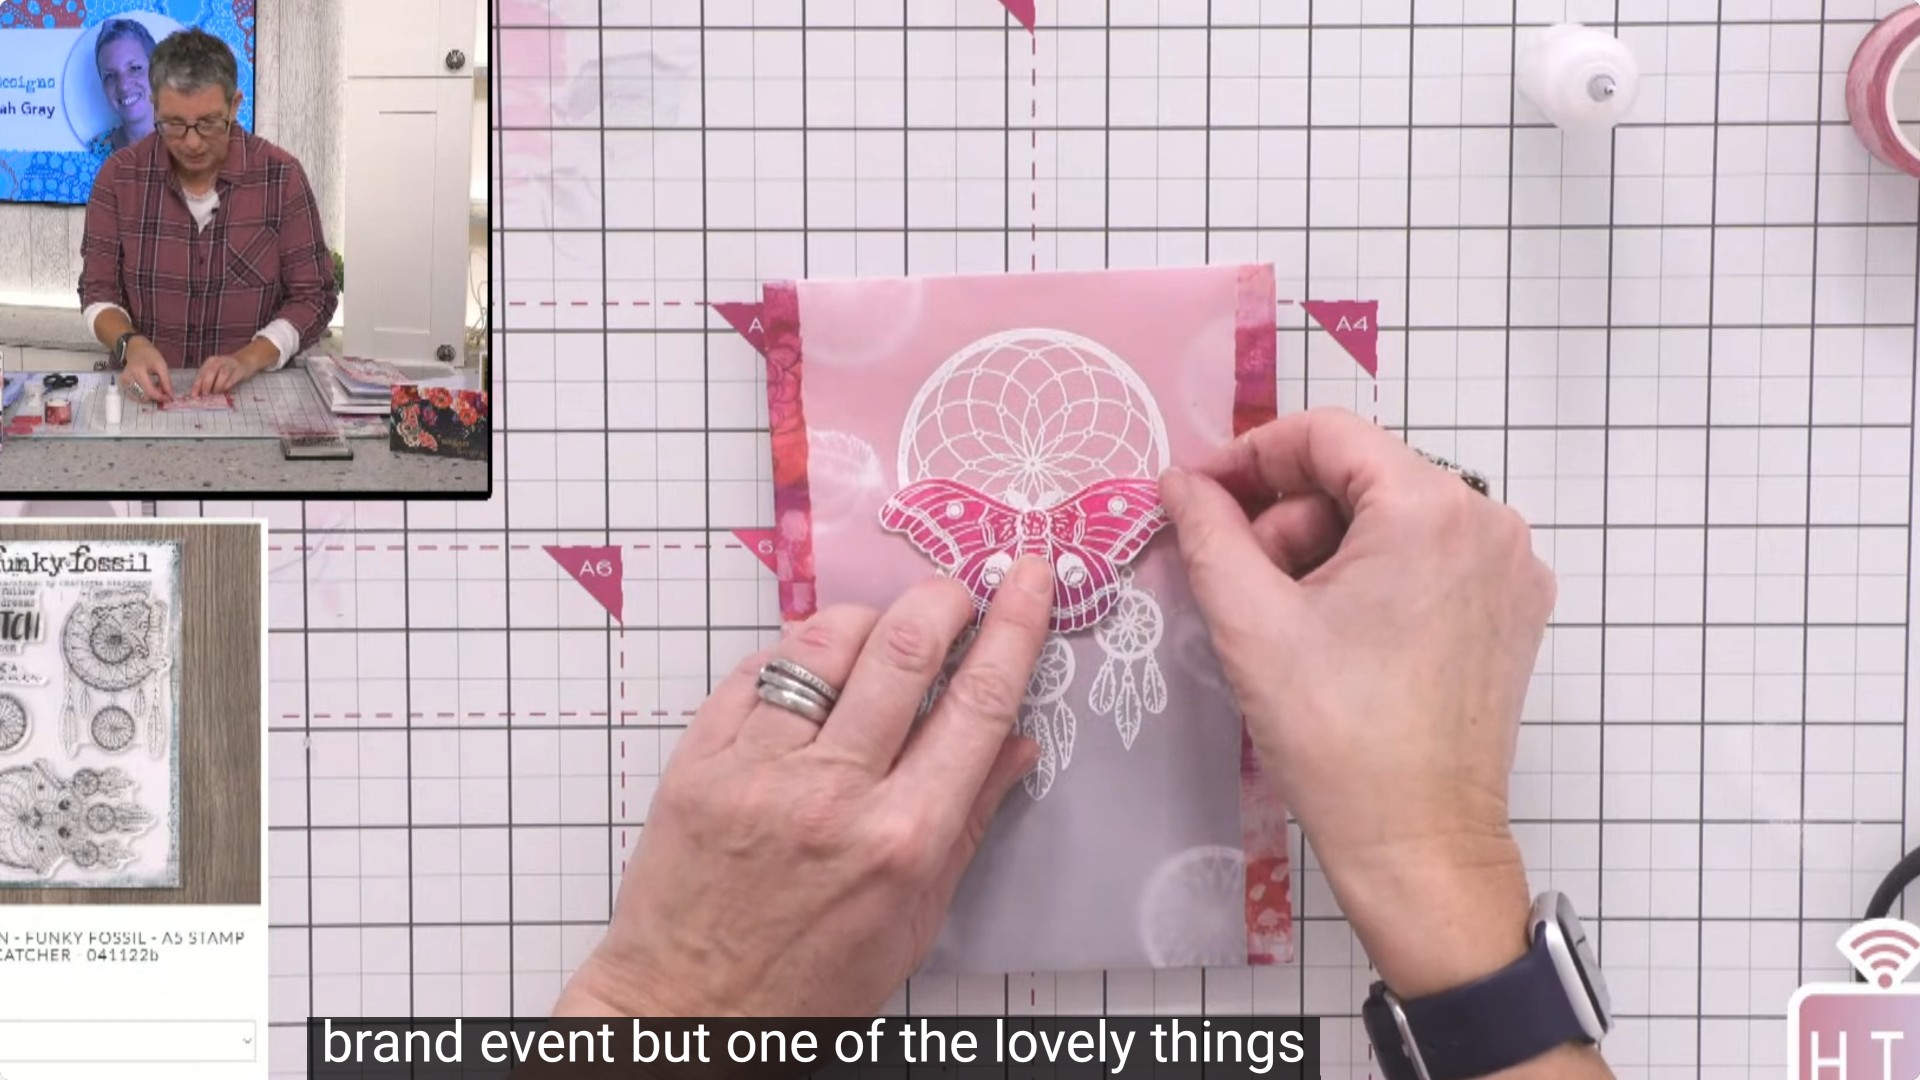
Add a stamped and embossed sentiment to your card. Embellish with silver enamel dots placed in a line to guide the eye across the design.
▶ watch this step (31:00)Written up from the show itself. See every guide from our shows · free how-to guides · watch live on My Telly