Give your friends €10 off their first order!
Refer a FRIEND








A project from our live show MONDAY MADNESS - Join Simon from AVAGO-INK for his latest products - Broadcast 24th OCT 22 · 24/10/2022 · watch it from 7:30
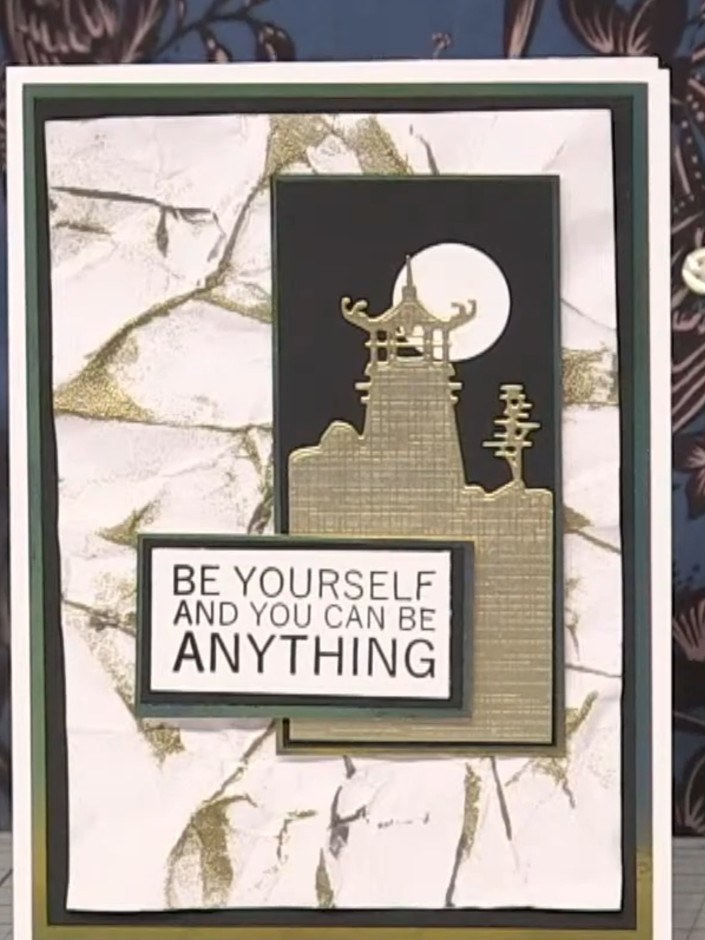
Create a stunning card featuring a textured crumpled background that mimics luxurious marble or leather. This technique uses scrunched white card layered with grey and gold inks, finished with embossing powder to create deep creases and a dimensional effect. The Asian-inspired pagoda die-cut sits beautifully against the rich textured background, complete with an inspirational sentiment.
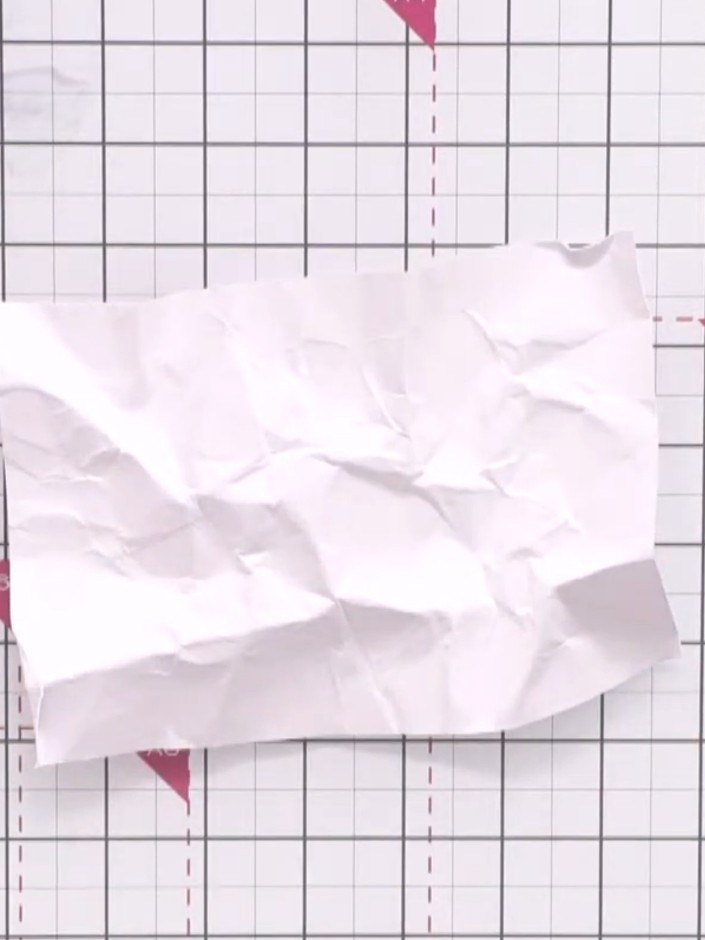
Start with a piece of white card approximately 7 by 5 inches. Scrunch and crumple the card to create texture, ensuring some areas remain less scrunched for variation.
▶ watch this step (8:00)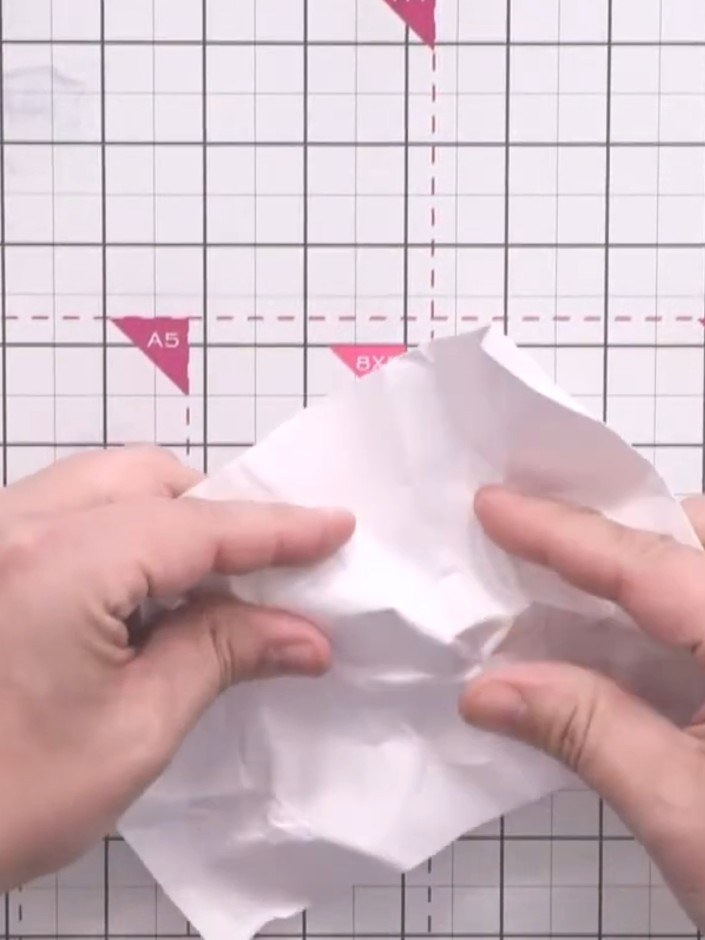
Scrunch the white card up tightly in your hands to create deep creases throughout the paper. Work the card into a tight ball to ensure good texture.
▶ watch this step (8:15)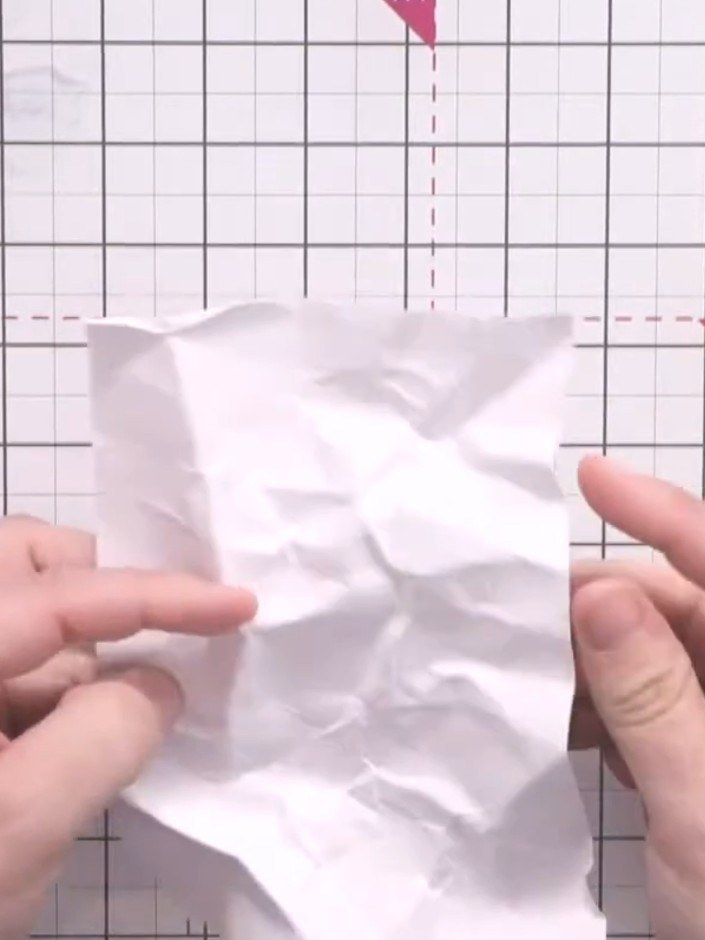
Manipulate the scrunched card with your fingers to create deep creases and add texture throughout. Focus on areas that appear less textured, working the paper to create a nice crumpled effect with varied depths.
▶ watch this step (8:45)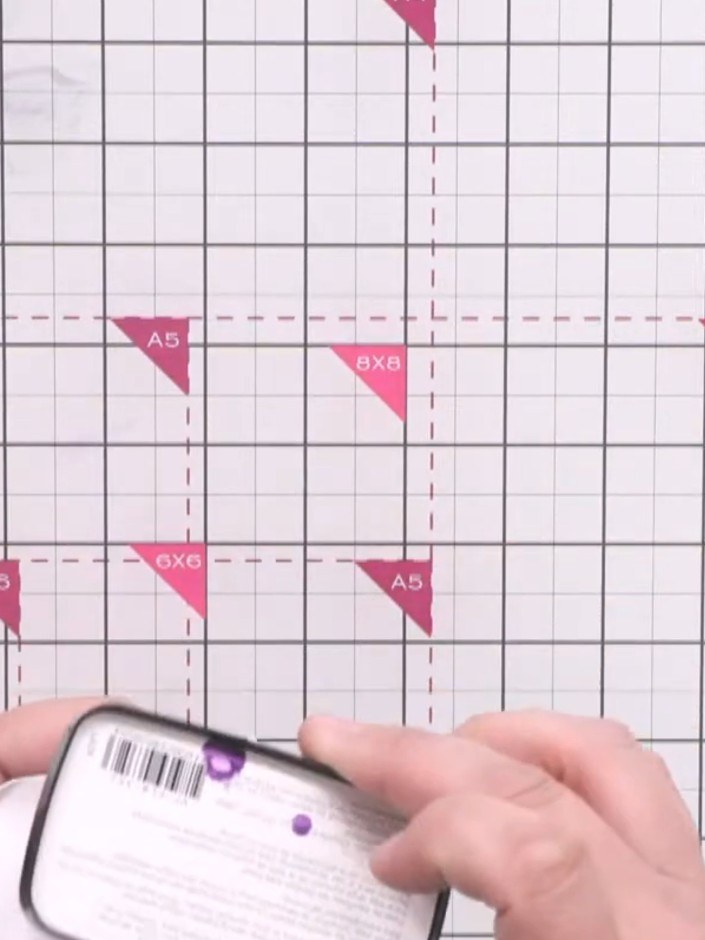
Using a pale grey ink pad (such as Versafine Clair), lightly brush over the creased edges of the crumpled white paper to add subtle shading and definition to the texture.
▶ watch this step (9:00)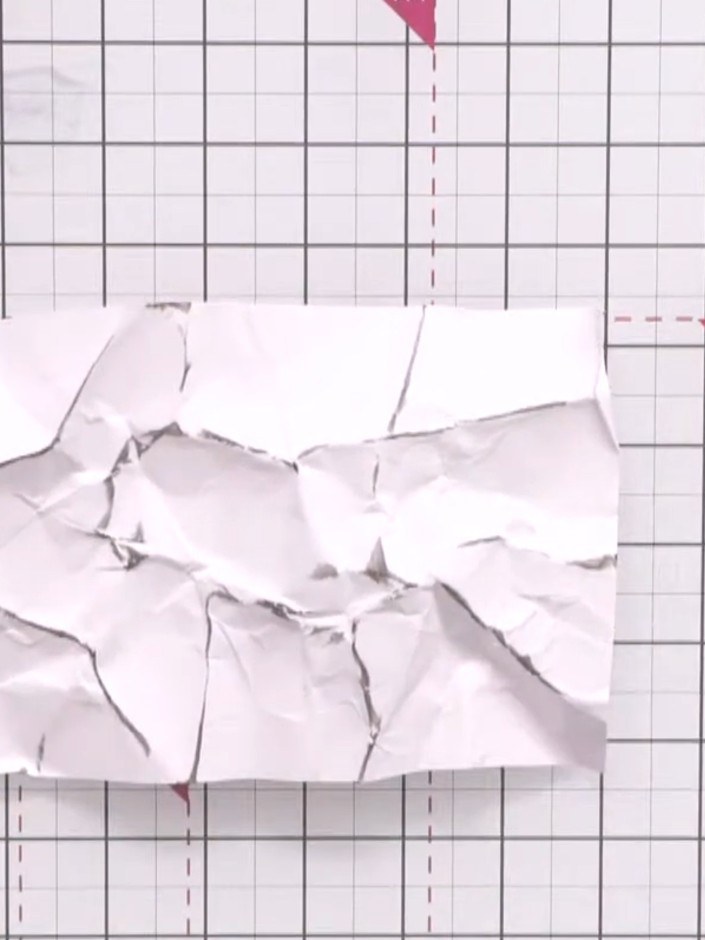
Use a heat tool to dry the inked card completely. This will set the purple ink and prepare the surface for the next step.
▶ watch this step (9:30)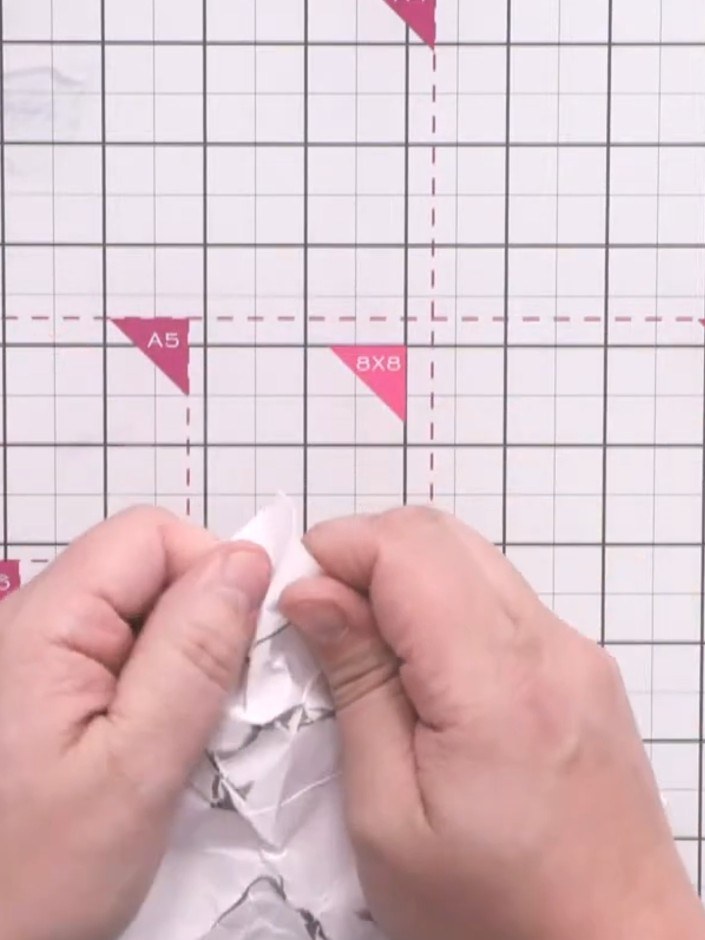
Run an anti-static bag over the grey embossed lines on the crumpled paper to protect them from the next step. Gently rub the bag against the paper to ensure the creases are covered.
▶ watch this step (10:15)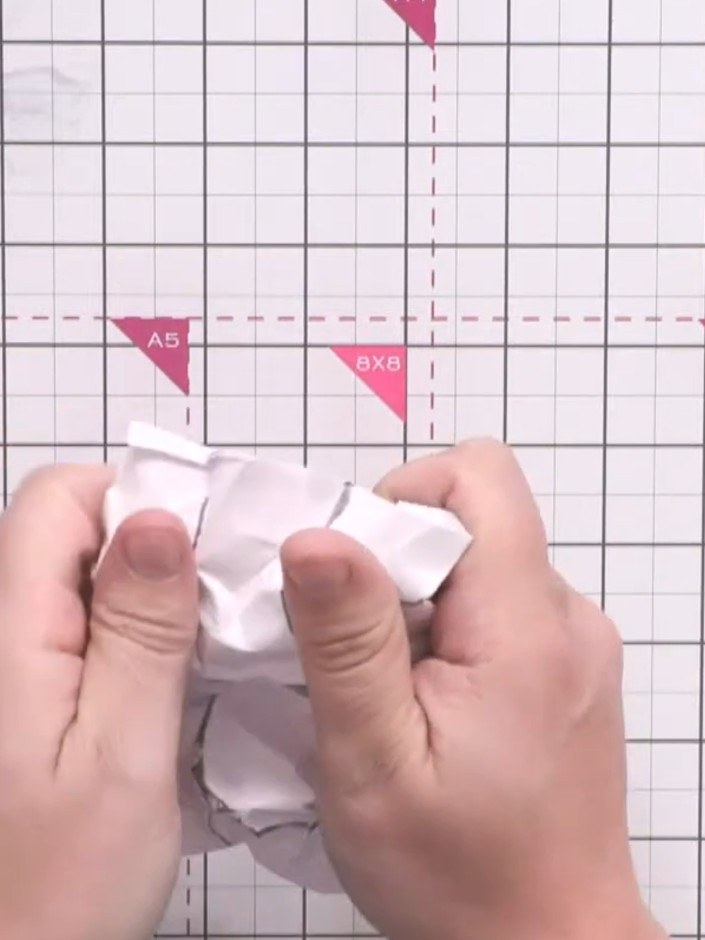
Scrunch the card up again in different places to create additional crease marks and texture throughout the paper.
▶ watch this step (10:30)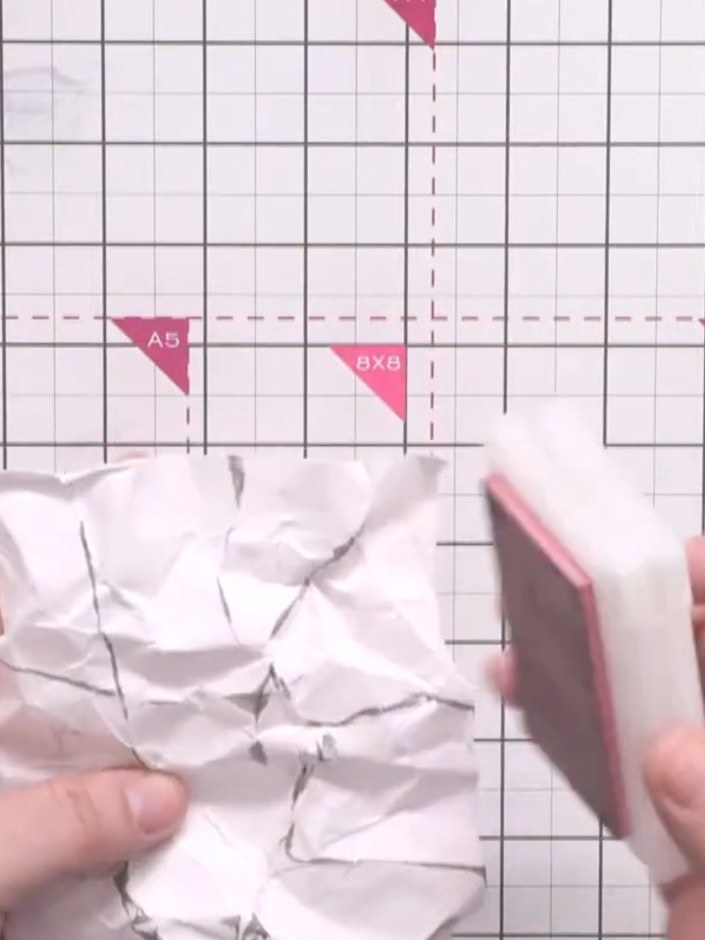
Brush an embossing ink pad over the new crease lines on the crumpled paper, applying light pressure to ensure the ink catches on the raised edges.
▶ watch this step (11:00)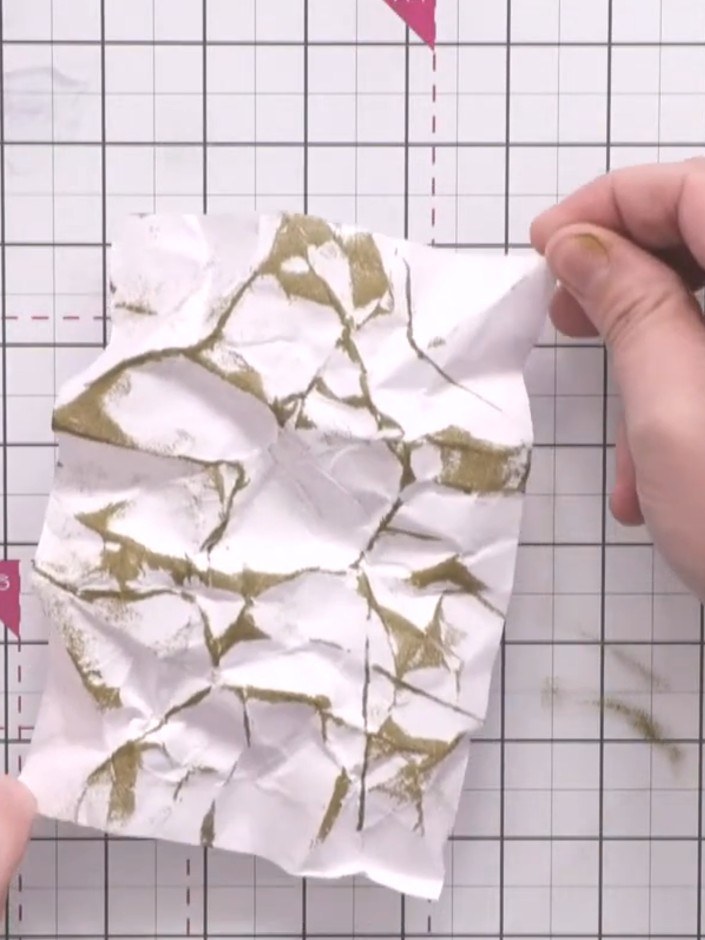
Sprinkle gold embossing powder generously over the crumpled paper where you've applied the embossing ink. Ensure all the inked areas are well covered with the powder.
▶ watch this step (11:30)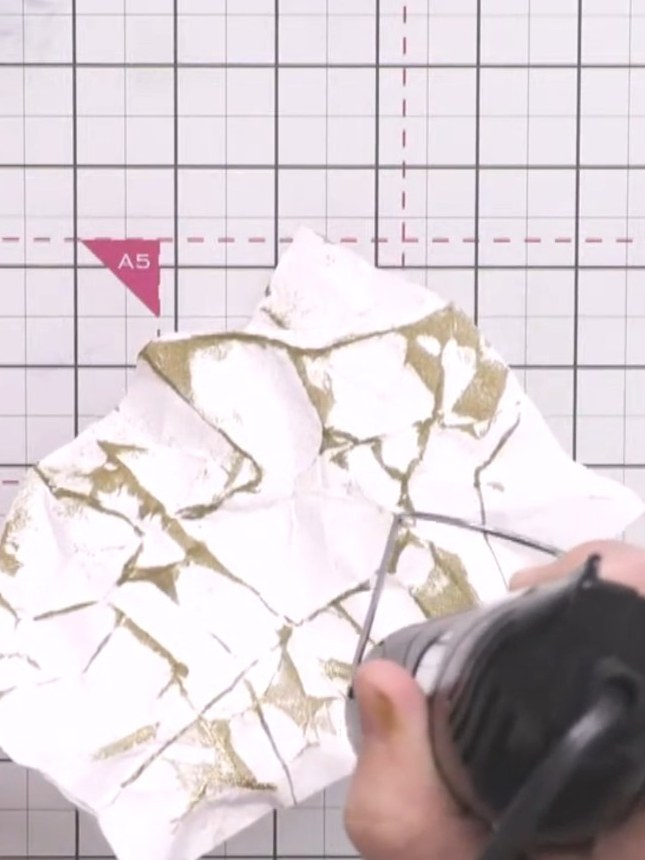
Tap off the excess embossing powder from the crumpled paper back into the container for reuse. Ensure all loose powder is removed before heat embossing.
▶ watch this step (11:45)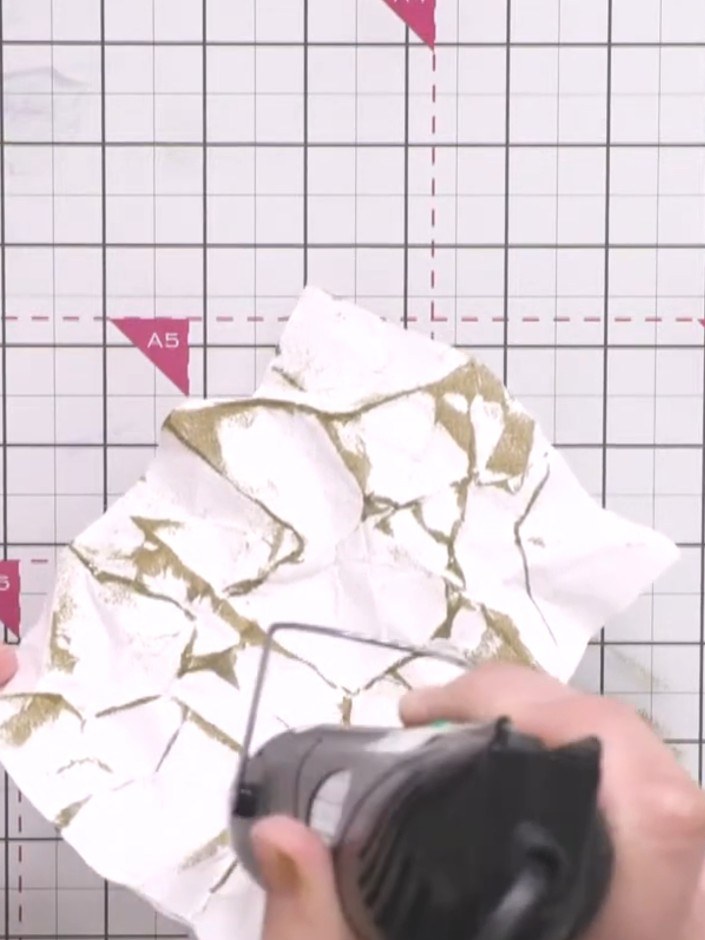
Heat the embossing powder with a heat tool, moving it over the surface until the powder melts and sets with a raised, glossy finish.
▶ watch this step (12:00)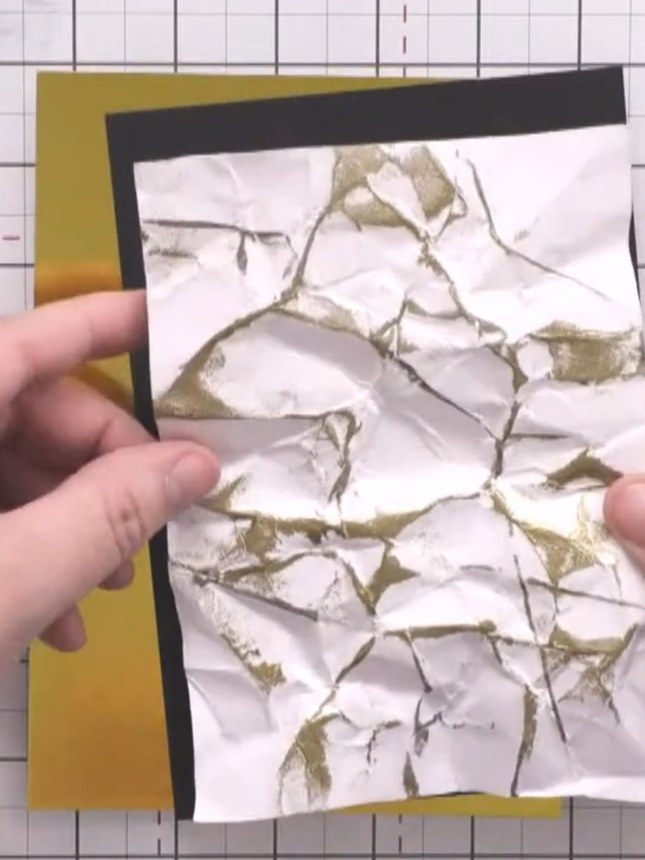
Apply additional grey ink to areas that need more colour depth and layering. Use a heat tool to dry the ink, being careful not to burn your fingers.
▶ watch this step (13:15)Written up from the show itself. See every guide from our shows · free how-to guides · watch live on My Telly