Give your friends €10 off their first order!
Refer a FRIEND








A project from our live show FRIDAY LAUNCH - Join Toni for her latest products and demo's - Broadcast 14th OCT 22 · 14/10/2022 · watch it from 7:00
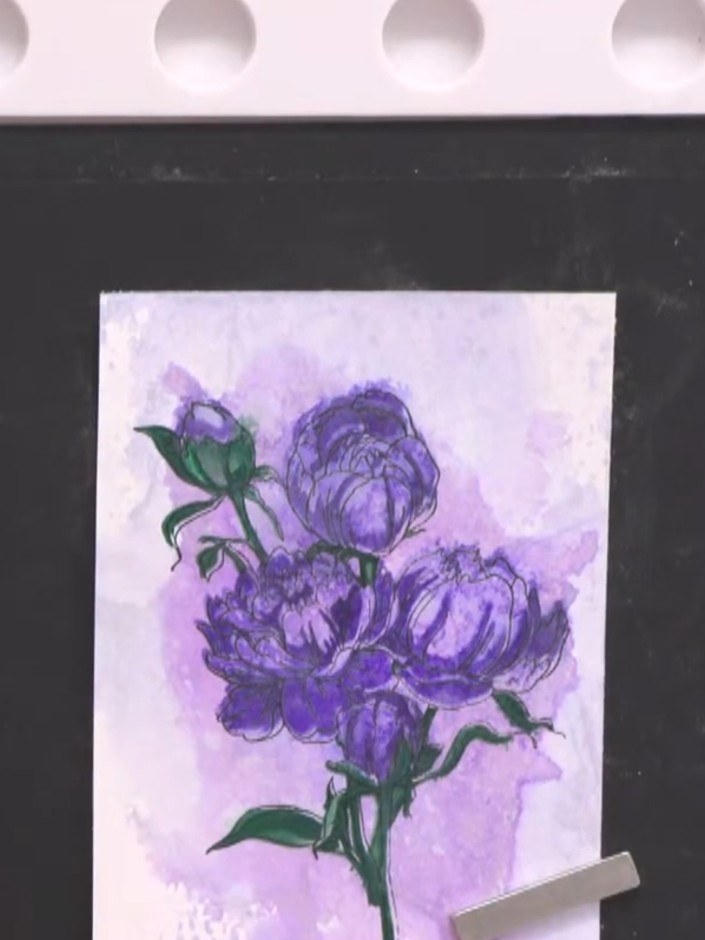
Create a stunning artistic card featuring beautiful purple flowers with a dreamy watercolour wash background. Using Quattro D stencils and stamps, you'll layer delicate floral designs with ink bleeding and water spray effects to achieve a contemporary, sparkly finish. The combination of stencilled backgrounds and stamped outline details creates an abstract, artistic look perfect for special occasions.
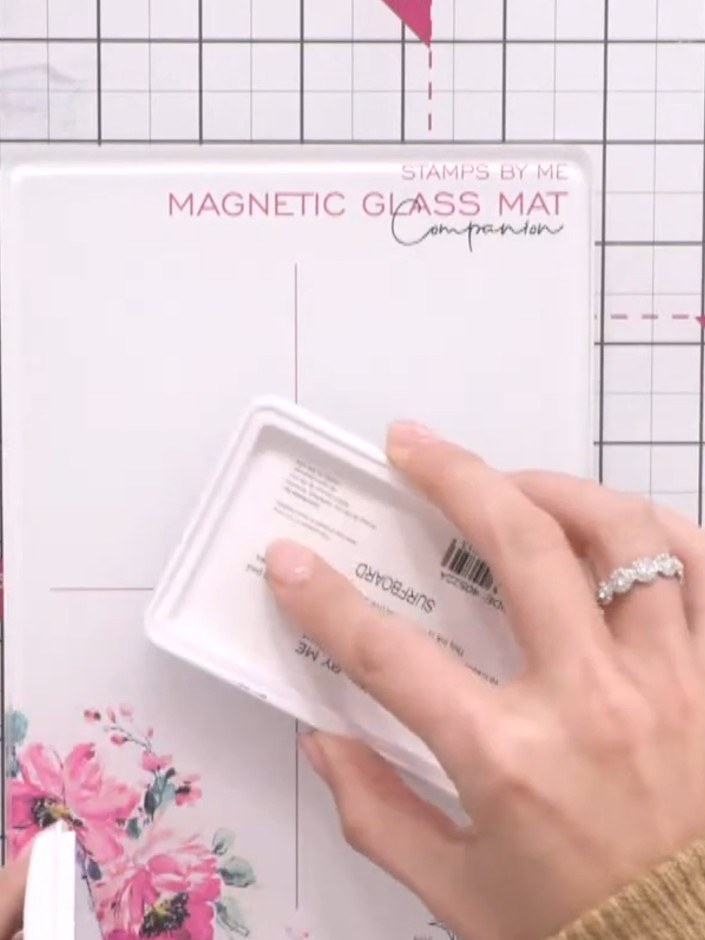
Place your mini magnetic glass mat companion on your work surface to use as your inking station.
▶ watch this step (7:00)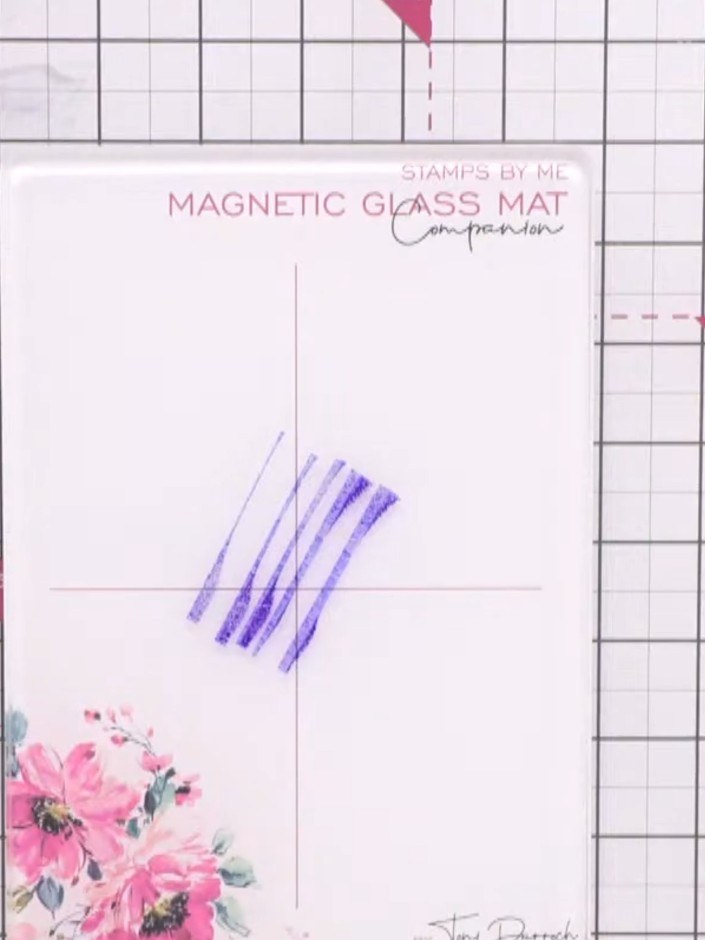
Apply Indigo ink from the ink pad directly onto the magnetic glass mat in diagonal strokes. Keep the purple ink separate from where you'll add the second colour.
▶ watch this step (7:15)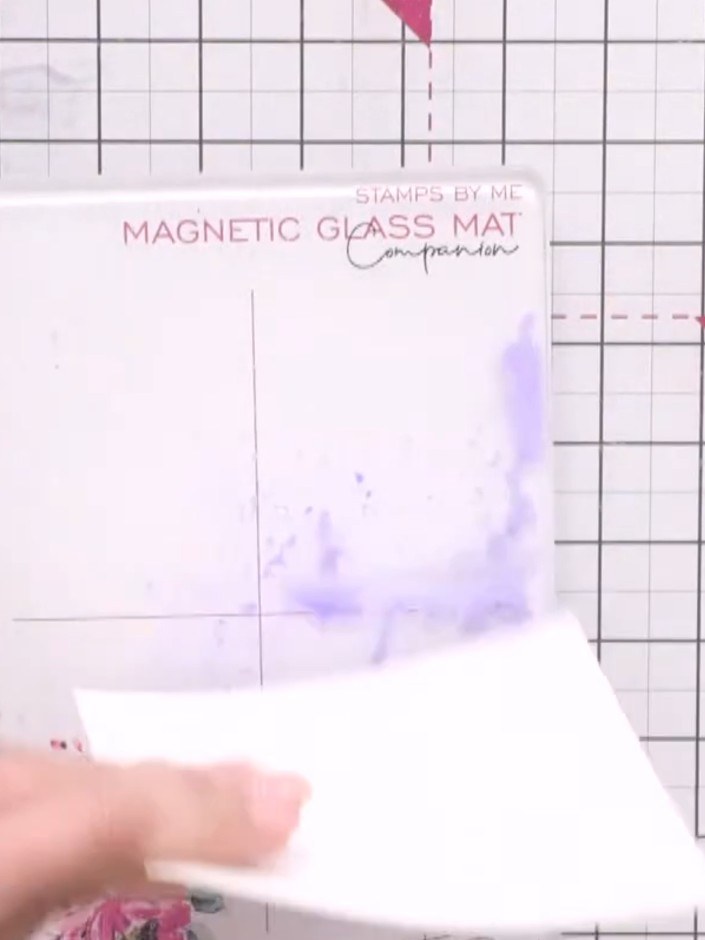
Spritz the inked magnetic glass mat with pearly spray water to create a wet, blended effect. Gently move the colours around on the mat to blend them together.
▶ watch this step (7:30)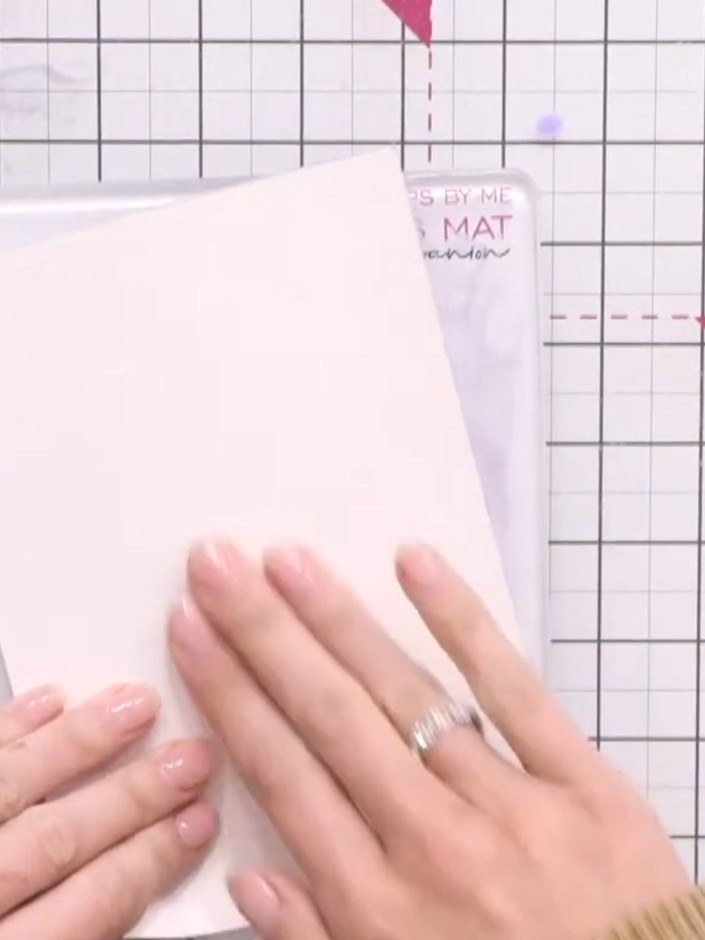
Press the watercolour cardstock face down onto the wet blended ink on the glass mat to pick up the colour. Ensure even contact across the entire surface to transfer the ink.
▶ watch this step (8:00)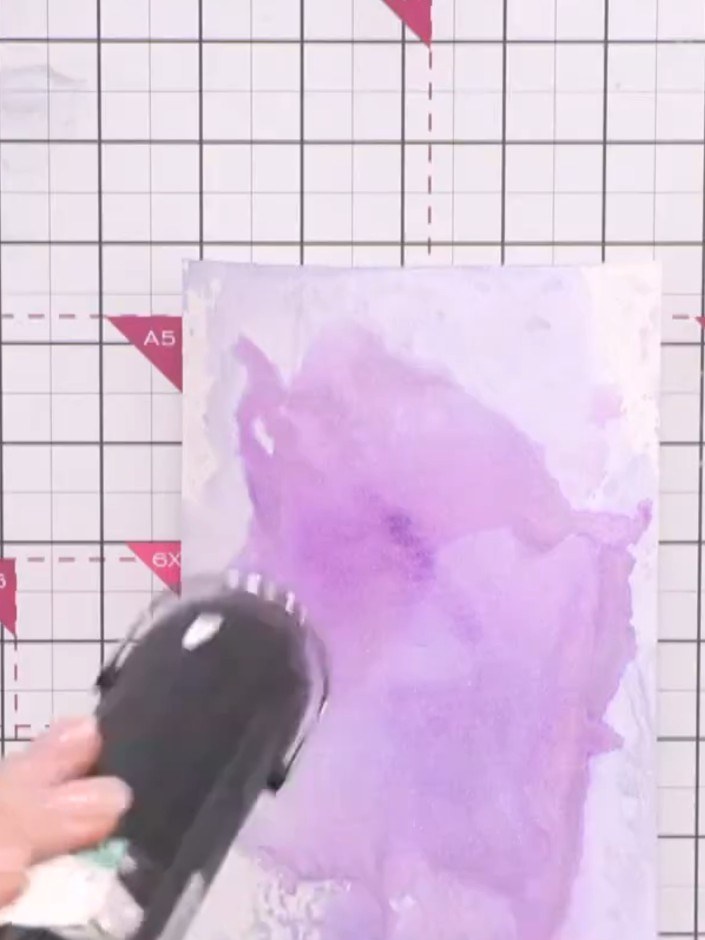
Position stencil number one in the centre of your cardstock. Hold it in place using magnets on the corners to prevent it from moving.
▶ watch this step (9:15)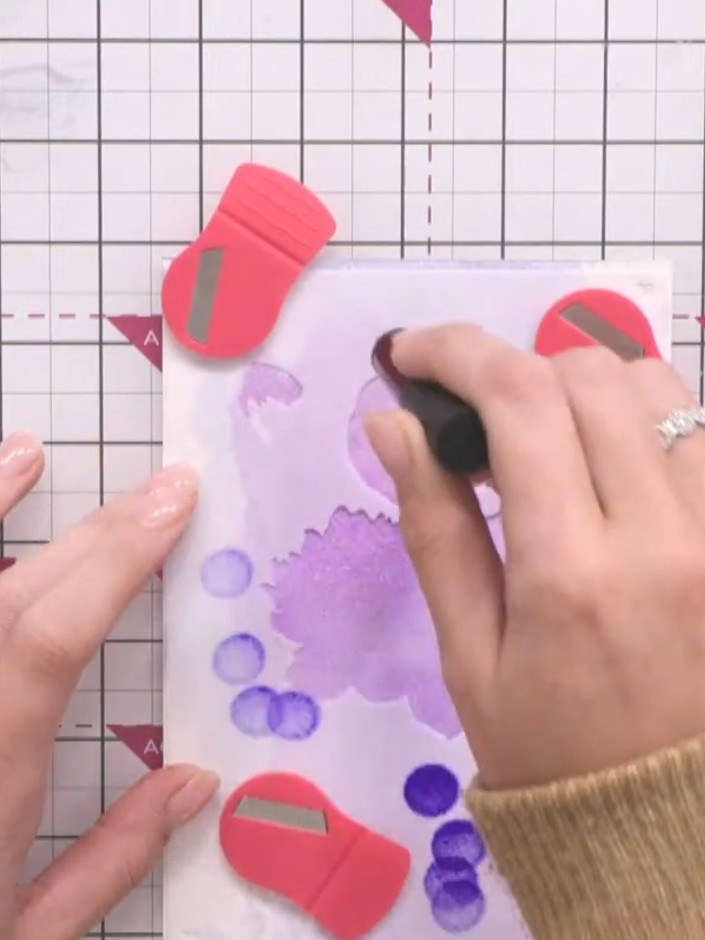
Using a mini sponge applicator, apply blue ink through the stencil openings, working the colour through to create depth and variation in the design.
▶ watch this step (10:45)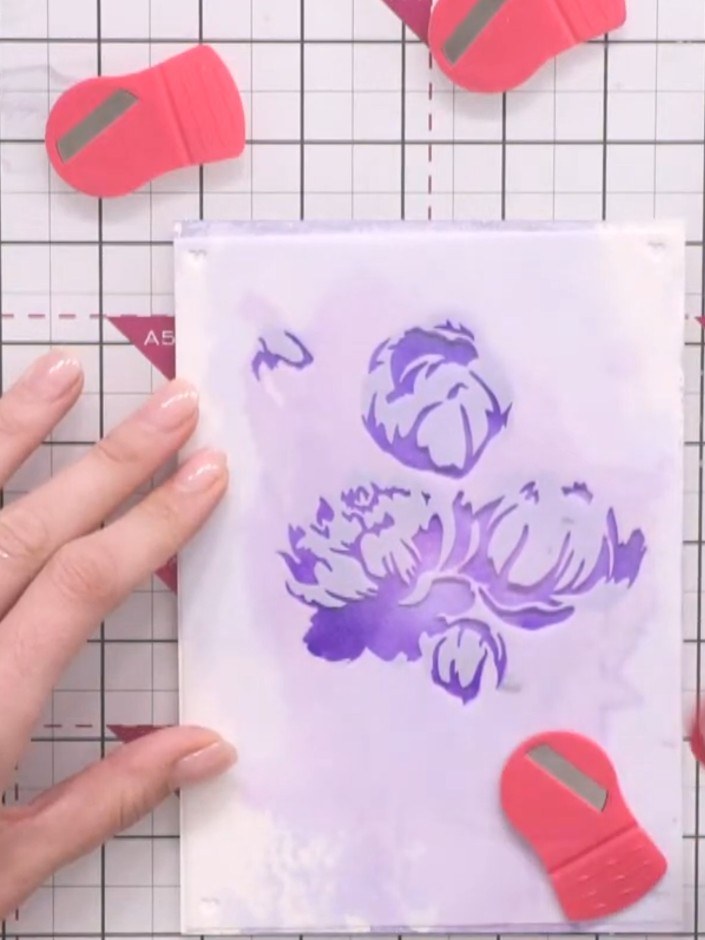
Remove the first stencil carefully. Position the second stencil on top of the card, using the numbered alignment guides to ensure it lines up correctly with the first stamped image.
▶ watch this step (12:30)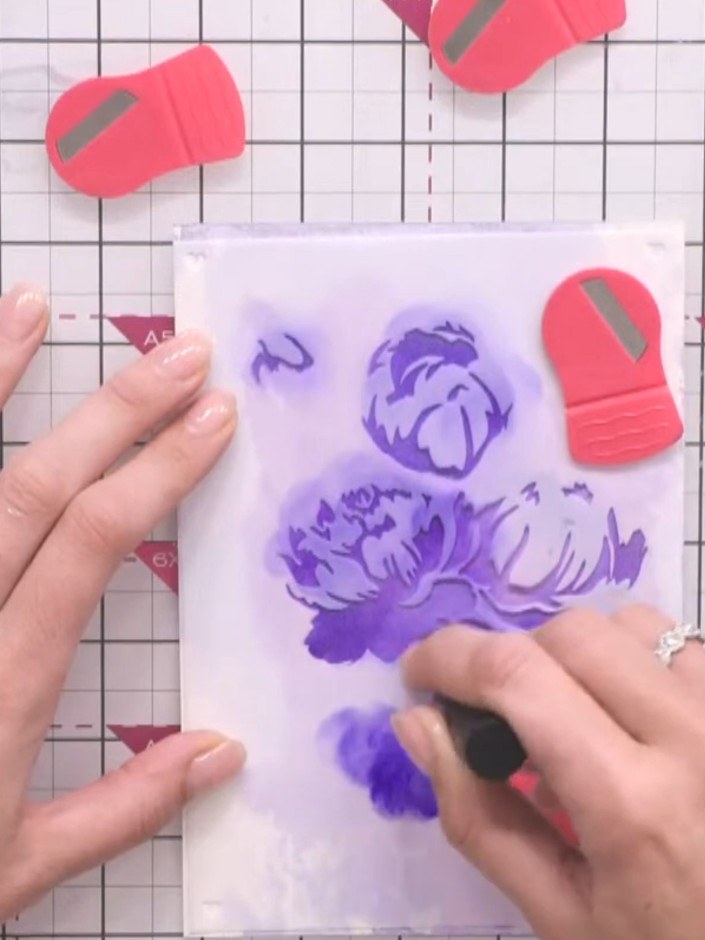
Apply the same purple ink through the second stencil, pressing firmly to build up the layered floral design on your card.
▶ watch this step (12:45)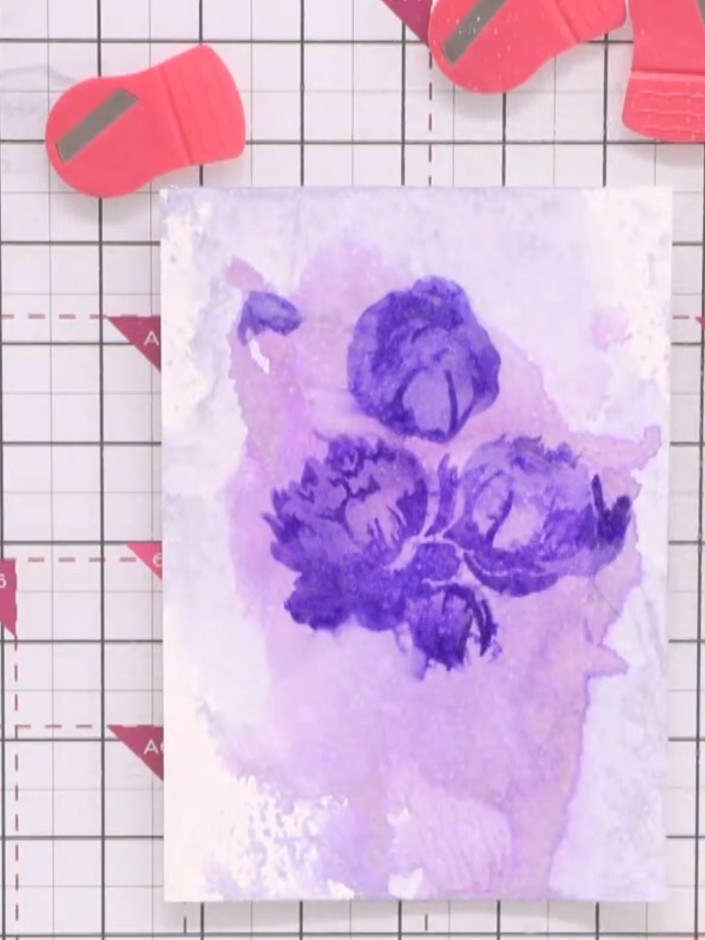
Spritz the stamped card lightly with water spray to create a watercolour bleeding effect and soften the stencilled lines.
▶ watch this step (13:15)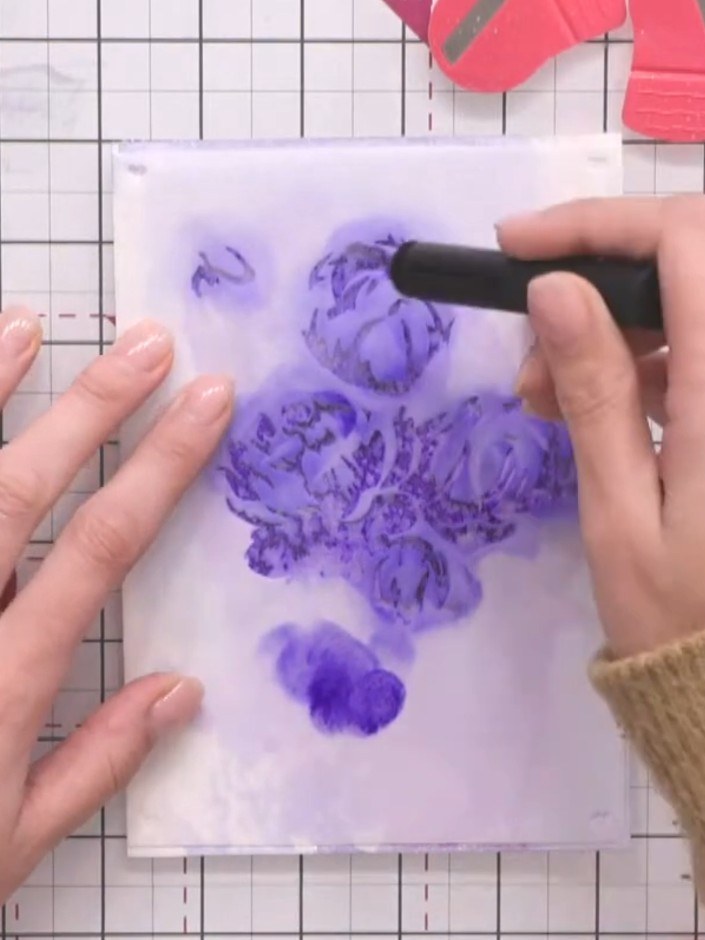
Position stencil three over your card using the numbered alignment guides. Apply green ink through the stencil using a blending tool or sponge to add the foliage details to your design.
▶ watch this step (15:00)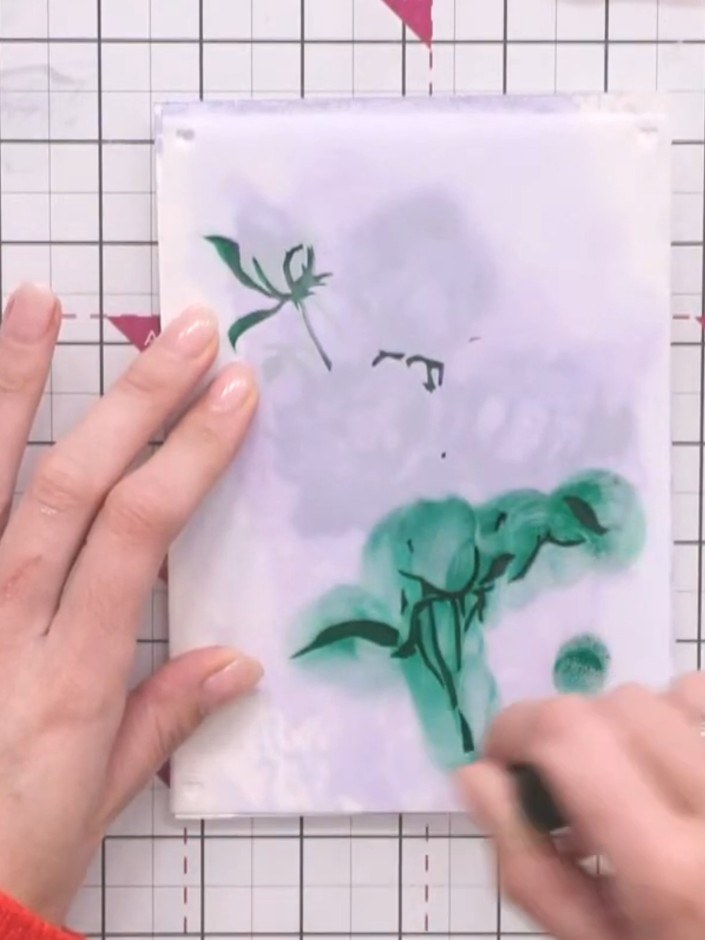
Position the fourth stencil layer and press firmly with the same green ink to complete the magnolia flower design.
▶ watch this step (17:45)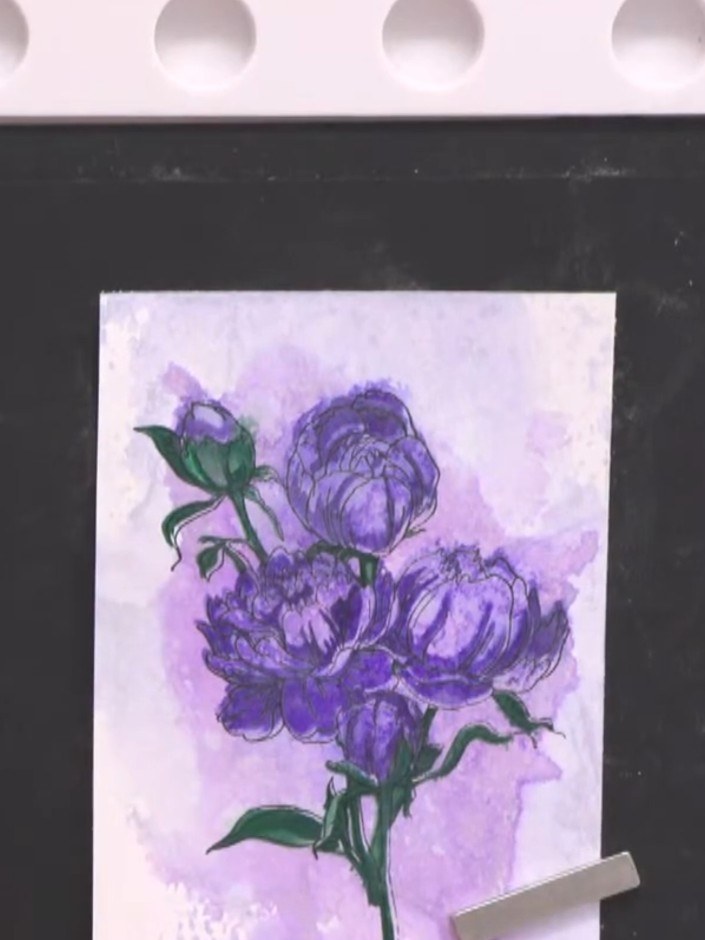
Stamp the outline detail in black waterproof ink over the entire stencilled design. Use the Magnolia stamp from the Quattro D set to add fine line details over the purple flowers.
▶ watch this step (20:00)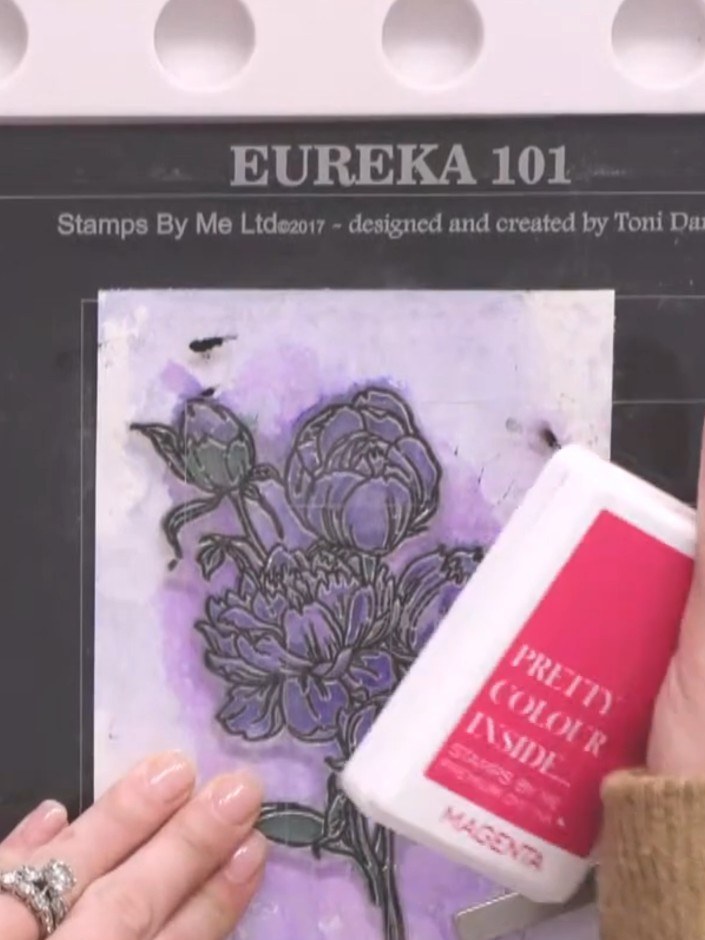
Stamp the same outline detail again on top of the black stamped image using pink dye-based ink to add colour variation. Ensure the pink stamp is aligned over the black outline for a layered effect.
▶ watch this step (21:30)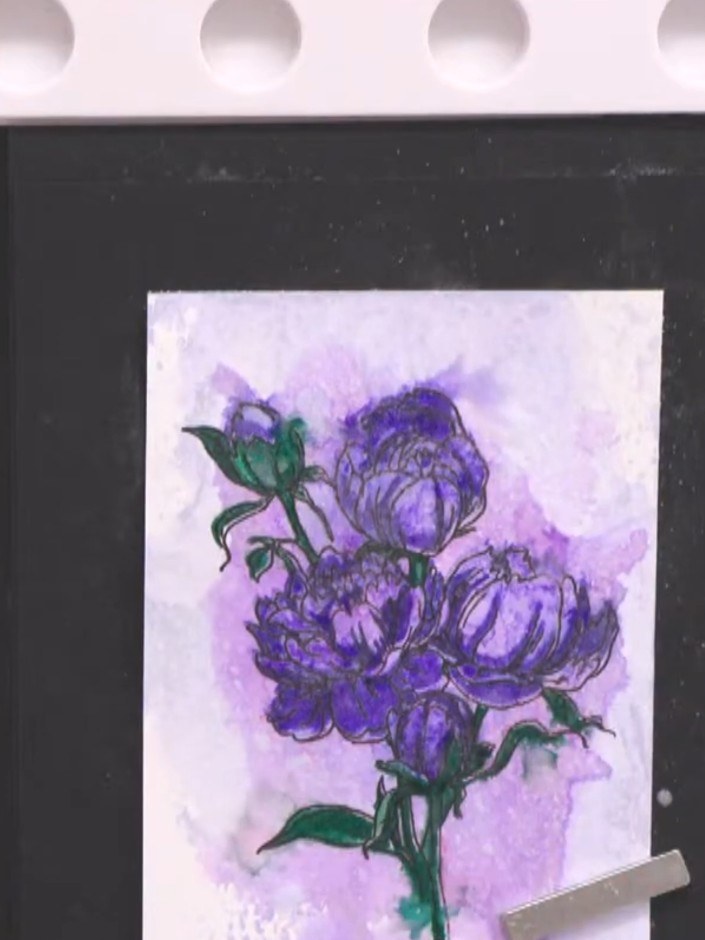
Lightly spritz the artwork with water using a spray bottle to allow the pink ink to bleed slightly into the floral design, creating a soft watercolour effect.
▶ watch this step (22:30)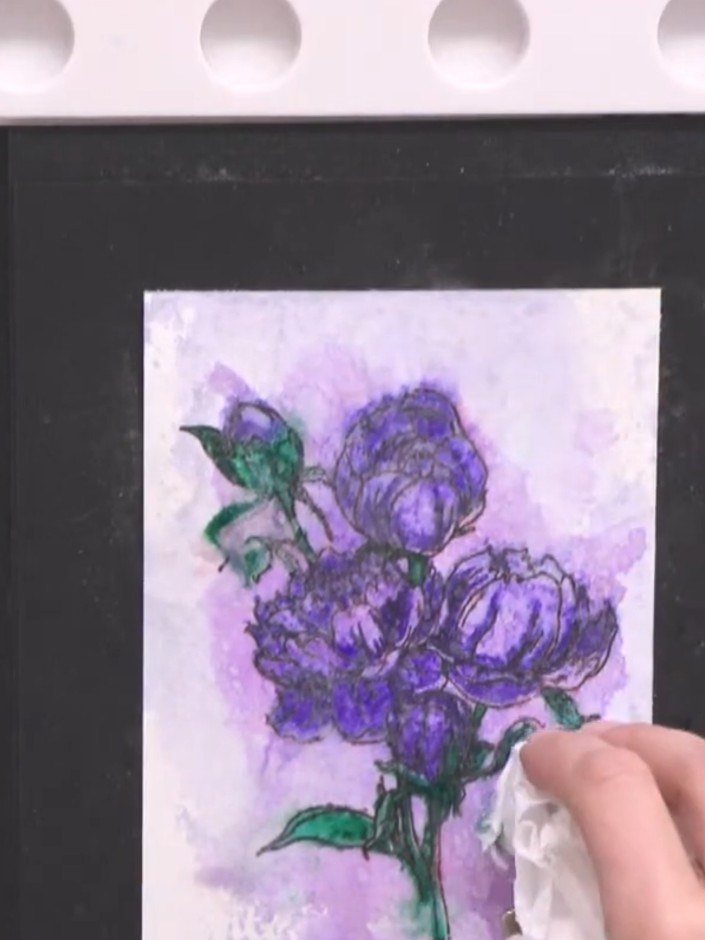
Position stencil two over your stamped image again. Use the purple ink pad to dab through the stencil, reinforcing any blue detail that may have been lost during previous steps.
▶ watch this step (23:15)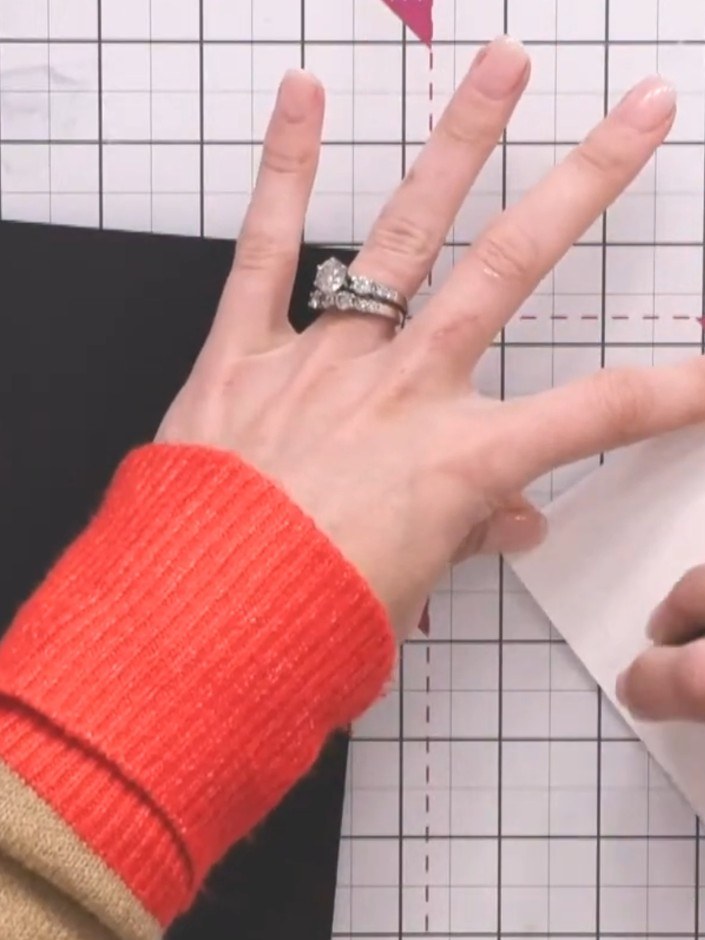
Mount your finished watercolour artwork onto black cardstock to create a striking base for your card. Position the artwork centrally on the black card and secure it in place.
▶ watch this step (24:45)Written up from the show itself. See every guide from our shows · free how-to guides · watch live on My Telly
