Give your friends €10 off their first order!
Refer a FRIEND








A project from our live show CREATE AND CRAFT - NEW AND EXCLUSIVE - Join Toni for her latest products and inspiration show 3 - Broadcast 13th Oct 22 · 13/10/2022 · watch it from 30:15
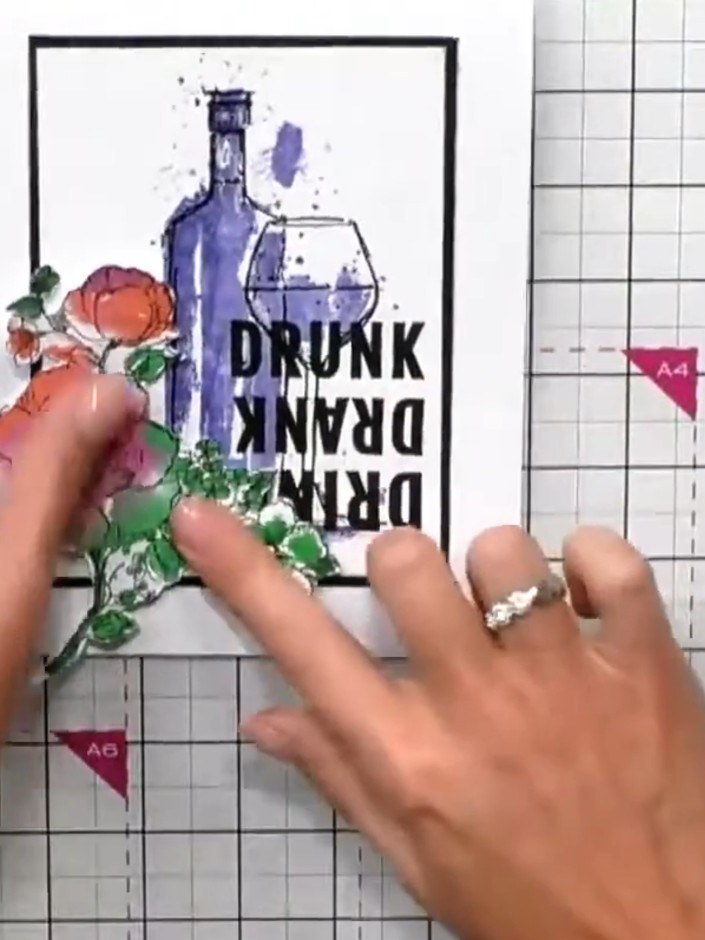
Create an elegant watercolour card featuring a purple wine bottle and glass with the sentiment 'DRINK DRANK DRUNK'. The design uses lamination stamps to achieve a beautiful watercolour effect, mounted on a black frame with delicate fussy-cut floral embellishments for added dimension and sophistication.
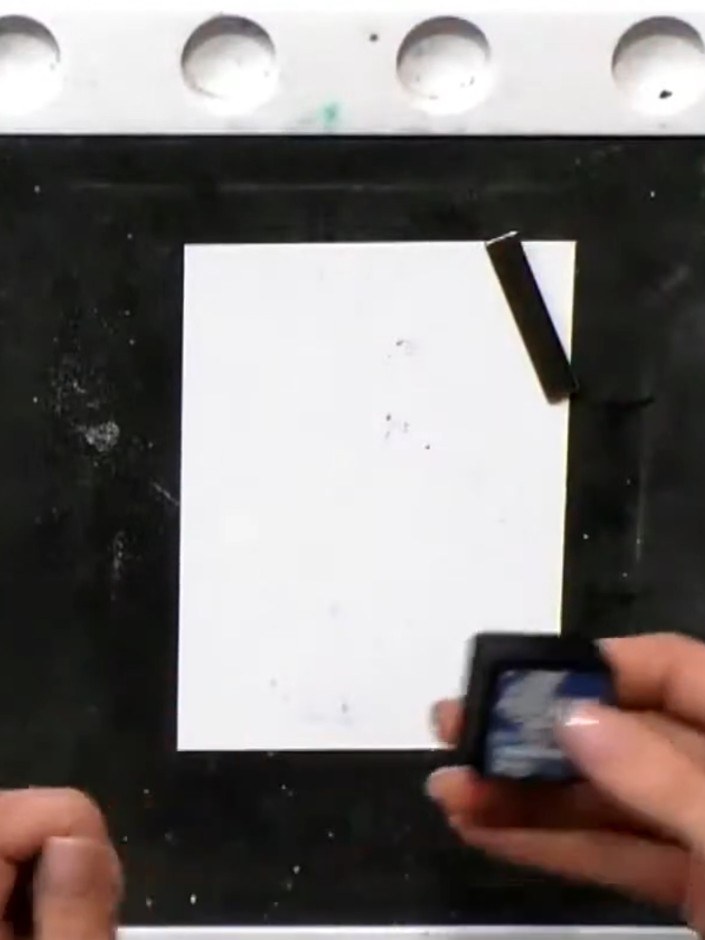
Stamp the wine bottle outline stamp onto white cardstock using a chip sapphire ink pad.
▶ watch this step (31:00)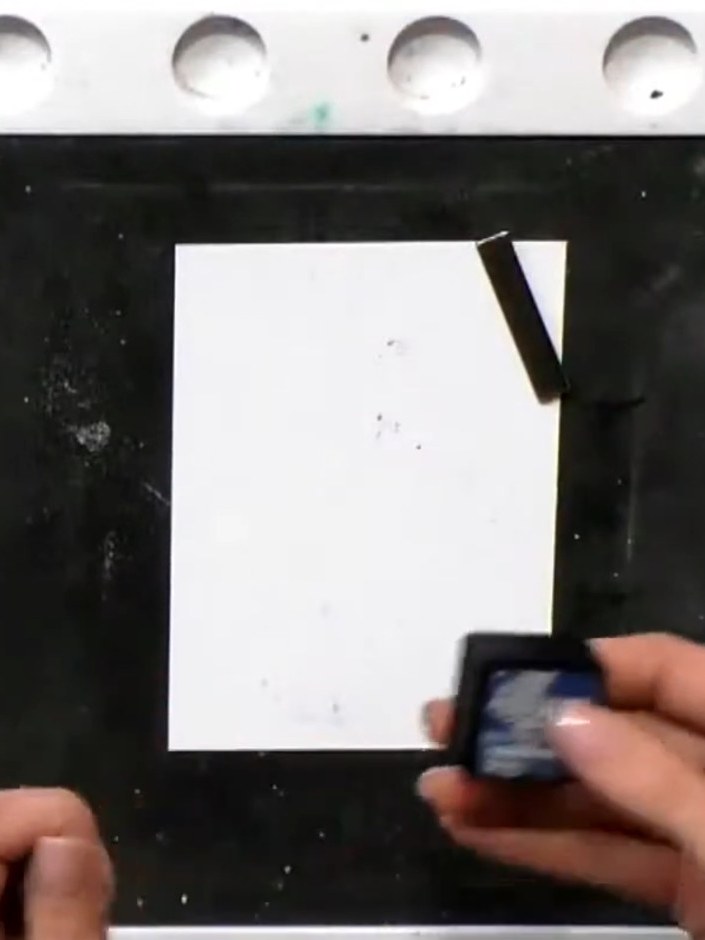
Spray the inked stamp with water to create a watercolour bleed effect on the pink gown image.
▶ watch this step (31:15)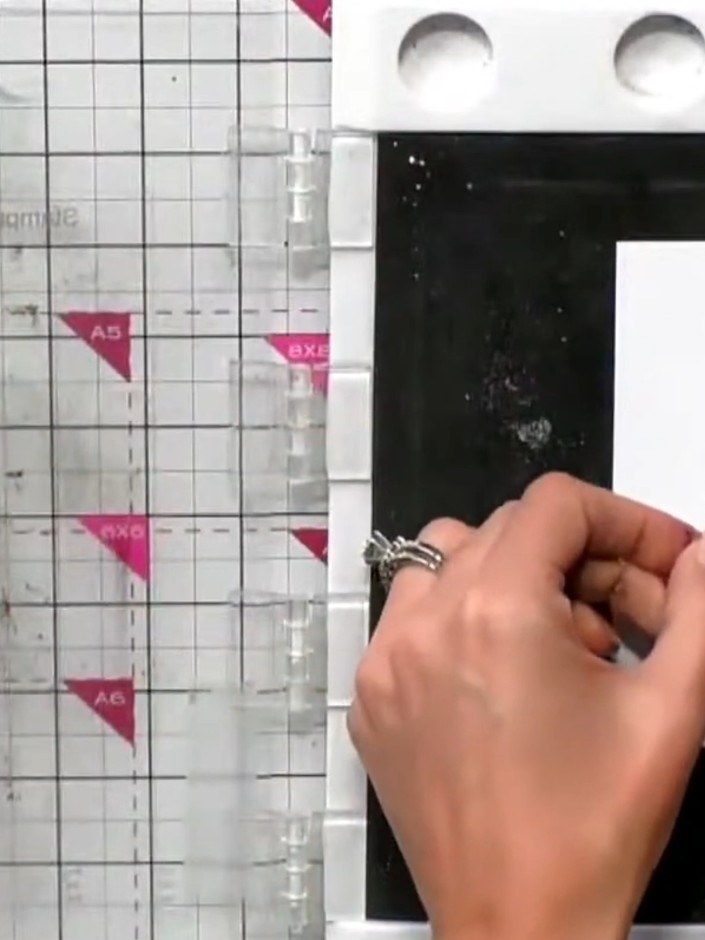
Allow the stamped image to dry completely before proceeding to the next step. This ensures the ink sets properly and prevents smudging.
▶ watch this step (31:45)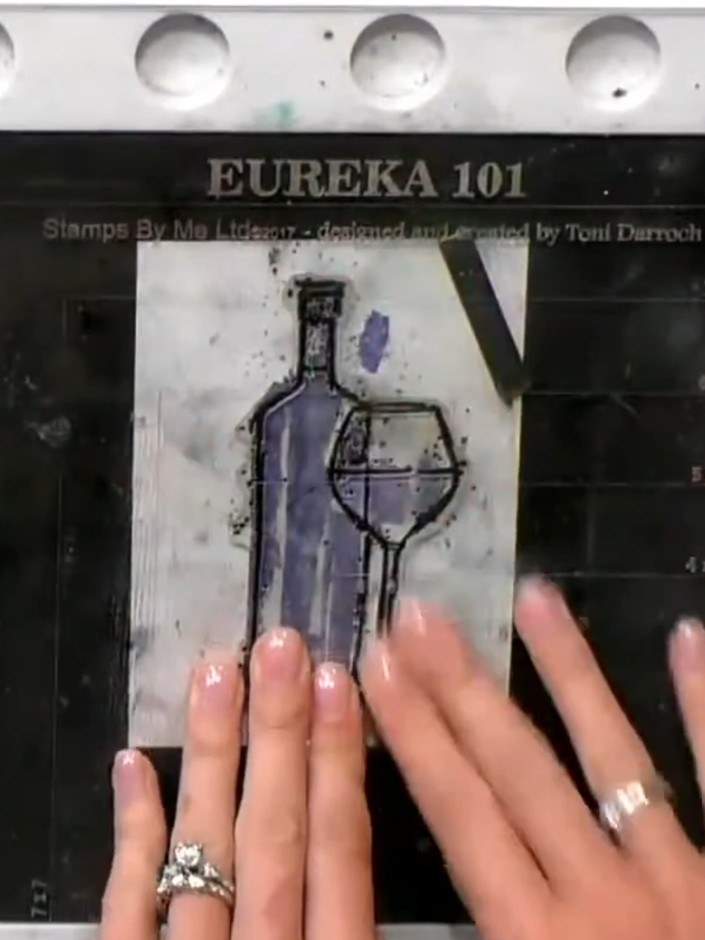
Using black ink, stamp the solid colour portion of the wine bottle stamp over the watercoloured image. This will add definition and detail to the bottle and glass design.
▶ watch this step (32:00)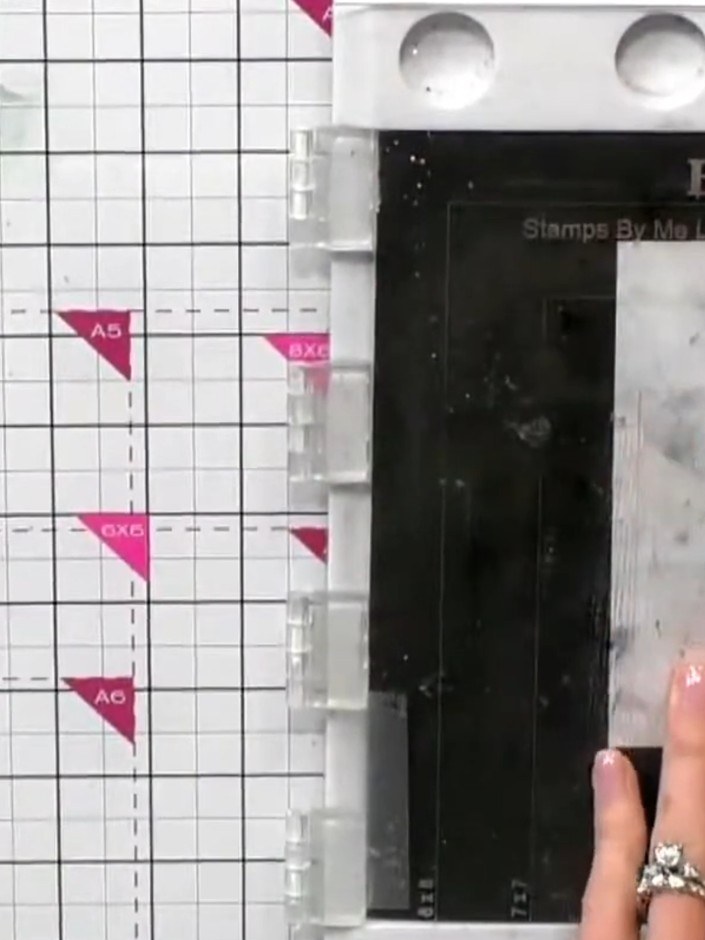
Stamp the sentiment 'drink drank drunk' onto the wine bottle and glass area using black ink. Add glossy accents over the stamped design to create a shiny, dimensional effect.
▶ watch this step (33:00)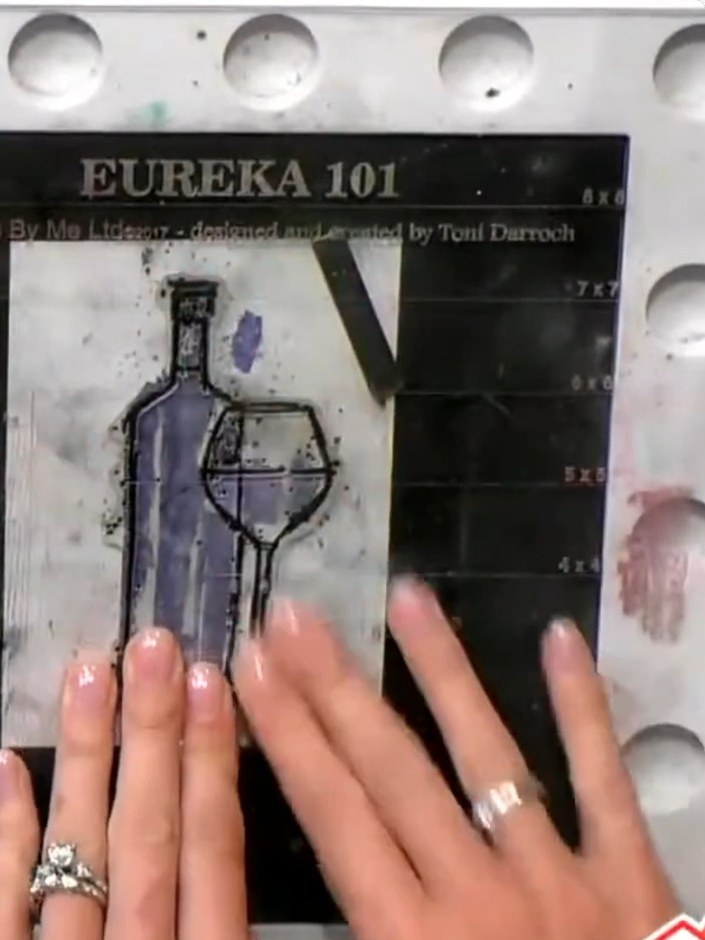
Mat the stamped wine bottle design onto black cardstock. Position the white stamped panel centrally on the black card to create a border frame.
▶ watch this step (33:45)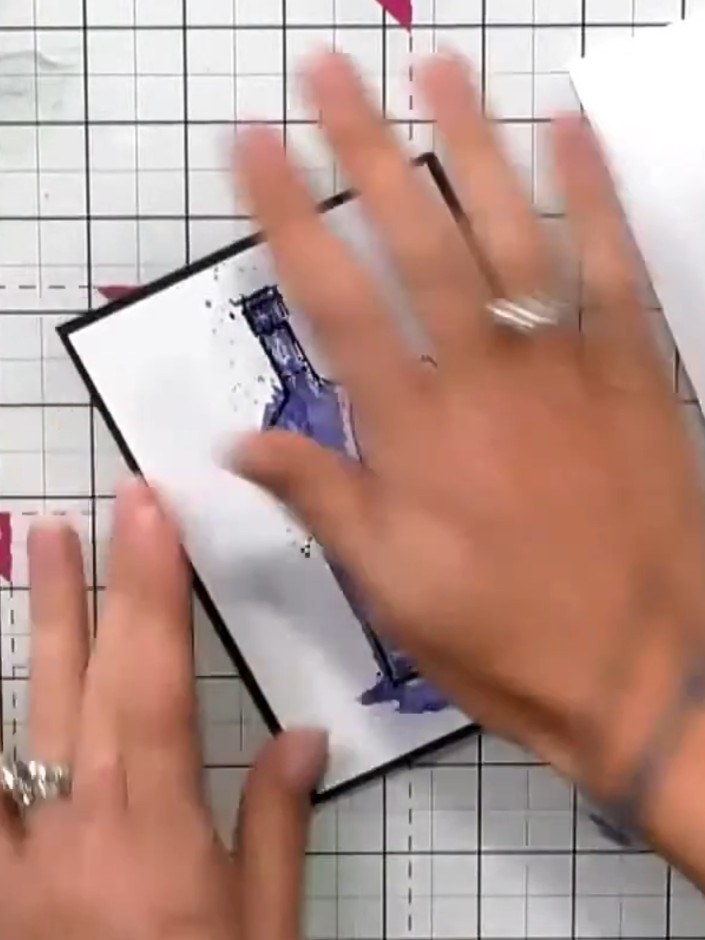
Fussy cut a floral element from a previous demonstration to use as an embellishment for your card.
▶ watch this step (35:00)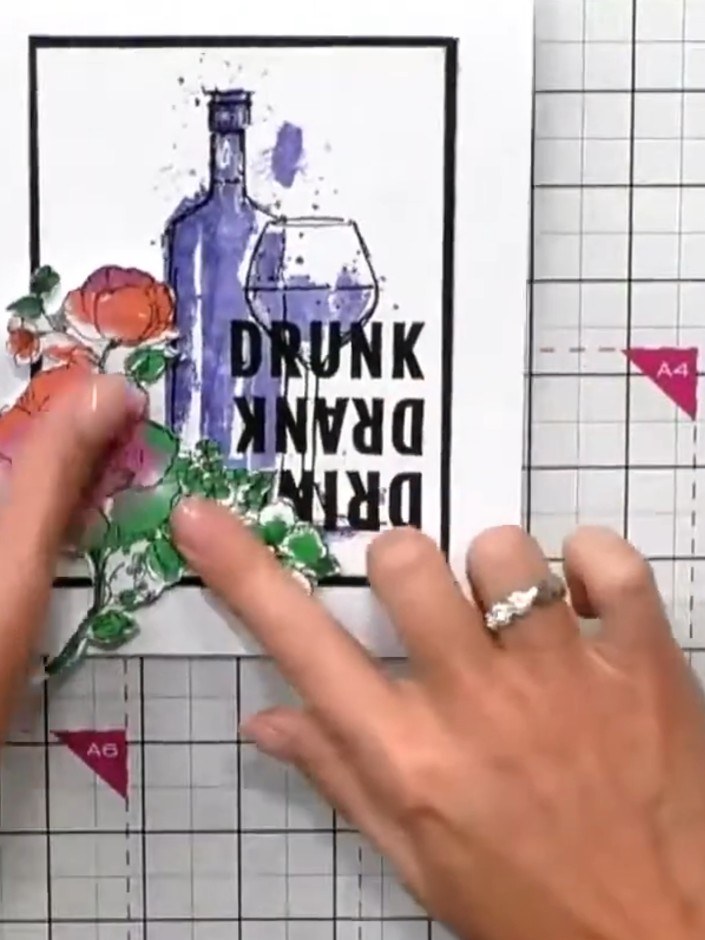
Adhere the fussy-cut floral element to the bottom corner of the card using foam pads for dimension. Position it to complement the wine bottle design.
▶ watch this step (36:15)
Mount the matted design onto your card base. Position it centrally and secure in place with adhesive.
▶ watch this step (37:00)Written up from the show itself. See every guide from our shows · free how-to guides · watch live on My Telly