Give your friends €10 off their first order!
Refer a FRIEND








A project from our live show CREATE AND CRAFT - NEW AND EXCLUSIVE - Join Toni for her latest products and inspiration - Broadcast 12th Oct 22 · 12/10/2022 · watch it from 29:45
Create an elegant floral card featuring beautiful watercolour flowers with metallic foil accents. This sophisticated design combines vibrant yellow and orange blooms with a 'Be Happy' sentiment, all enhanced with eye-catching gold foiling. The lamination stamp technique produces a professional, shop-bought quality finish with stunning metallic details.
Stamp the solid portion of the floral design onto white cardstock using a sticky ink pad. The stamp set includes layering stamps - use the solid base layer first to create the foundation for your floral image.
▶ watch this step (29:45)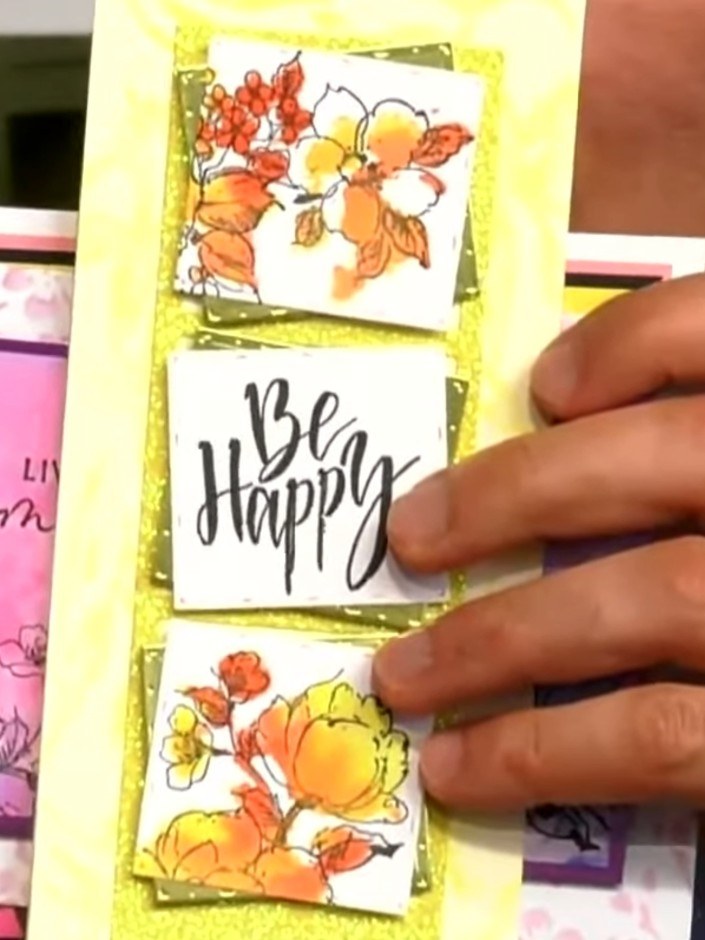
Once the foiled image has cooled, carefully line up the outline stamp over the embossed solid portion. Stamp the outline in black ink to create a defined edge around the coloured floral design.
▶ watch this step (30:05)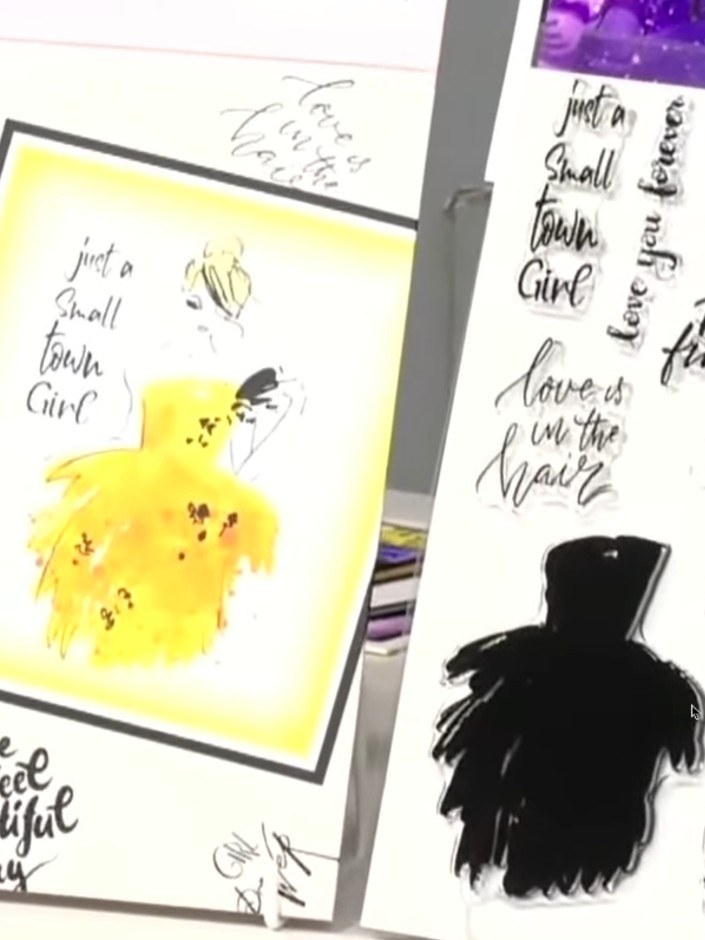
Apply foiling to the stamped outline instead of heat embossing. Press the foil onto the stamped image to create a metallic finish on the outline details. Carefully peel away the foil to reveal the shimmering design.
▶ watch this step (30:15)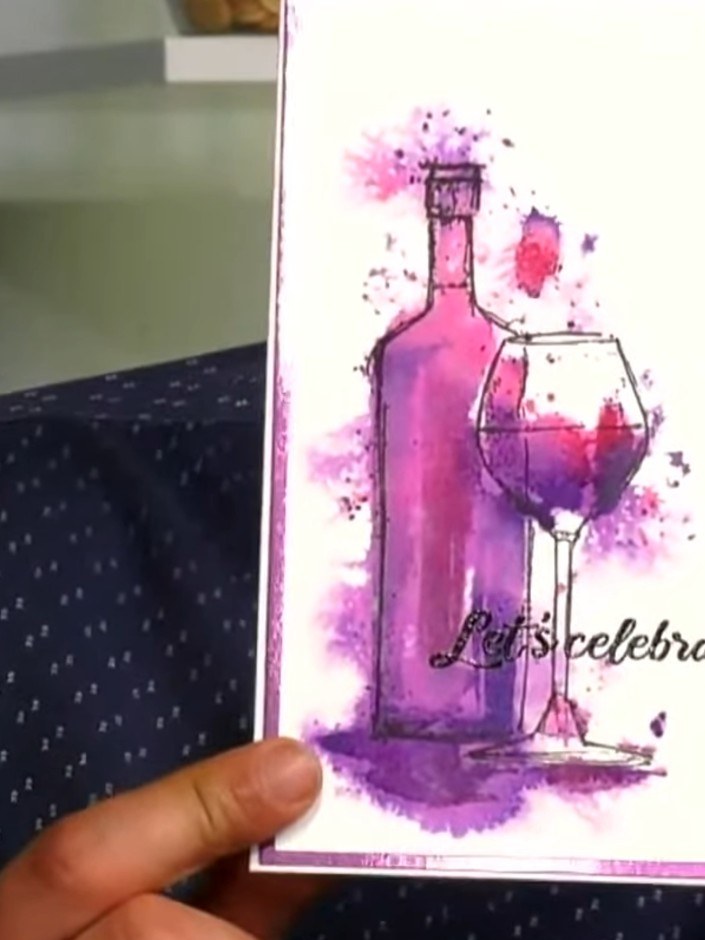
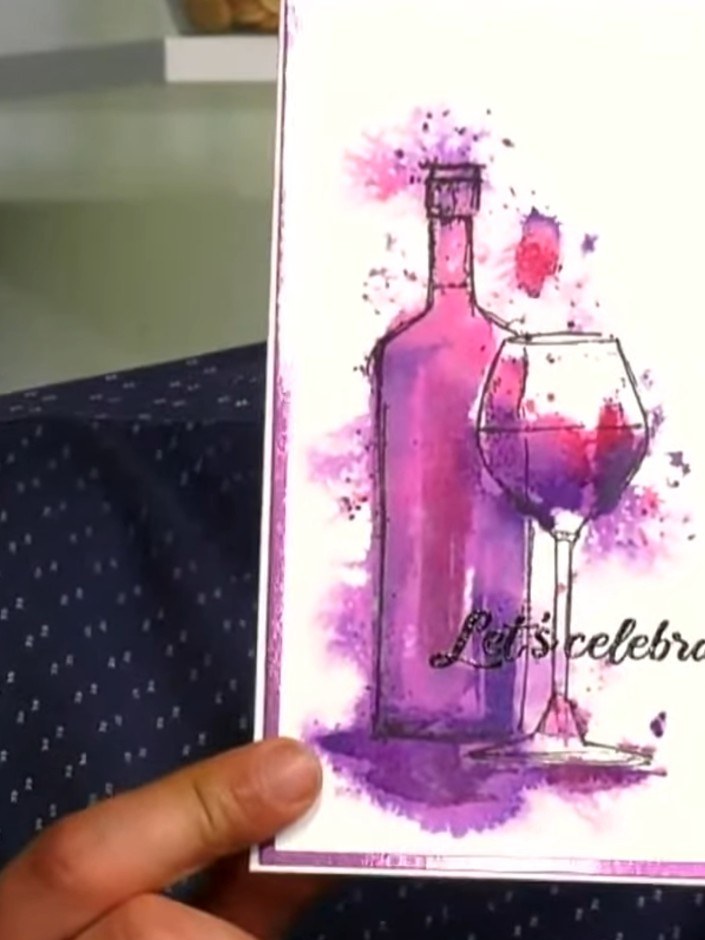
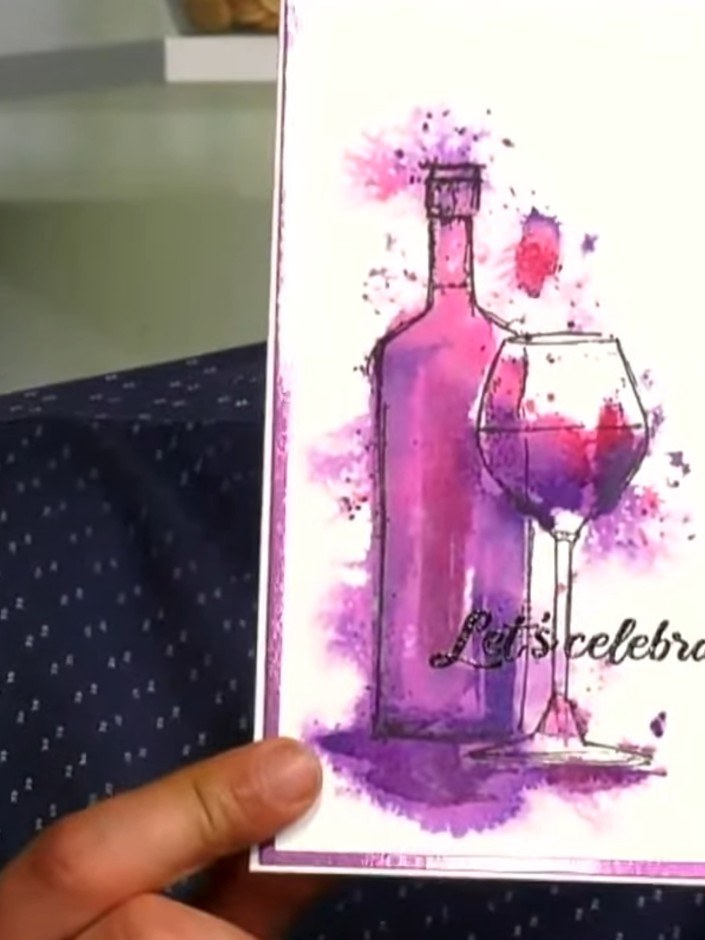
Mount your finished foiled and embossed design onto your card base. The wine bottle and glass design with 'Let's celebrate' sentiment is now complete with beautiful pink and purple watercolour effects.
▶ watch this step (30:30)Written up from the show itself. See every guide from our shows · free how-to guides · watch live on My Telly