Give your friends €10 off their first order!
Refer a FRIEND








A project from our live show THE THURSDAY DROP - Latest Products from Toni - Broadcast 29th October 2026 · 29/10/2026 · watch it from 25:45
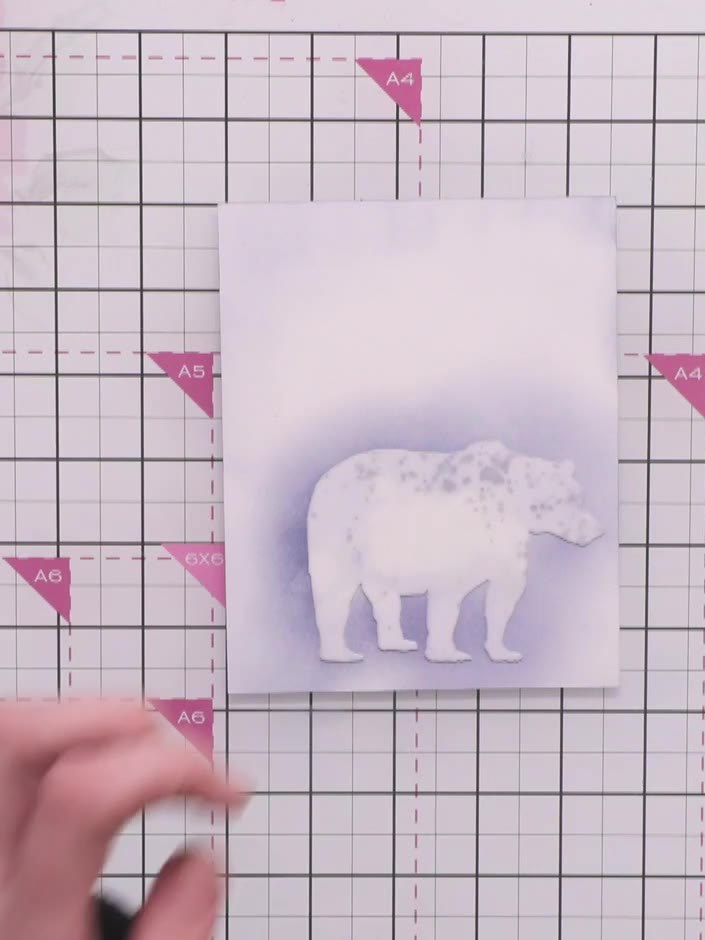
Create a striking woodland bear card featuring a stamped bear motif surrounded by a moody layered landscape. Using ink blending and stencil techniques, you'll build atmospheric depth with trees, coloured halos, and sentiment text in rich, earthy tones. This project combines stamping and stencilling to achieve a professional, dimensional finish.
 Stamps By Me - Woodland Wildlife - Stamp and Stencil Set - 020124ASEE IT
 Stamps By Me - Premium Hybrid Ink - Midnight - 121022NSEE IT
 100087 - HTCN - Stamps By Me Large Professional Paper Trimmer 6 X 12 Inch 240921ESEE IT
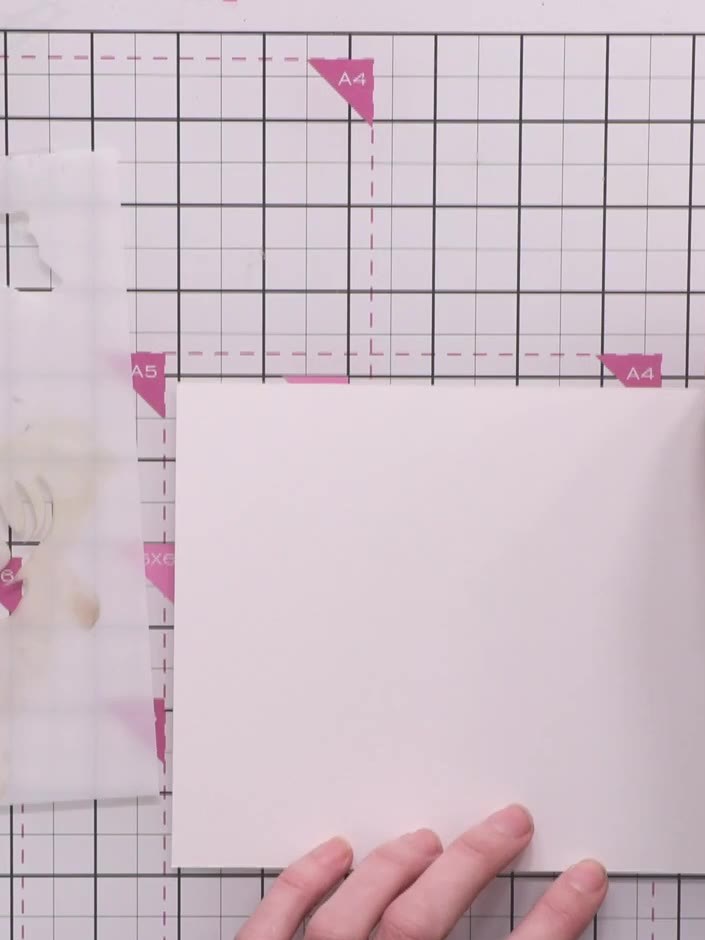
Cut your white cardstock to landscape orientation using the large paper trimmer. Trim to the desired size for your card base.
▶ watch this step (26:15)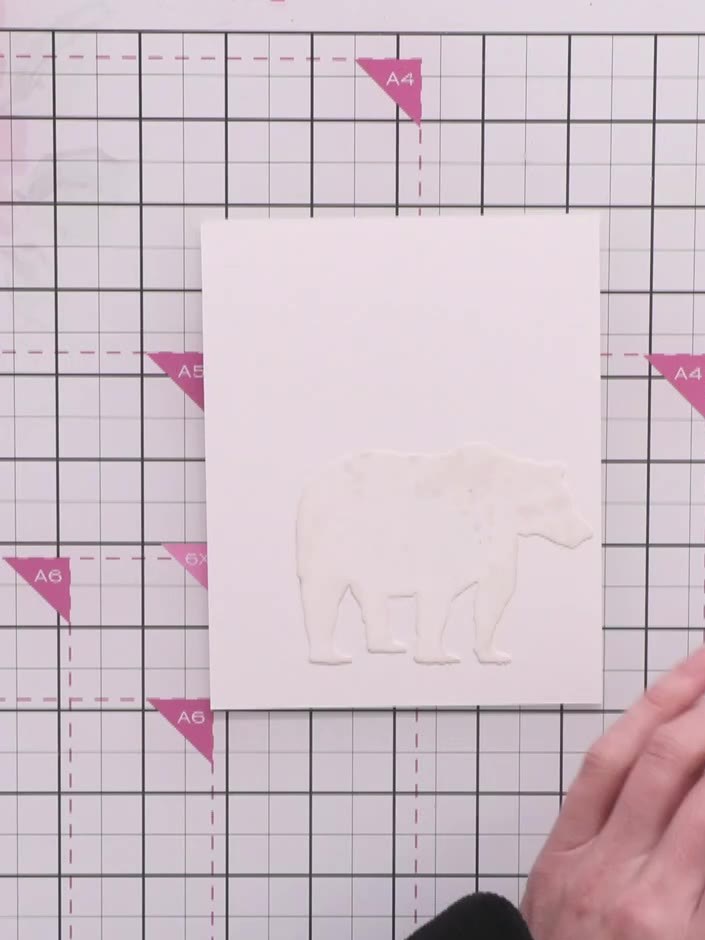
Position the bear stamp off to one side of your card base on the magnetic glass mat. Place the Distress Ink pad nearby ready for use.
▶ watch this step (26:45)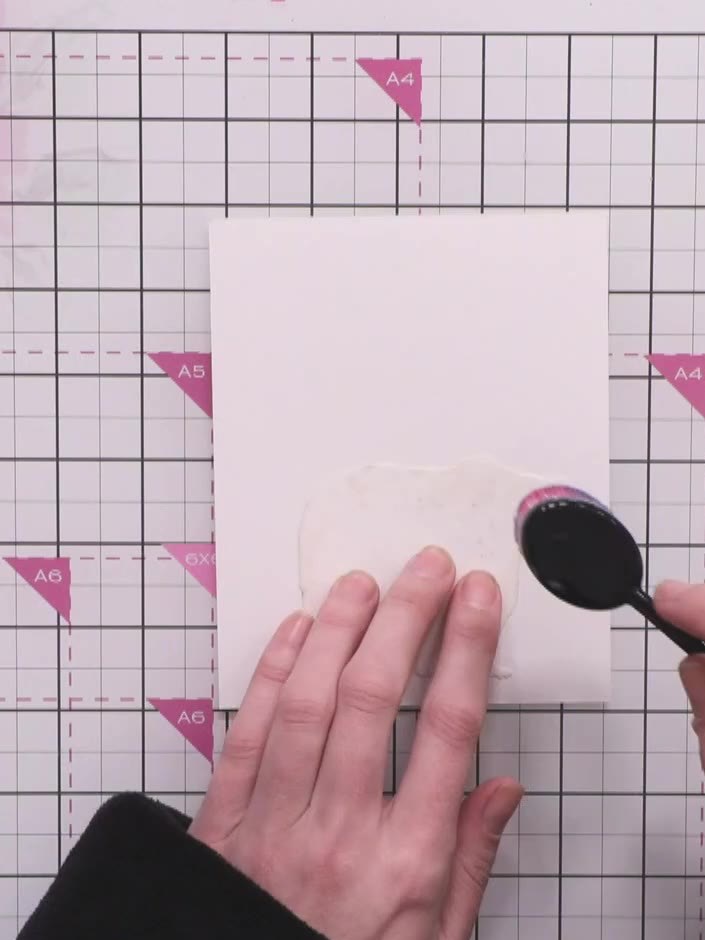
Select a Distress Ink pad in a stormy blue shade and pick up a blending brush to prepare for inking.
▶ watch this step (27:15)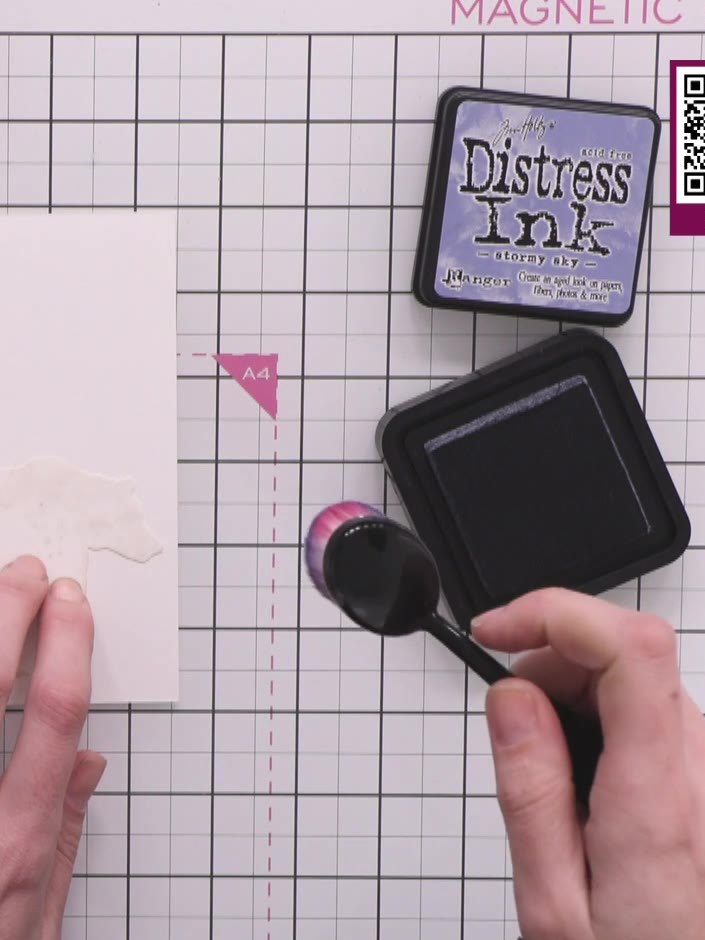
Create a halo around the bear by blending the Midnight ink in circular motions with the blending tool, holding the stamp in place on the pink card.
▶ watch this step (27:30)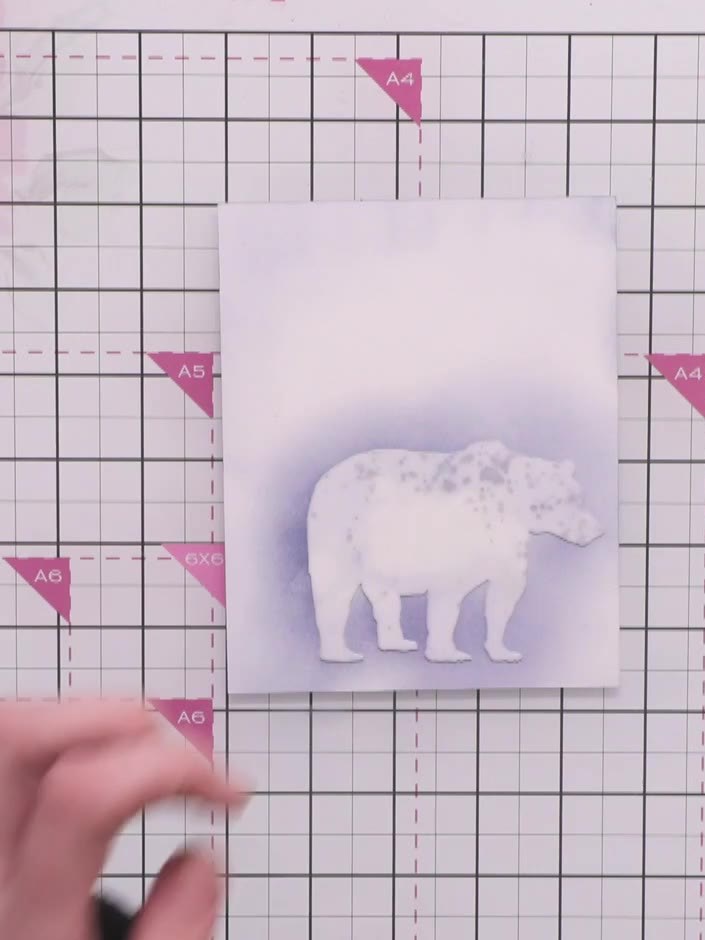
Add water splats around the bear using a water bottle and brush to activate and blend the Distress Oxide ink, creating a soft, blended background effect.
▶ watch this step (28:45)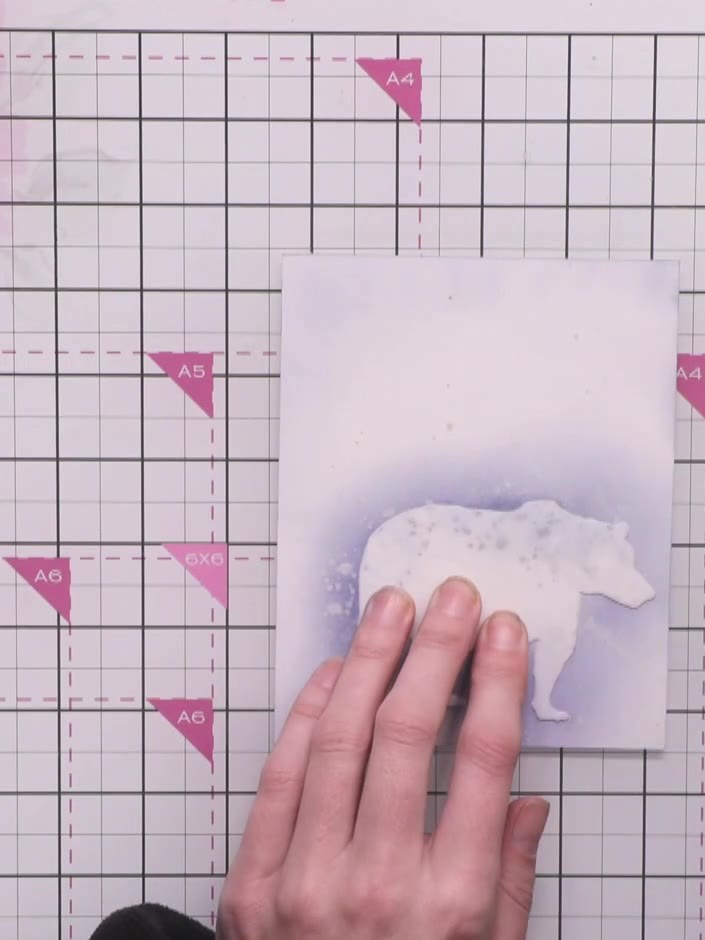
Using the Midnight ink pad, layer darker ink around the edges of the bear stencil to create depth. Work from dark at the edges to lighter towards the centre, building up the colour gradually.
▶ watch this step (30:00)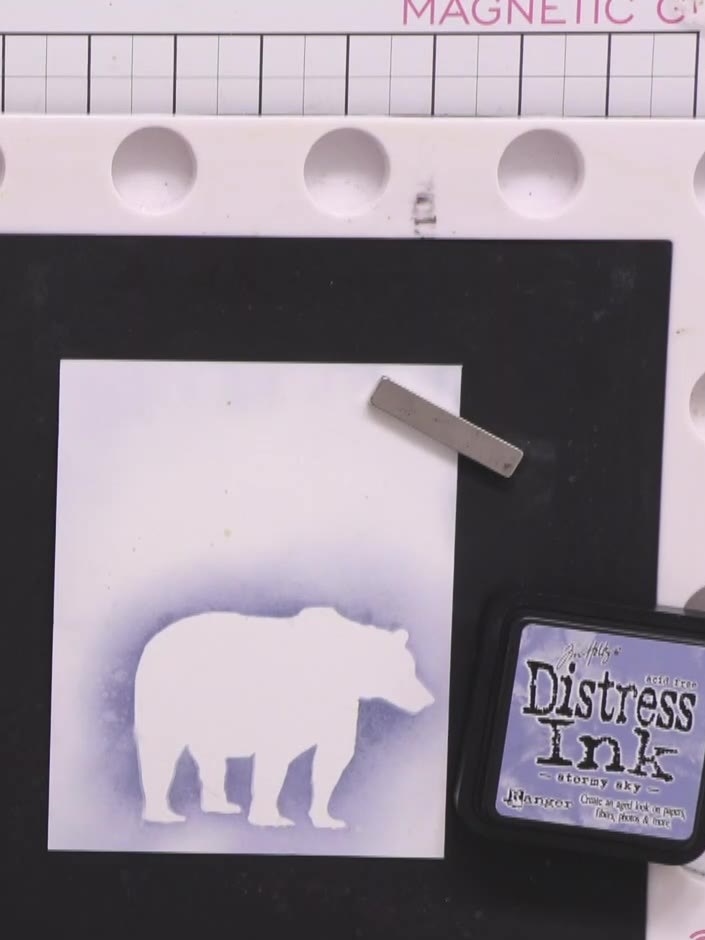
Stamp the bear image in the centre of the white card panel using Frayed Burlap brown ink. Position the stamp carefully to ensure the bear is centred on the card.
▶ watch this step (33:45)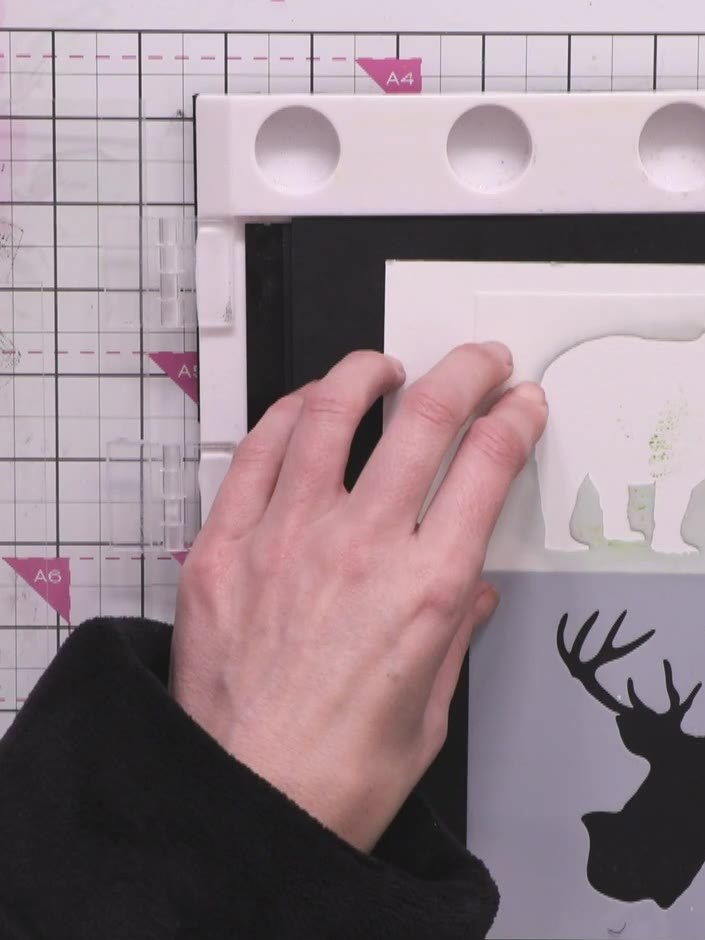
Hold the bear stencil in place using a magnet on your magnetic glass mat. Using the tree stamps and black ink, stamp trees inside the bear silhouette to create a woodland scene.
▶ watch this step (1:01:45)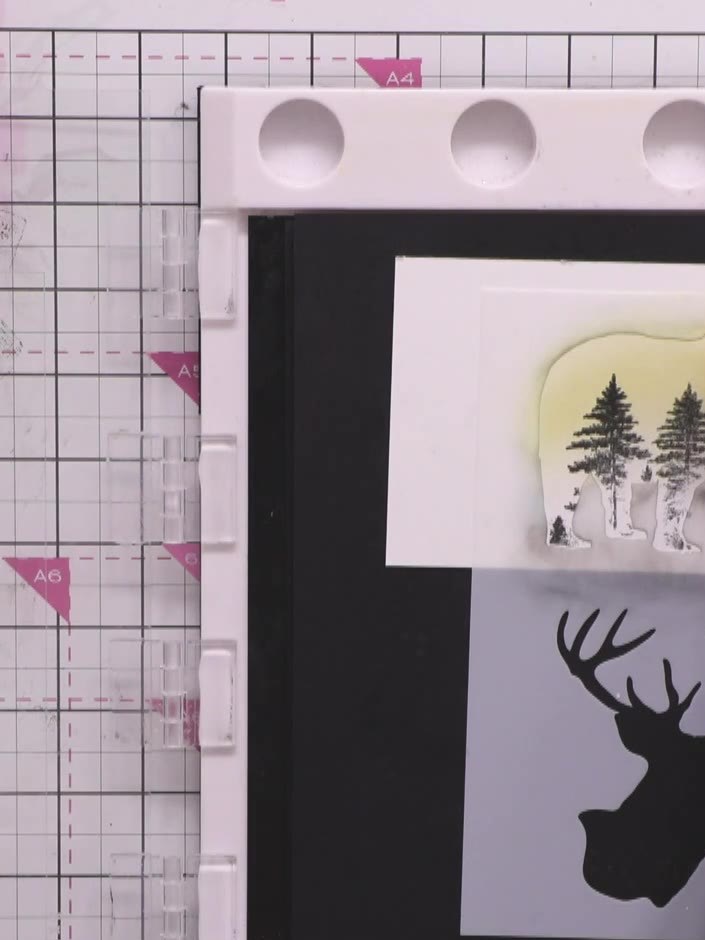
Using the blending tool with Rusty Hinge Distress Ink, blend colour inside the bear stencil opening to create a warm sunset effect behind the trees. Work the ink gently to build up the colour gradually.
▶ watch this step (1:07:00)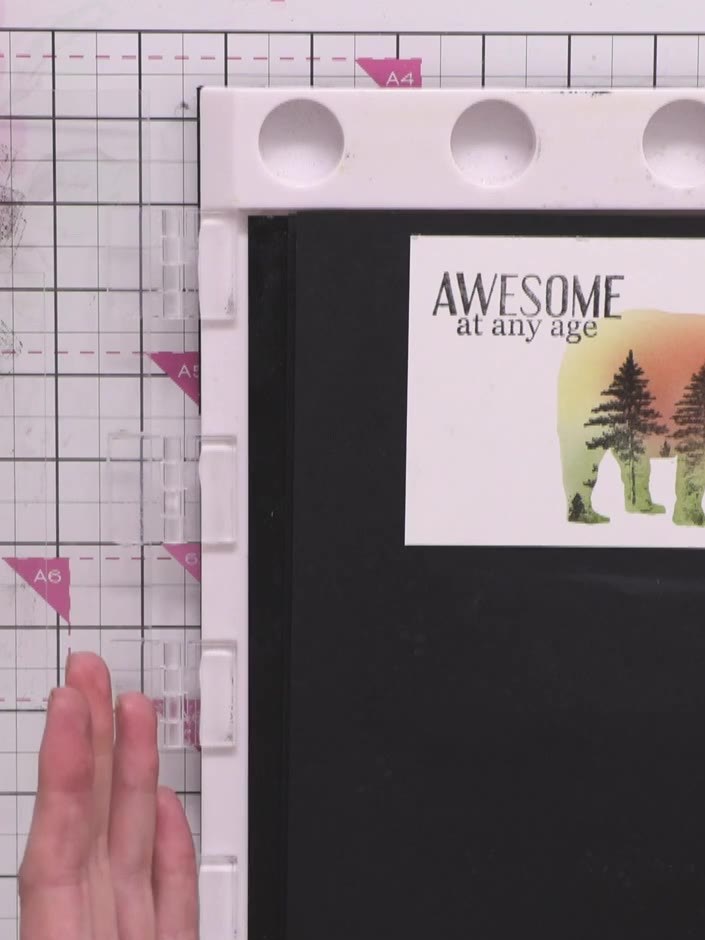
Stamp the sentiment 'AWESOME at any age' above the bear using the Midnight black hybrid ink. Position the text stamp carefully to ensure it sits clearly above the bear silhouette.
▶ watch this step (1:12:15)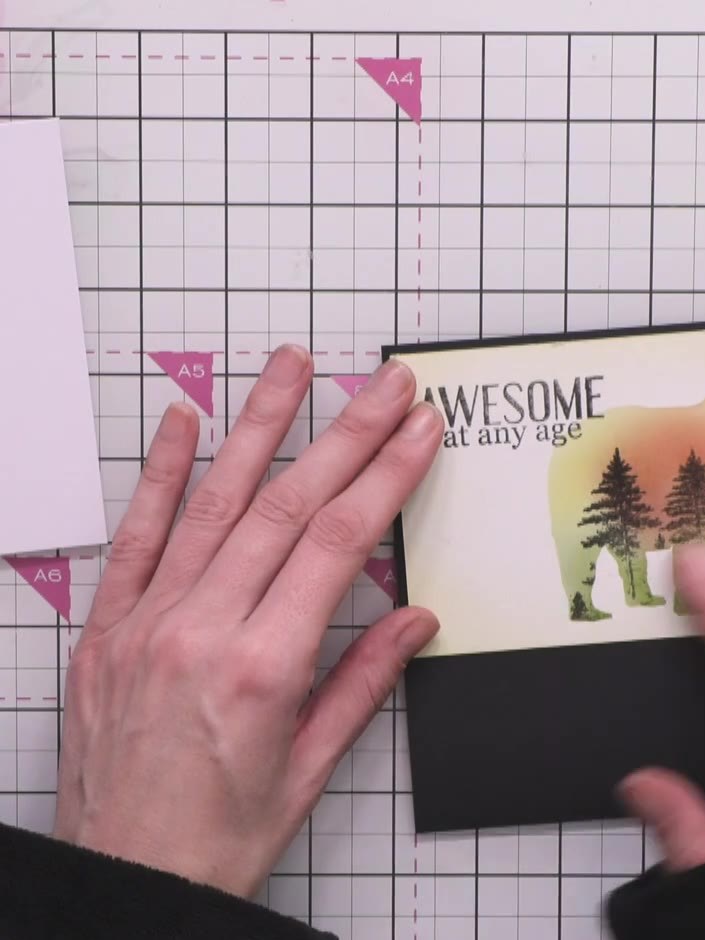
Mount the finished bear artwork onto black cardstock to create a border. Adhere the mounted piece to your white card base to complete the card.
▶ watch this step (1:18:15)Written up from the show itself. See every guide from our shows · free how-to guides · watch live on My Telly


