Give your friends €10 off their first order!
Refer a FRIEND








 The Friday Final CutFri 20 Nov 5am
 Community ShowcaseMon 23 Nov 5am
 Deal HuntersTue 24 Nov 8am
Prices change straight away. Every language is our own translation, not Google.
A project from our live show SUNDAY SAVINGS - Join Toni for her LIMITED TIME DEALS! - Broadcast 26th October 2025 · 26/10/2025 · watch it from 41:30
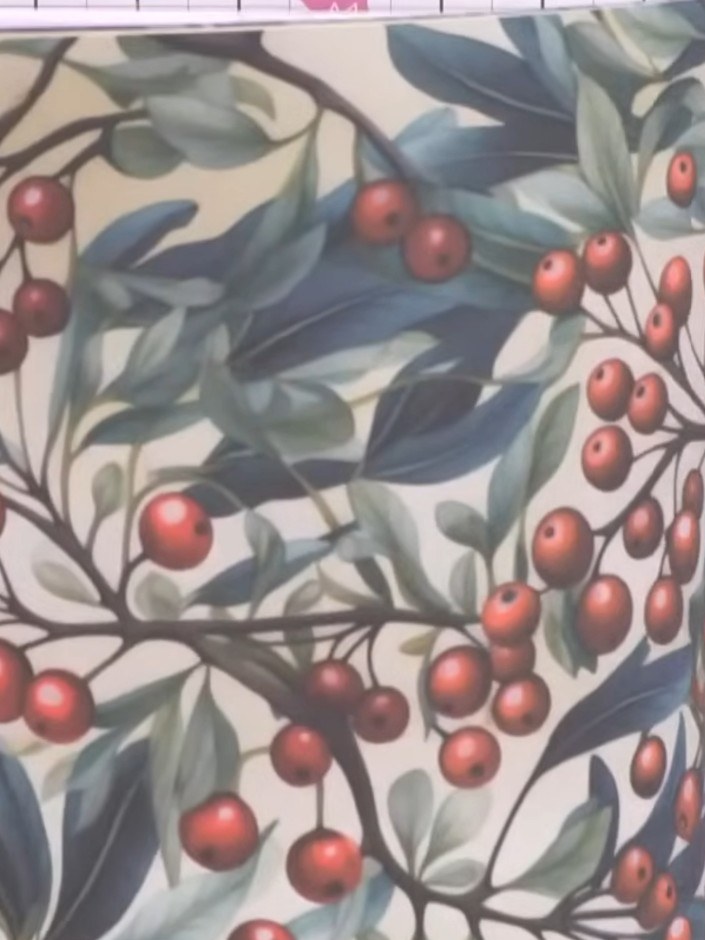
Create an elegant glueless gift box using the envelope and box maker tool with beautiful Holly and Berry patterned paper. This sturdy 4x4 box features festive botanical designs in green, cream and red tones, perfect for presenting chocolates, perfume or beauty products. The clever construction requires no adhesive, using scored folds and interlocking flaps to create a secure, reusable container.
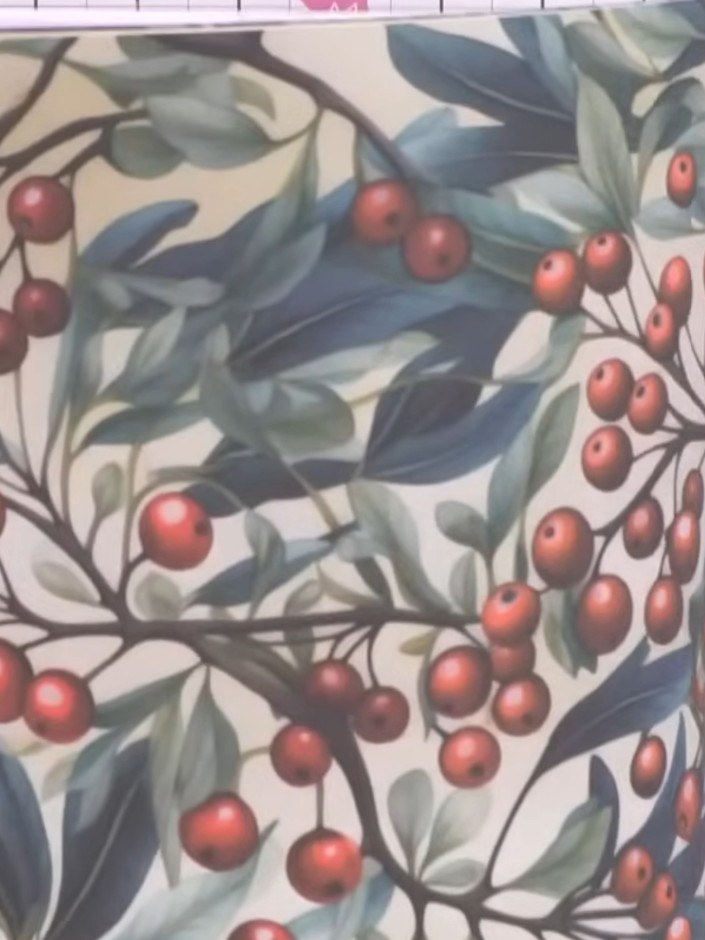
Select a 12 by 12 inch piece of Holly and Berry patterned paper for your project.
▶ watch this step (42:00)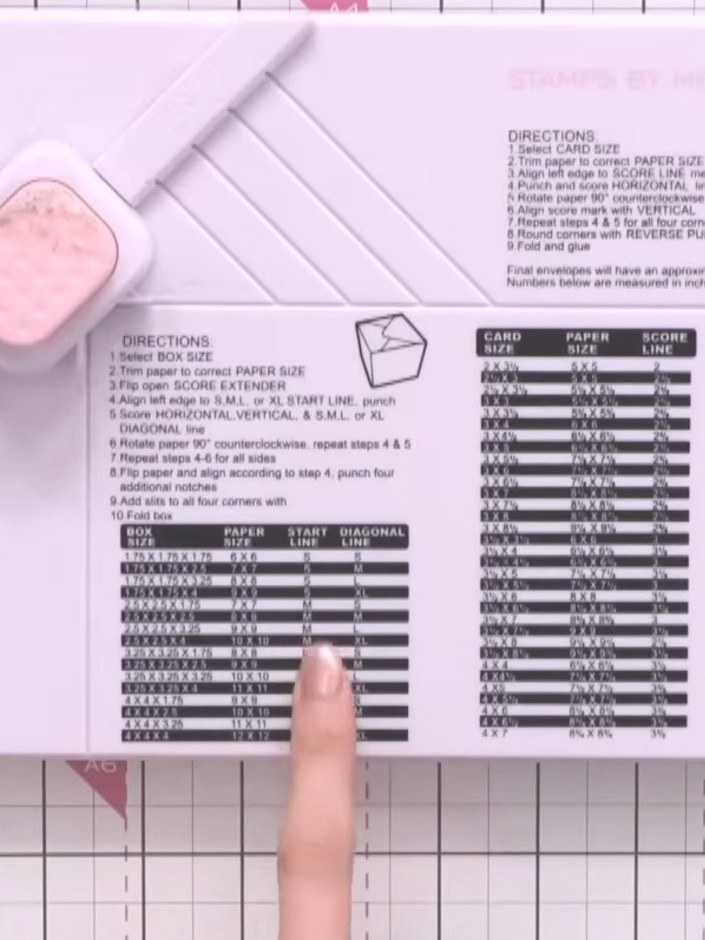
Place your paper on the XL line of the box maker tool and score down the left side.
▶ watch this step (43:00)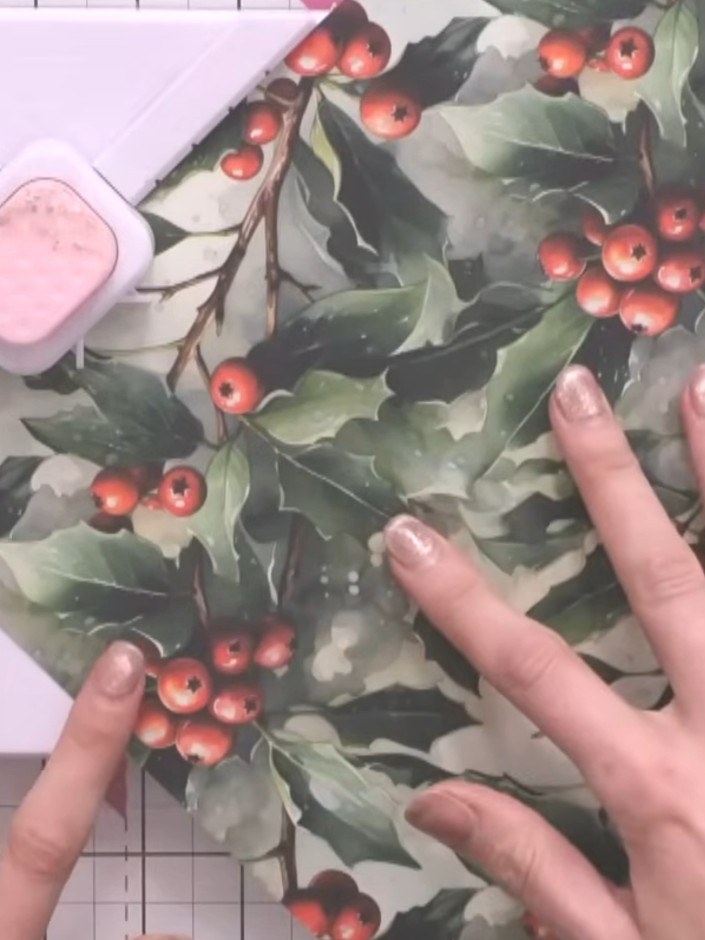
Using the envelope maker tool set to XL, score across the holly and berry paper. Line up the XL marking again and punch to create the first set of holes.
▶ watch this step (43:15)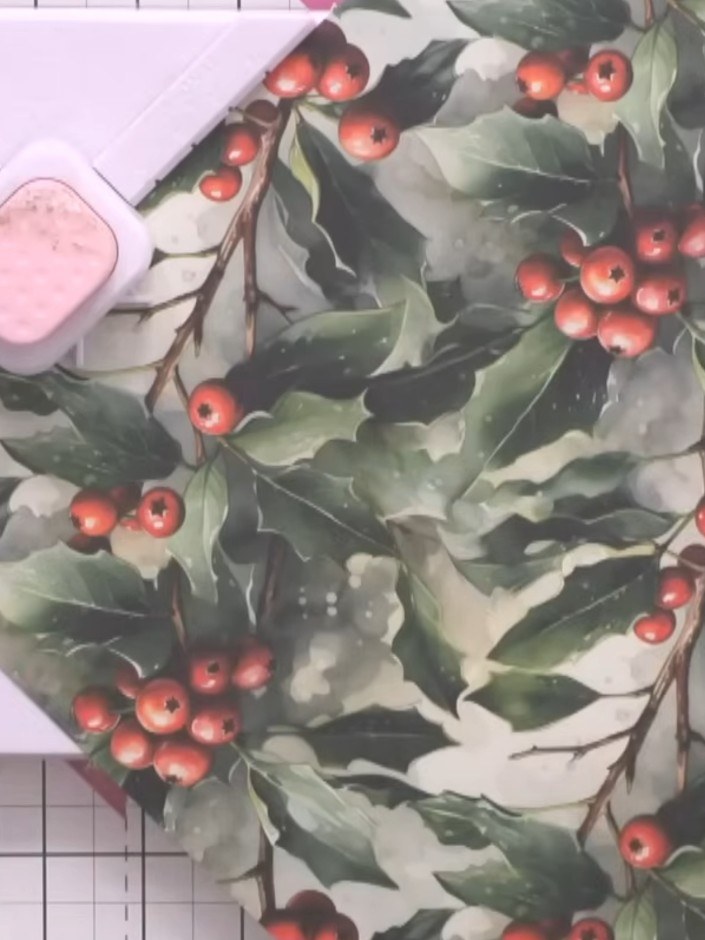
Rotate your paper 90 degrees and repeat the scoring and punching process. Align the edge of the paper with the XL line on the envelope maker each time. Complete this rotation and scoring process three more times in total.
▶ watch this step (43:30)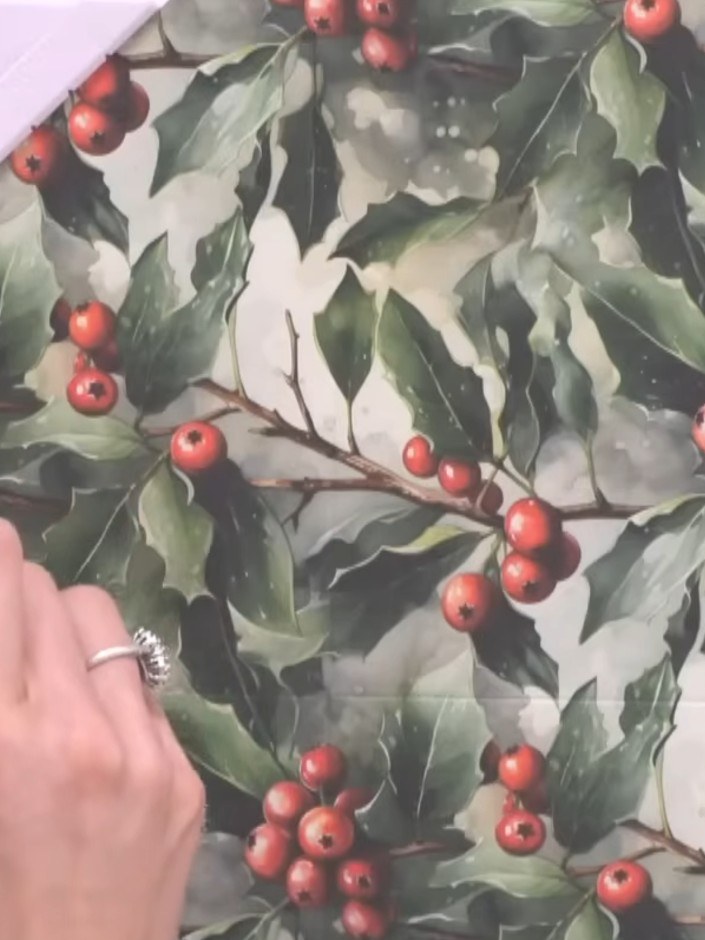
Flip the decorated paper over to the reverse side. Scroll across and line up the paper, then punch out the small triangular corners that need to be removed for the box construction. Place the corner of the scored card into the punch slot of the envelope maker and punch to create the eyelet for the glueless closure system.
▶ watch this step (44:30)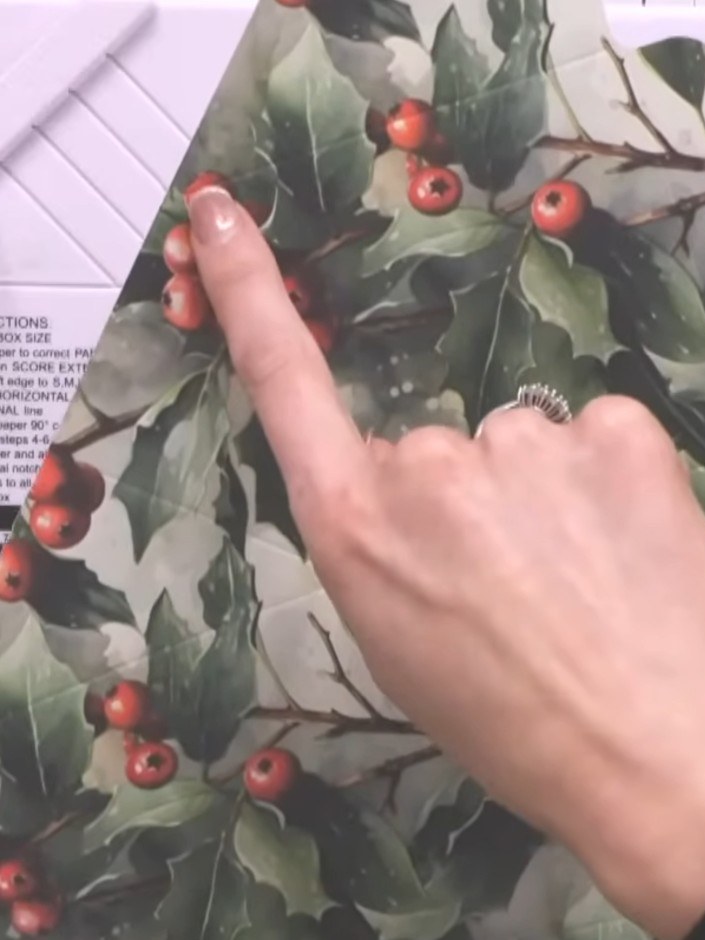
Score along all the internal lines you've created with the box maker tool. Use the scoring tool to create crisp fold lines on the holly and berry patterned paper.
▶ watch this step (45:15)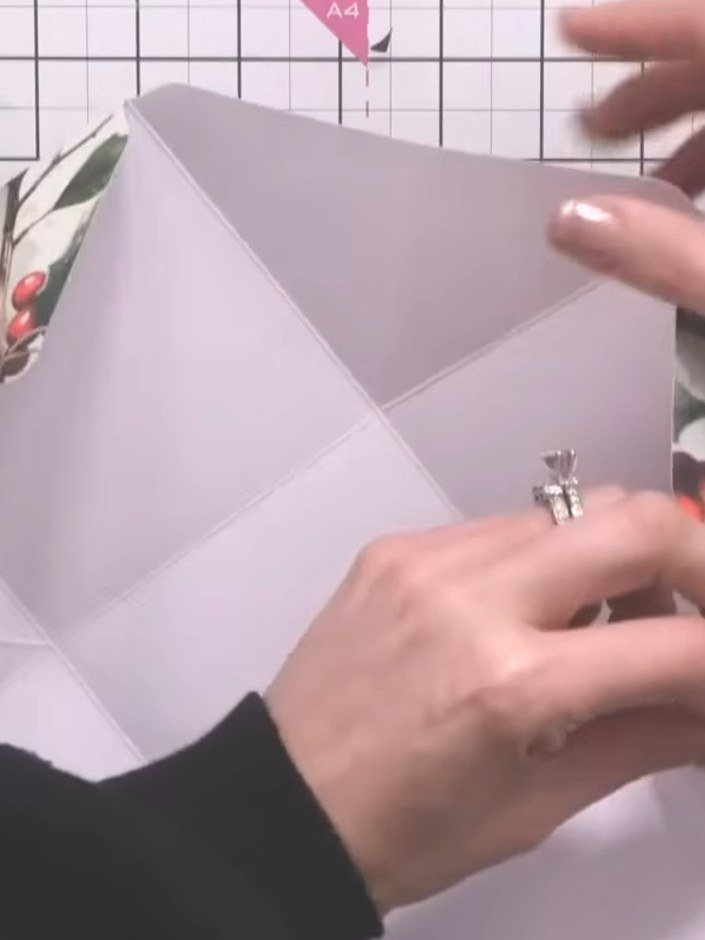
Fold up the four sides of the box. Hook the eyelets on opposite corners together to close the box without using any glue.
▶ watch this step (48:00)Written up from the show itself. See every guide from our shows · free how-to guides · watch live on My Telly
