Give your friends €10 off their first order!
Refer a FRIEND








Prices change straight away. Languages are translated by Google.
A project from our live show CATCH UP with the Create Together Club - Inspiration Video 6 for Stamp A NOTE TO SAY - SHOW 30th Oct 21 · 30/10/2021
Create a delicate, elegant card by stamping a typewriter image onto vellum with gold embossing ink and clear embossing powder. The heat-set result gives a subtle, sophisticated look that works beautifully on translucent vellum.
Place a piece of vellum on your work surface and position the typewriter stamp in the centre using a magnet to hold it steady.
Apply anti-static powder to the vellum to prevent static cling.
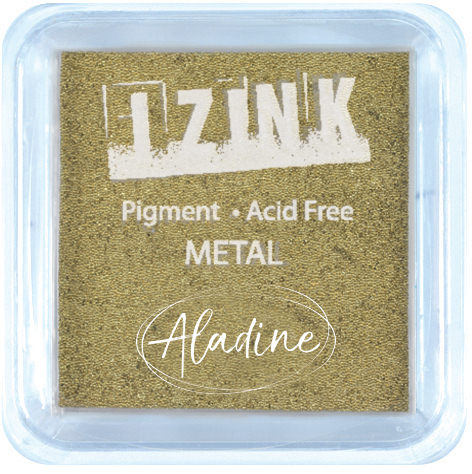
Ink up the typewriter stamp thoroughly with the gold embossing ink pad, tapping all over for even coverage.
Press the stamp firmly onto the vellum, applying good pressure to capture all the detail.
Lift the stamp carefully away from the vellum.
Sprinkle clear embossing powder over the wet gold ink to seal it.
Heat set the embossing powder with a heat gun, moving it steadily across the vellum to avoid warping.
Mount the embossed vellum onto a card base to complete the project.
Share your make with the Stamps By Me community - and keep this guide for next time.
Written up from the show itself. See every guide from our shows · free how-to guides · watch live on My Telly · the previous layout